


I decided to up my game in my hobby and so I recently bought a Tamiya Spray-Work basic air compressor w/ airbrush kit. I could not find any comprehensive or detailed enough review about this product on the internet, so it’s nice if someone wanting to buy this set could find a review for this product. That’s why I’m making one!:
Part I. Packaging:
The packaging is a nice colored carton box and has details about the product on the back and sides:
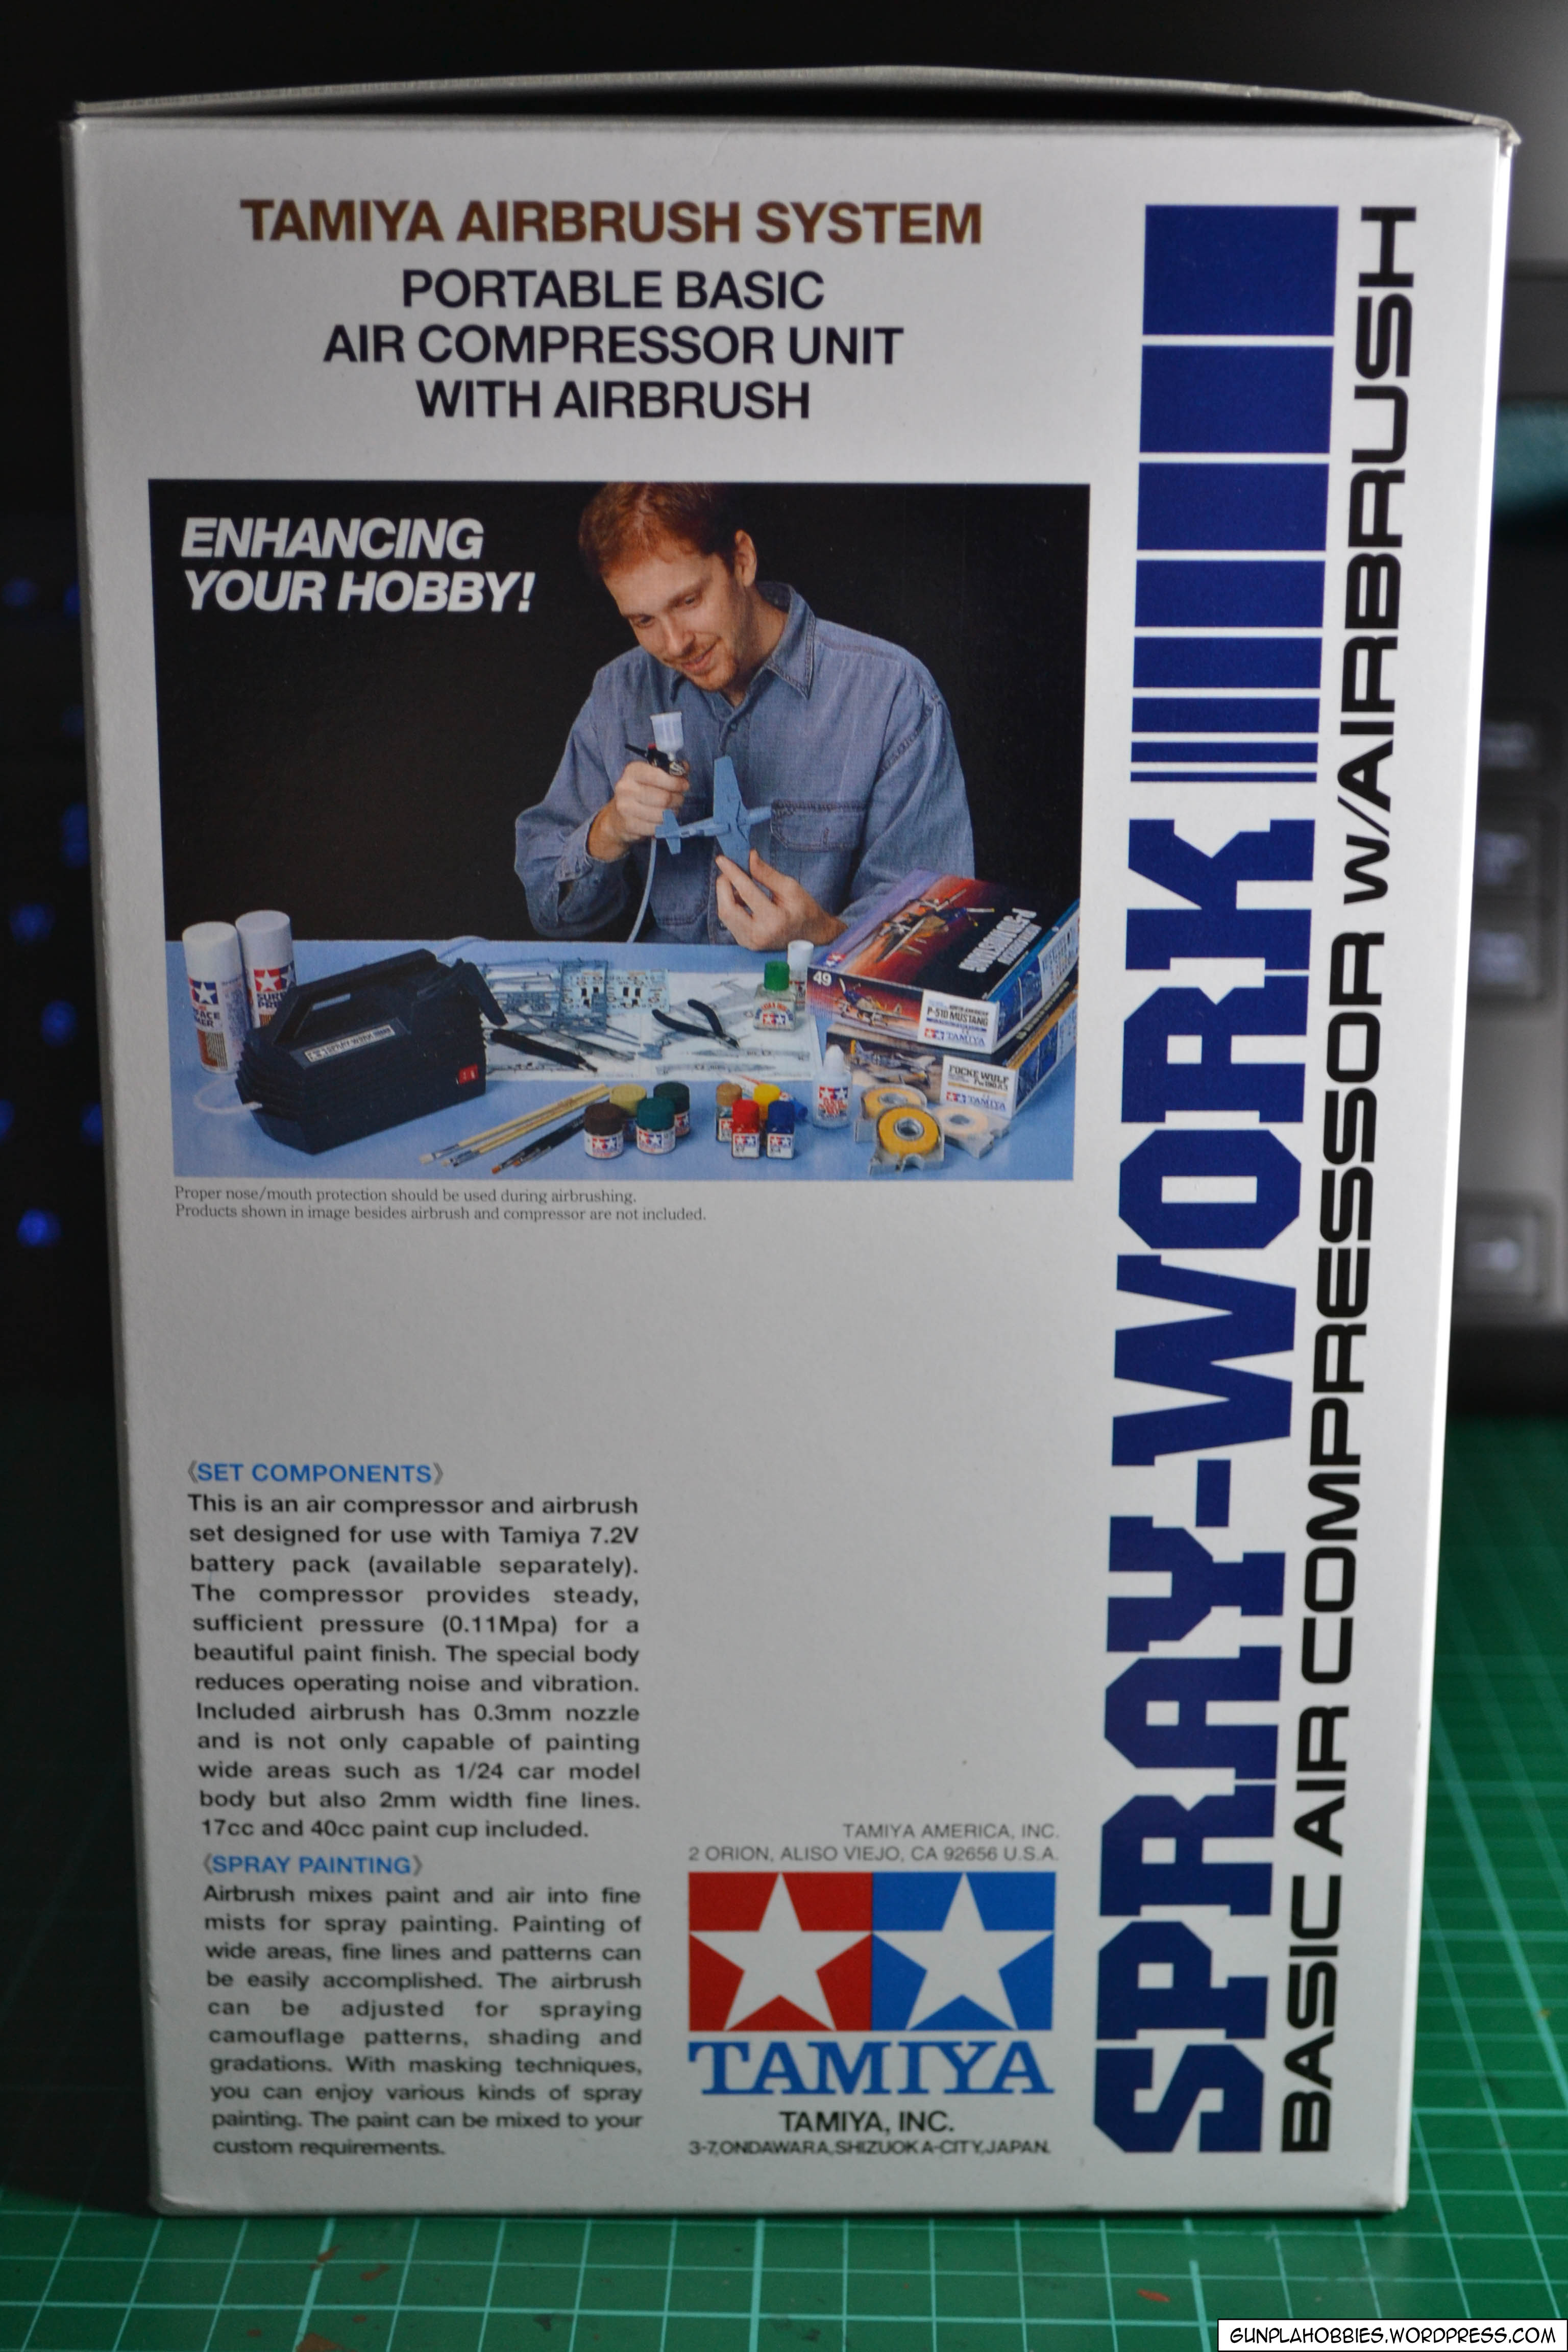
Stuff on the back is in Japanese:


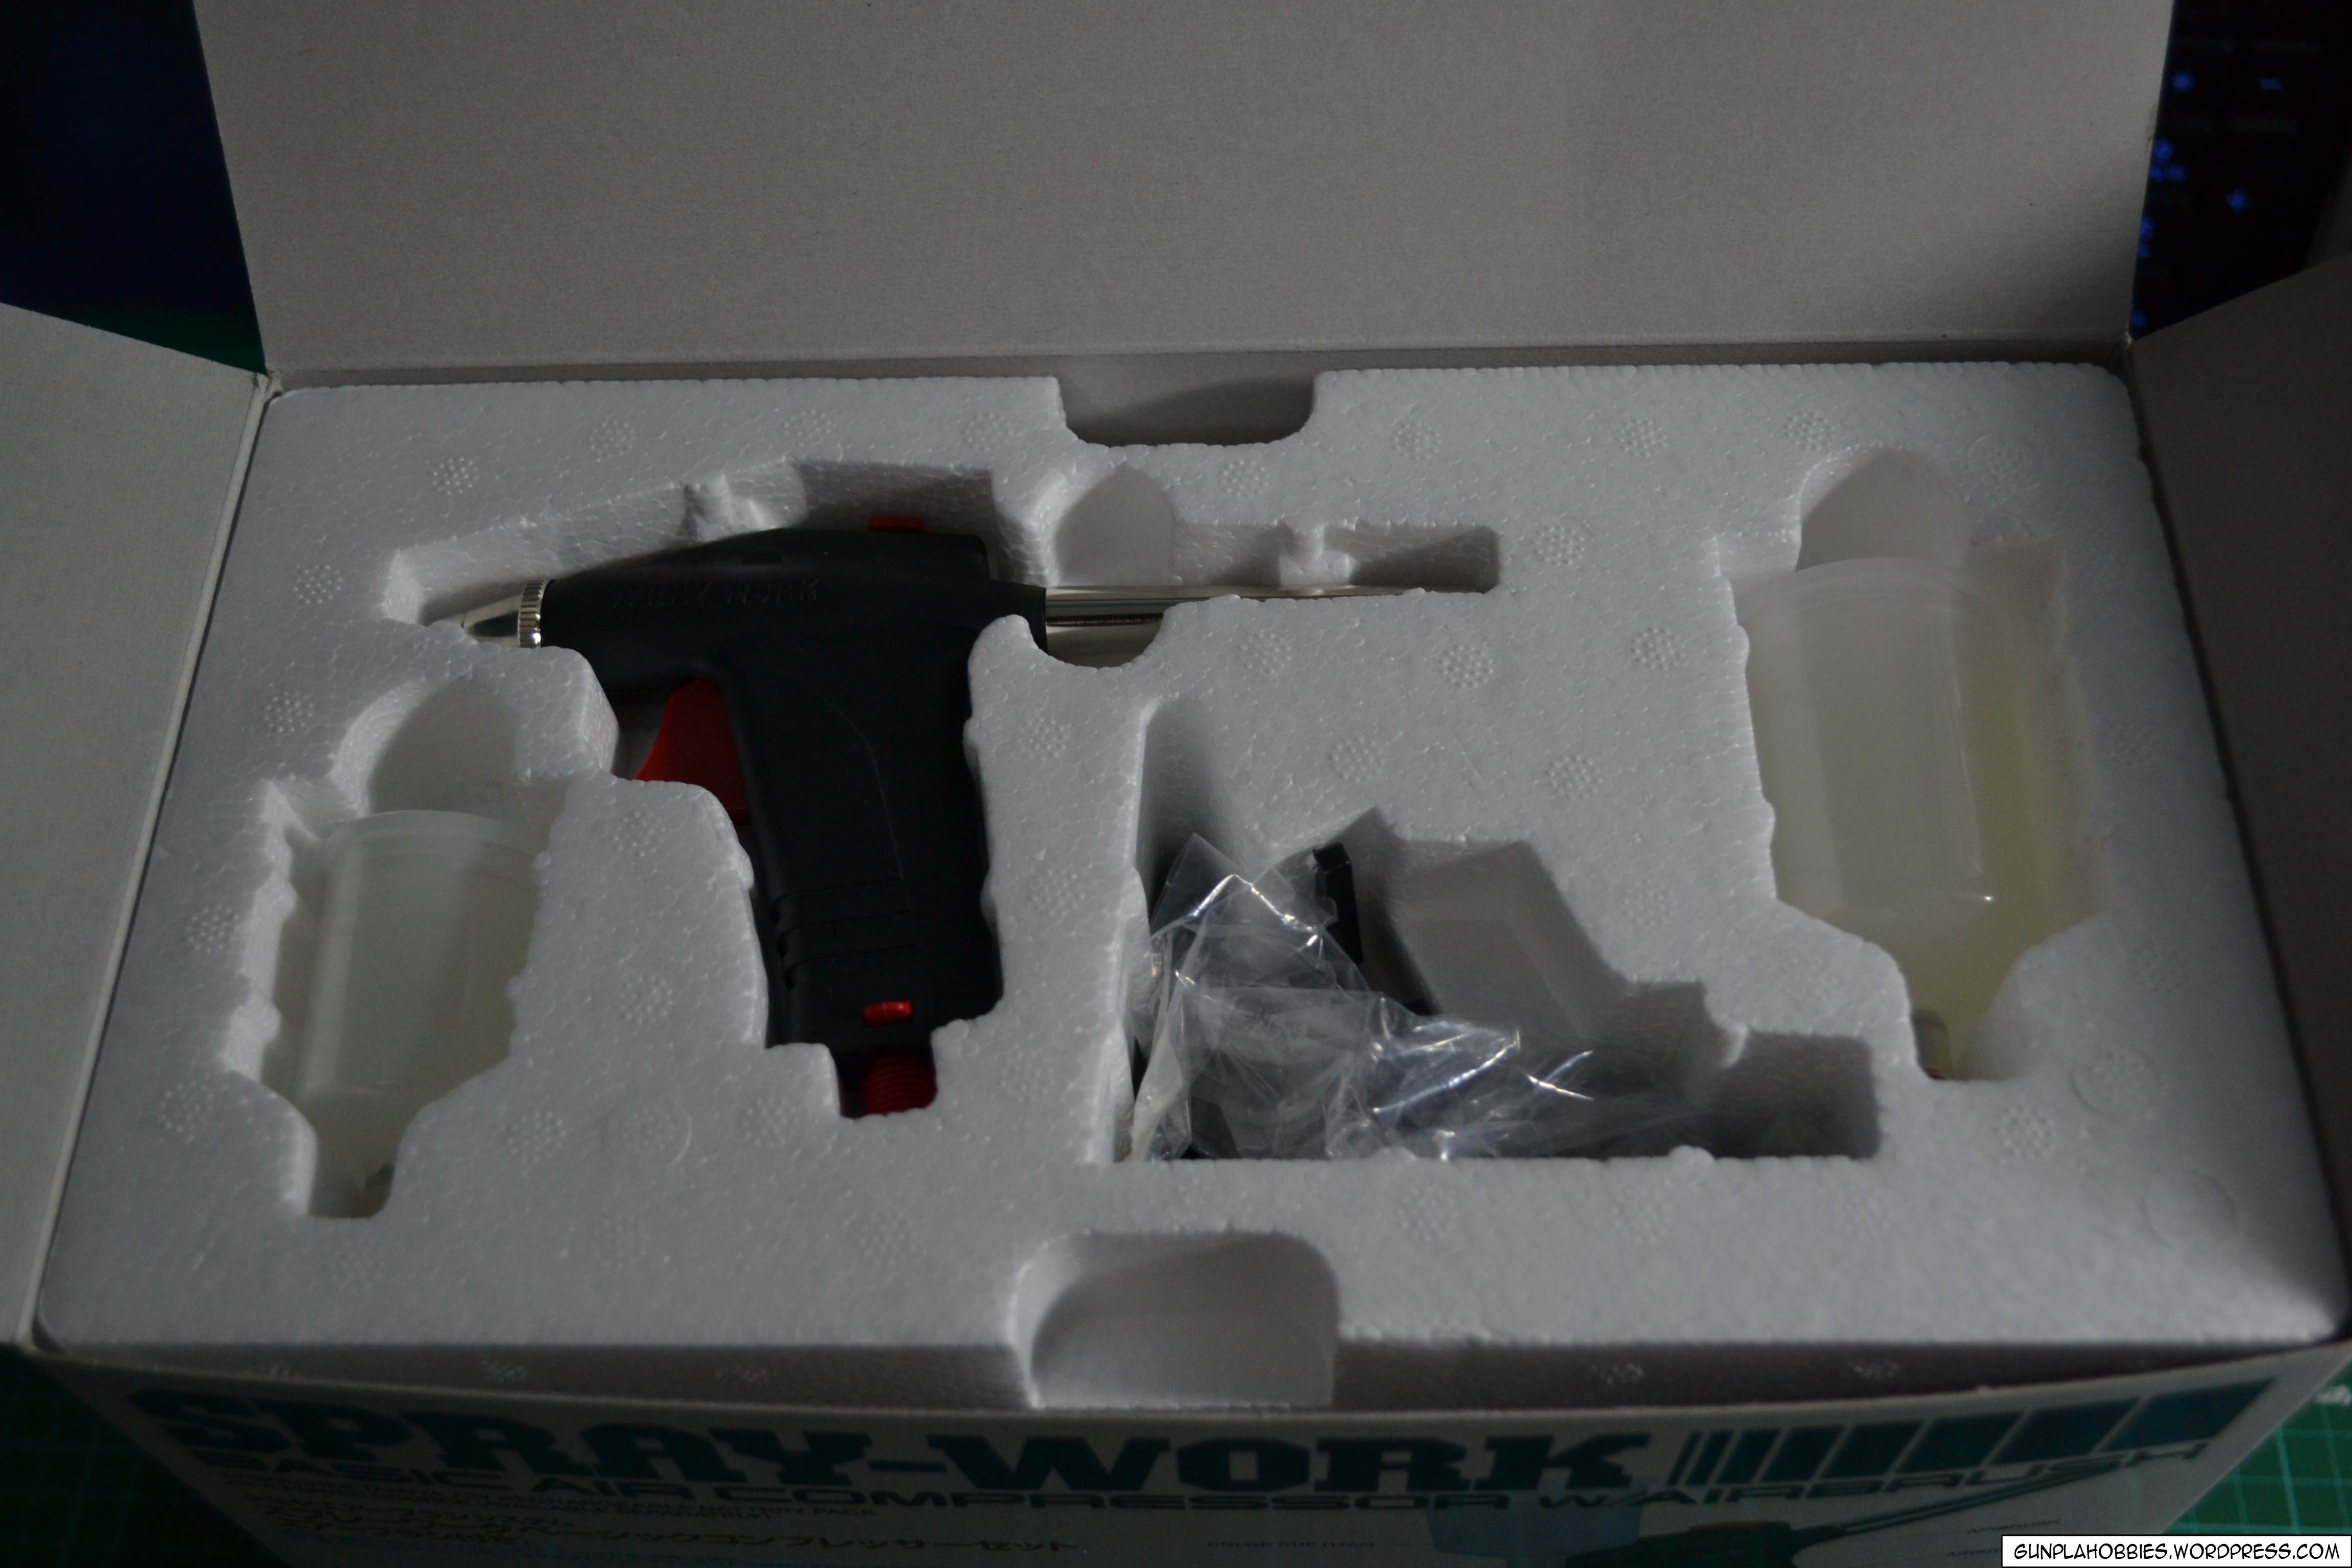
This is the topside:

Opening the topside you’ll find the airbrush, 2 color cups and a stand.

Under the airbrush is the air compressor, taking out the air compressor:

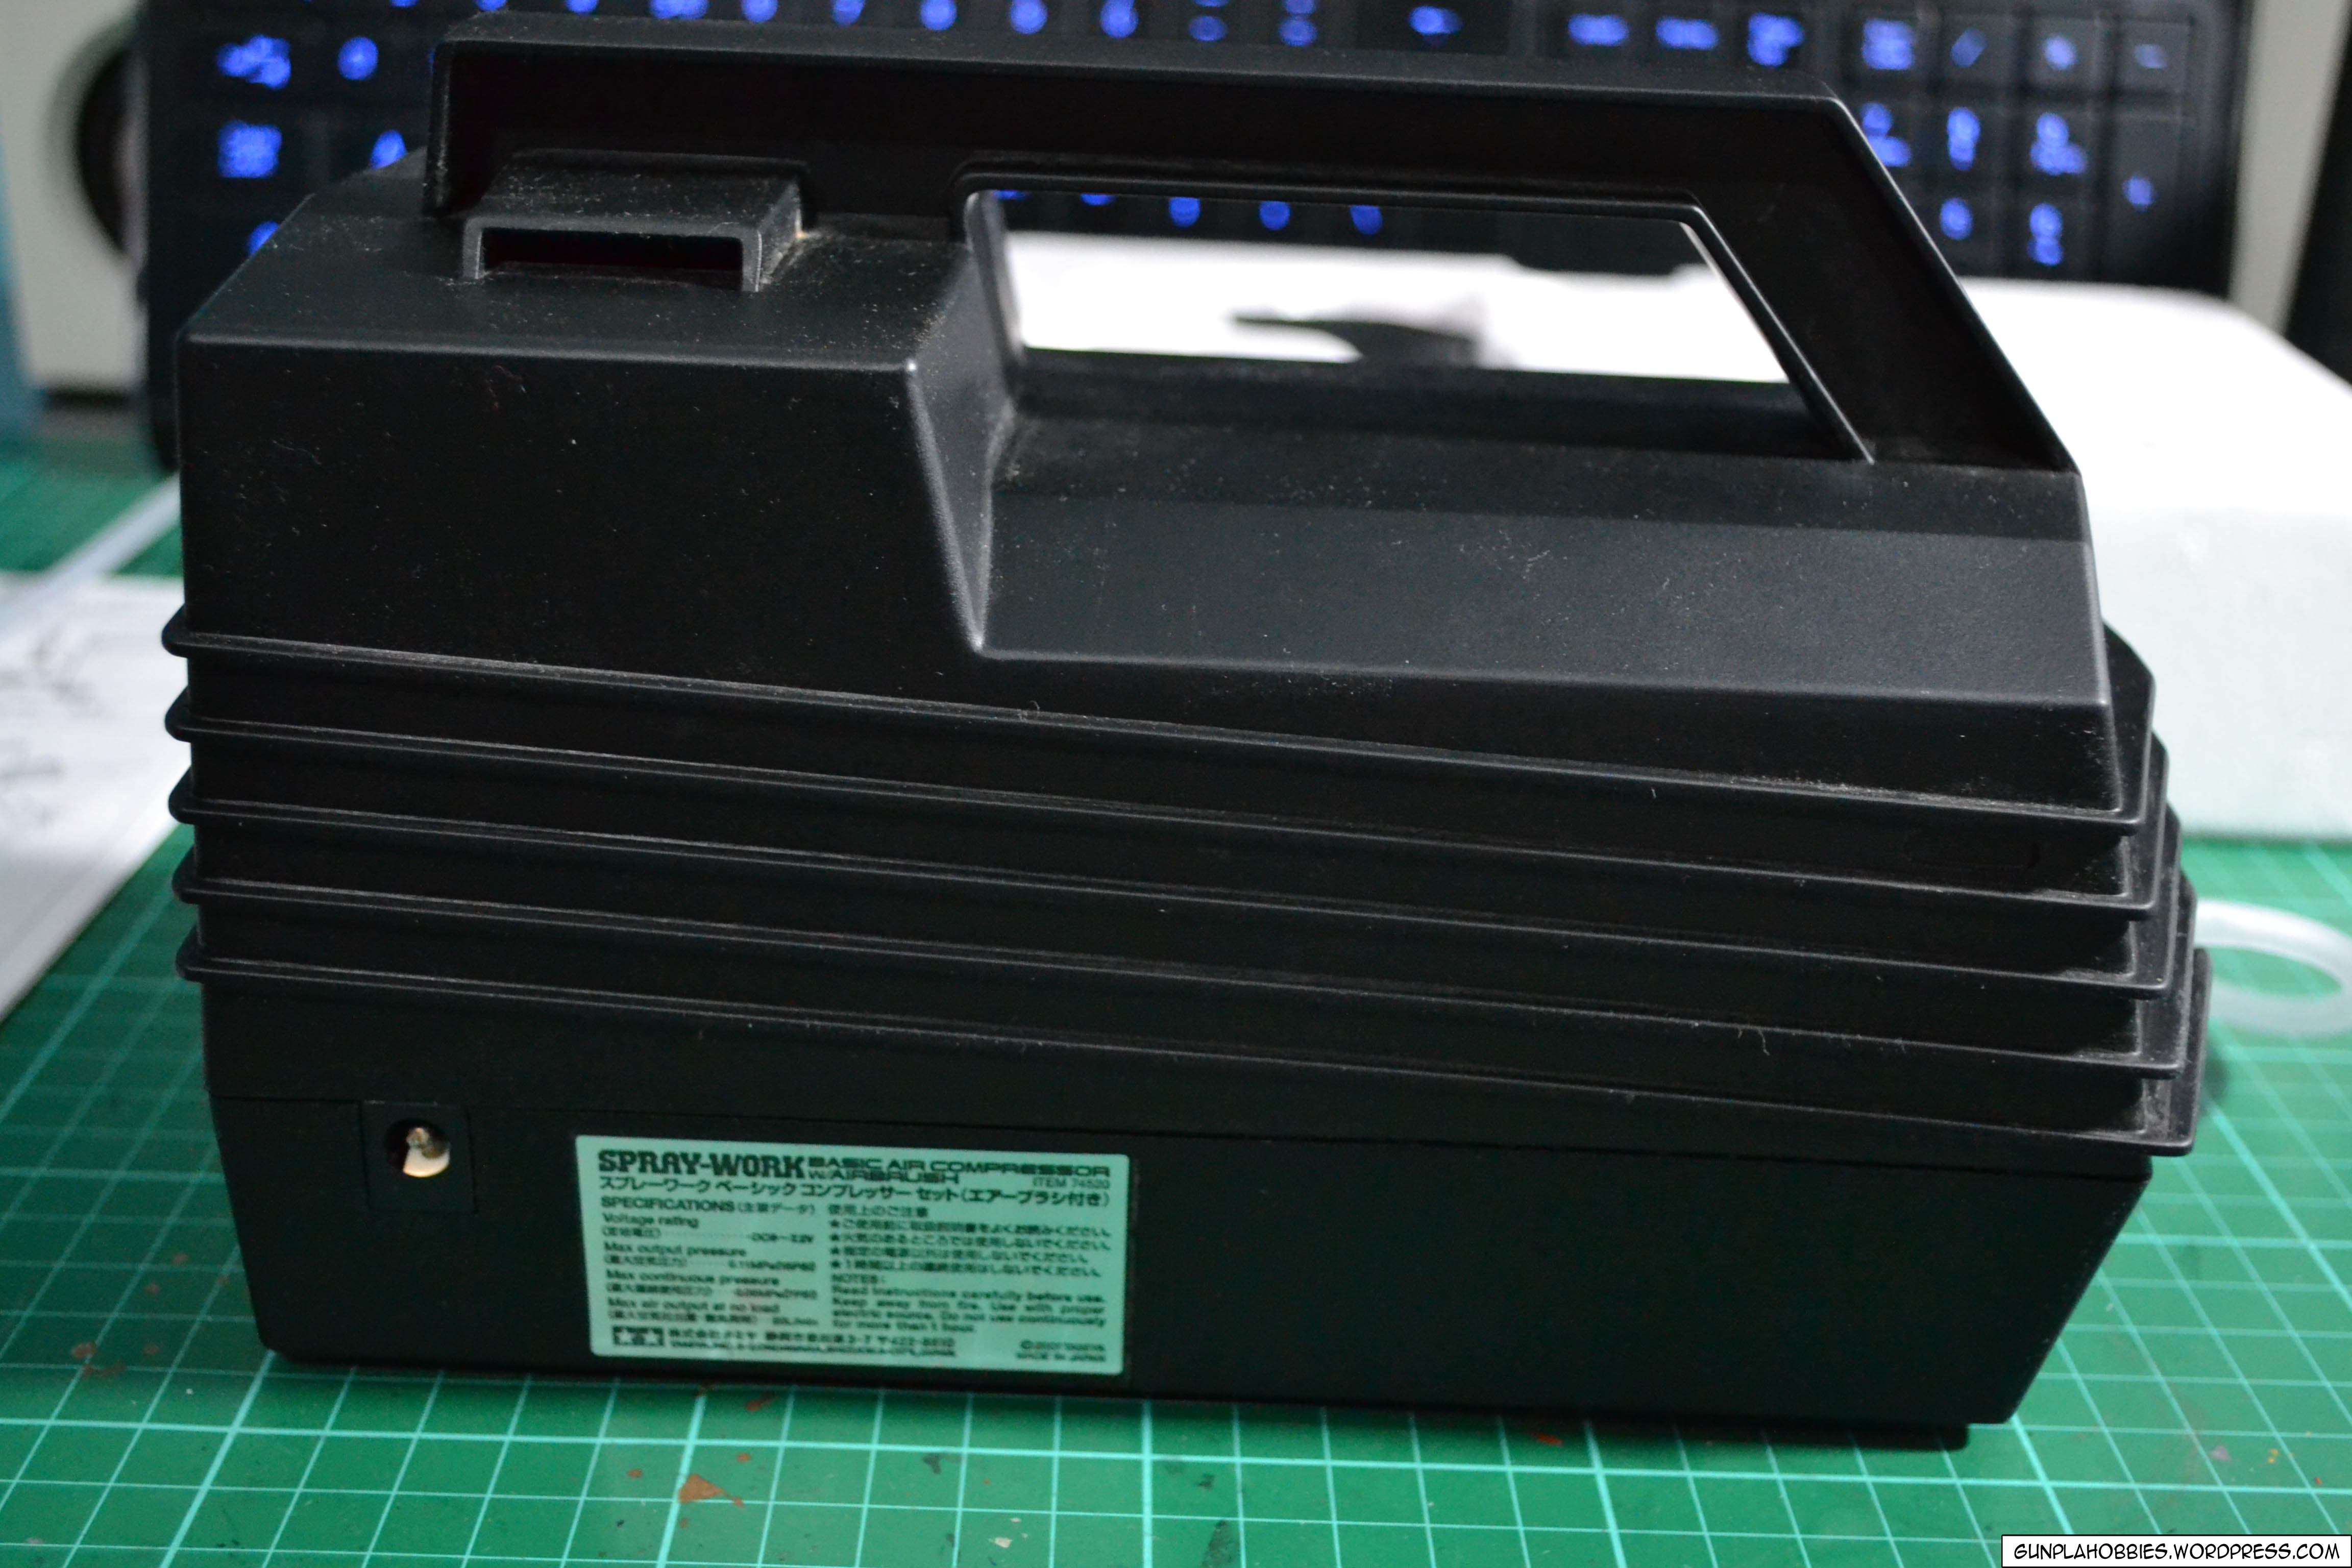
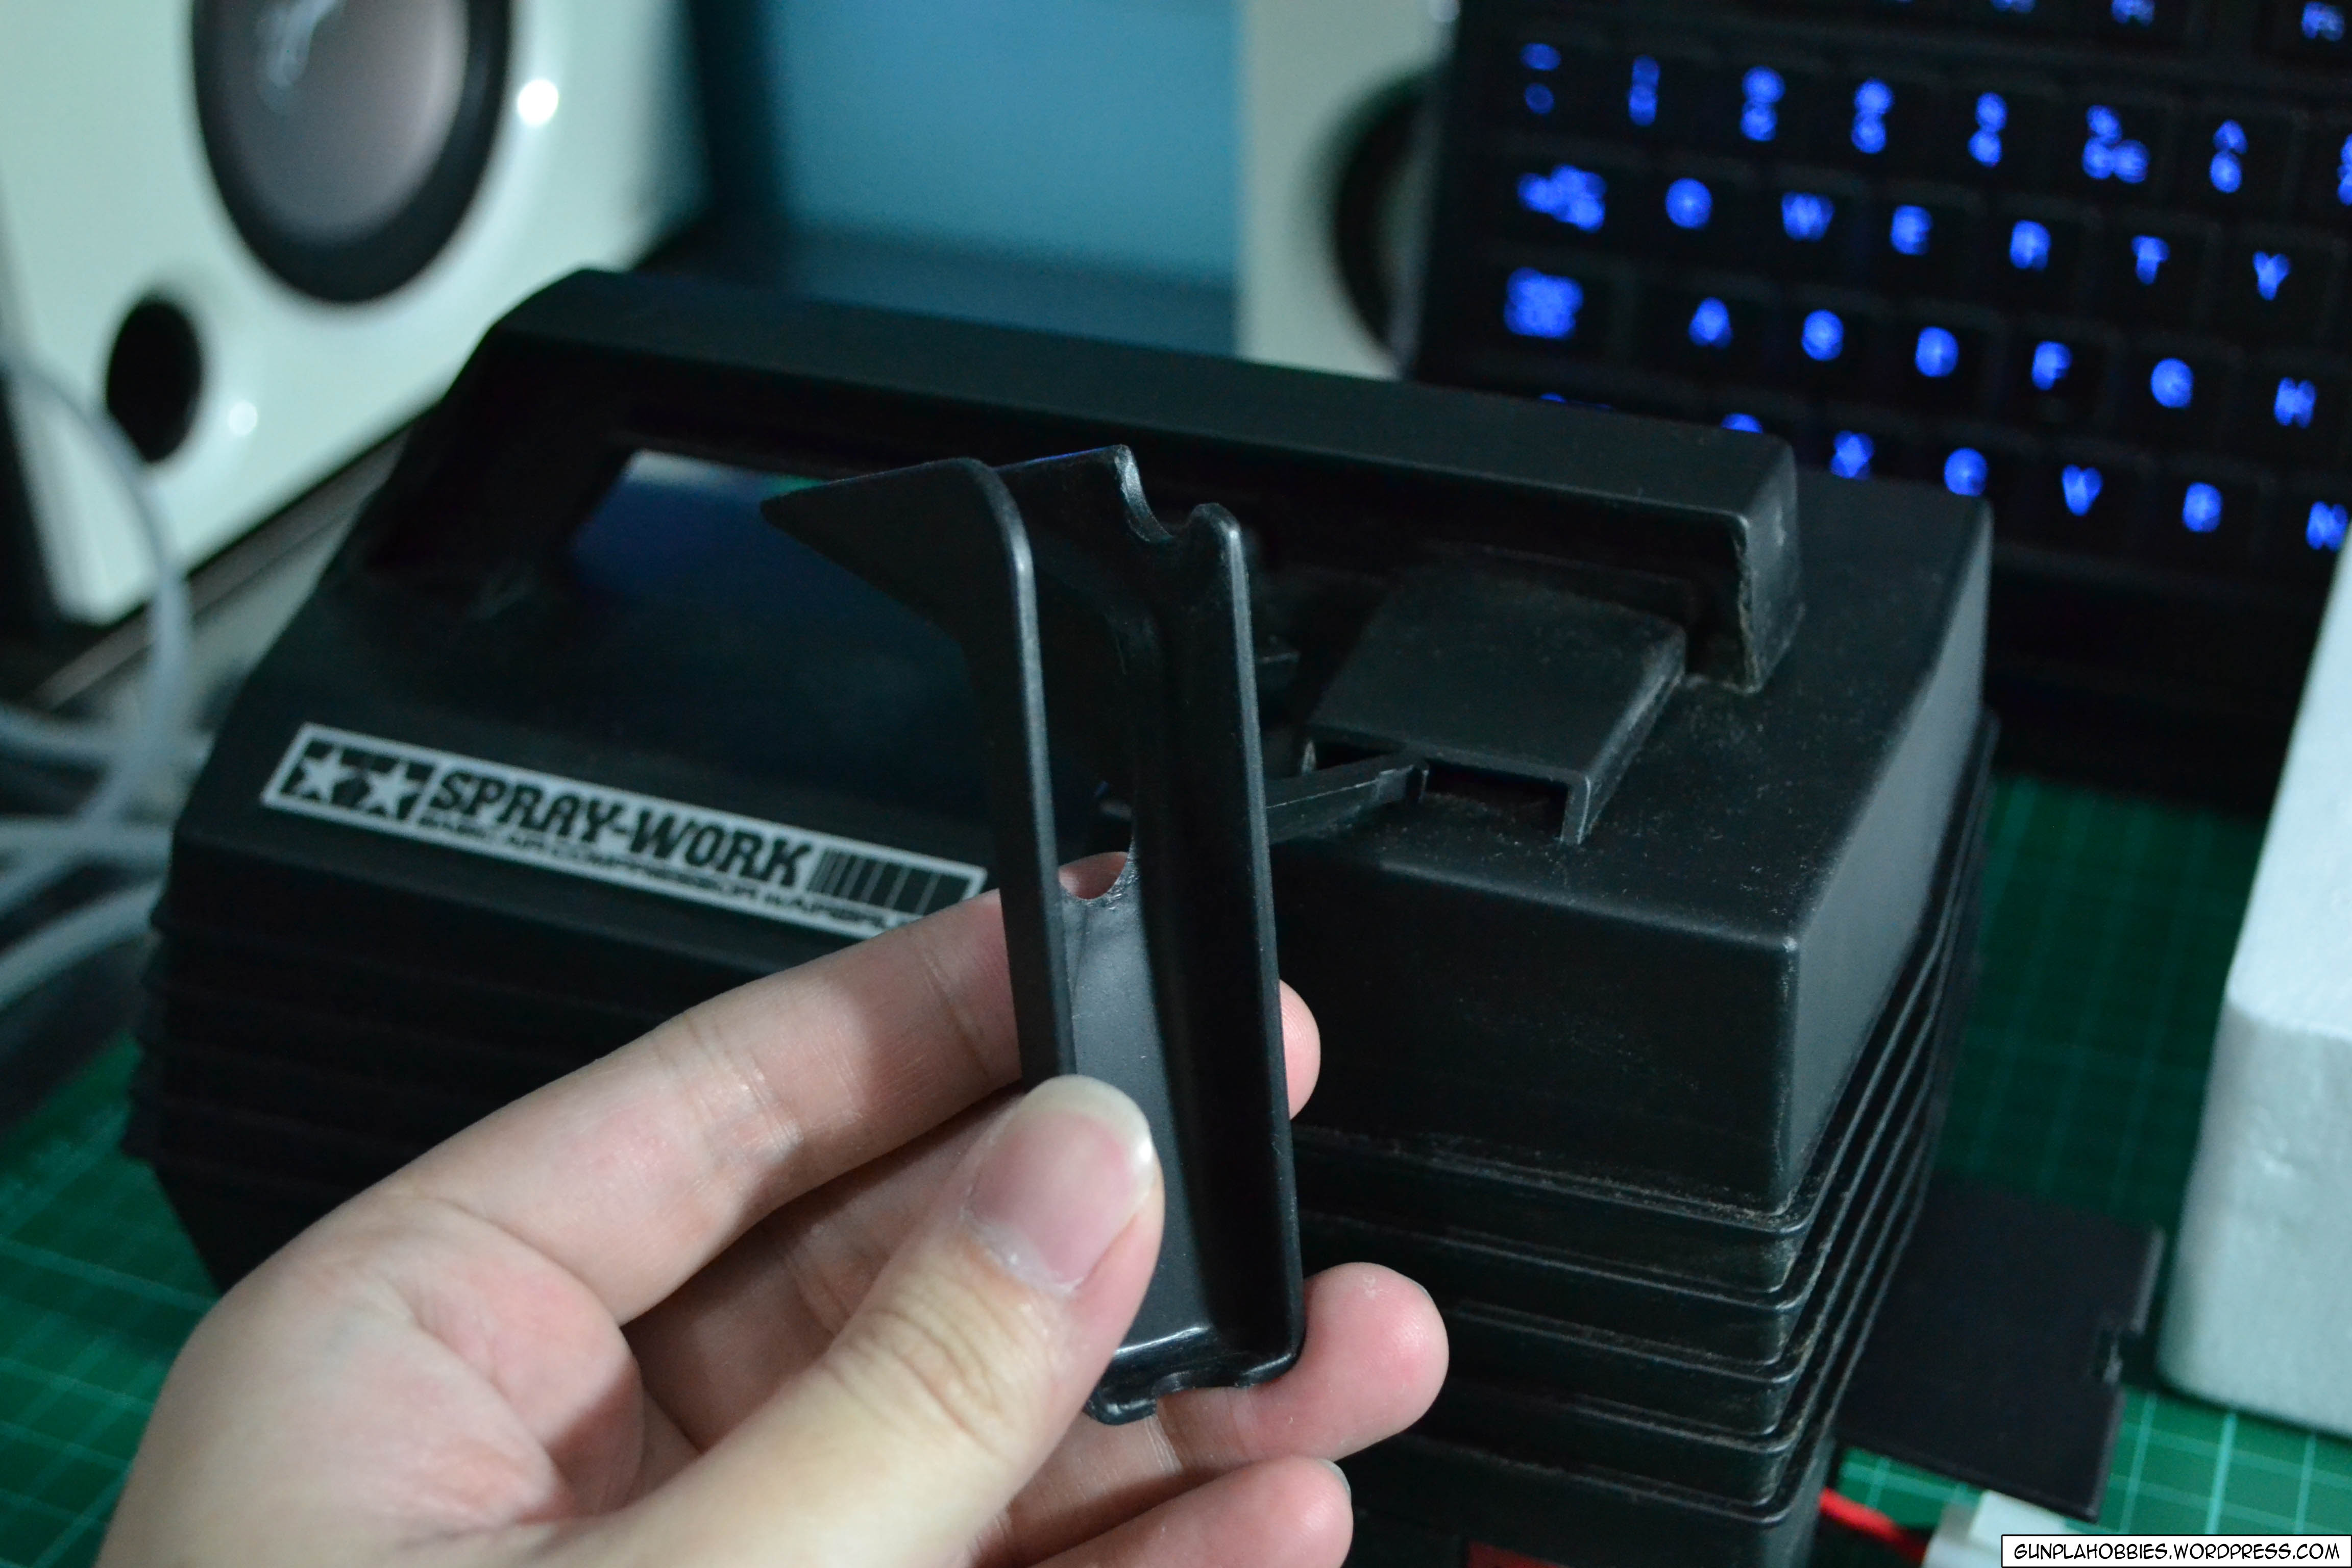
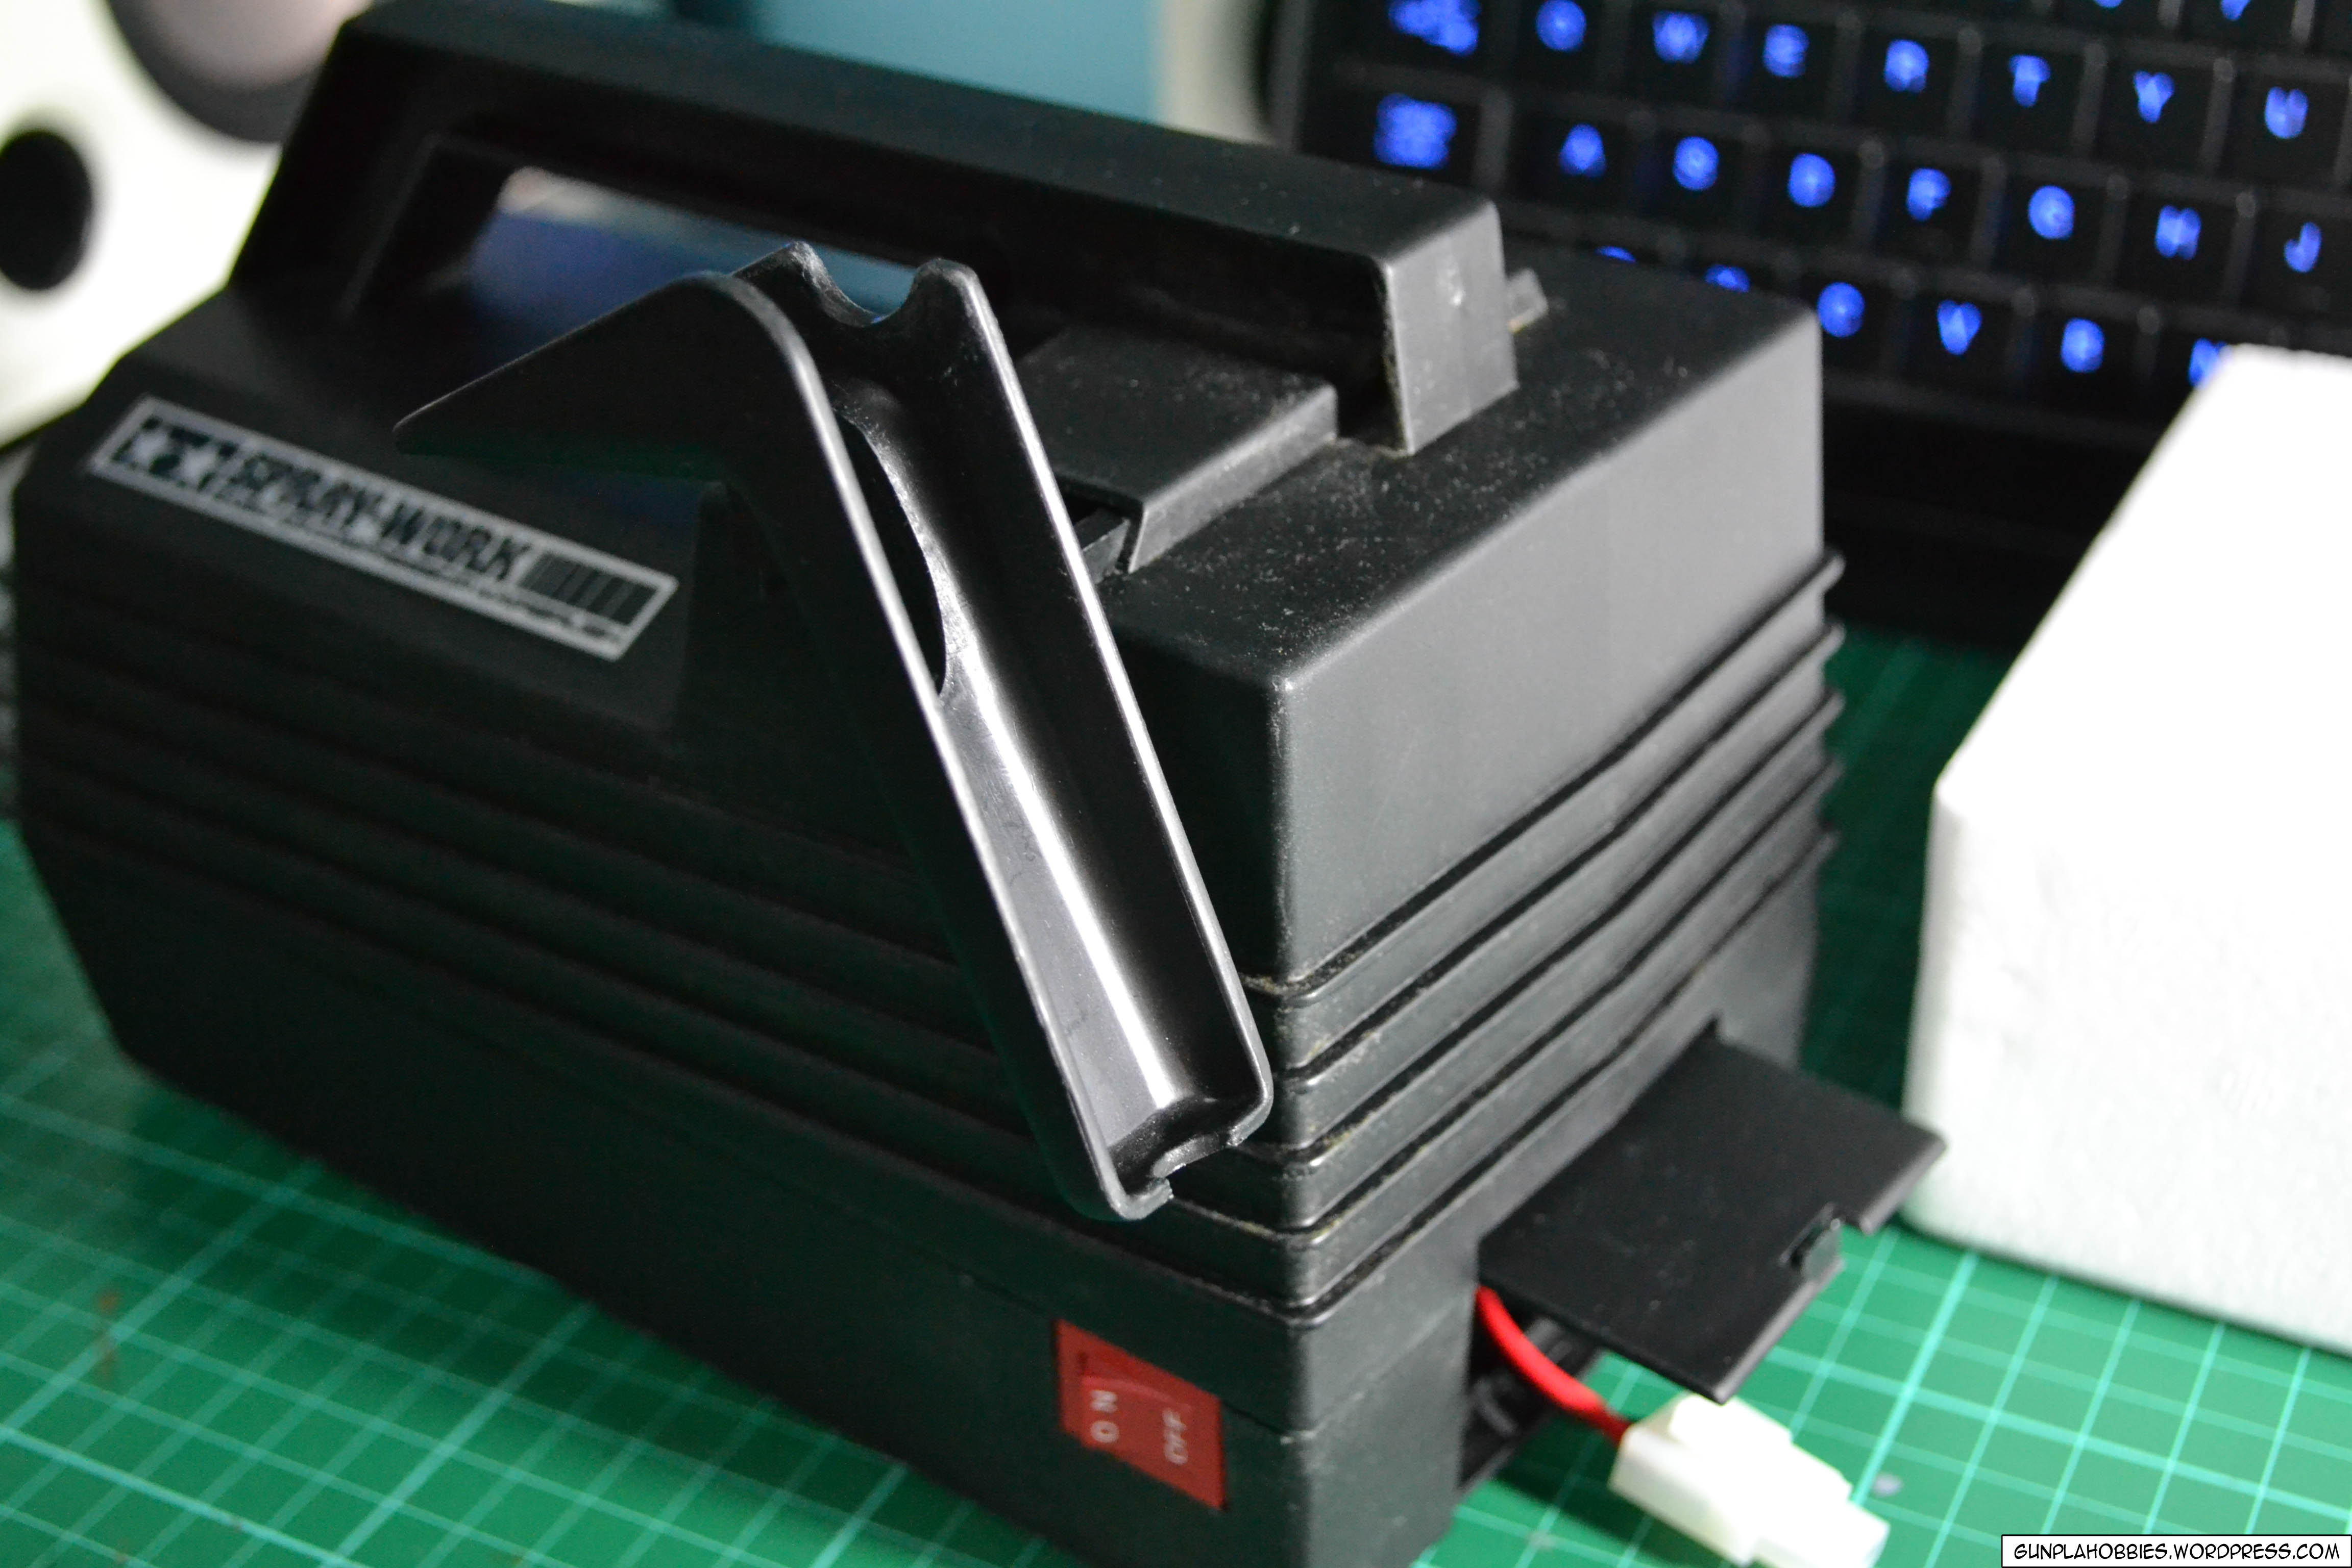
Here is the actual air compressor, it’s dusty since I have already used it recently. It’s small, compact and lightweight! I did not expect the air-compressor to be this lightweight, the AC inverter is heavier than the whole air compressor unit:

Attaching the hose/tube where the air will go out:

The other side of the air compressor has a silver sticker with technical details about the unit and also an input jack for DC power:
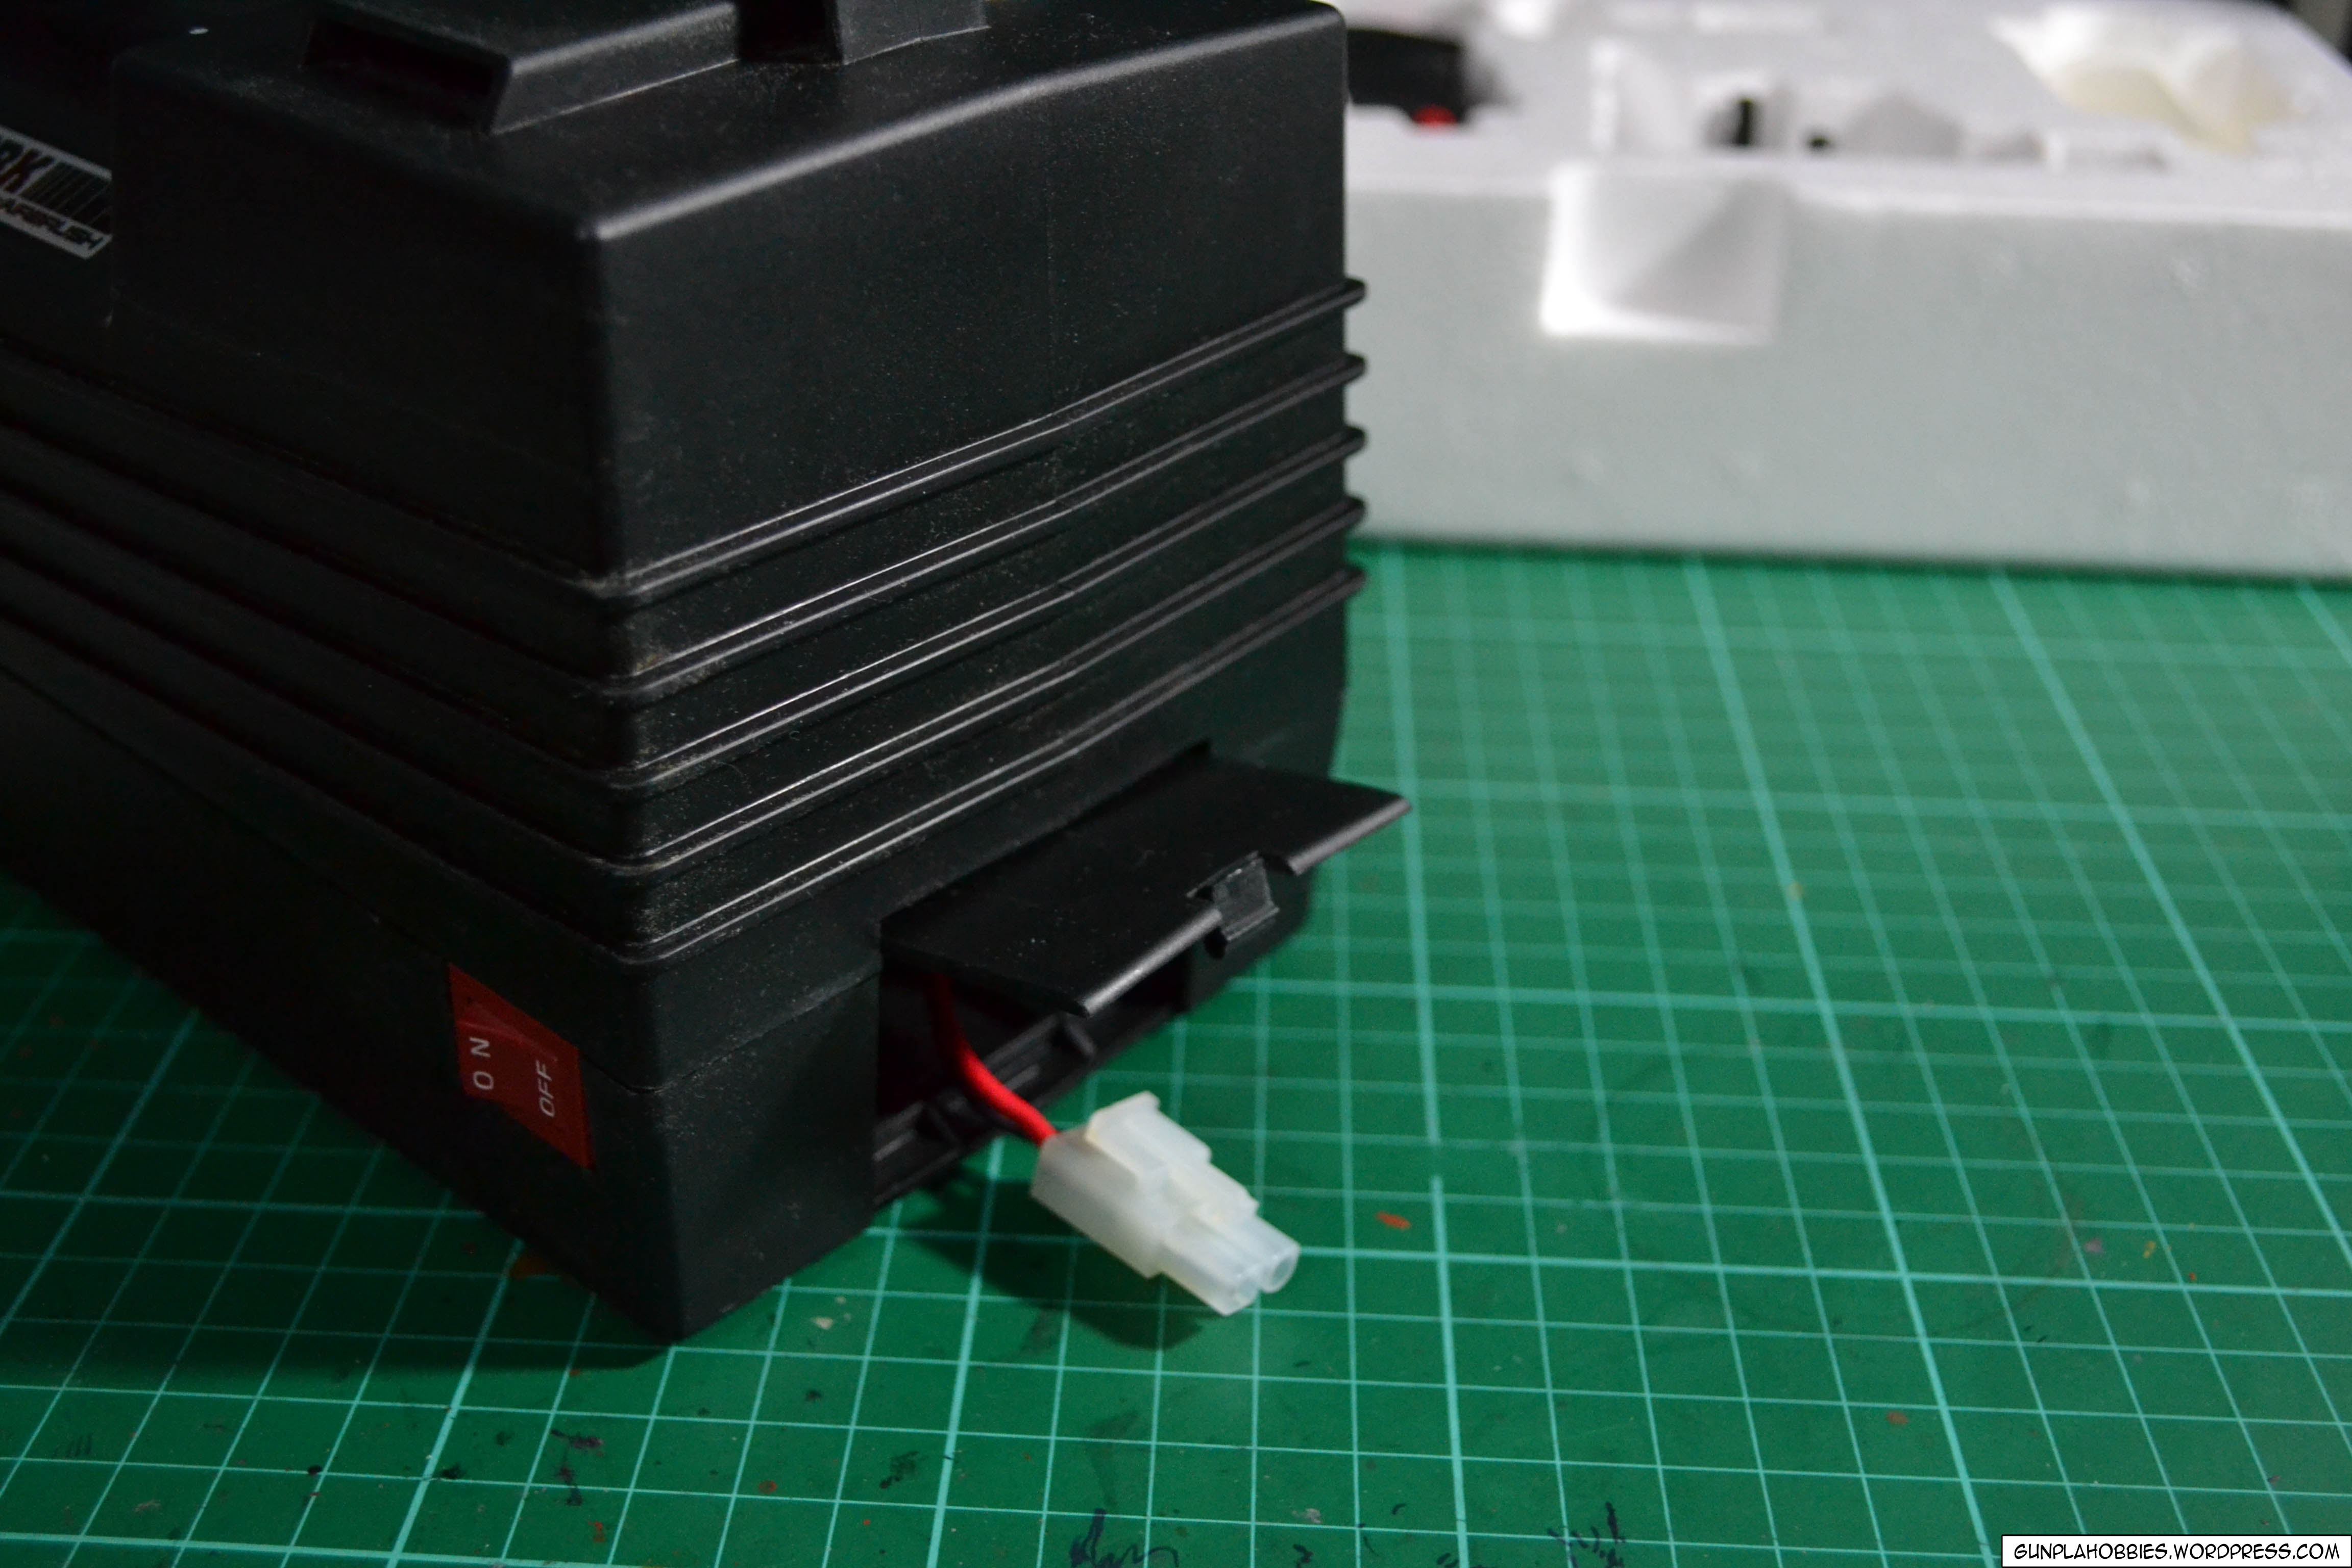
Originally, this kit is powered by a 7.2V battery that can be housed inside the unit:

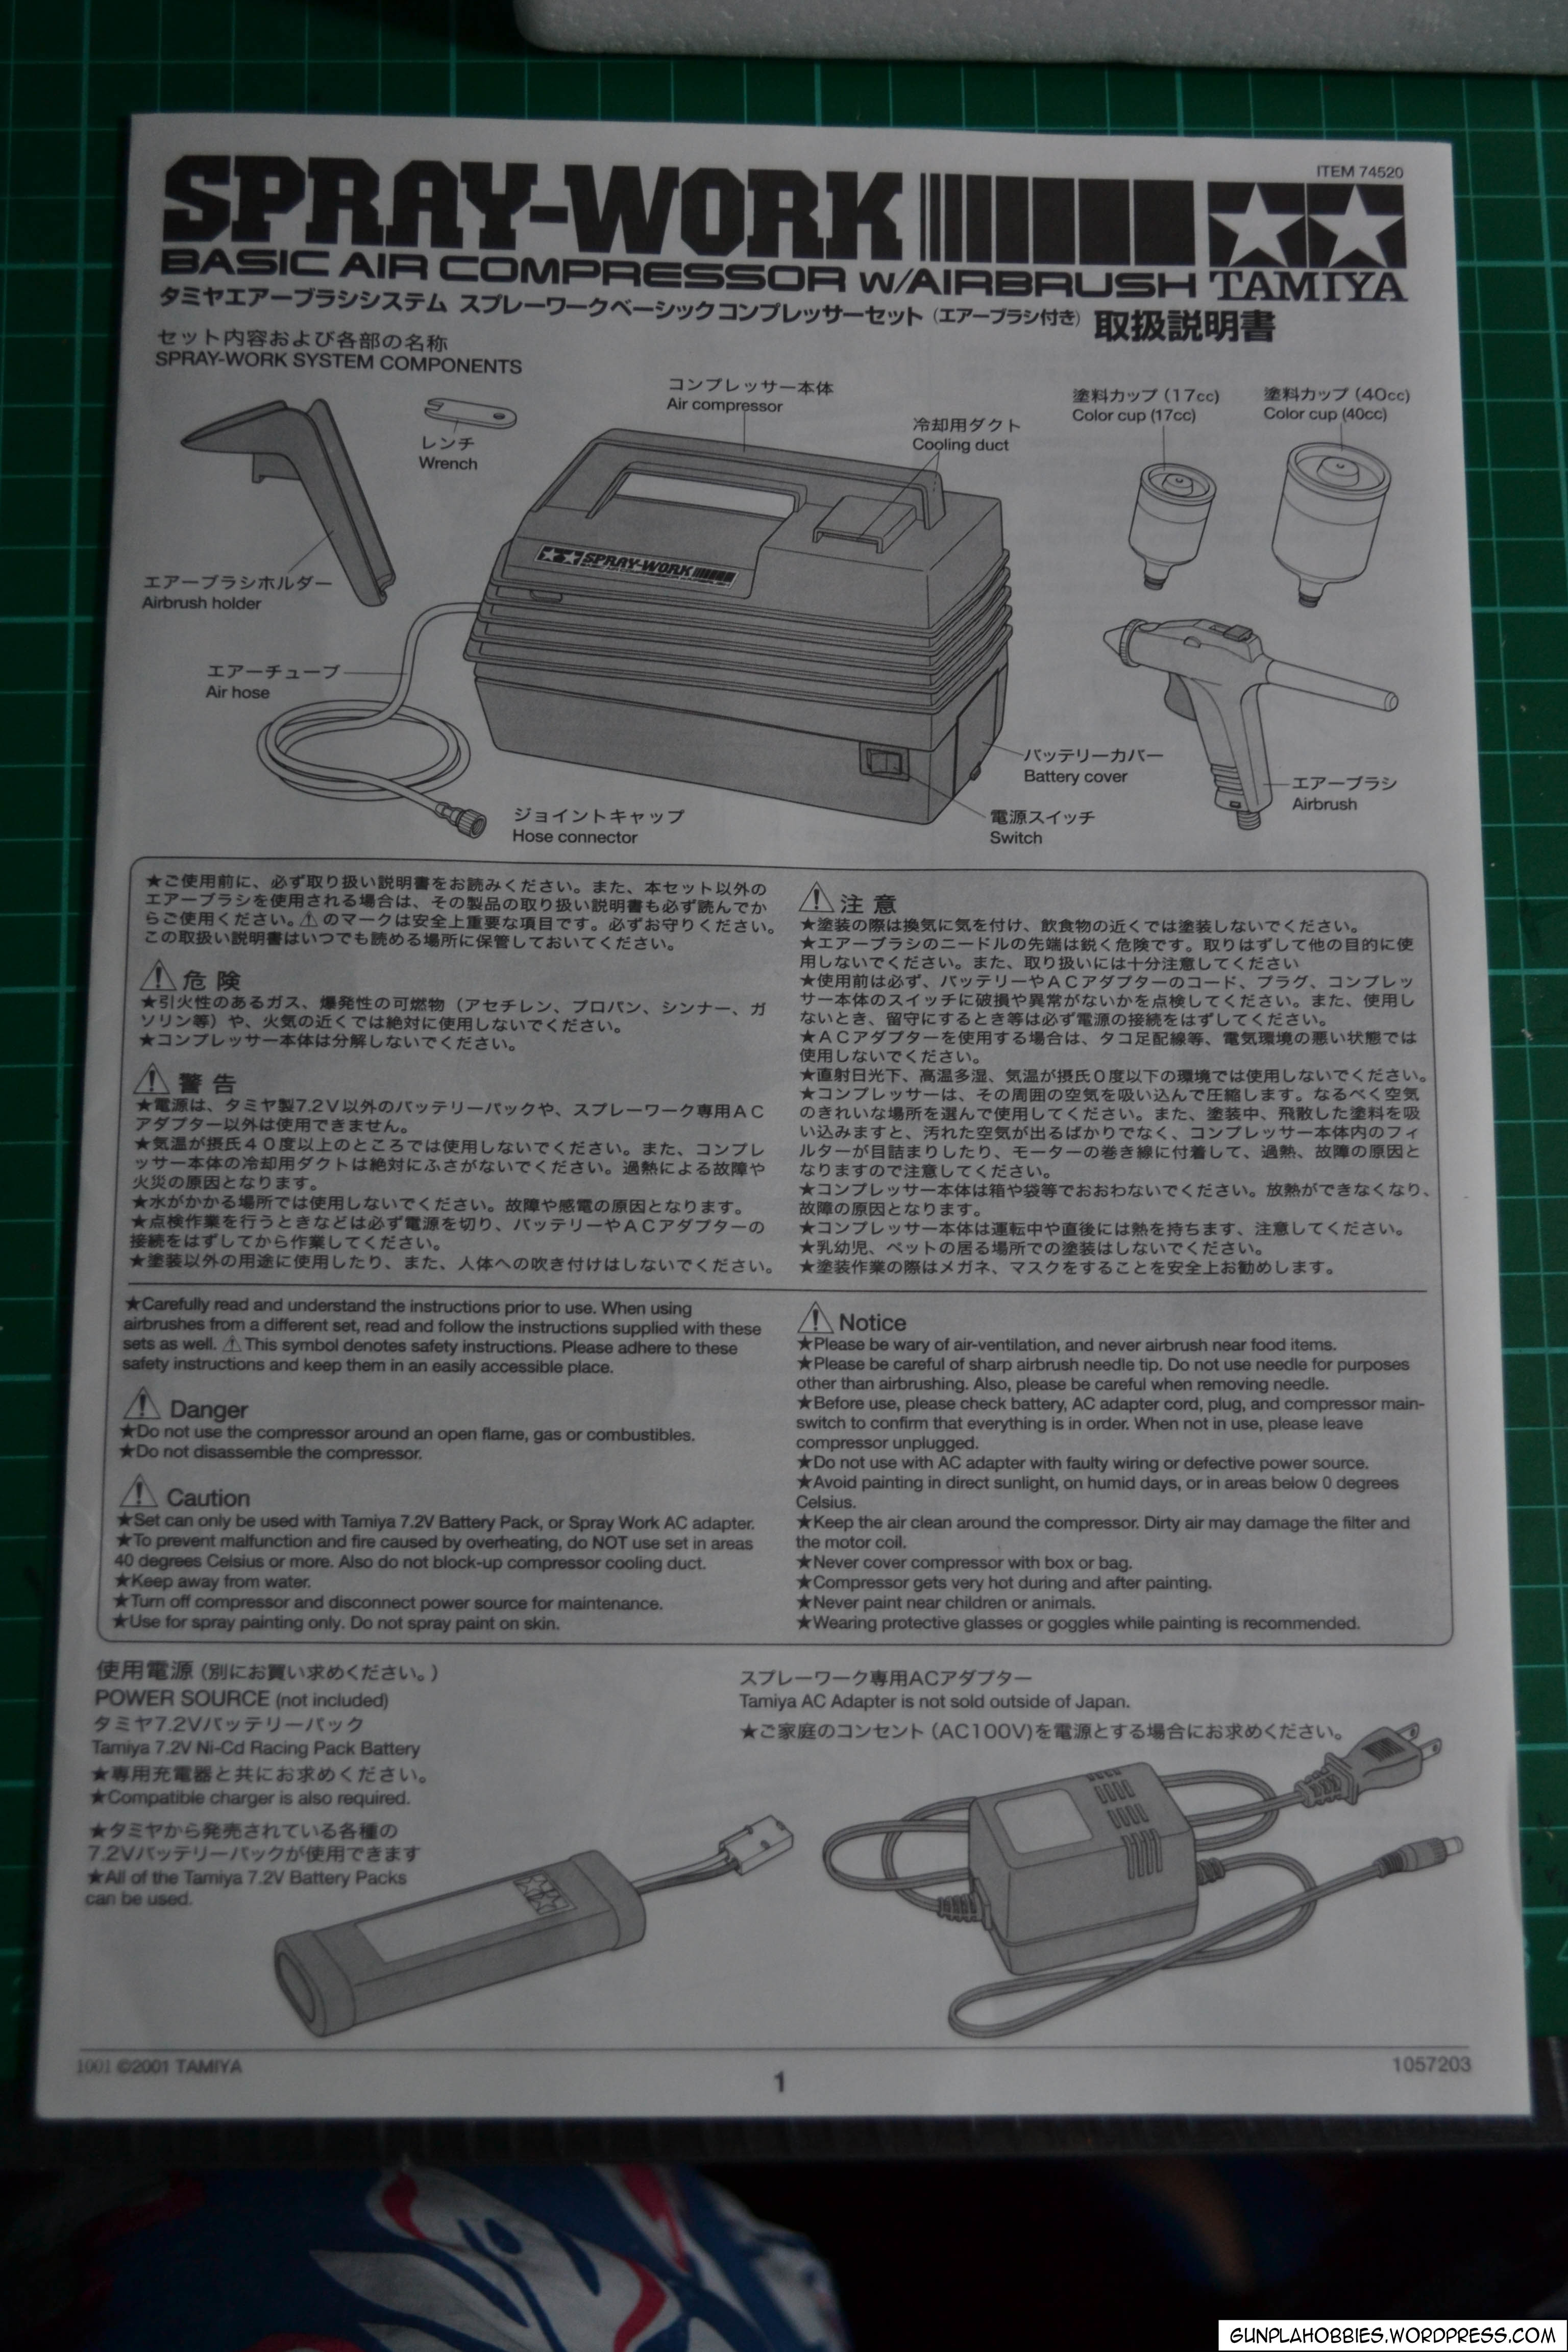
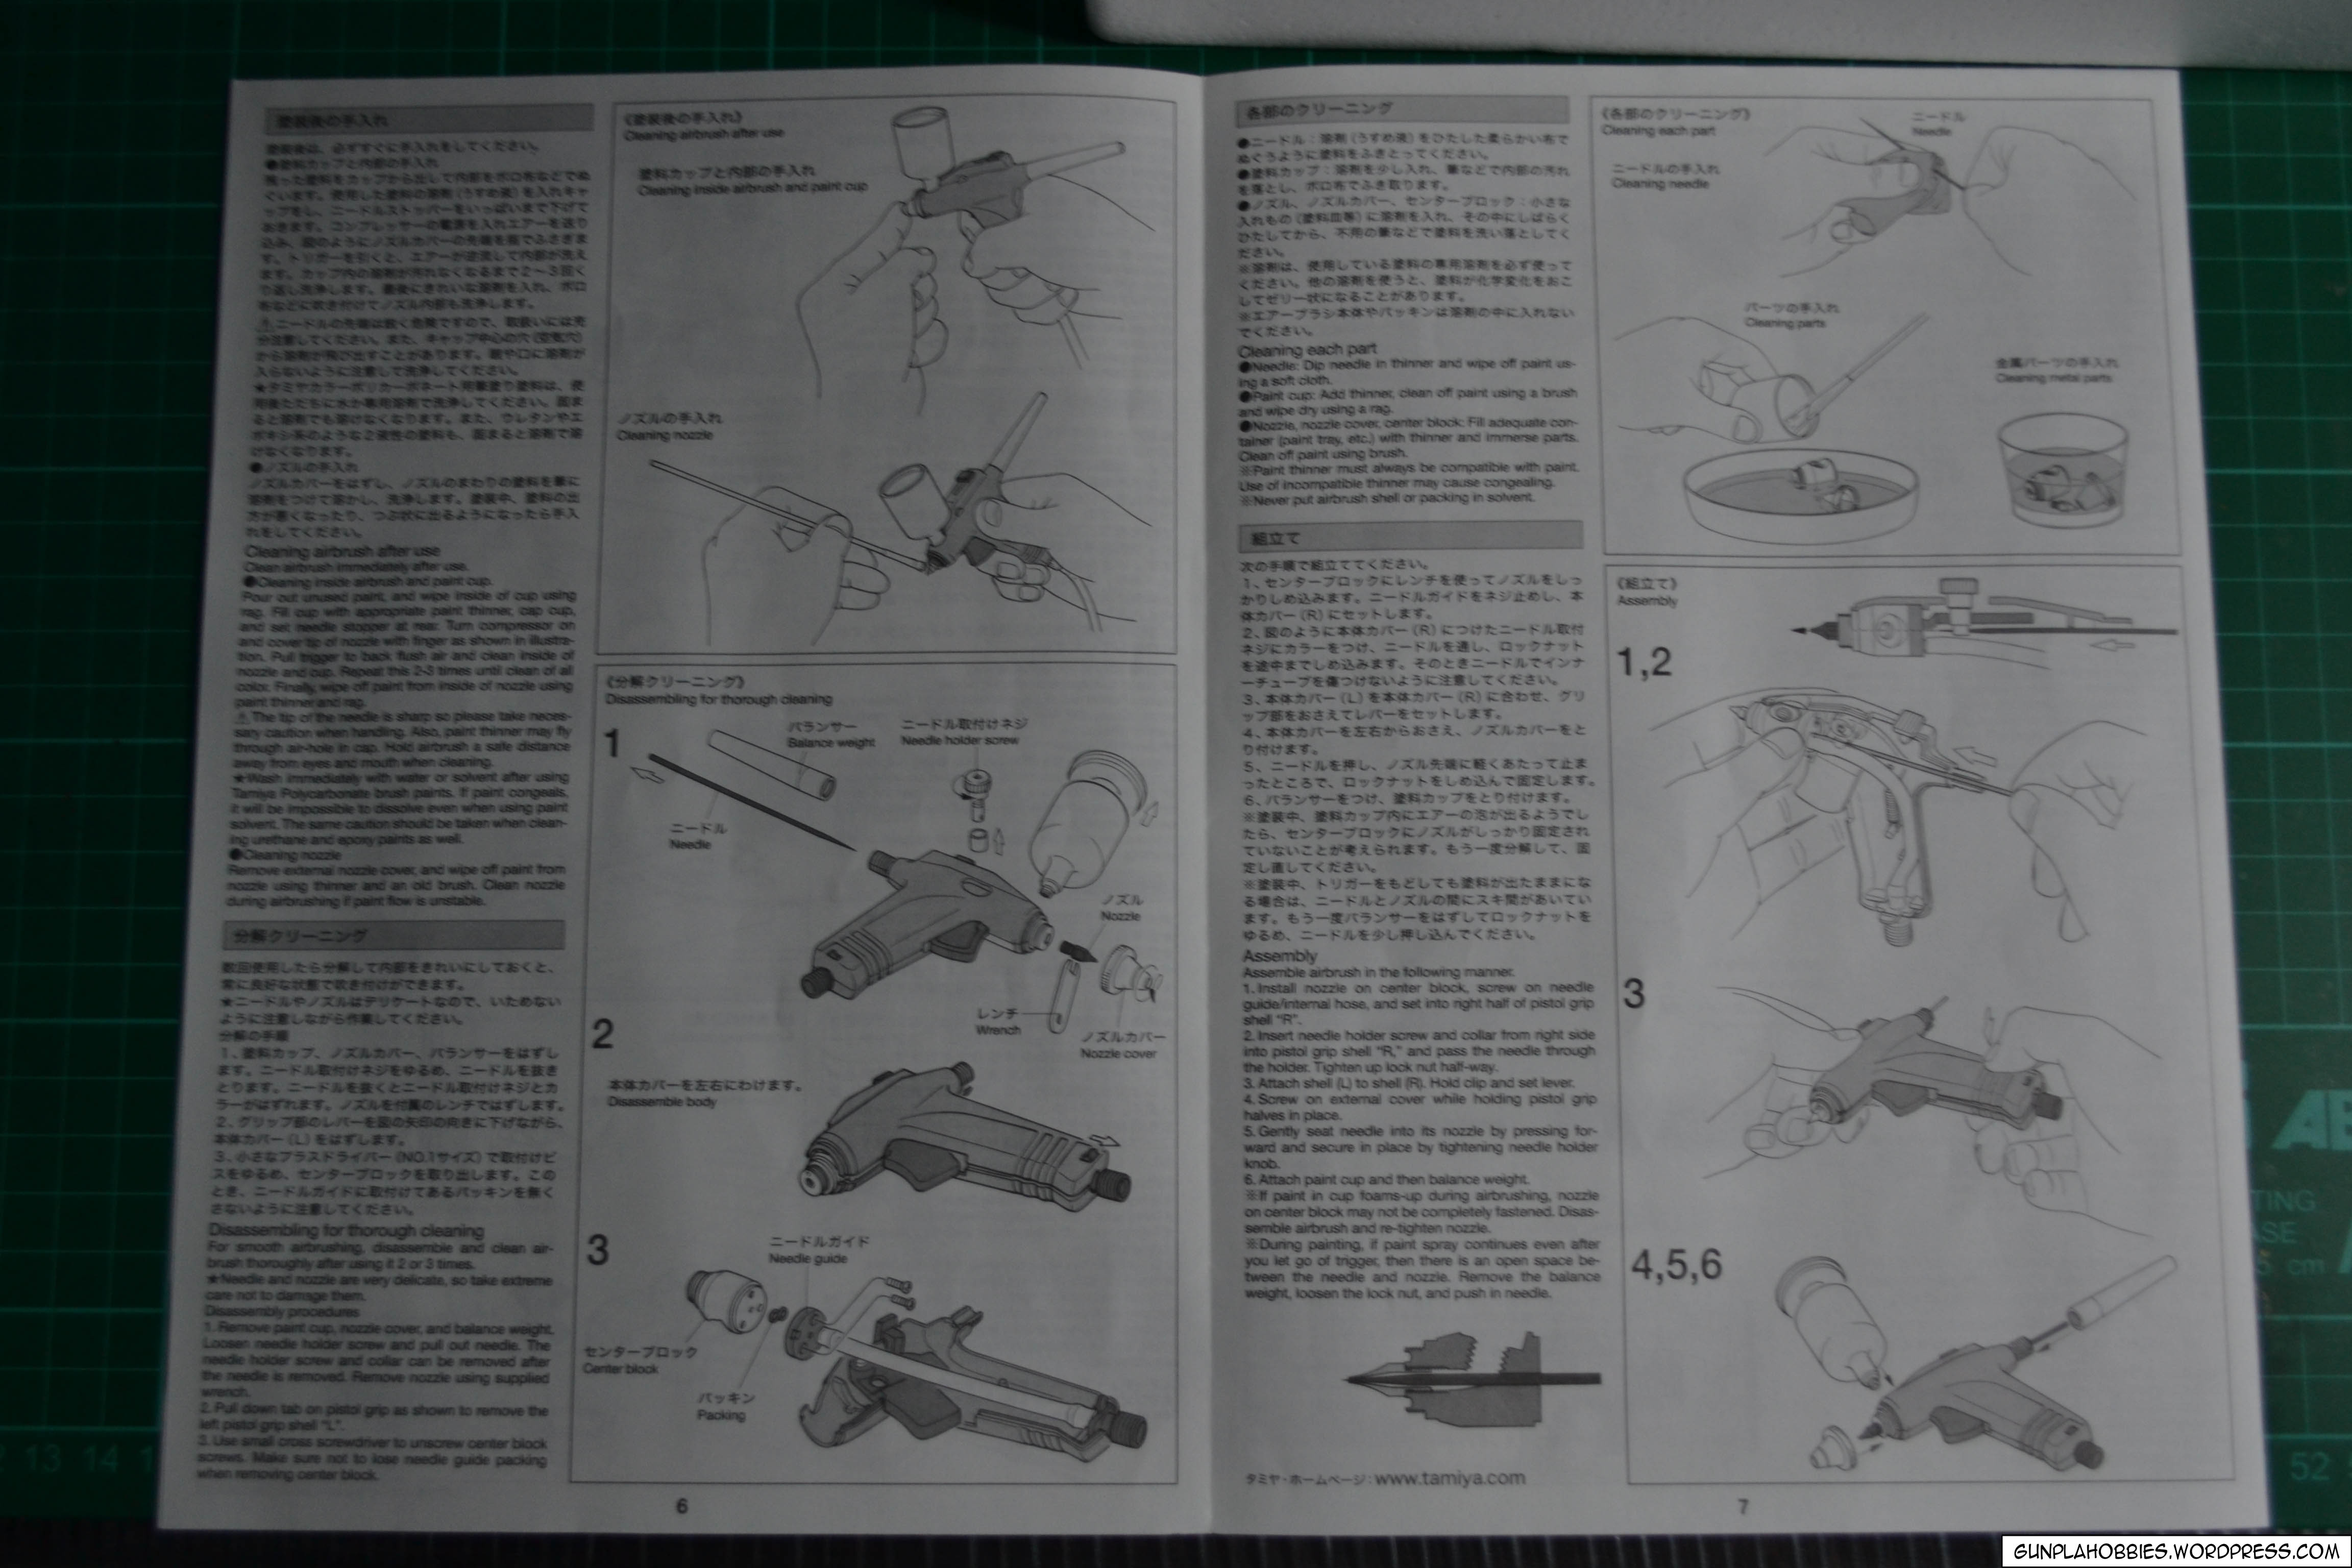
The user’s manual is pretty detailed, complete and clear! This is all you need in understanding how to use the set as well as how to maintain and clean the airbrush:
Part 2: Assembling the parts:
Taking out the airbrush from the polystyrene, comes with two color cups with the other one having larger capacity, a small wrench to unscrew the nozzle and a stand that can be attached to the air compressor unit:

Attaching the stand:

Attaching the end of the hose to the airbrush:

Instead of a 7.2V battery, we’ll be using an 220V AC to 7.2V DC converter so that we’ll have continuous power supply, this thing is actually heavier than the air compressor unit:

Part 3: Preparations:
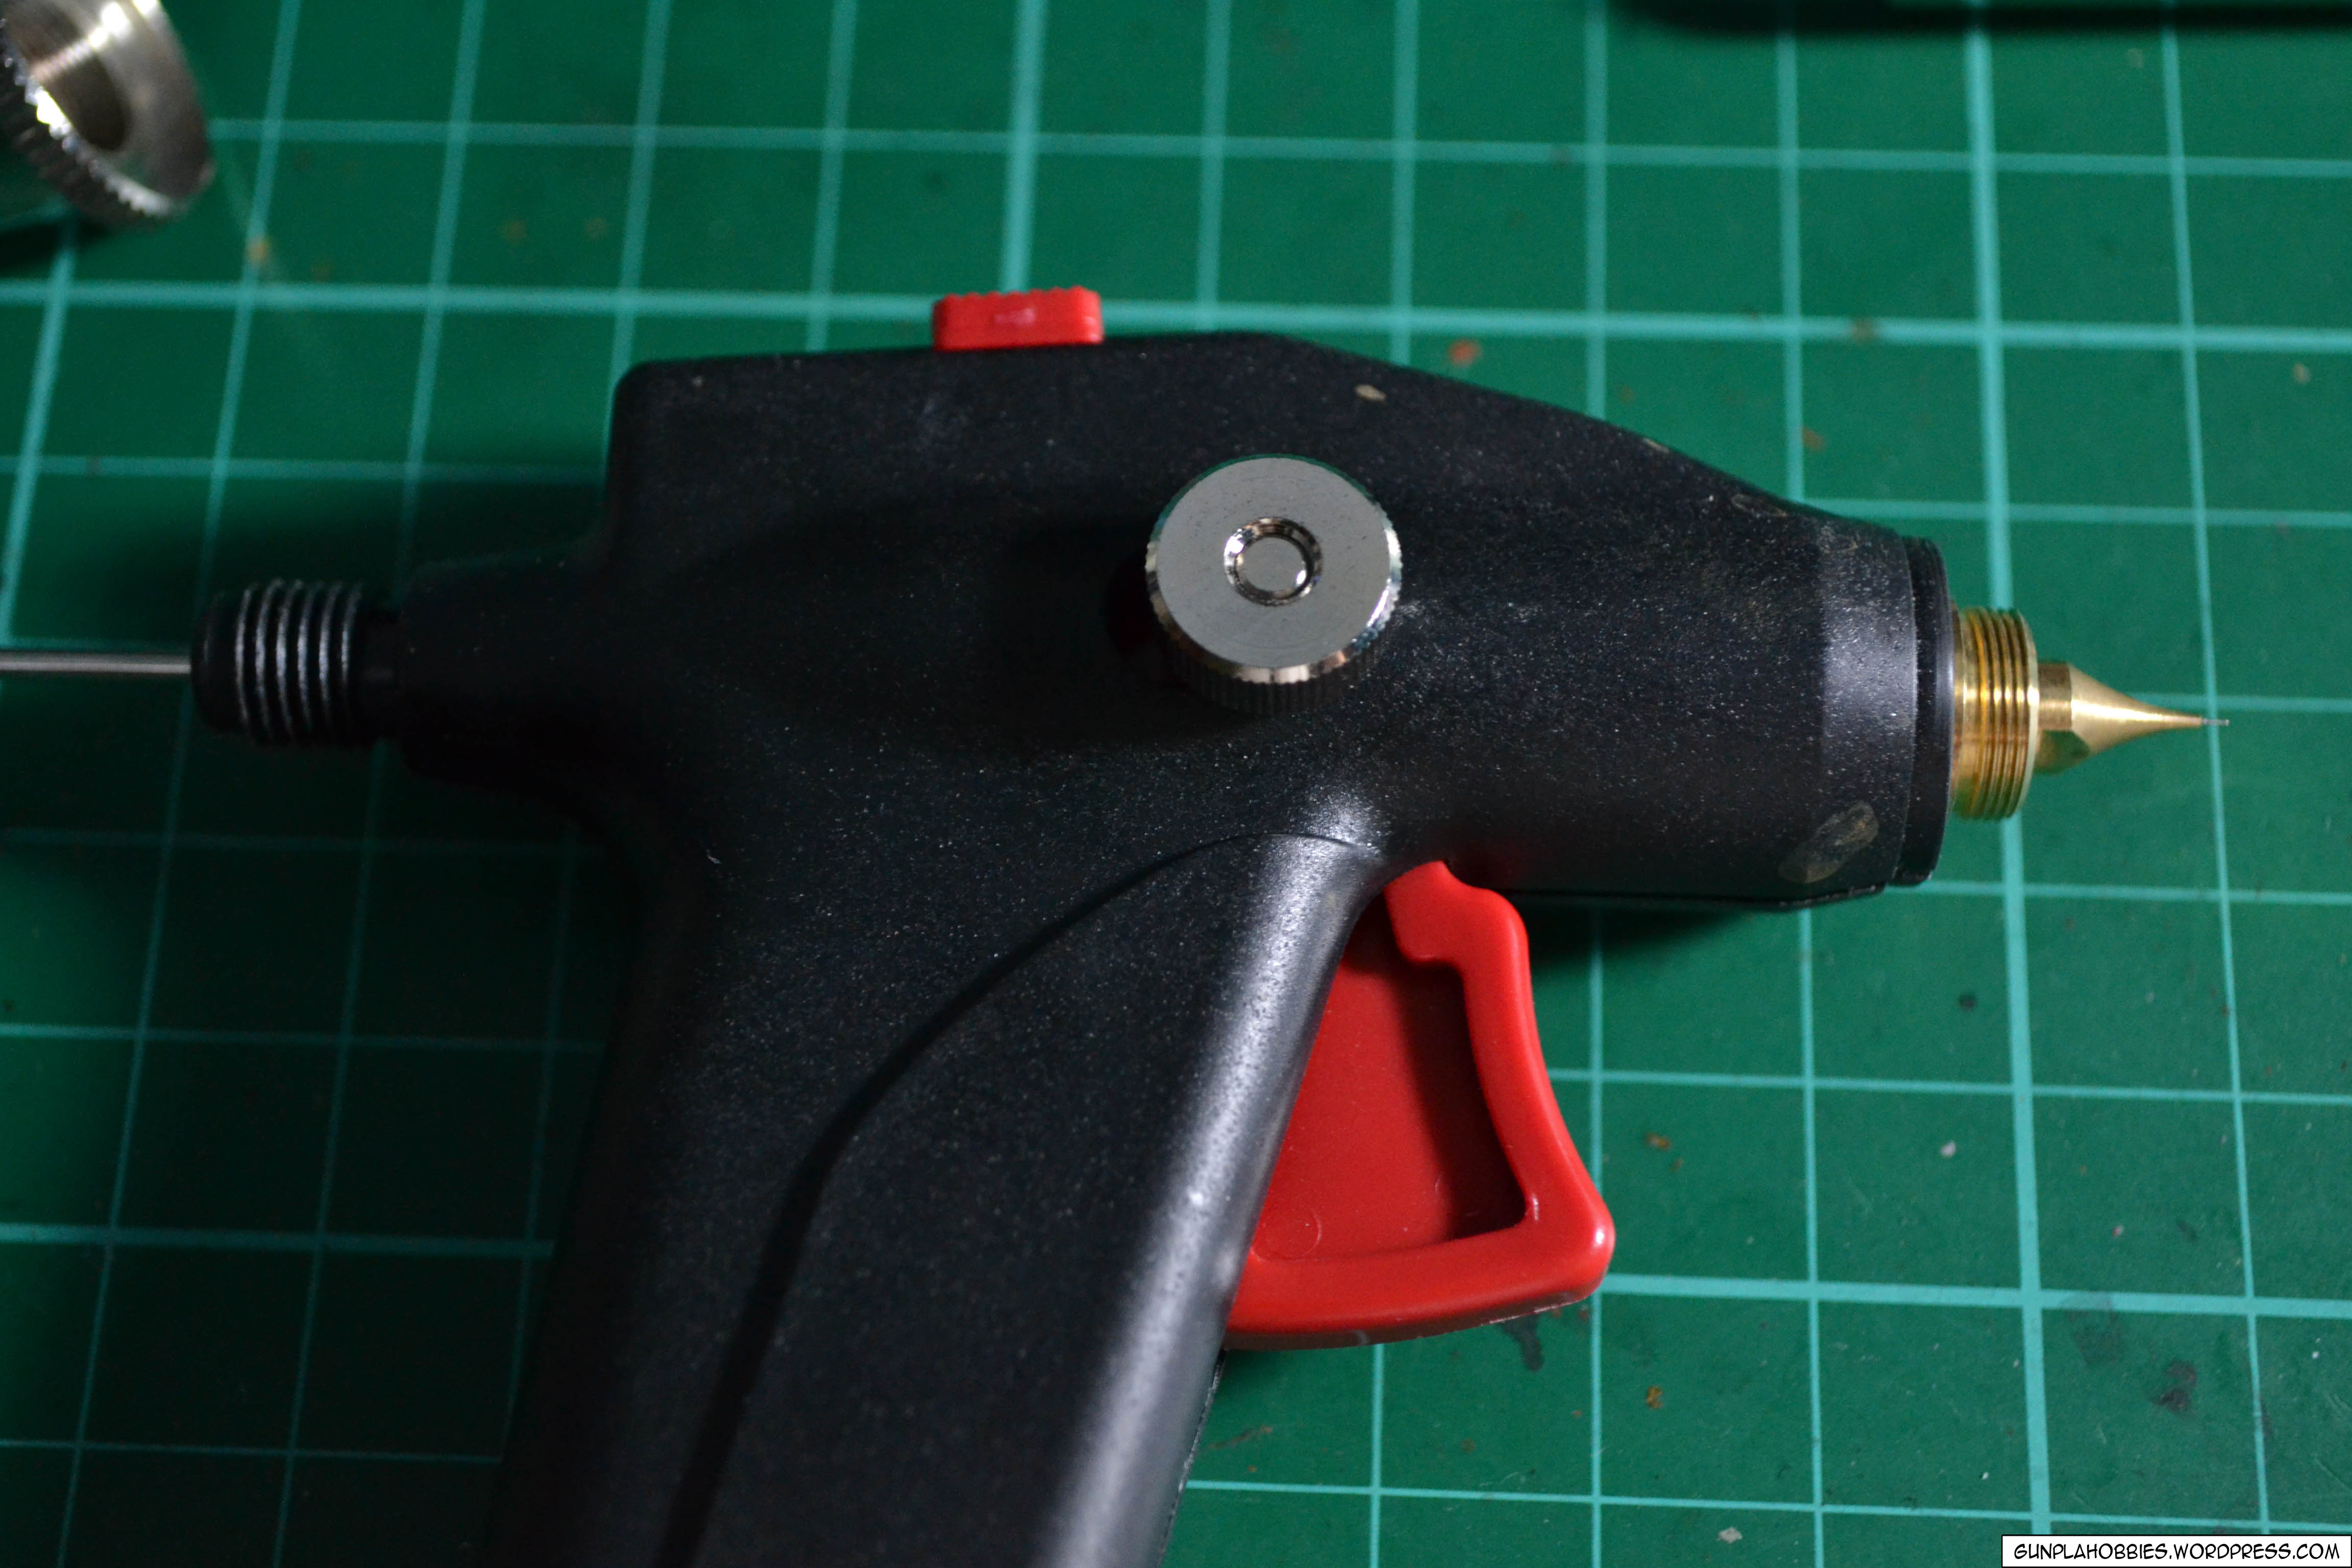
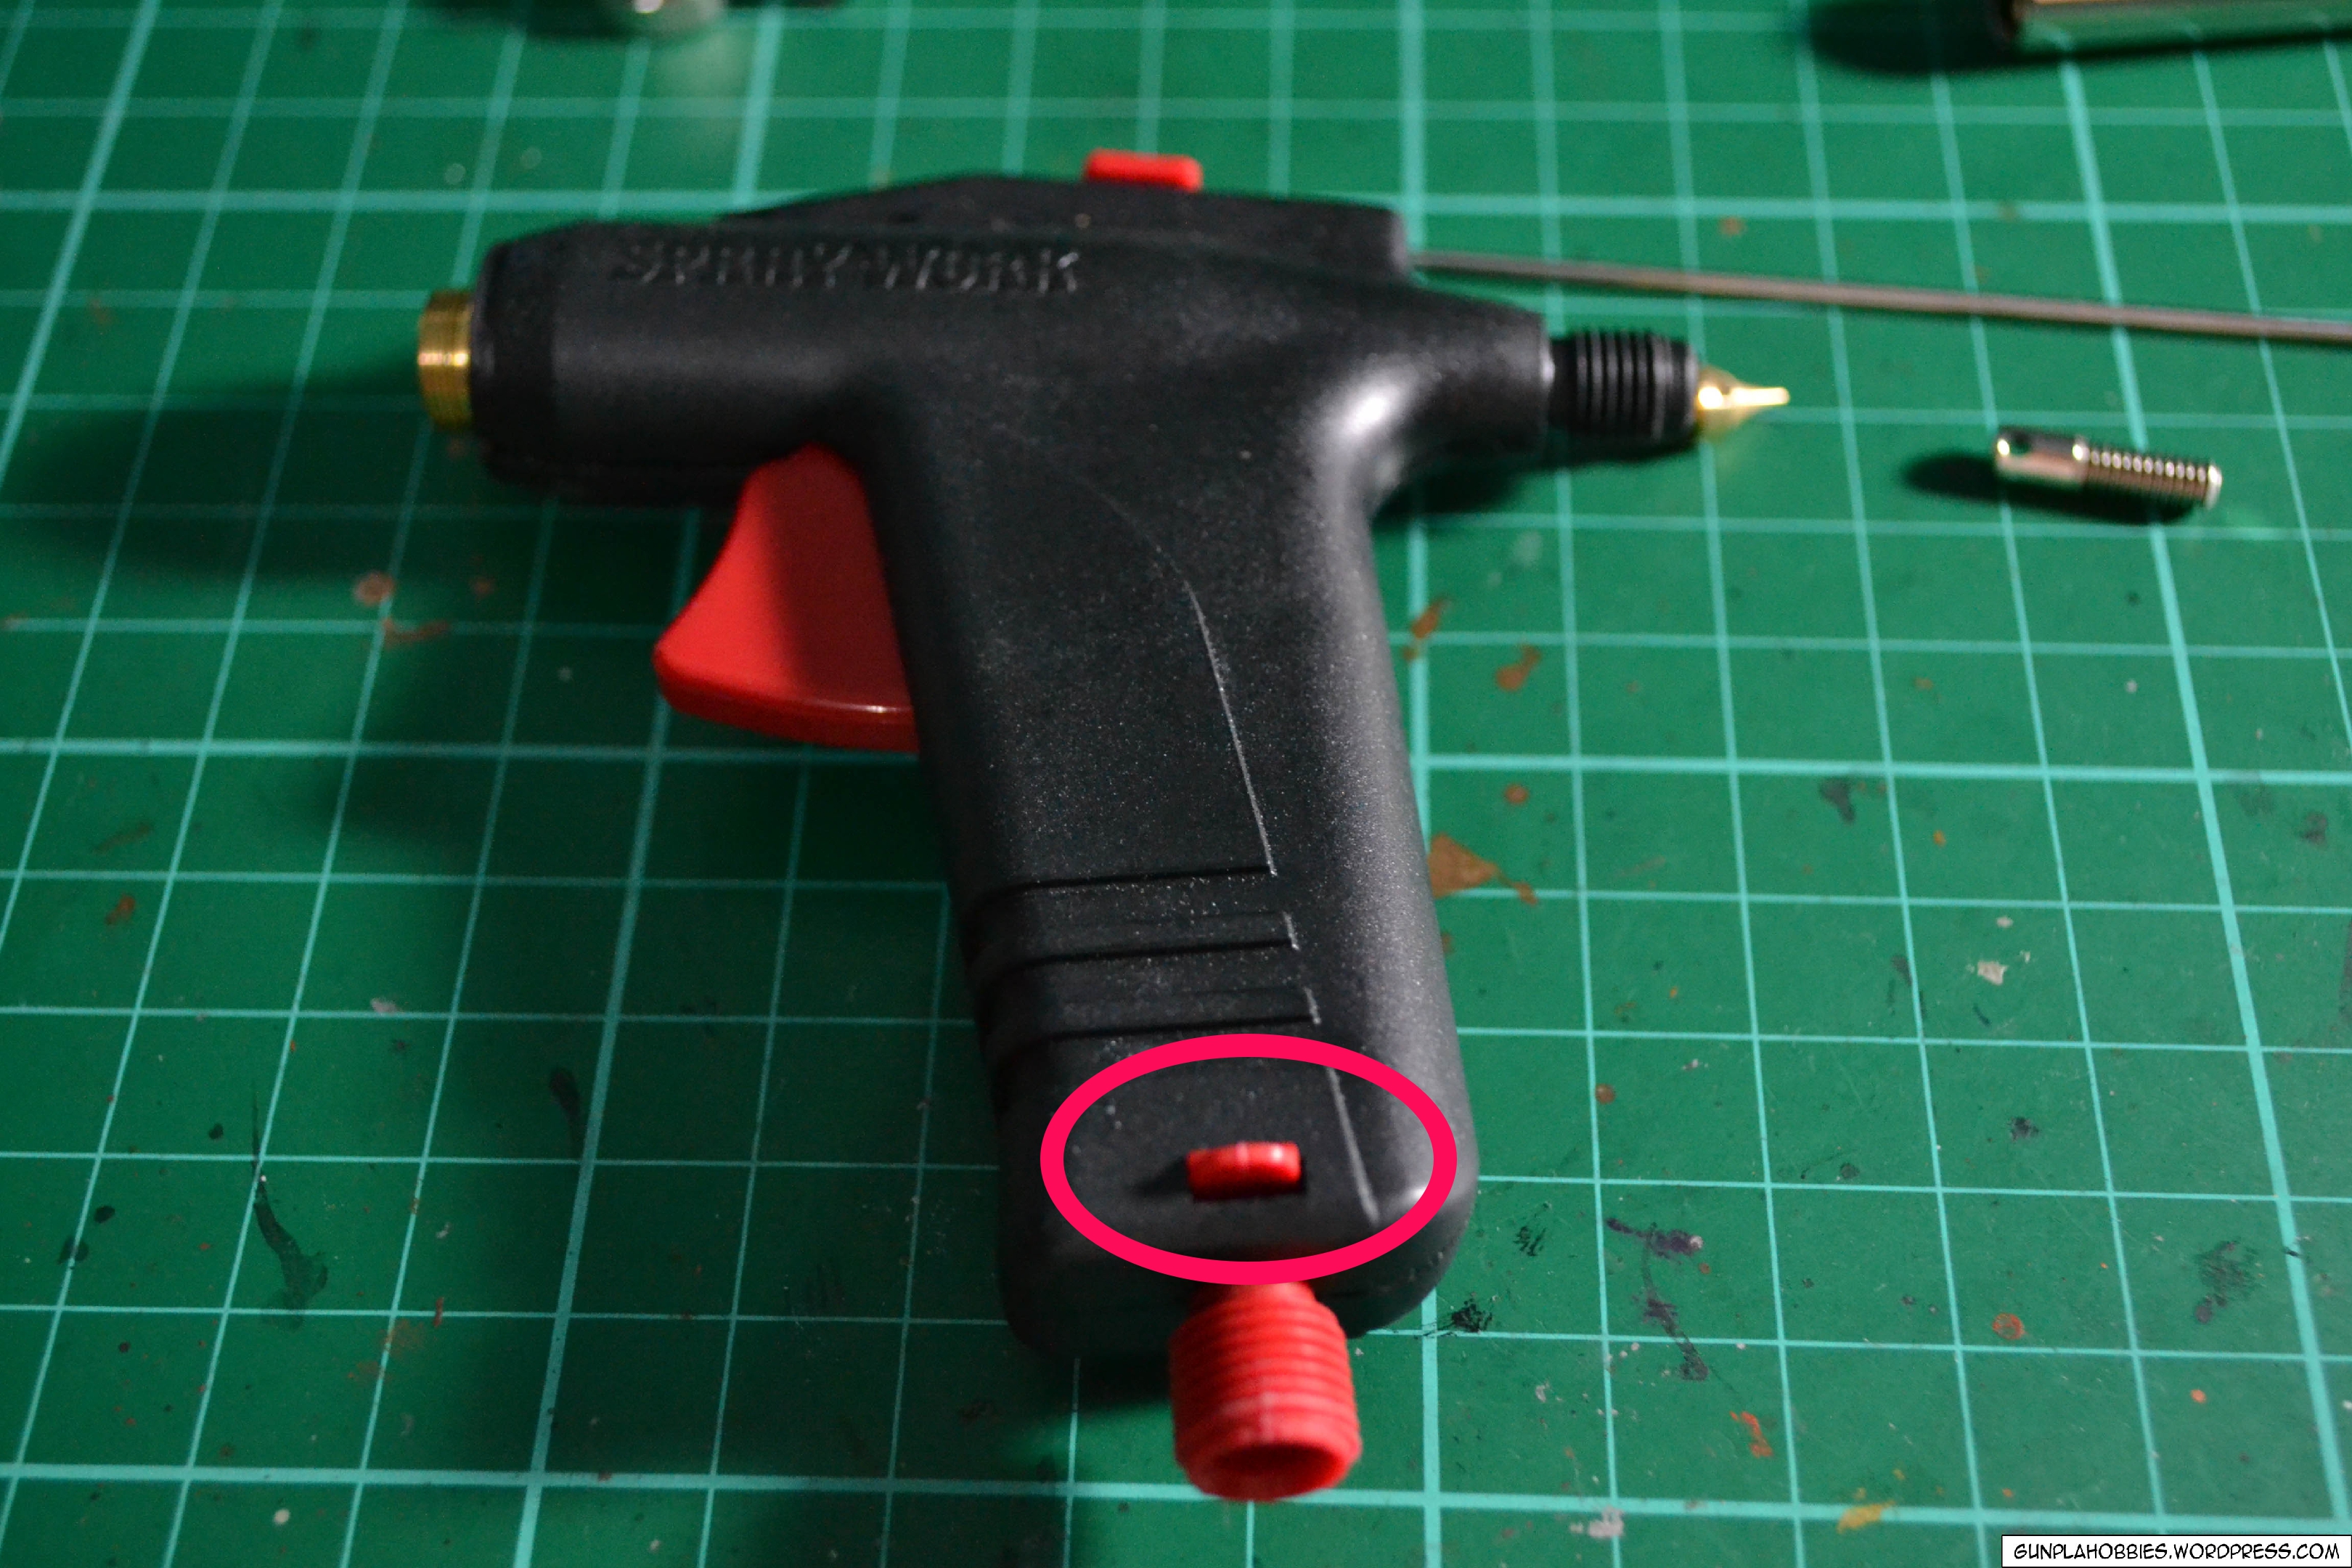
Now that we’re all set, I’ll be showing you how to prepare the airbrush for usage:
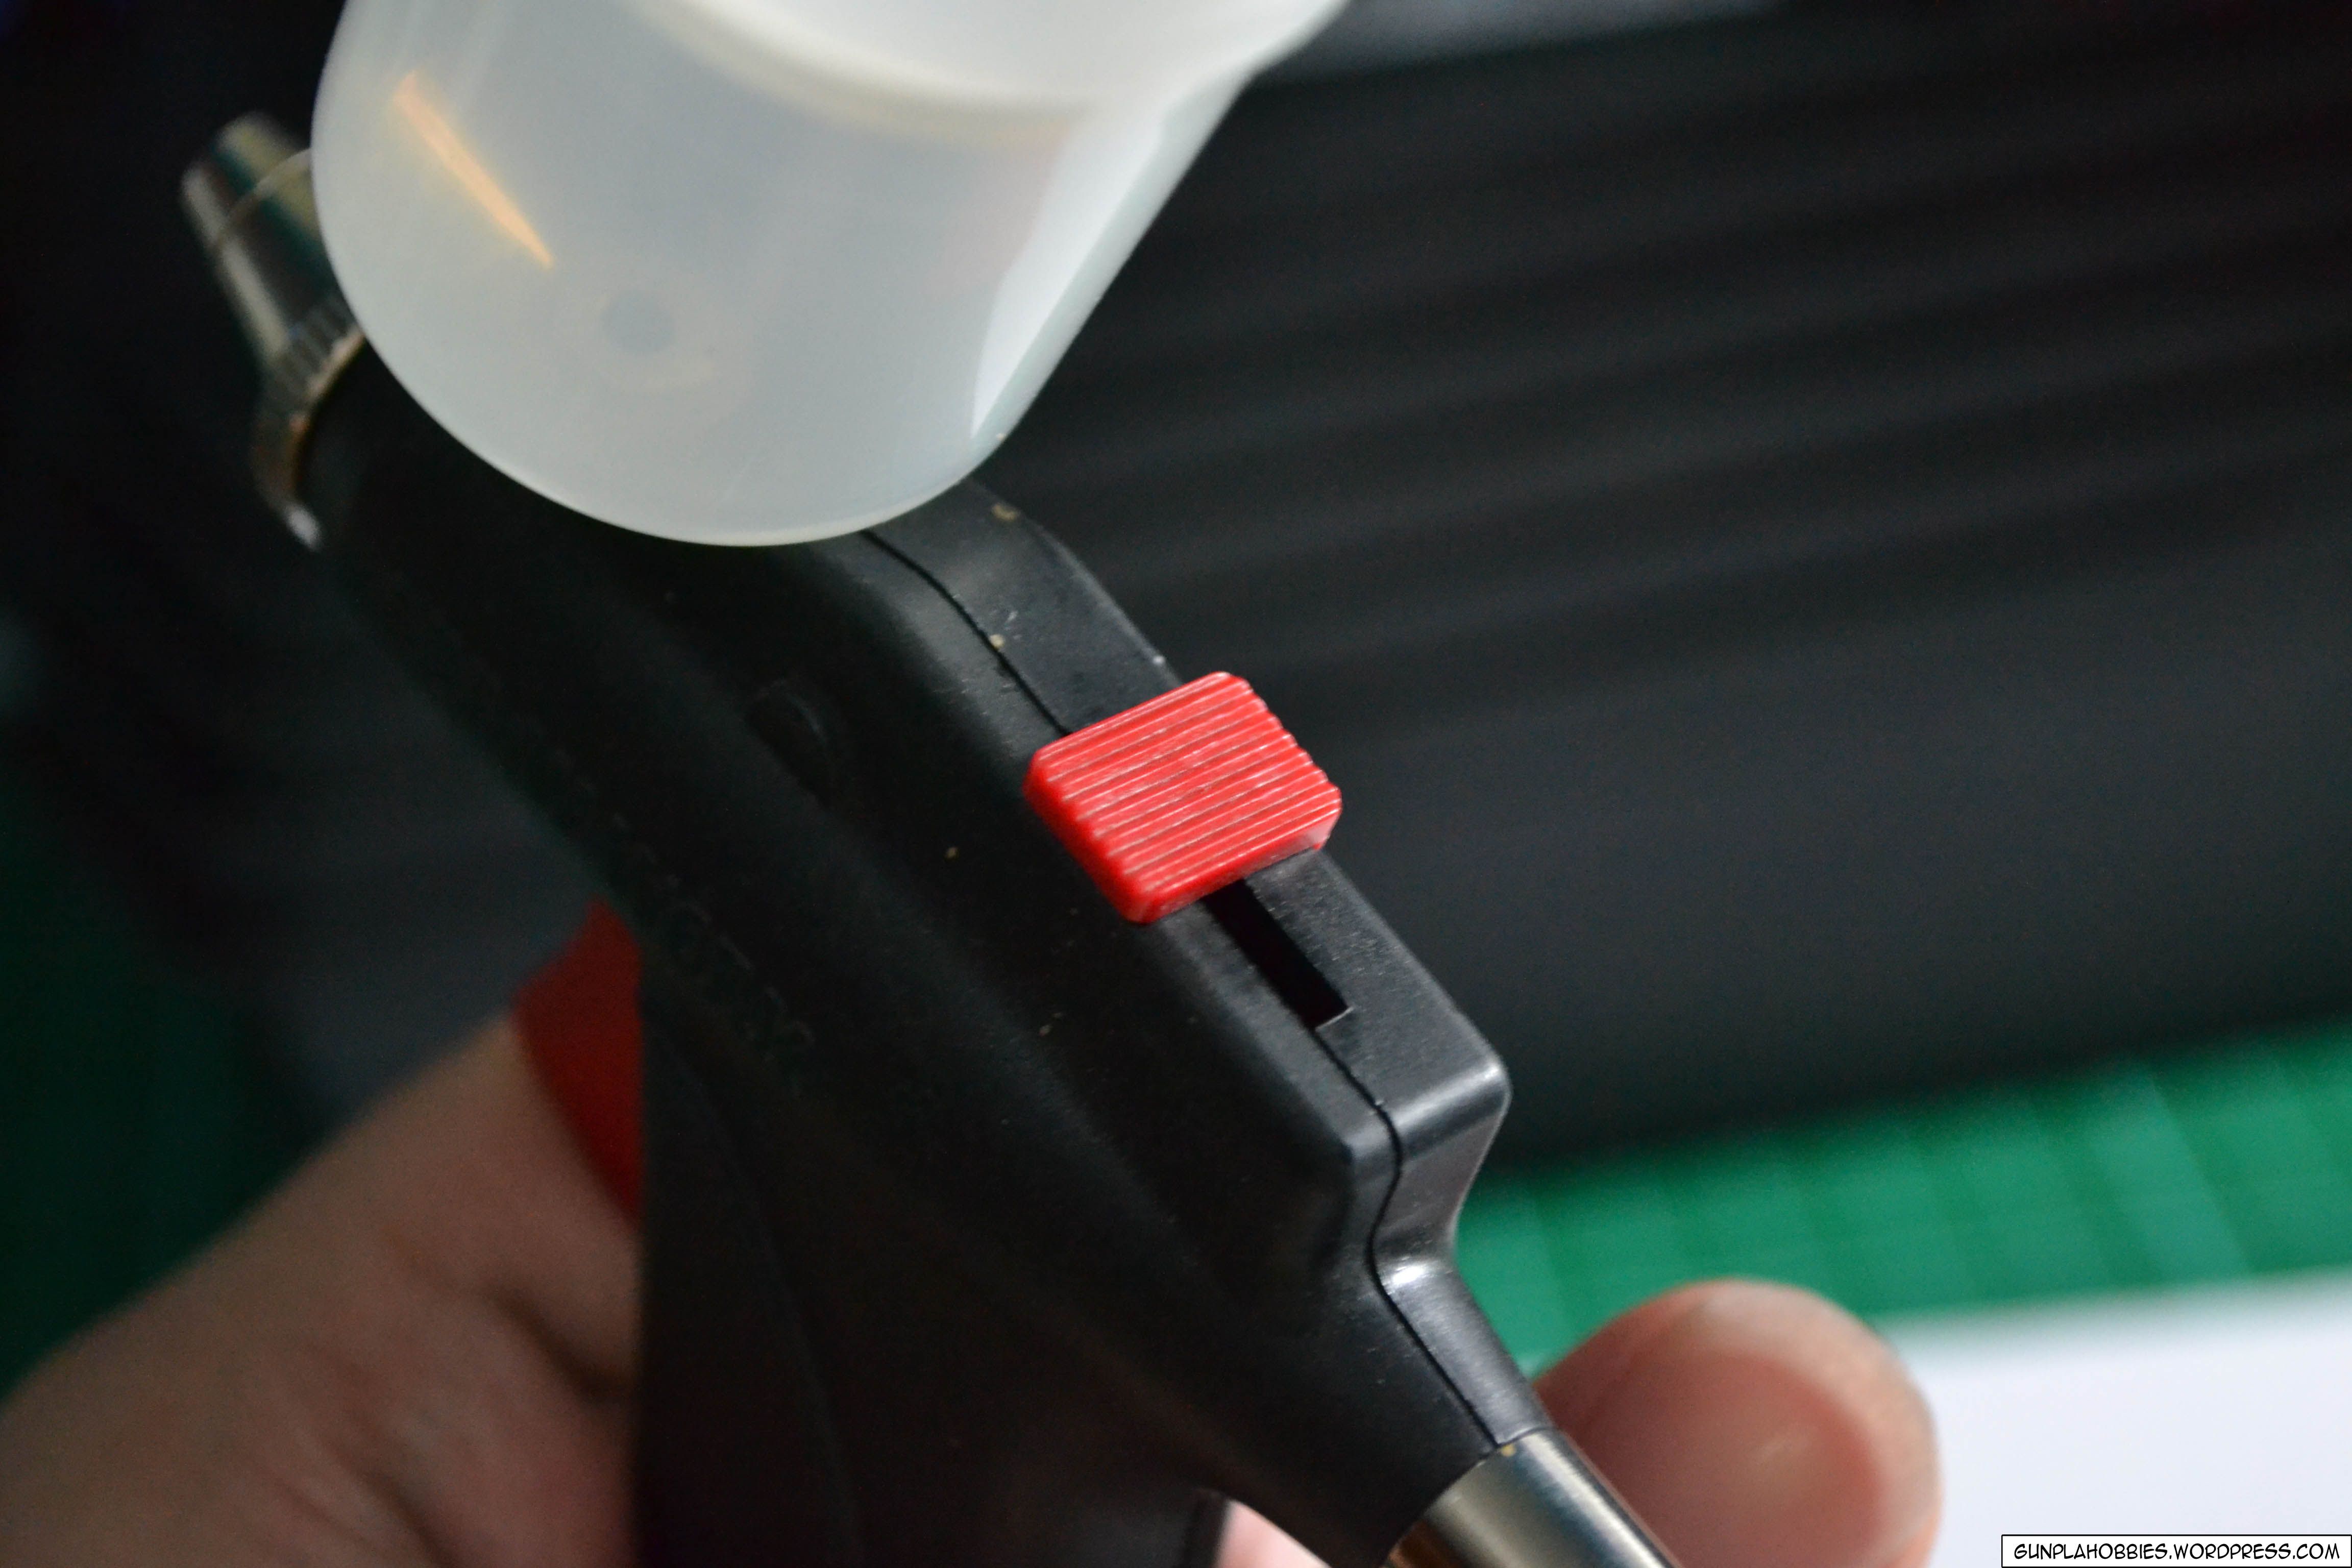
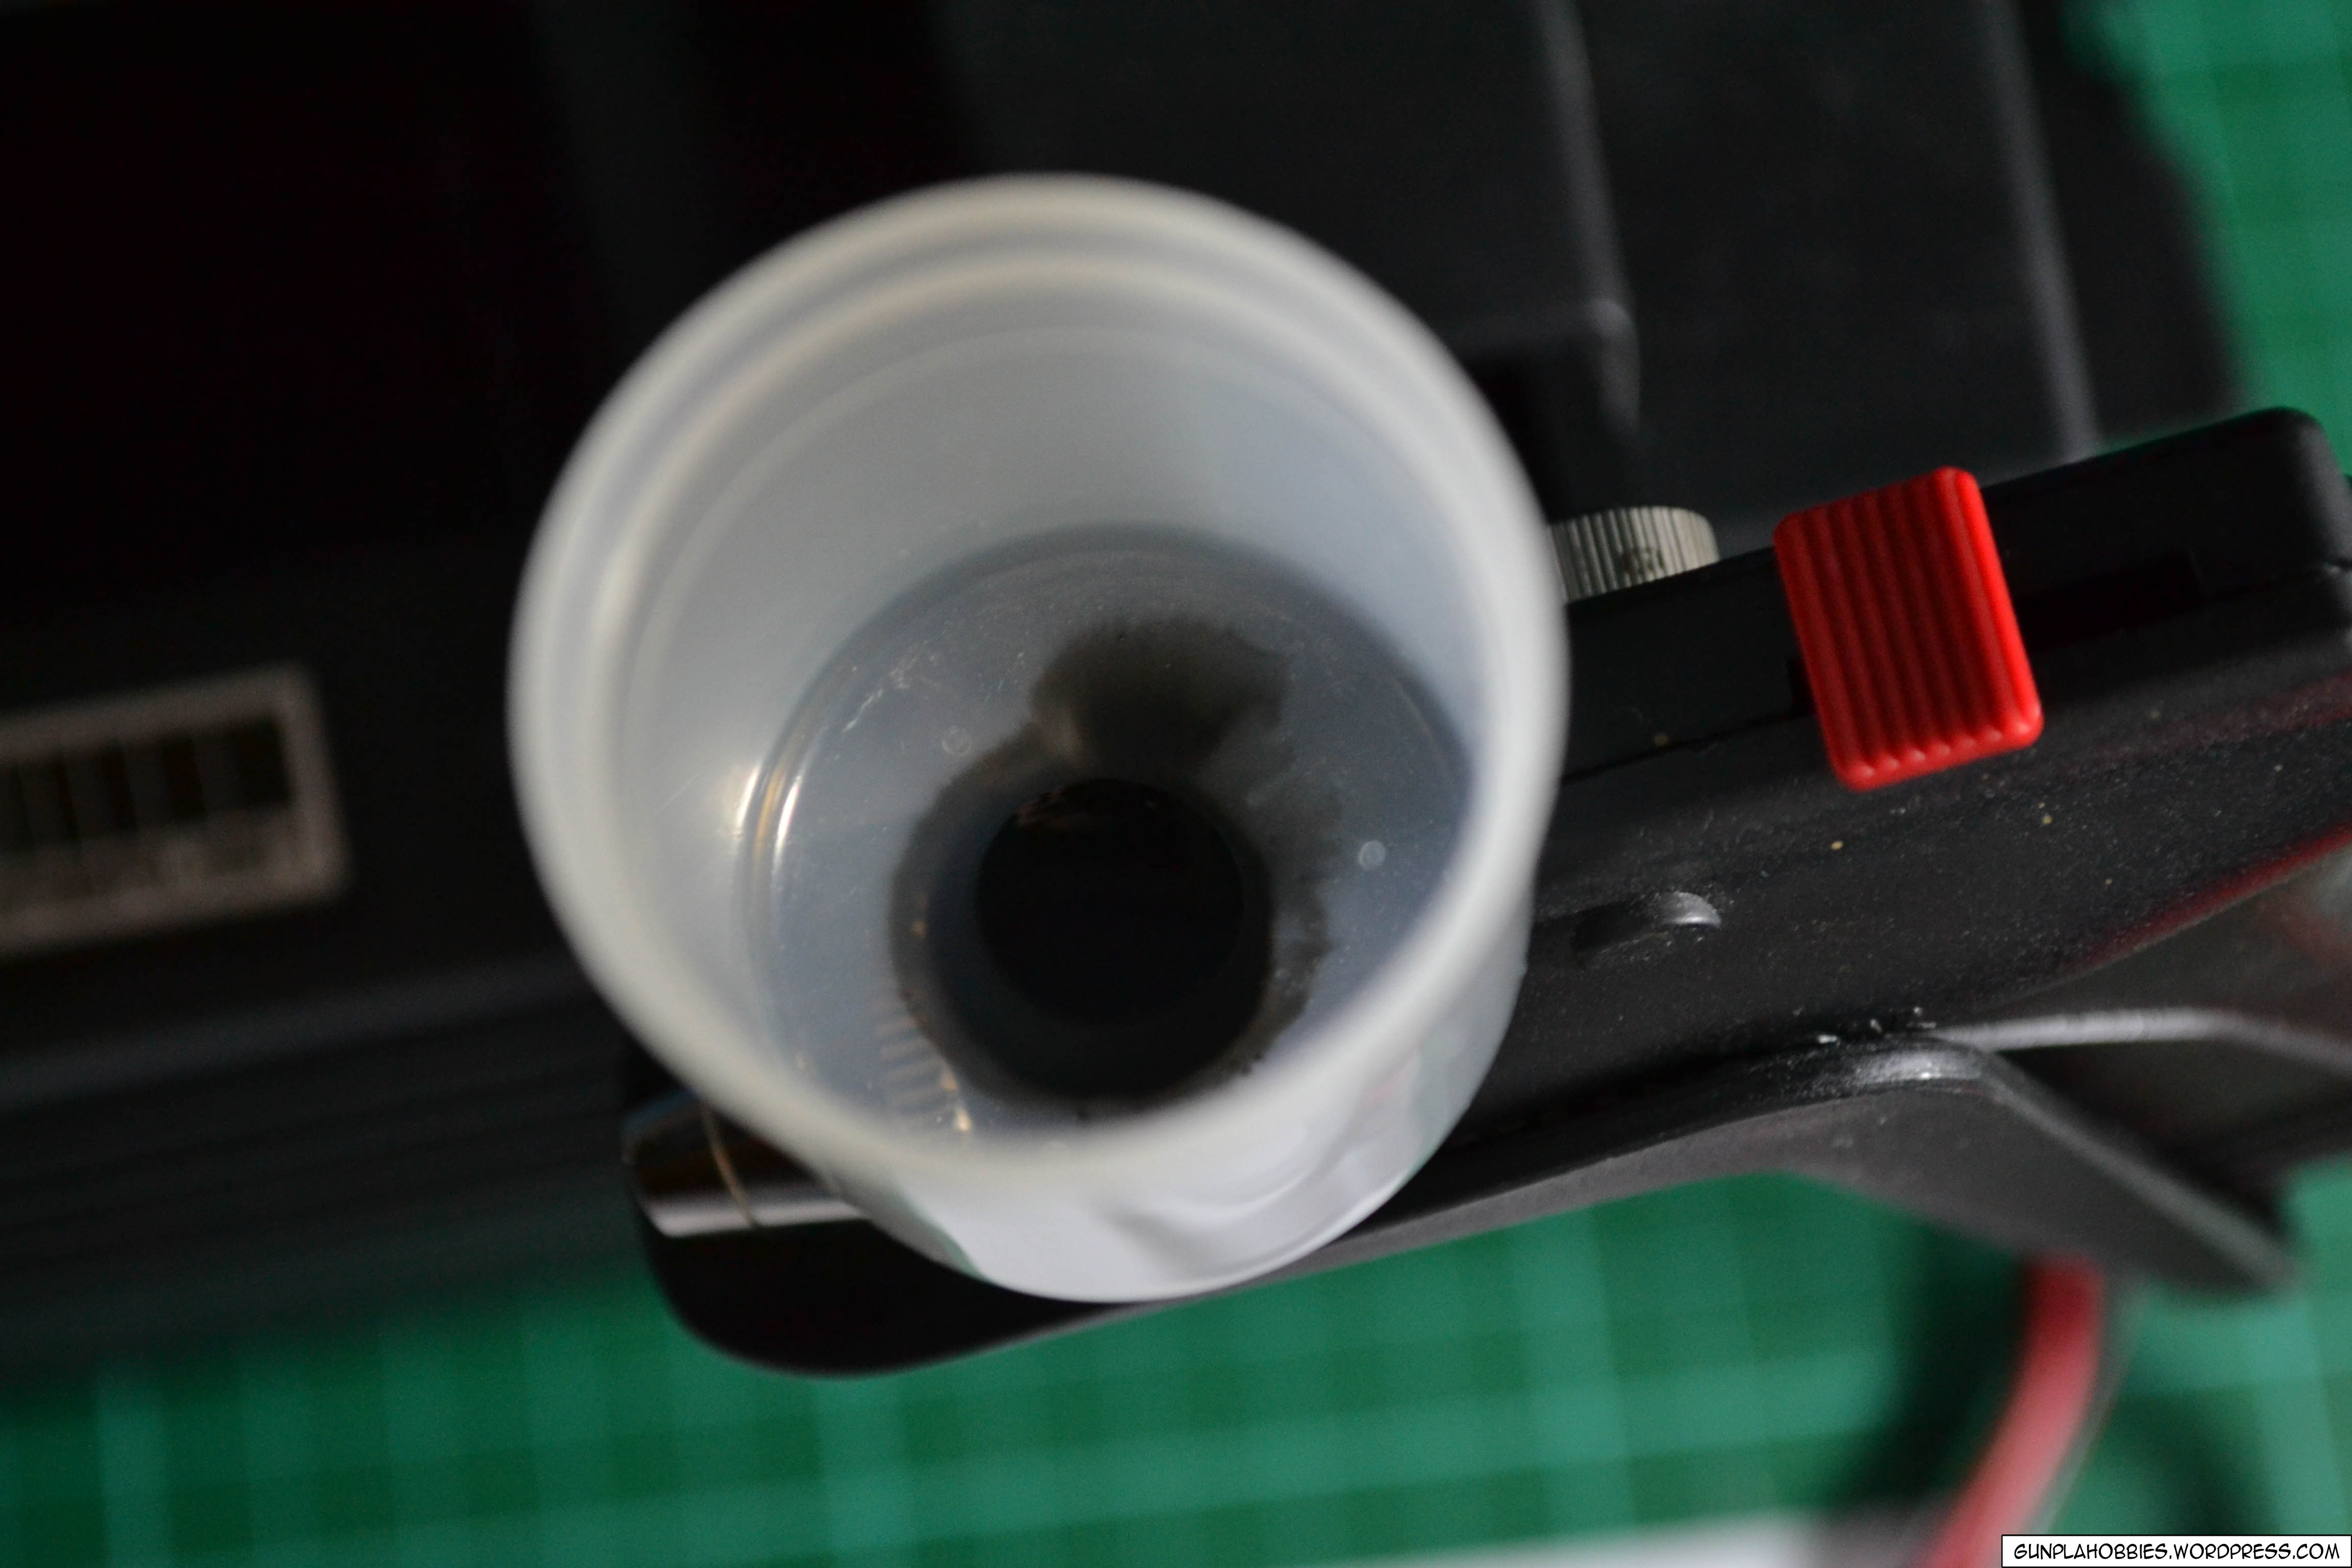
Here is the adjustable trigger sensitivity(the red sliding switch). What do I mean by trigger sensitivity? It just means how much you can pull back the trigger. (the more the trigger is pulled back, the more paint will flow from the color cup). When the sensitivity is set at the topmost, then you won’t be able to pull back much of the trigger resulting to minimal paint flow and fine lines, when the sensitivity is in the middle, you can pull back the trigger halfway for moderate paint flow. Lastly when the sensitivity is set at the bottom most, maximum paint flow will be achieved.
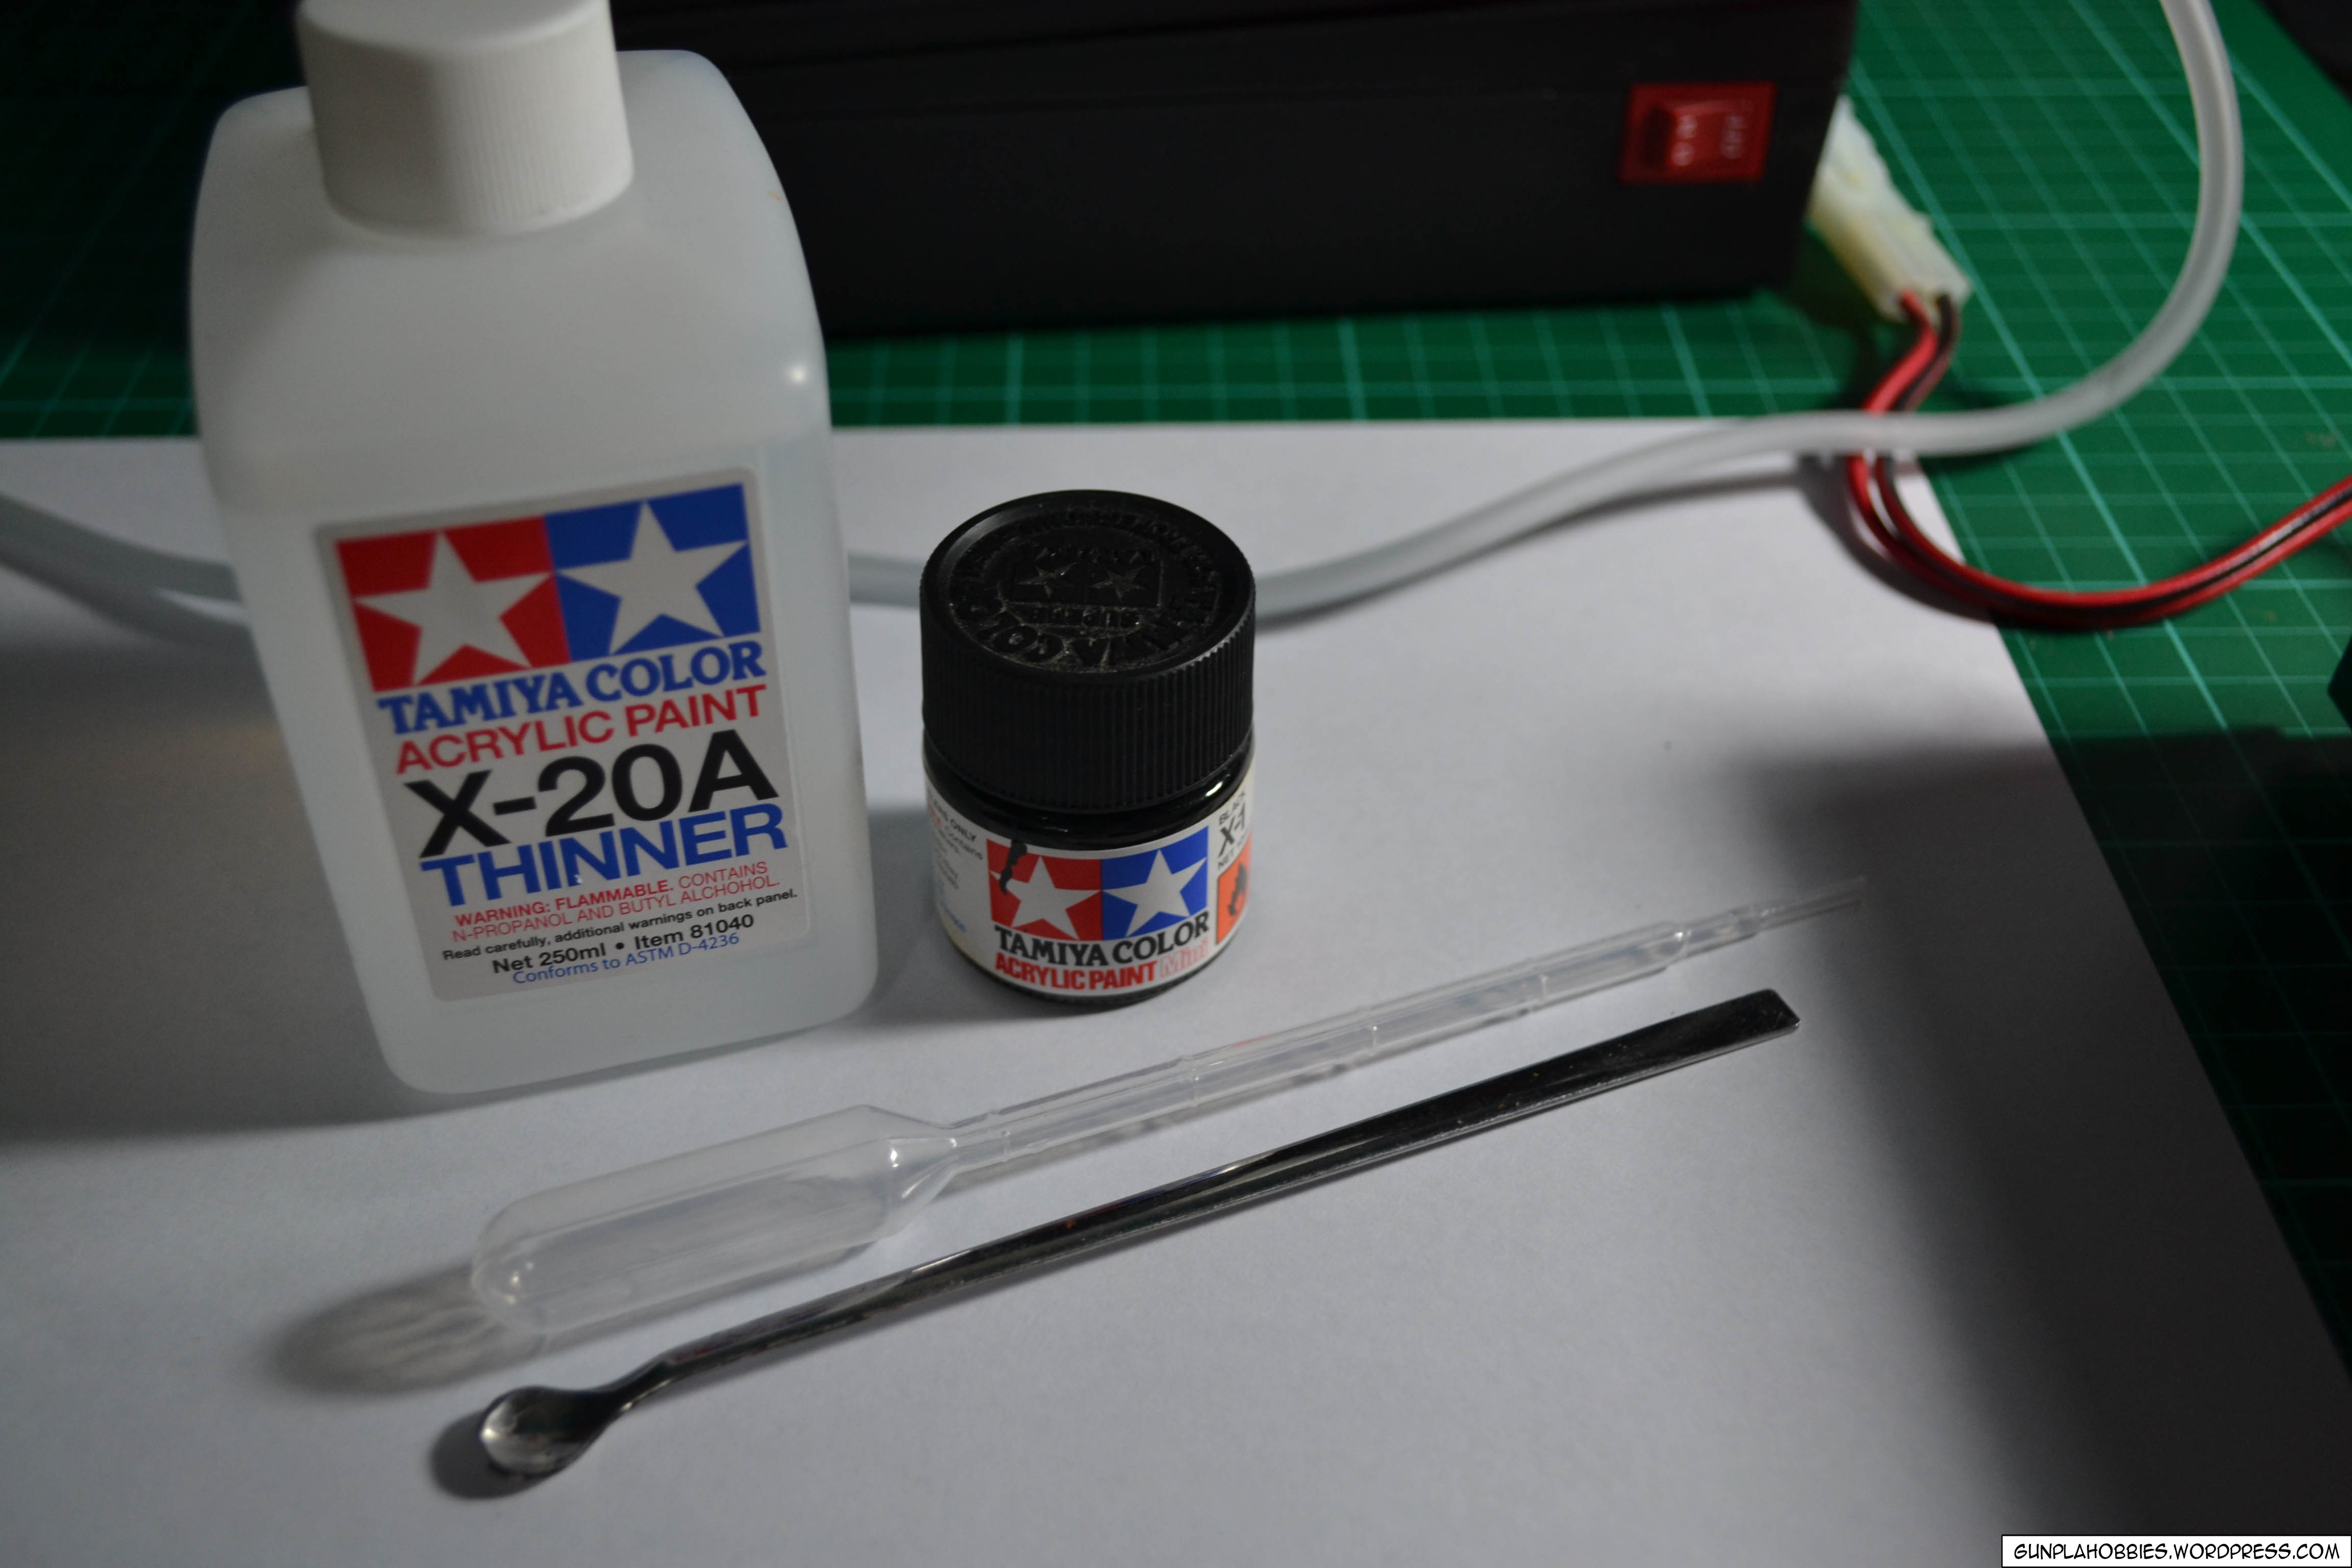
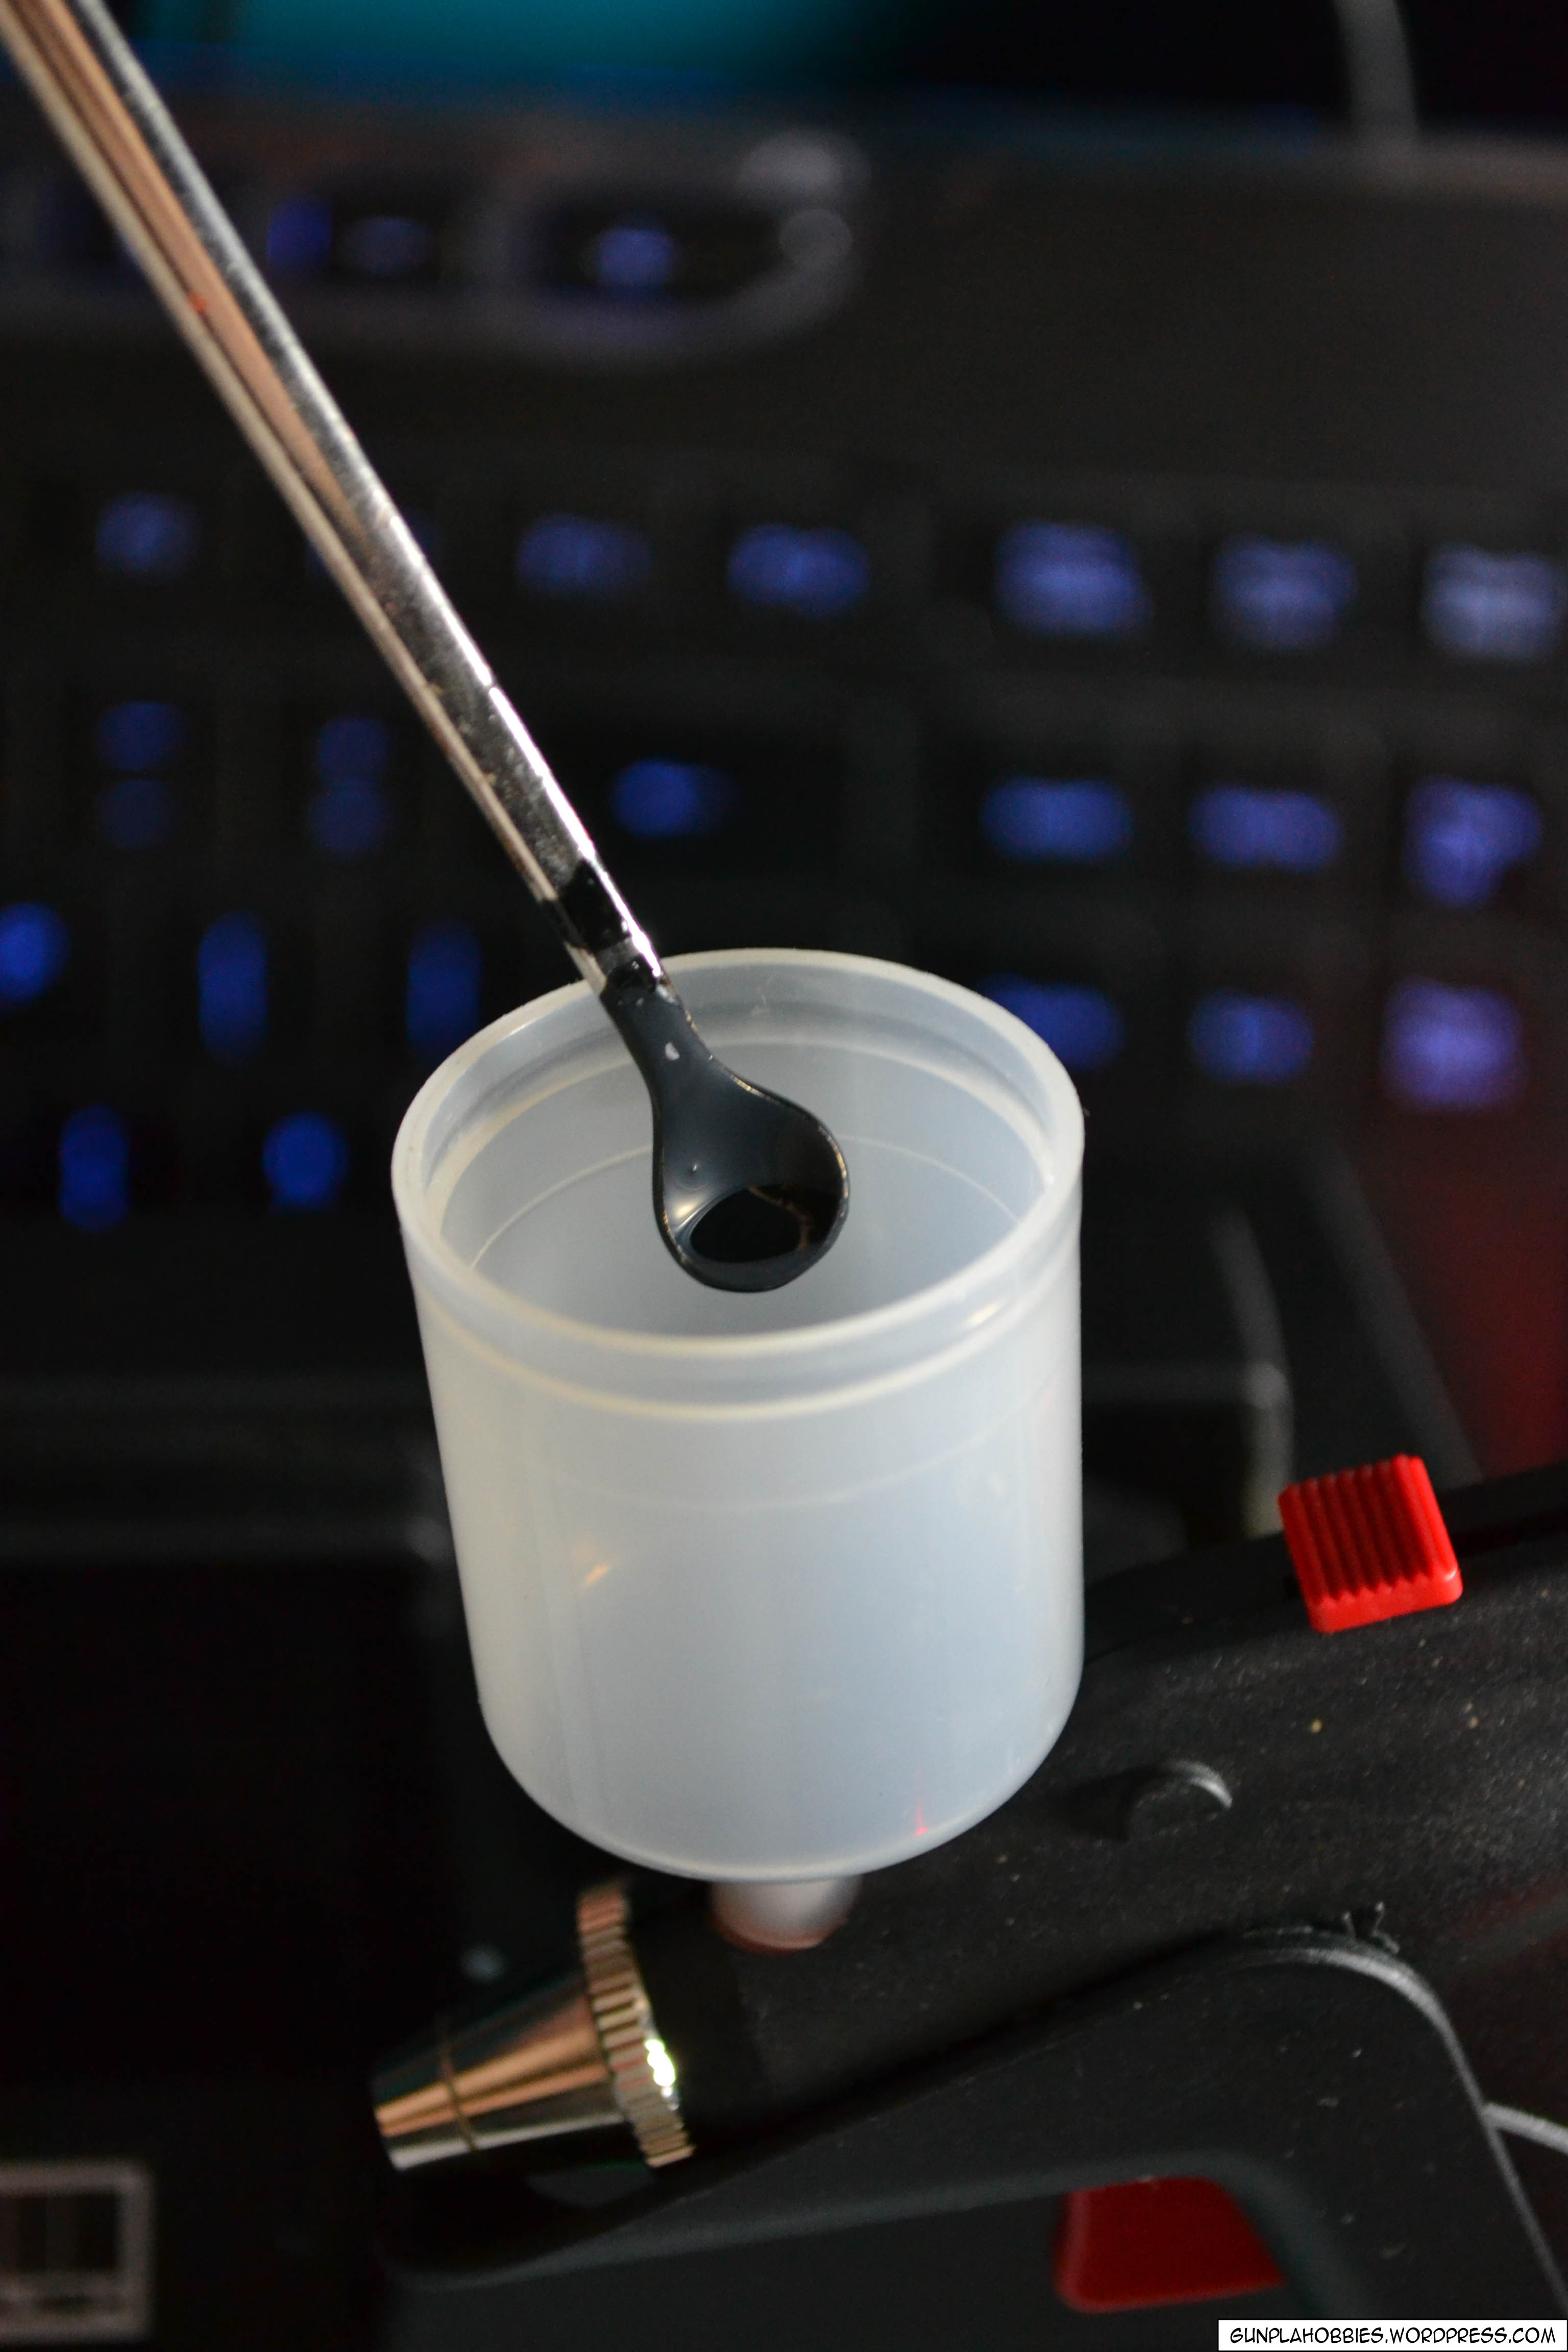
Before we start, of course we need some materials. For this demo I’ll be using a black acrylic paint, acrylic thinner, a dropper to drop some thinner and a paint stirrer:
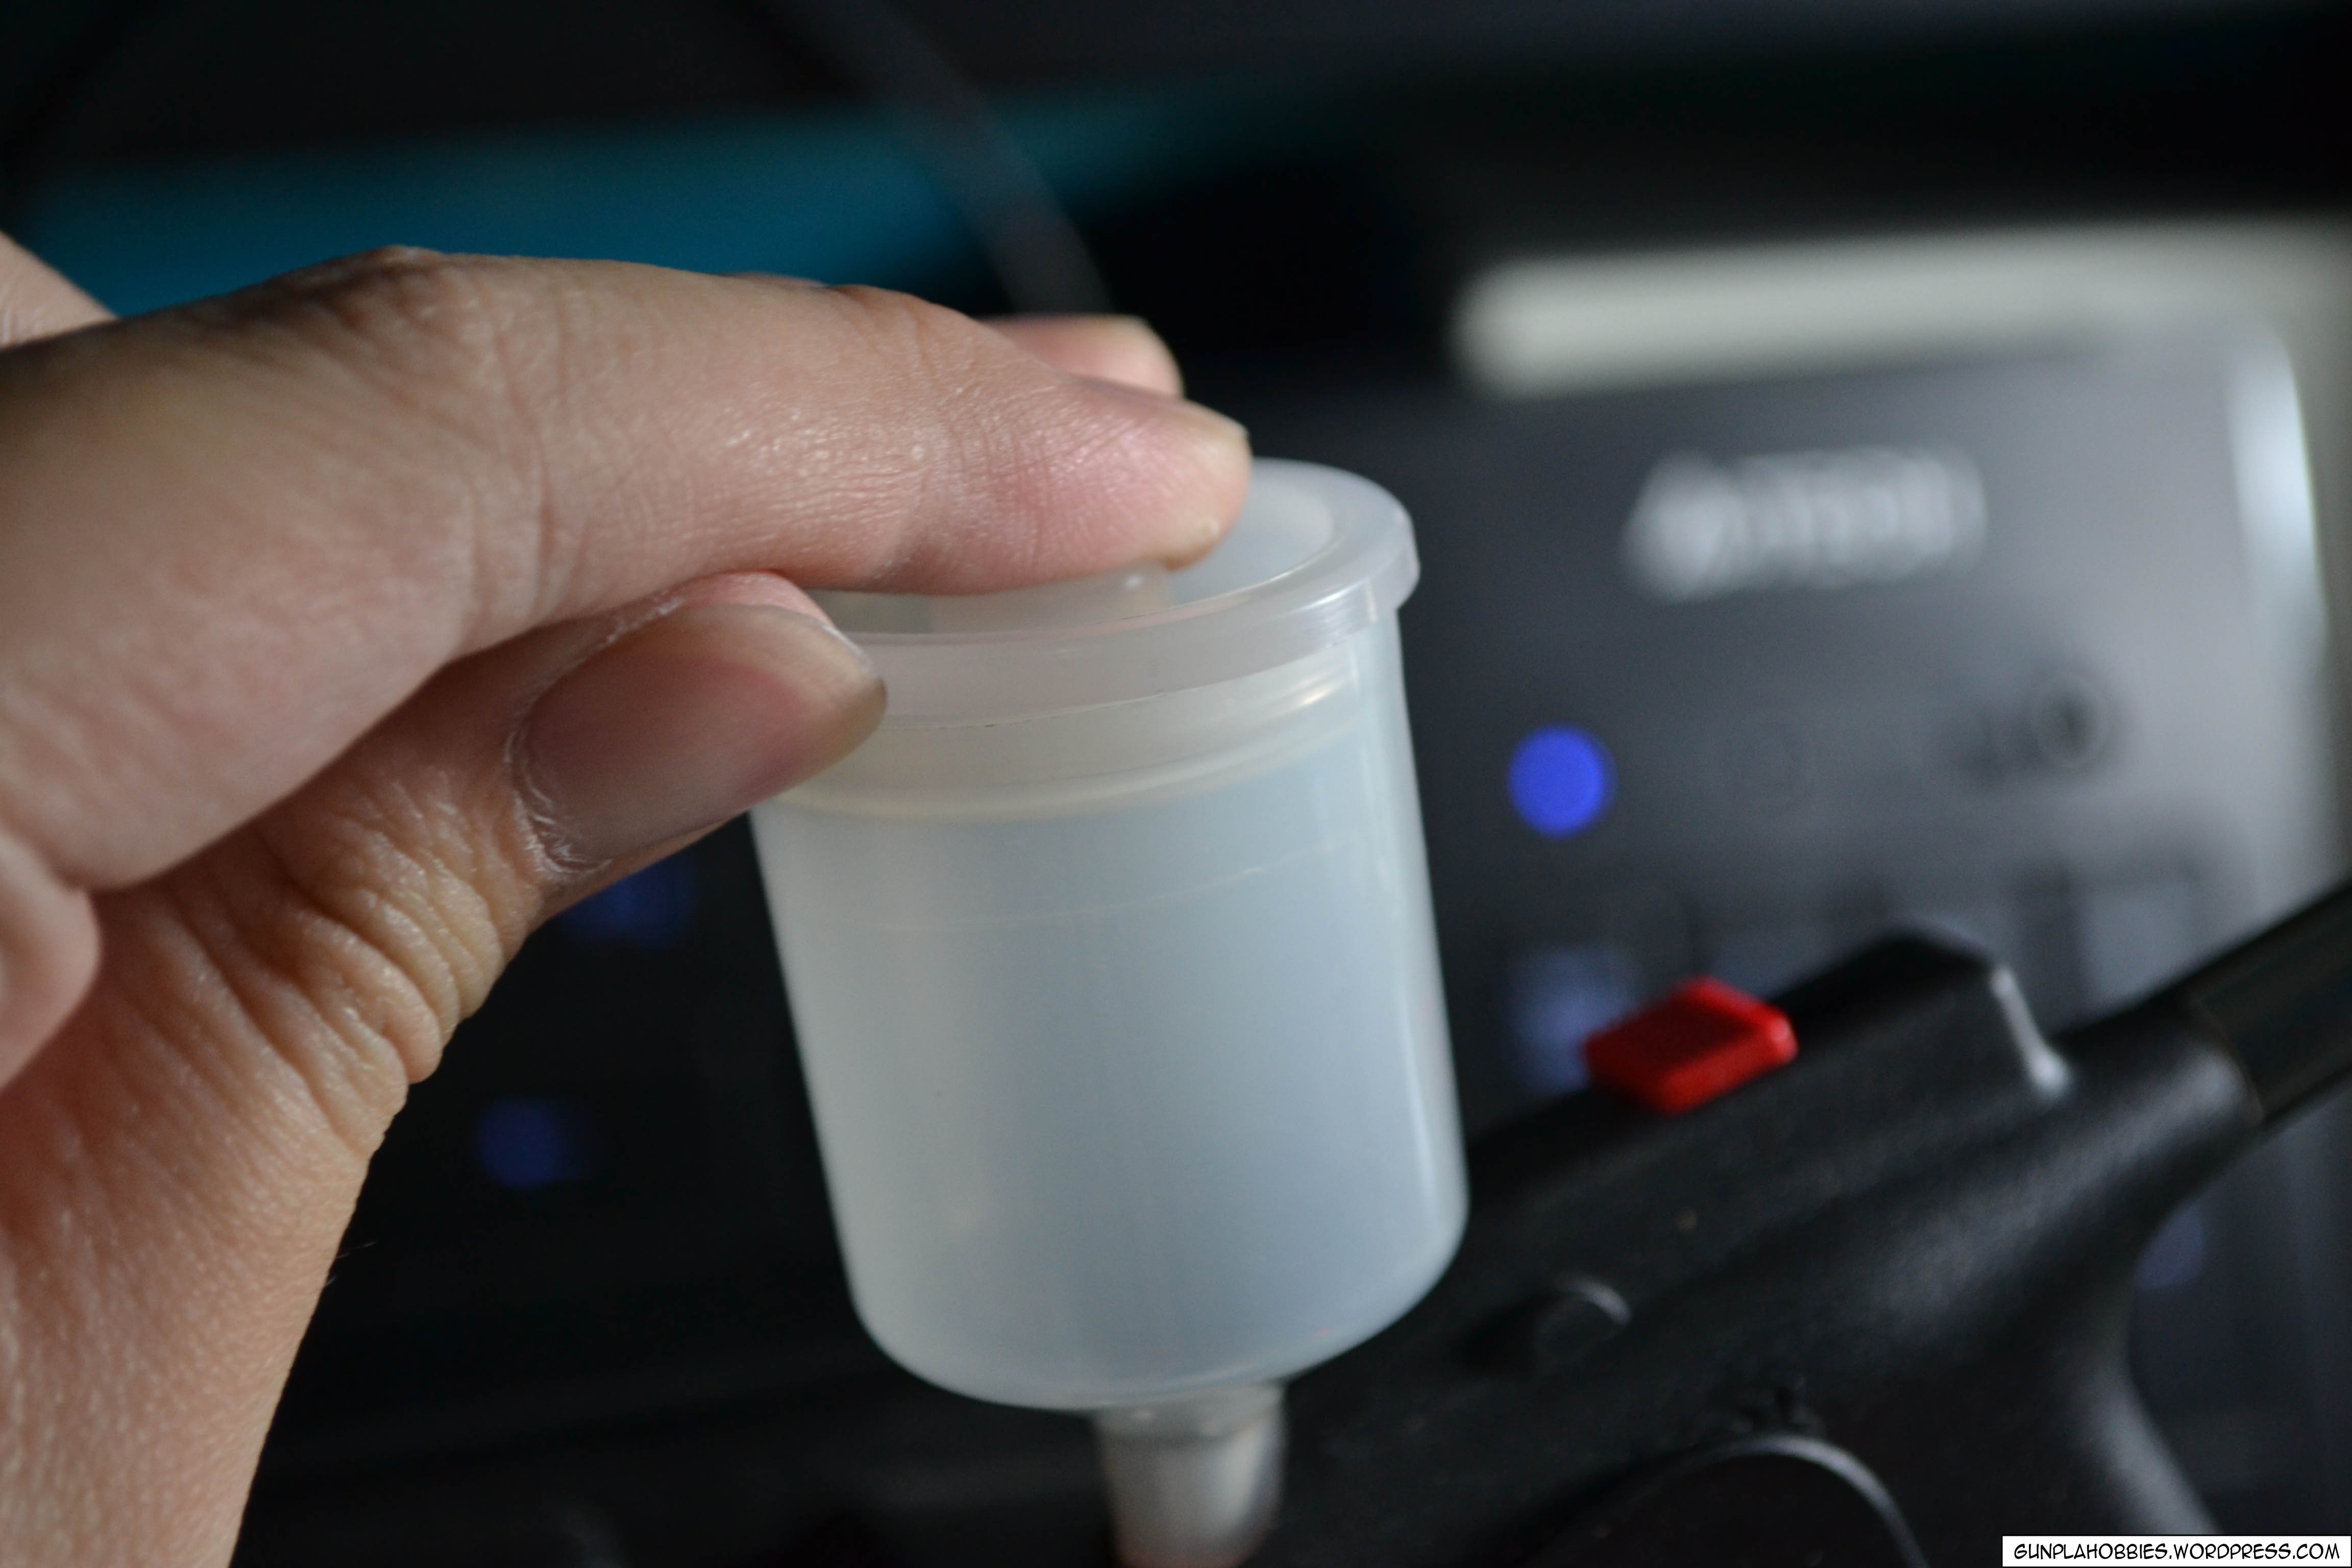
Open the color cup so that we can put some paint in it:
Stir first the paint to be used so that paint chunks is lessened or reduced to none, you can apply a bit of thinner to reduce the chunky paint (if your paint is chunky, they get chunky through time as some of the thinning agent evaporates).

Putting a bit of the acrylic paint onto the color cup:
Get some thinner and mix it with the paint on the color cup, it recommended to have a ratio of 1:1 for acrylic paints (well, according to the manual, you can adjust the ratio as you see fit. Thicker paint = blotchy rough output, paint runs out slow. Thinner paint = fine smooth output, paint runs out fast).


Use the paint stirrer to mix the paint and thinner inside the color cup:
Part 4: Actual usage:
Let’s get on the actual usage! First let’s try the lowest sensitivity:

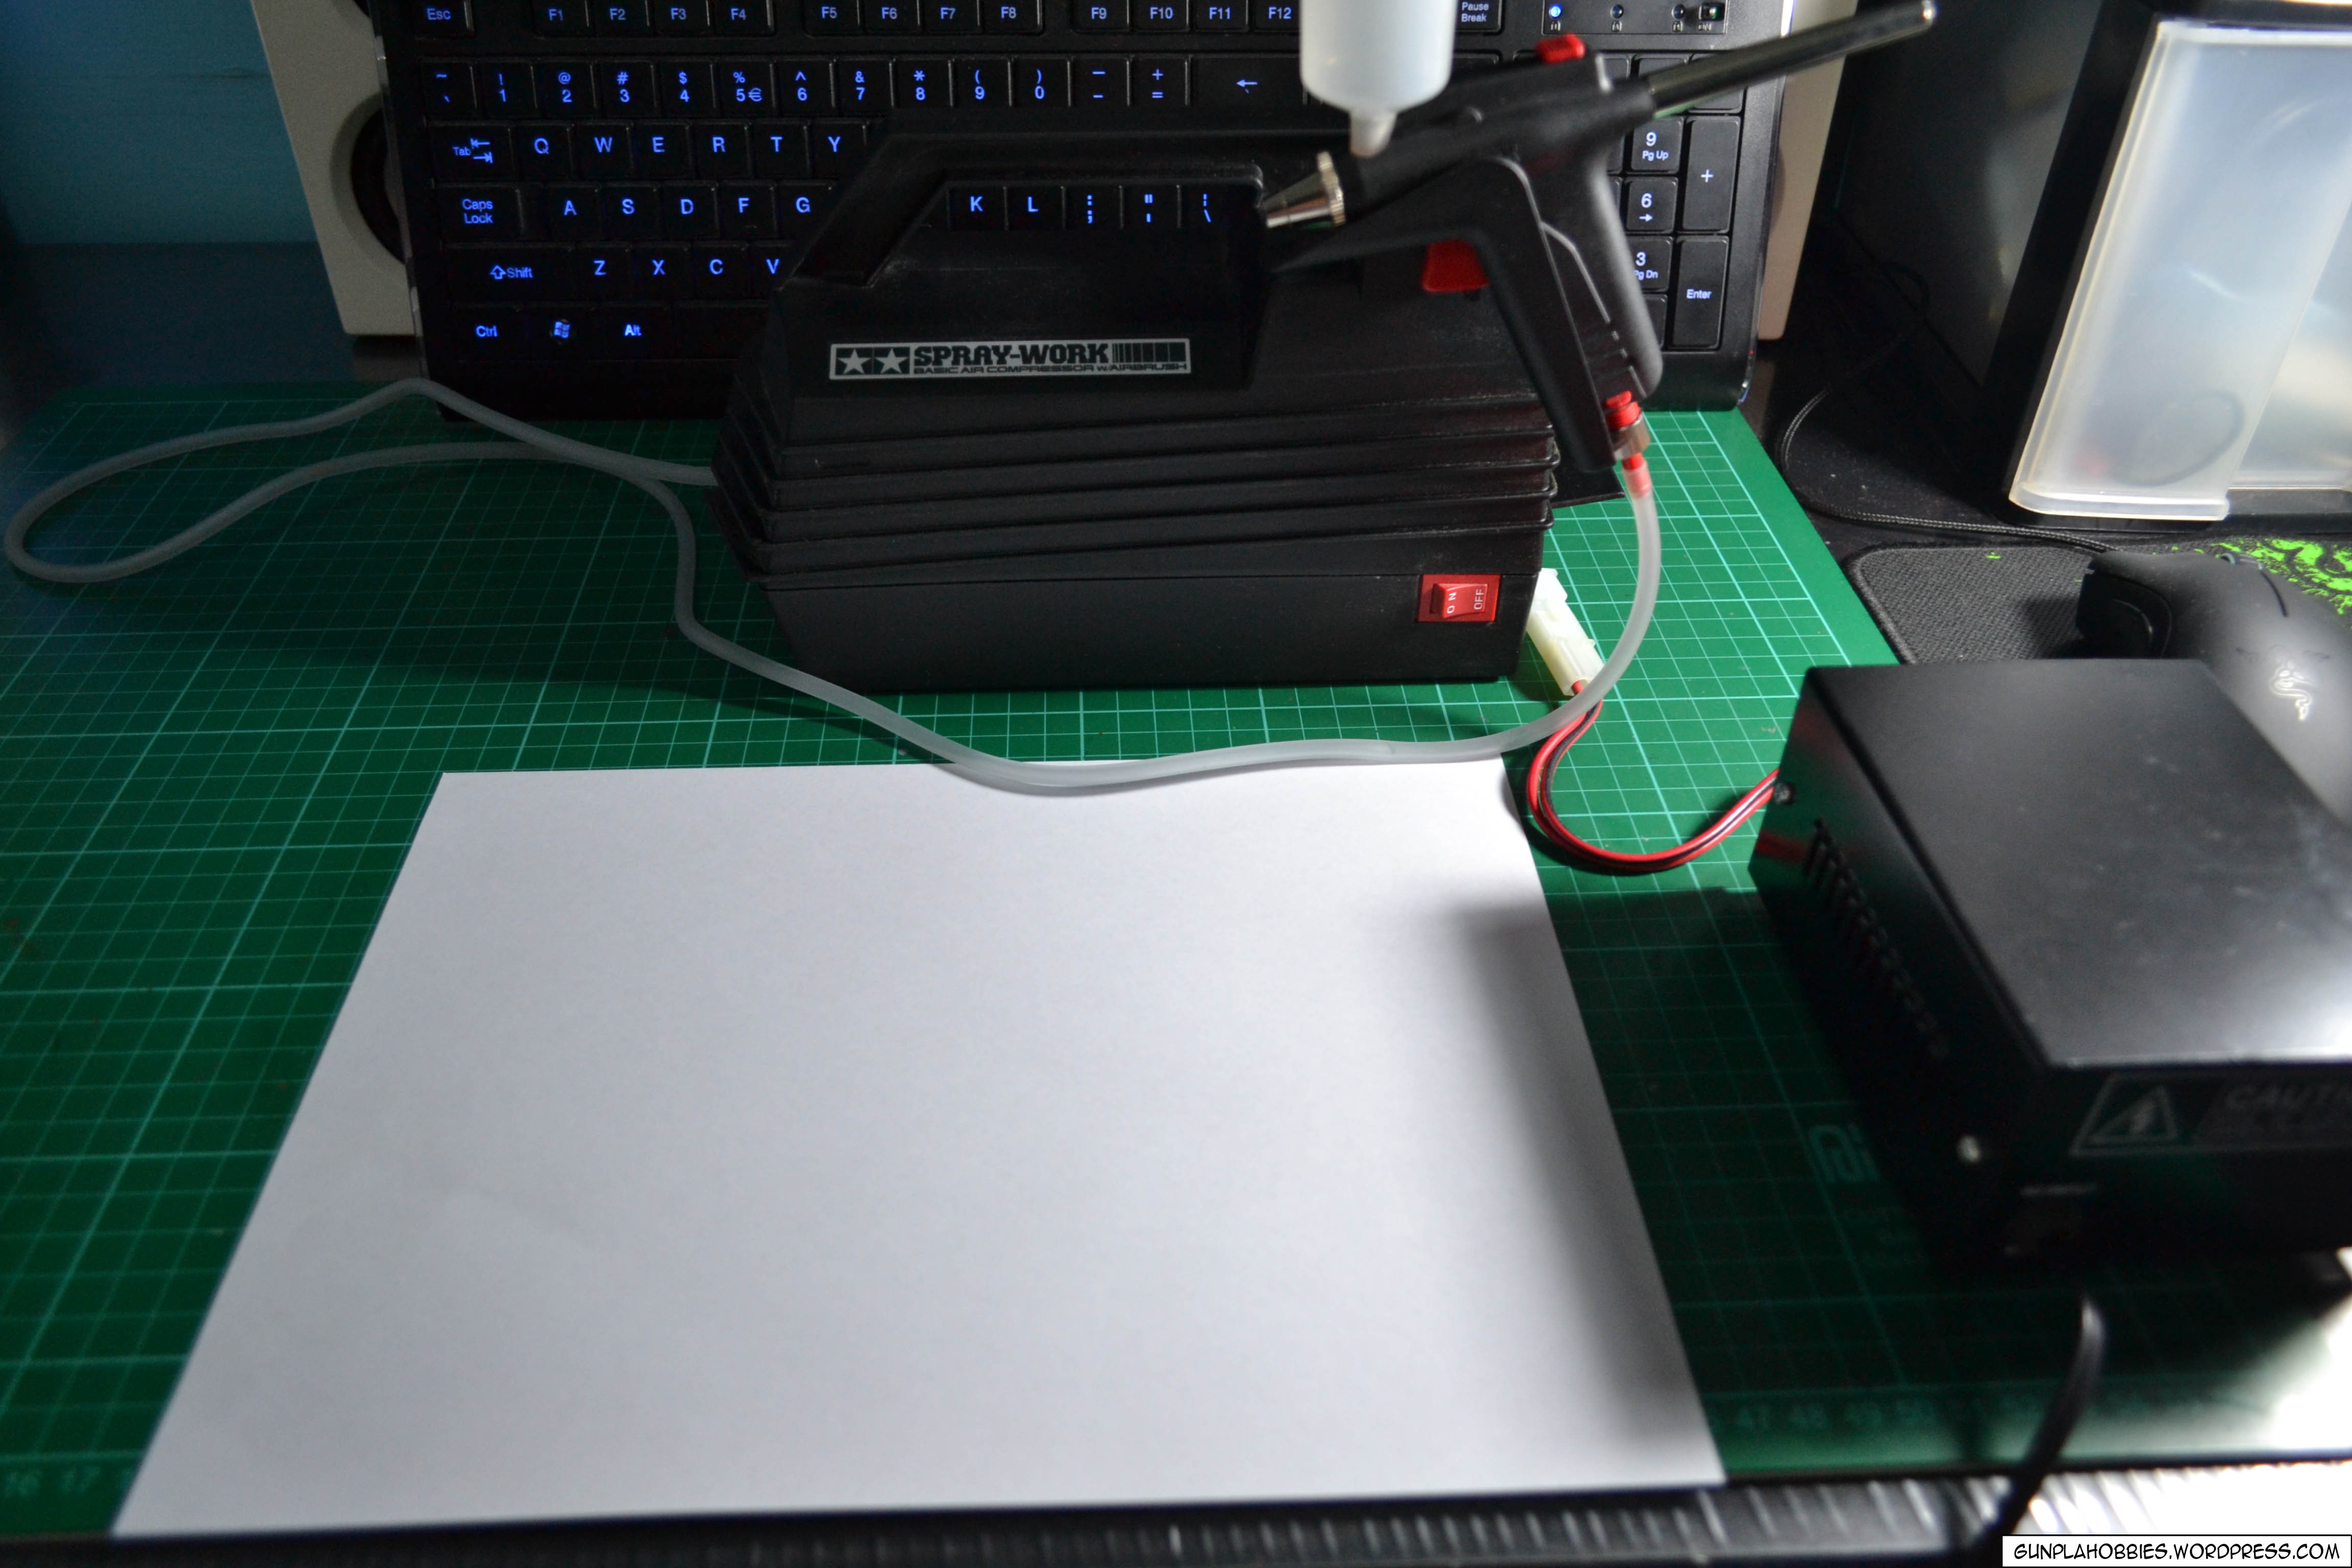
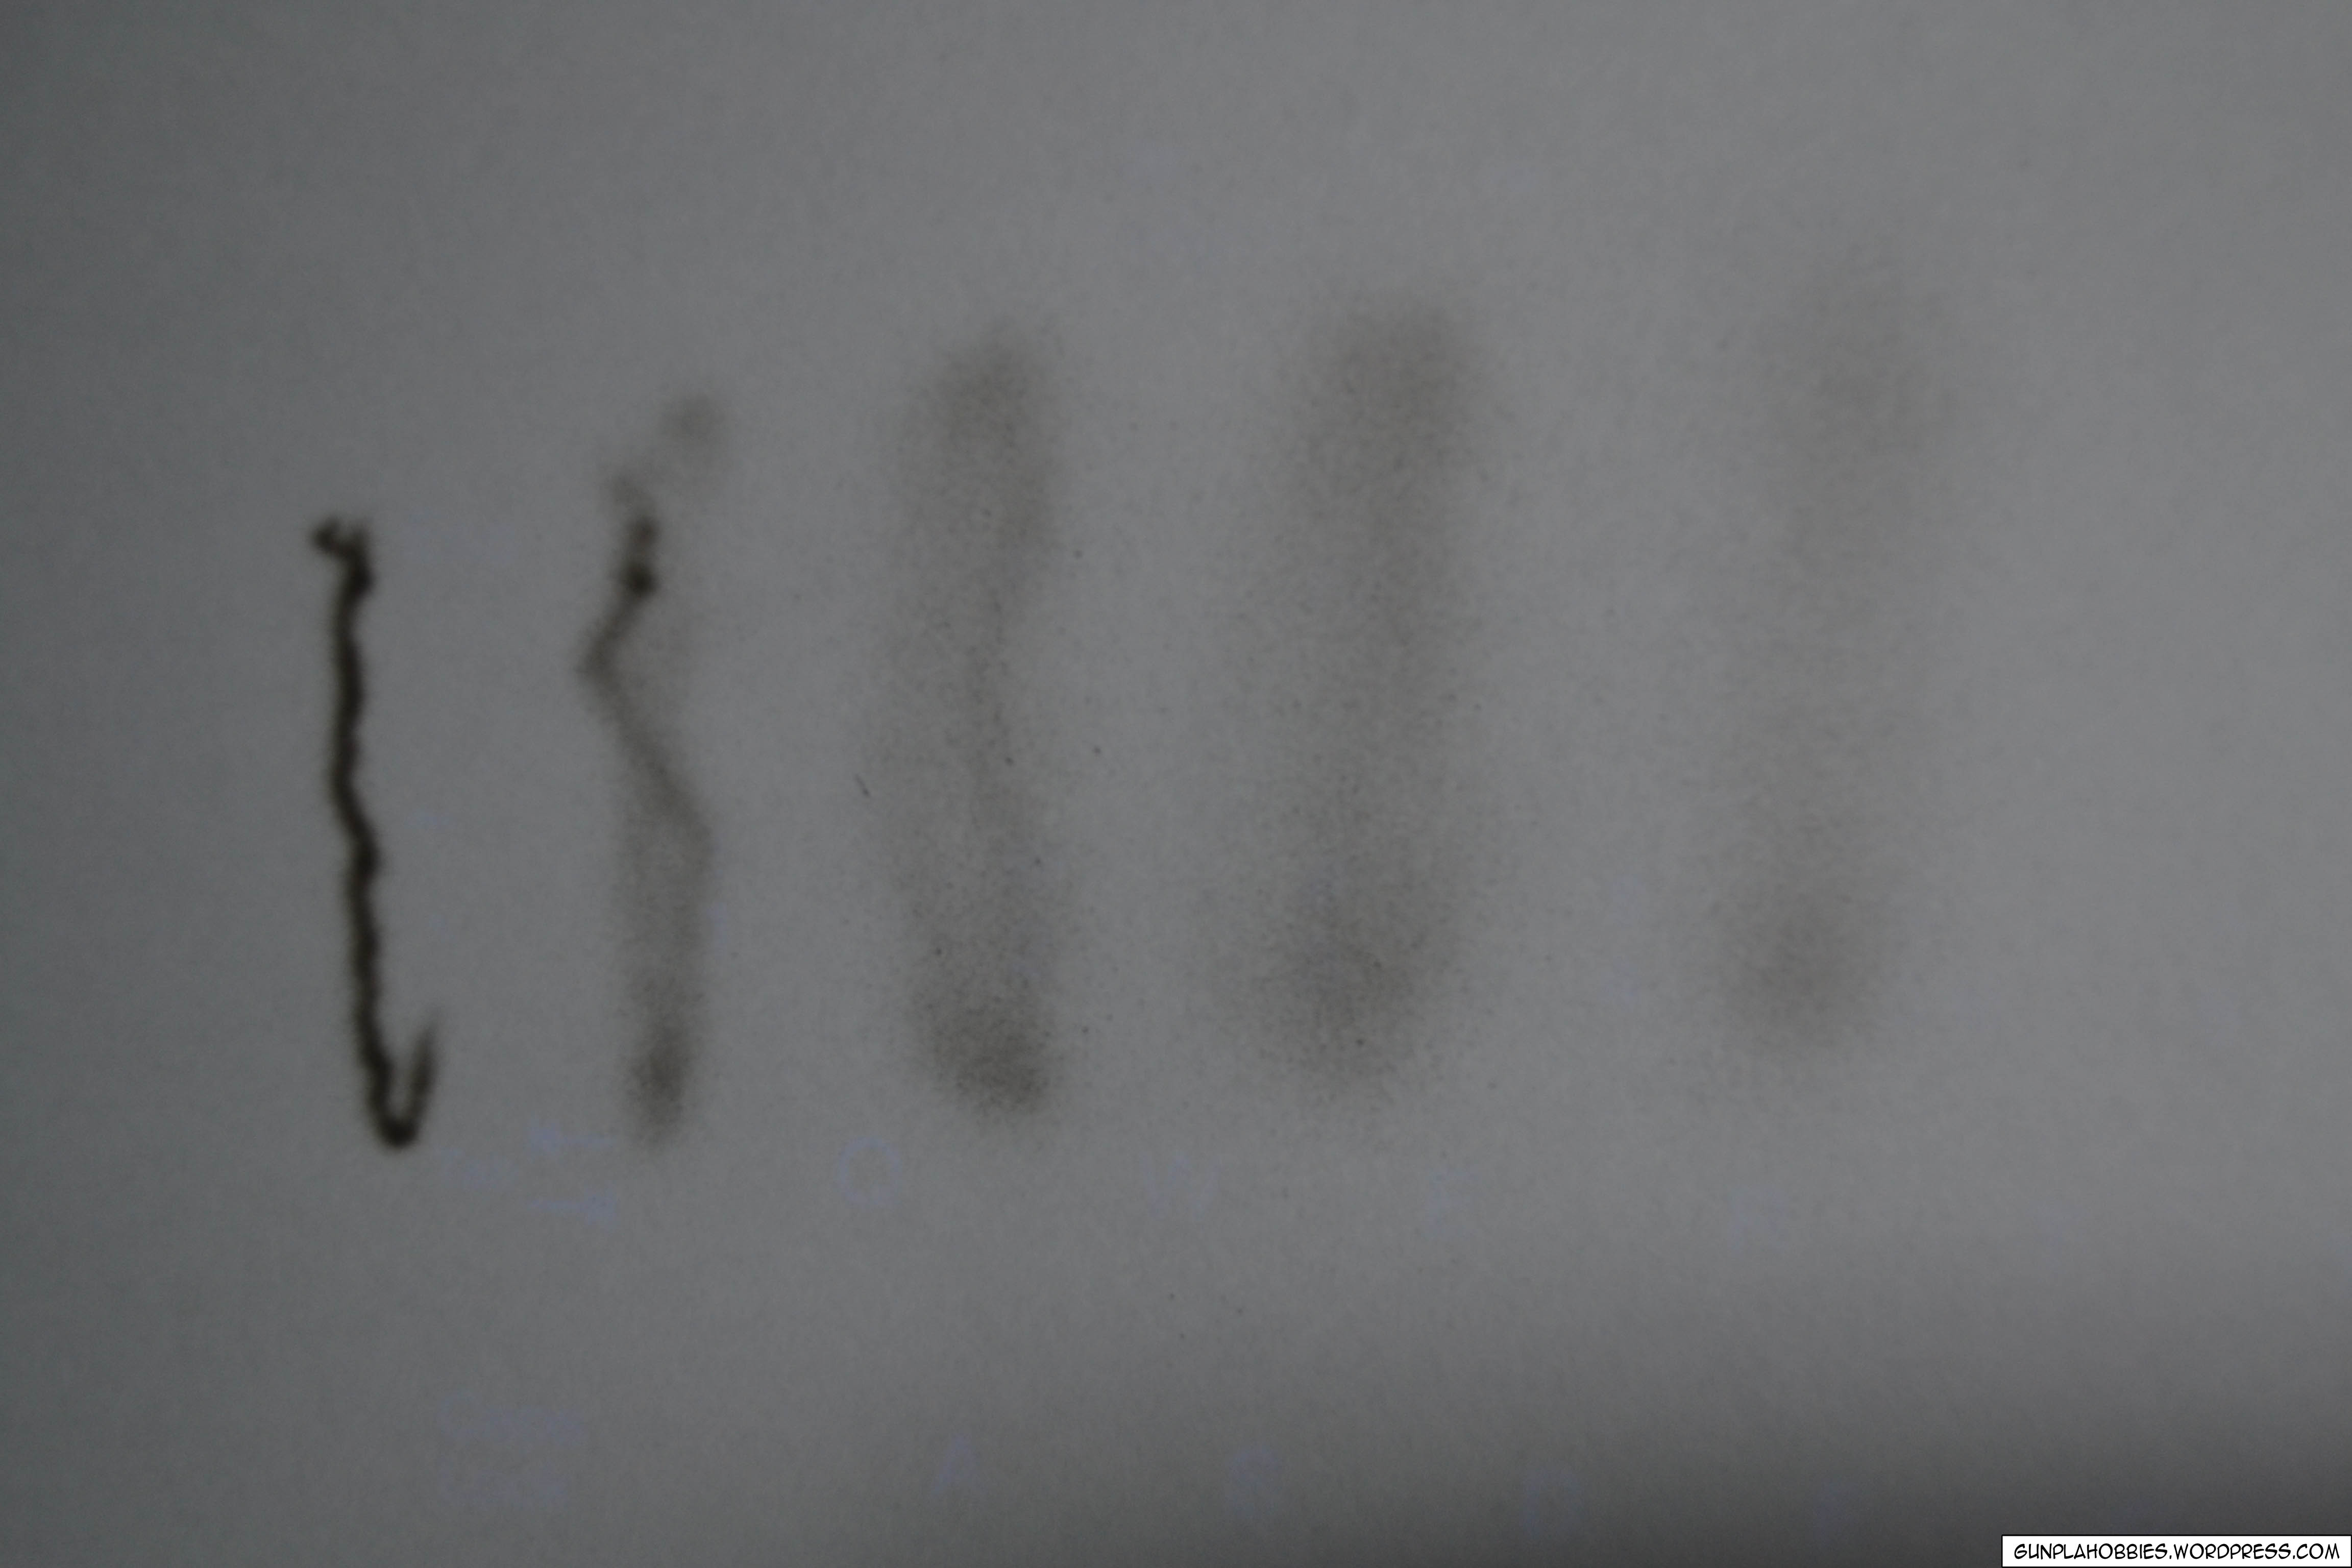
I will be spraying on a white surface initially around an inch away from the paper, then I will paint a series of vertical pattern going to the right increasing the perpendicular distance with respect to the paper surface:

Here is the output for the lowest sensitivity. As you can see, only a little bit of paint flow is observed:
Now let’s try using the midway position:

The lower part of the paper is the result of the moderate sensitivity. As you can observe, more paint flow is allowed using the moderate sensitivity. Paint will drip if you are too close to the subject being painted.

Lastly, using maximum sensitivity:
And this is the result, maximum paint flow can be attained using this sensitivity. I sprayed some vertical patterns using the minimal sensitivity on the upper left part of the paper for comparison. I am very satisfied with the range of sensitivities provided by the airbrush.

Last Part: Disassembling the airbrush for cleaning:
Disassembling the brush is easy, first remove the outer nozzle and balance weight:

Remove the screw that holds the needle:


Removing the needle. The needle is the most important part of the air brush, careful not to damage or bend it as it is the one responsible for adjusting the paint flow:

Using the small wrench, we can un-wrench the inner nozzle:

This is also vital for the paint flow partnered with the needle:

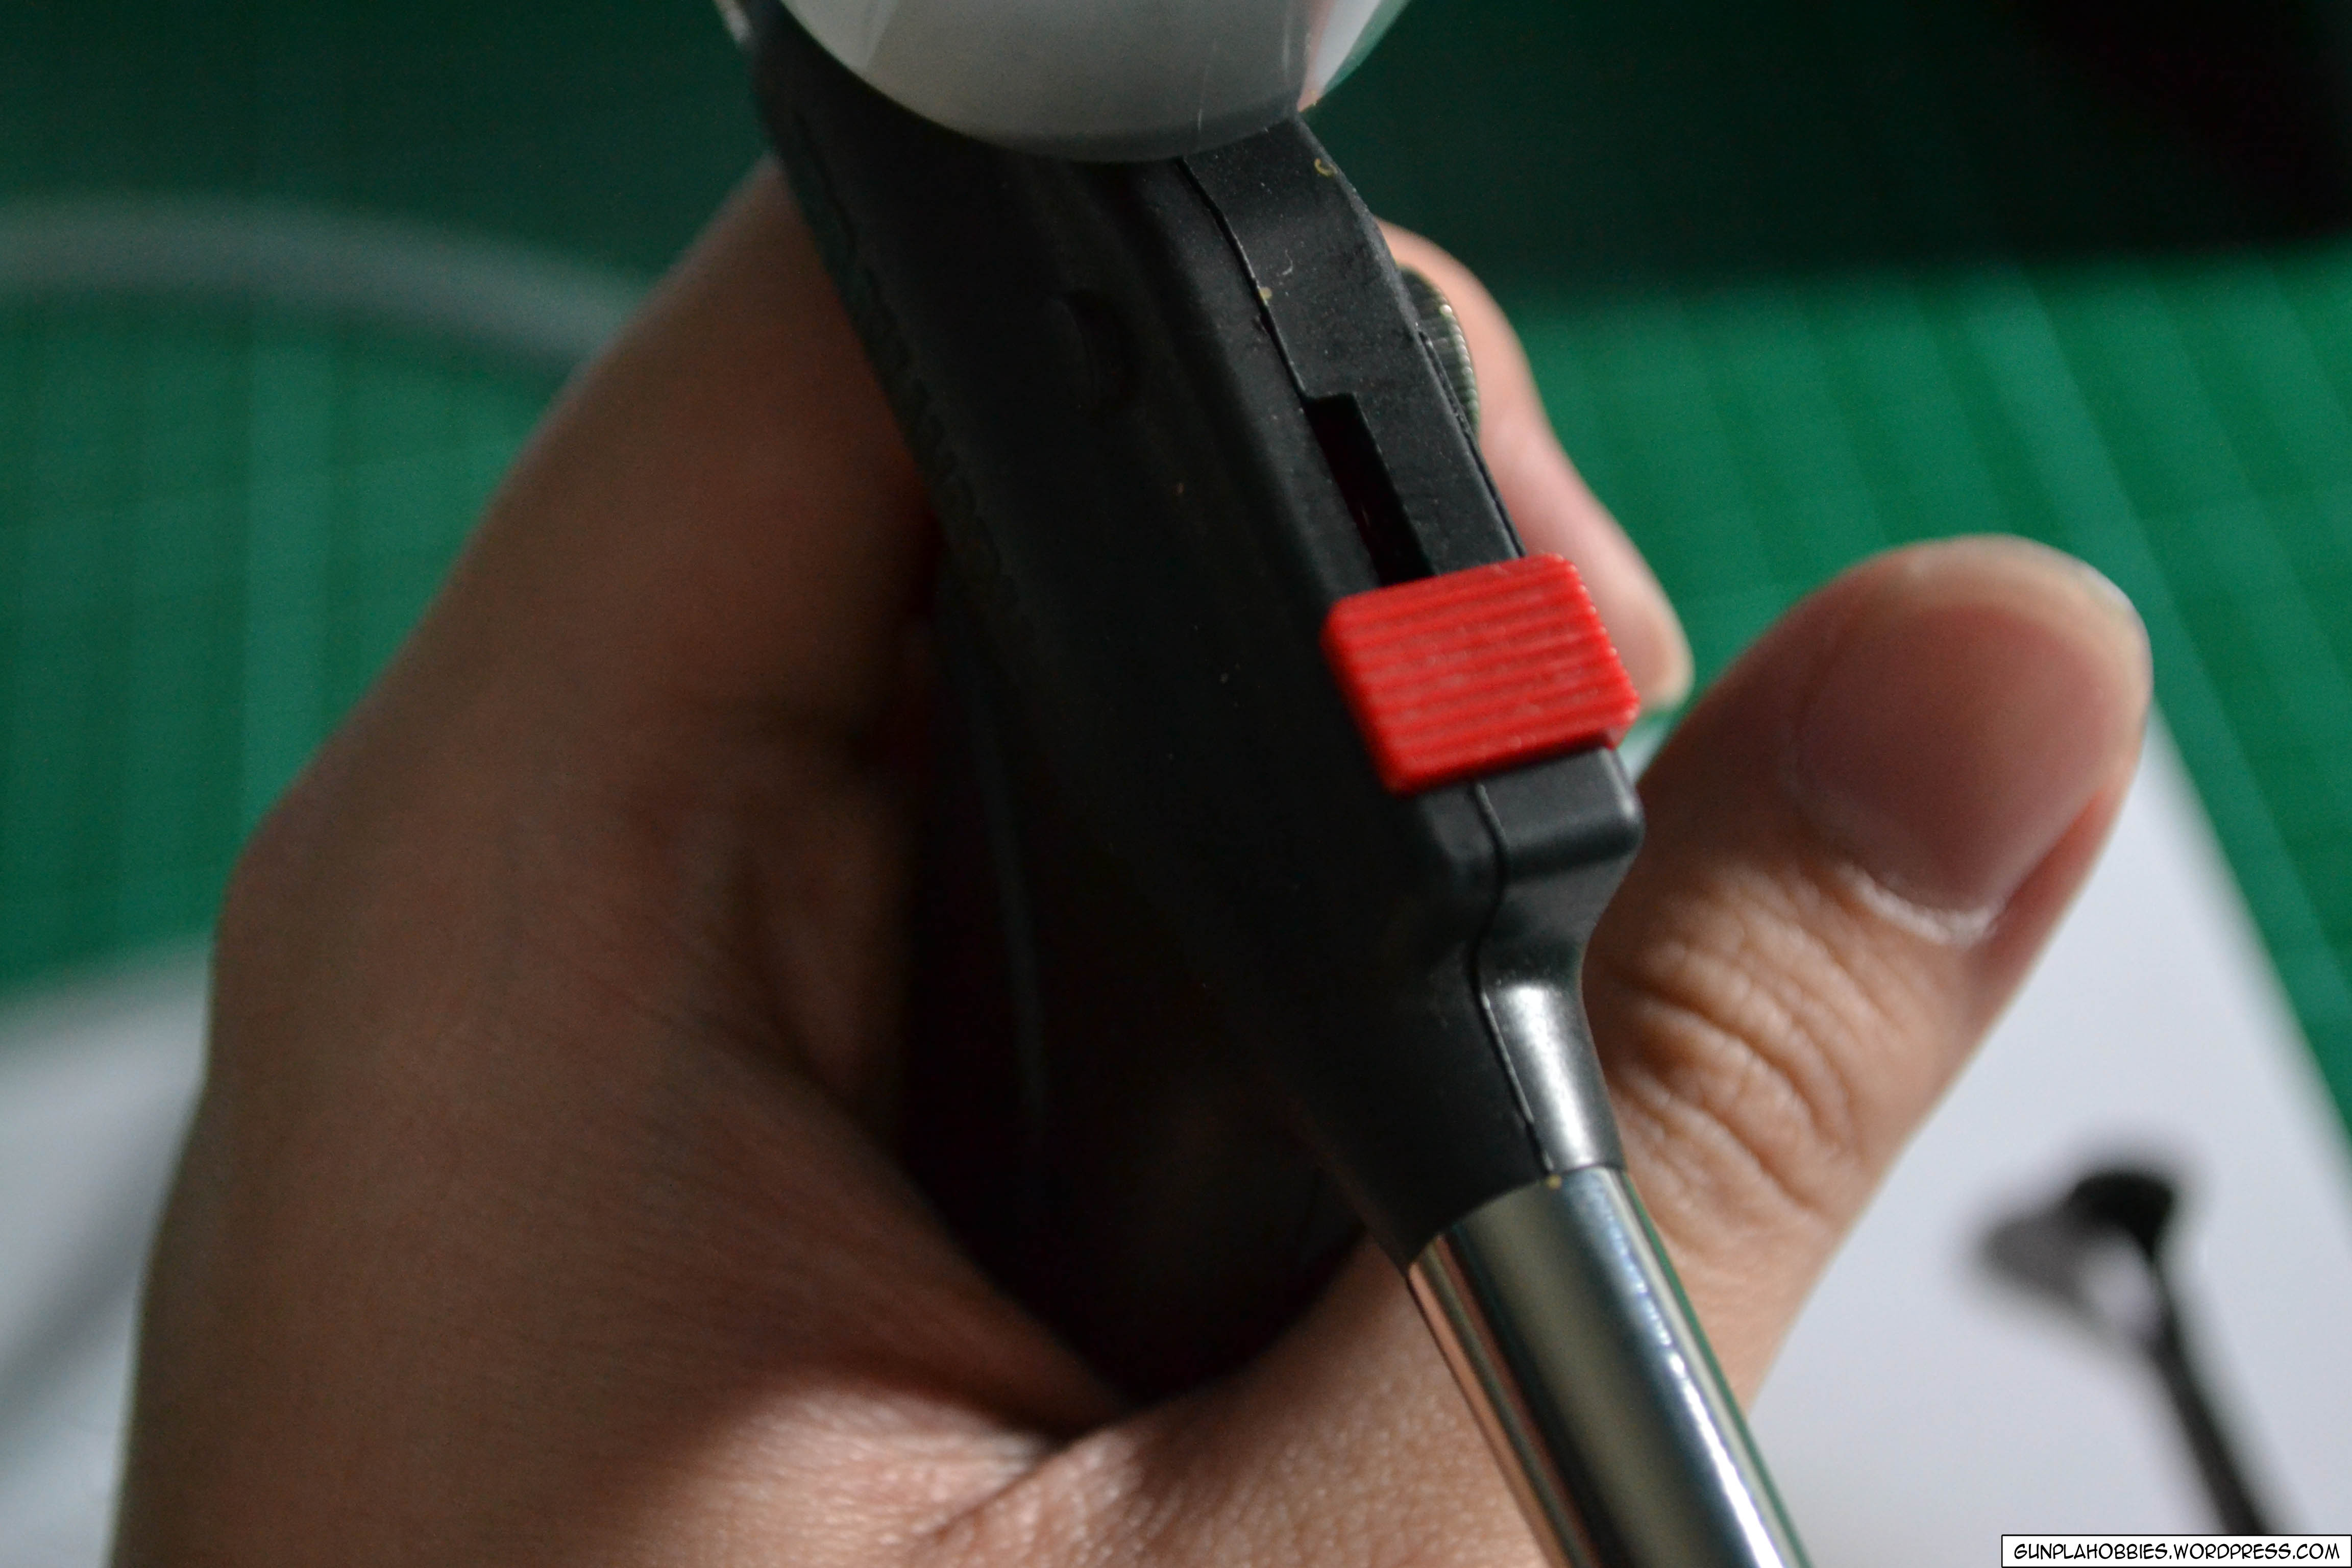
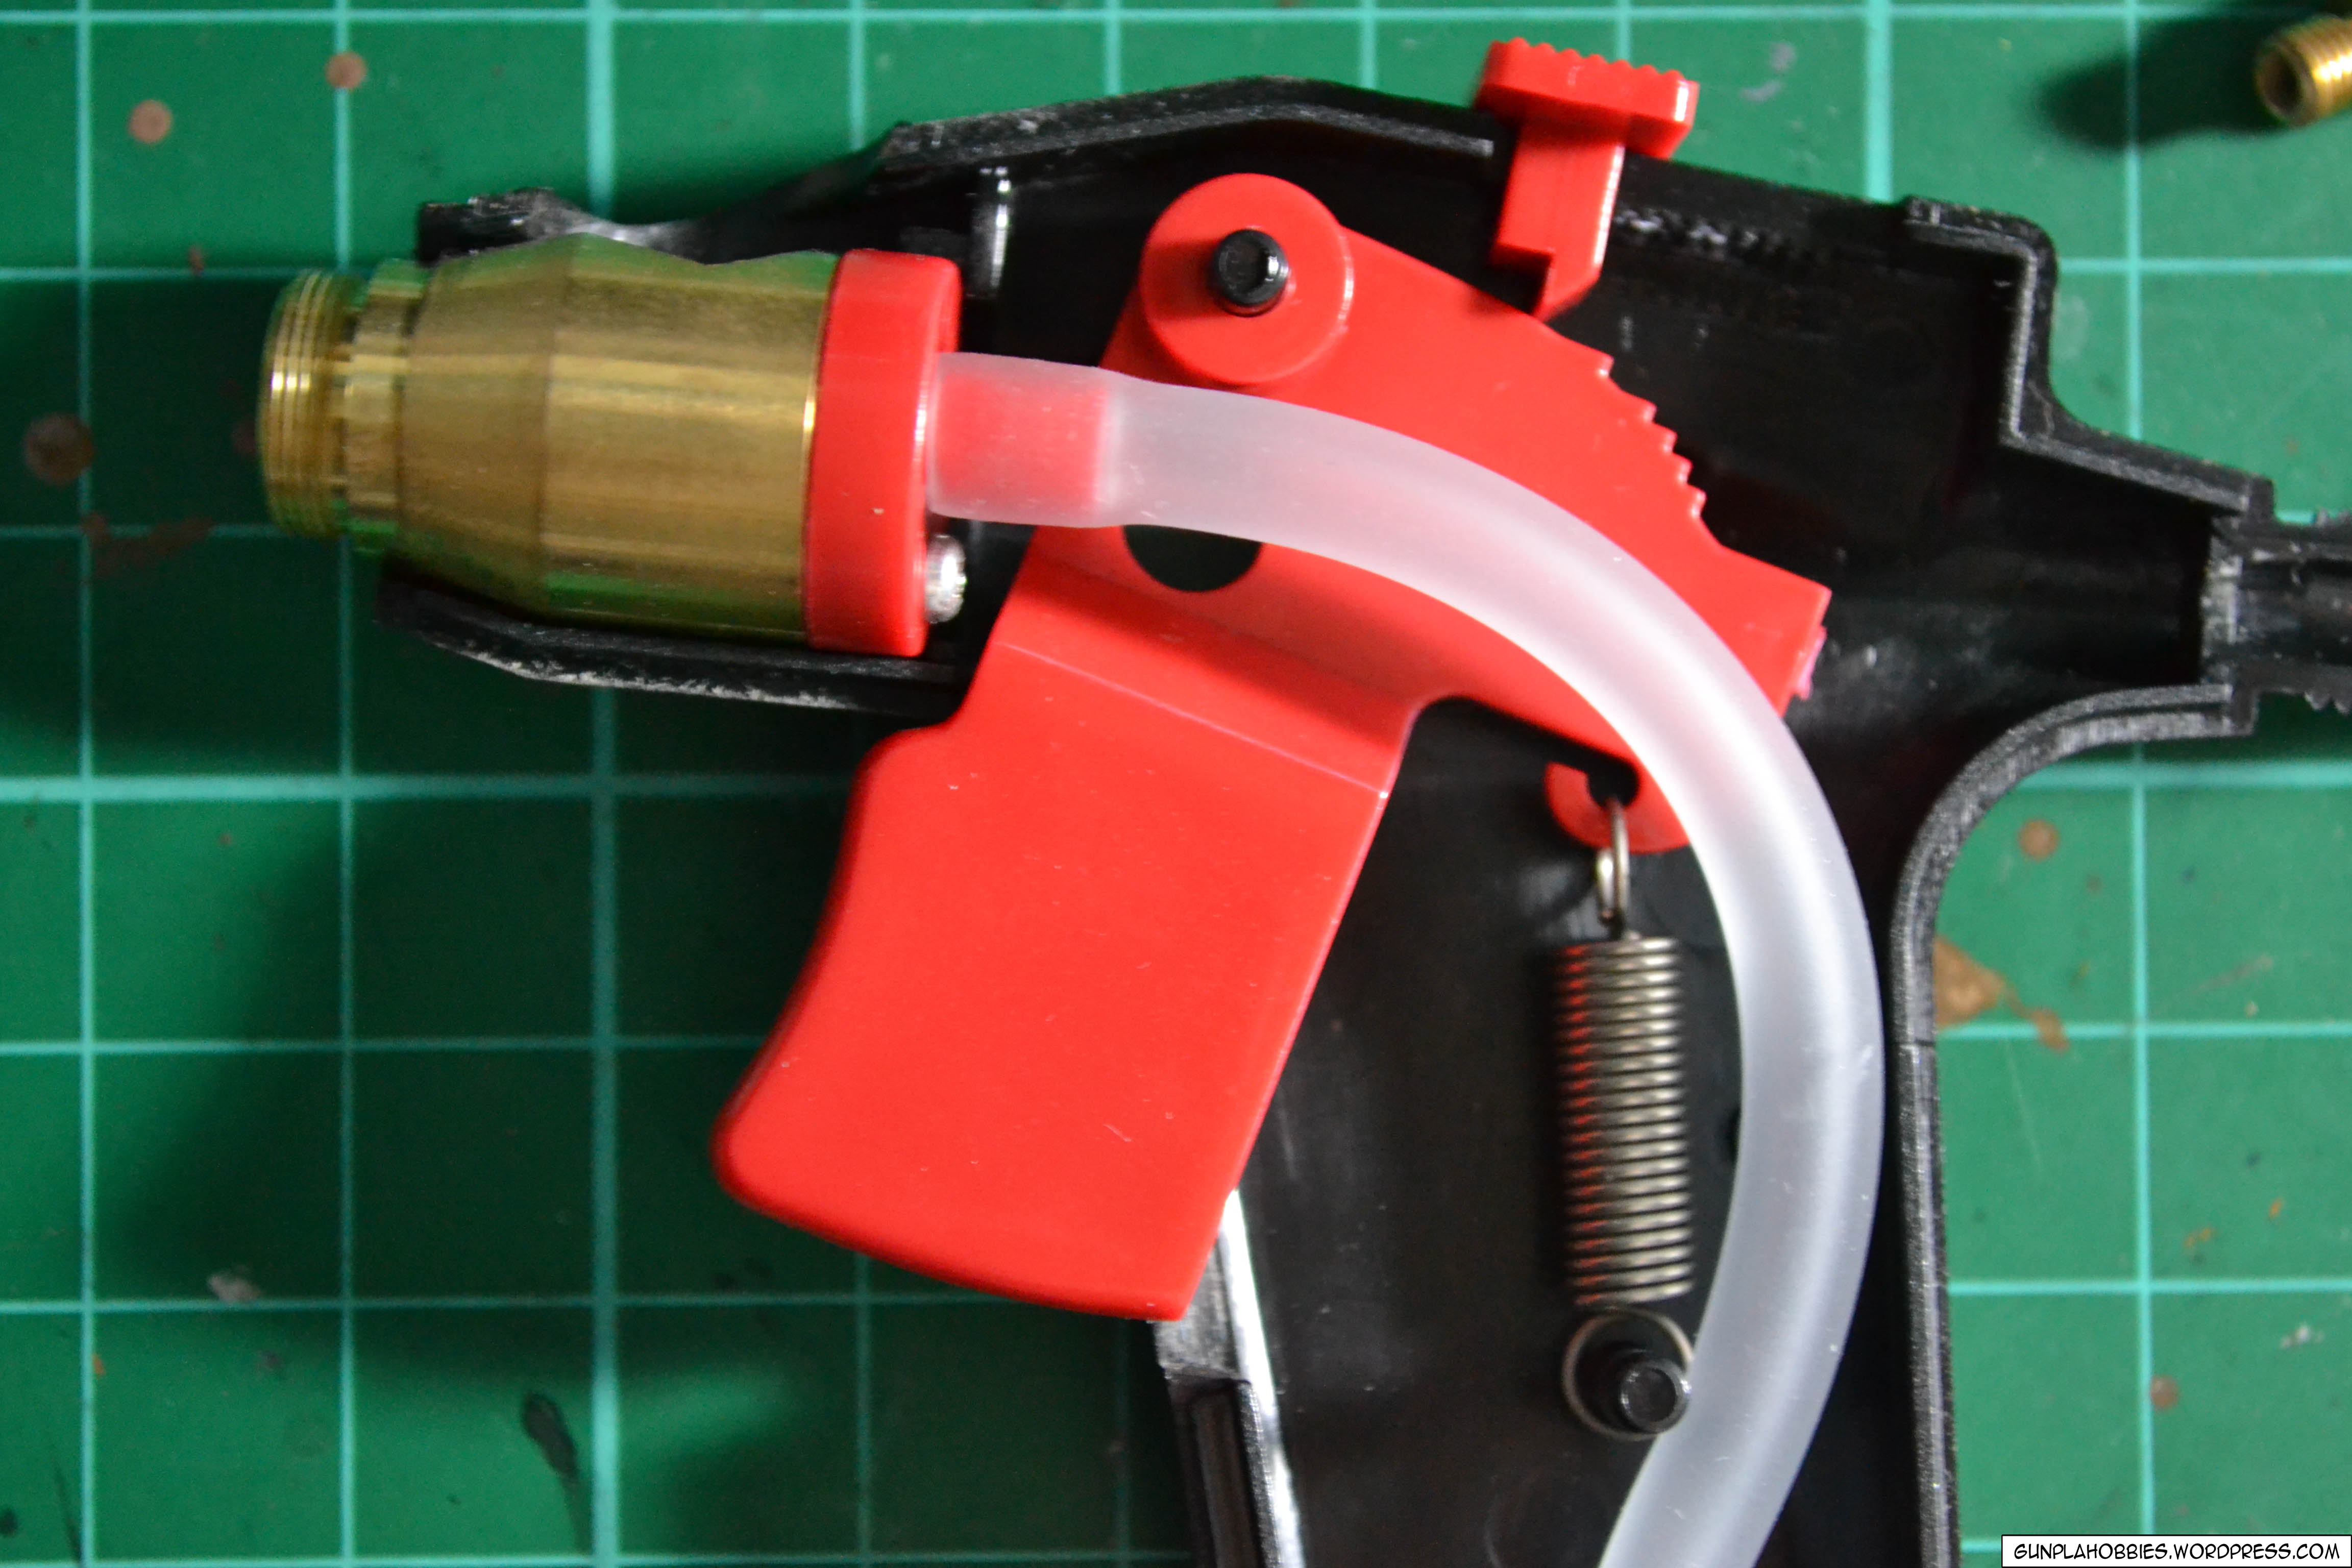
To remove half the the plastic case, just pull down the red thing below:
And viola! It’s recommended to clean all the metal parts of the airbrush after 2 or more uses, the paint tank inside can be further removed by unscrewing the screws but I won’t show it anymore:

For cleaning my airbrush, I use denatured alcohol provided I only use acrylic paints. I like denatured alcohol than using thinner in cleaning my airbrush because denatured alcohol has a odorless variant and is cheap! Be sure to wash your hands afterwards though, because denatured alcohol is poisonous in large quantities.
Well, that’s it for this review! For the summary:
What I like about this kit:
1. Air compressor is lightweight, has minimal noise and is portable.
2. Comes with an basic airbrush.
3. Easy to use.
4. Easy to clean.
5. Airbrush has enough sensitivity options for my needs.
6. Everything you need to start air brushing is already in this kit (apart from the paints and thinner)
What I don’t like about this kit:
1. For now, none that I can think of. Maybe it’s a bit pricey, but well worth the investment rather than buying spray cans all the time.
Tips for people who plans to buy and use this kit:
1. You can find cheaper deals at Sulit.com.ph, though they usually don’t have a power supply included.
2. If you don’t want the hassle to find a cheaper deal, just buy the kit from Lil’s Hobby Center priced at Php 6295 (at the time of writing), this already includes the power supply.
3. Have lots of cleaning materials around and use a well ventilated area during spray painting. Spray painting produces a lot of dust! It nice to have an air humidifier around to reduce the dust produced and contain it.
4. It is recommended to let the air compressor rest after 30 mins of usage to extend the life of the motor.
Till next time! I will be posting my recent work using this airbrush!
Sample photo of an airbrushed kit:
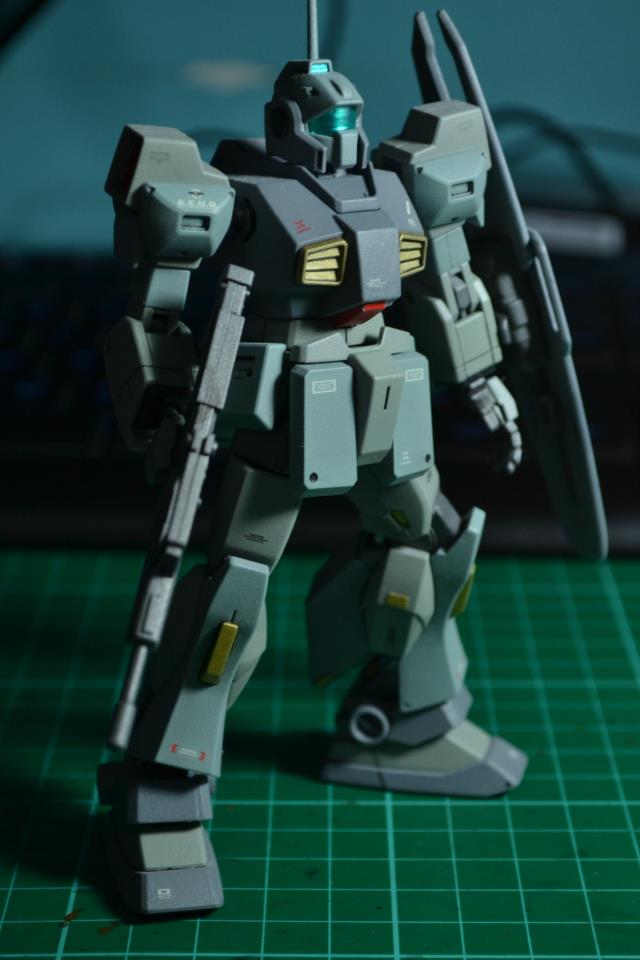

Wow very nice and informative review! The power of air brush really shows in the last pic ^^.
LikeLike
Thanks! 🙂 I’ve yet to experiment and learn more about air brushing. 🙂
LikeLike
Where do you buy denatured alcohol and do you really use the term “denatured alcohol” or there is a better term for that?
LikeLike
Yes, it really says denatured alcohol on its label. 🙂
LikeLike
Some people use 90% isopropyl alcohol. 🙂
LikeLike
Nice! The Tamiya Spray Work is a very good basic kit for airbrushing. If only it was available when I started airbrushing, I would have bought this set.
LikeLike
I agree, very friendly for beginners! 😀
LikeLike
The step by step pictorial explanation is so useful to make spray cleaner of compressed air. It will be useful for small air spraying applications.
LikeLike
Ei man, can I ask some things in private?
Can I add you on FB or something?
LikeLike
Sure no problem! Its Rj Ko in FB 😀
LikeLike
Nice review! One question does it make noise?
LikeLike
And also thanks for reviewing this kit 🙂
LikeLike
No problem! 😀
LikeLike
Yes but not loud like other compressors.
LikeLike
Hi, i’m interested to buy this. But i couldnt find the battery or adaptor for it. I’m living in Indonesia. Any help or idea maybe? Thanks
LikeLike
There should be one in electronic stores, AC to DC converter that matches the pins of the compressor. 😀
LikeLike
Thanks for reviewing this darkandchoco! Your review is very informative and well written! 🙂
LikeLiked by 1 person
Thank you radeon! 😀
LikeLike
After reading your review I went over to Lil’s and bought one myself! It works just as you said though I dont really know how you clean the metal parts and the manual didnt help…maybe you can share some tips? Thanks in advance!!!
LikeLiked by 1 person
I use a small plastic bowl, the ones you get when you takeout some noodles at some chinese restaurant haha! Then some denatured alcohol, you can buy one at Ace Hardware, it’s around 50php only. So I just dip the parts onto the alcohol in the bowl, swirl it a bit, then use some cotton buds/swabs to further clean the metal parts. 😀 CAUTION! Be careful in handling the needle!! It’s the most important part of your airbrush! Do not bend it especially the tip! You can also use cotton balls to clean it. 😀
LikeLiked by 1 person
HI,
May I ask please?
In the online websites, thsis air brush system is described as supposed to be connectded to a rechargeable battery ack. http://www.rcjaz.com.
This review mentioned it can be connected to a power supply. Can someone be s kind as to tell me where can I urchase the power supply alone? Please?
My email zhilonghong@gmail.com
Thanks
LikeLiked by 1 person
The original power source is a battery pack, but a power supply with the right interface and specifications can also be used. In the Philippines, Lil’s hobby store sells these power supplies, but you can also buy them at electronic boutiques. 🙂
LikeLike
Thank you so much !!!
You made my day
LikeLike
You’re very welcome! 😀
LikeLike
Goid review. Though you really shouldn’t thin you paint on the airbrush cup. It’s a bad habbit. Nice paint job though.
LikeLike
Thanks!
LikeLike
I am glad to hear you say that! My compressor has a running load of 1.5A but a “start” load of 20A. What I’ve ready thus far is that for motors and SSR’s you want your SSR to be able to handle 6x your max load or 120A in this case. The idea of sticking a 25A SSR on this circuit sounds like a meltdown waiting to happen. So the question I’m asking myself is, and this is where my ignorance comes in, does that “start” load of 20A really amount to much? Based on your explanation above, I think I’ll be fine, but it gives me comfort to know you haven’t had any issues. Thanks again!
LikeLiked by 1 person
Hi Dark, nice review! Very informative. This got my juice up on stepping my hobby. May I ask how much did you bought the ac power source? Ive checked ace hardware a while ago unfortunately they only sell adaptors for 7.5v. Not sure where to exactly to find a 7.2 one. Since i plan to buy mine on my trusted online seller. Thanks in advance!
LikeLike
Hi Gani! My AC Power Source was bought at Lil’s Hobby Centre along with the air compressor. 🙂
LikeLike
Hello, can anyone help me. I also have this kind of airbrush for 6 years. lately i cant use it. The compressor is still humming but its not releasing any air.even if i disconnects the airbrush leaving only the tube, Theirs no air pressure.have you ever experienced this situation.how can i fix this? I tried searching for any service/maintenance here on the web but didn’t find any.
LikeLiked by 1 person
Either there might be dirt stuck on the output or your compressor has broken parts inside.
LikeLike
A big thank you for the review reaaaallllyyyyy helpful! i’m gonna get one for myself…. maybe you can teach us also some basic airbrushing technique to achive some cool paint job on a plane or ship models… thank you
LikeLike
If I have the time. XD
LikeLike
Thanks for taking the time to write this. Very informative. Would be curious to know how much you paid. Or if you tried any of the other “upgrade” airbrushes Tamiya markets for this. (See: https://www.tamiya.com/english/products/74520basic_comp/basic_comp.htm)
LikeLike
If I remember correctly, 8,000 Php for the set, haven’t tried upgraded brushes though.
LikeLike
Any thoughts about the mr hobby linear compressor? I’m having tough choice between this one or the mr hobby linear compressor
LikeLike