

Hi! Last time I edited this page was last March 2012, it’s high time I update my tools section since my I use more tools now than before.
First let me show you my work space:
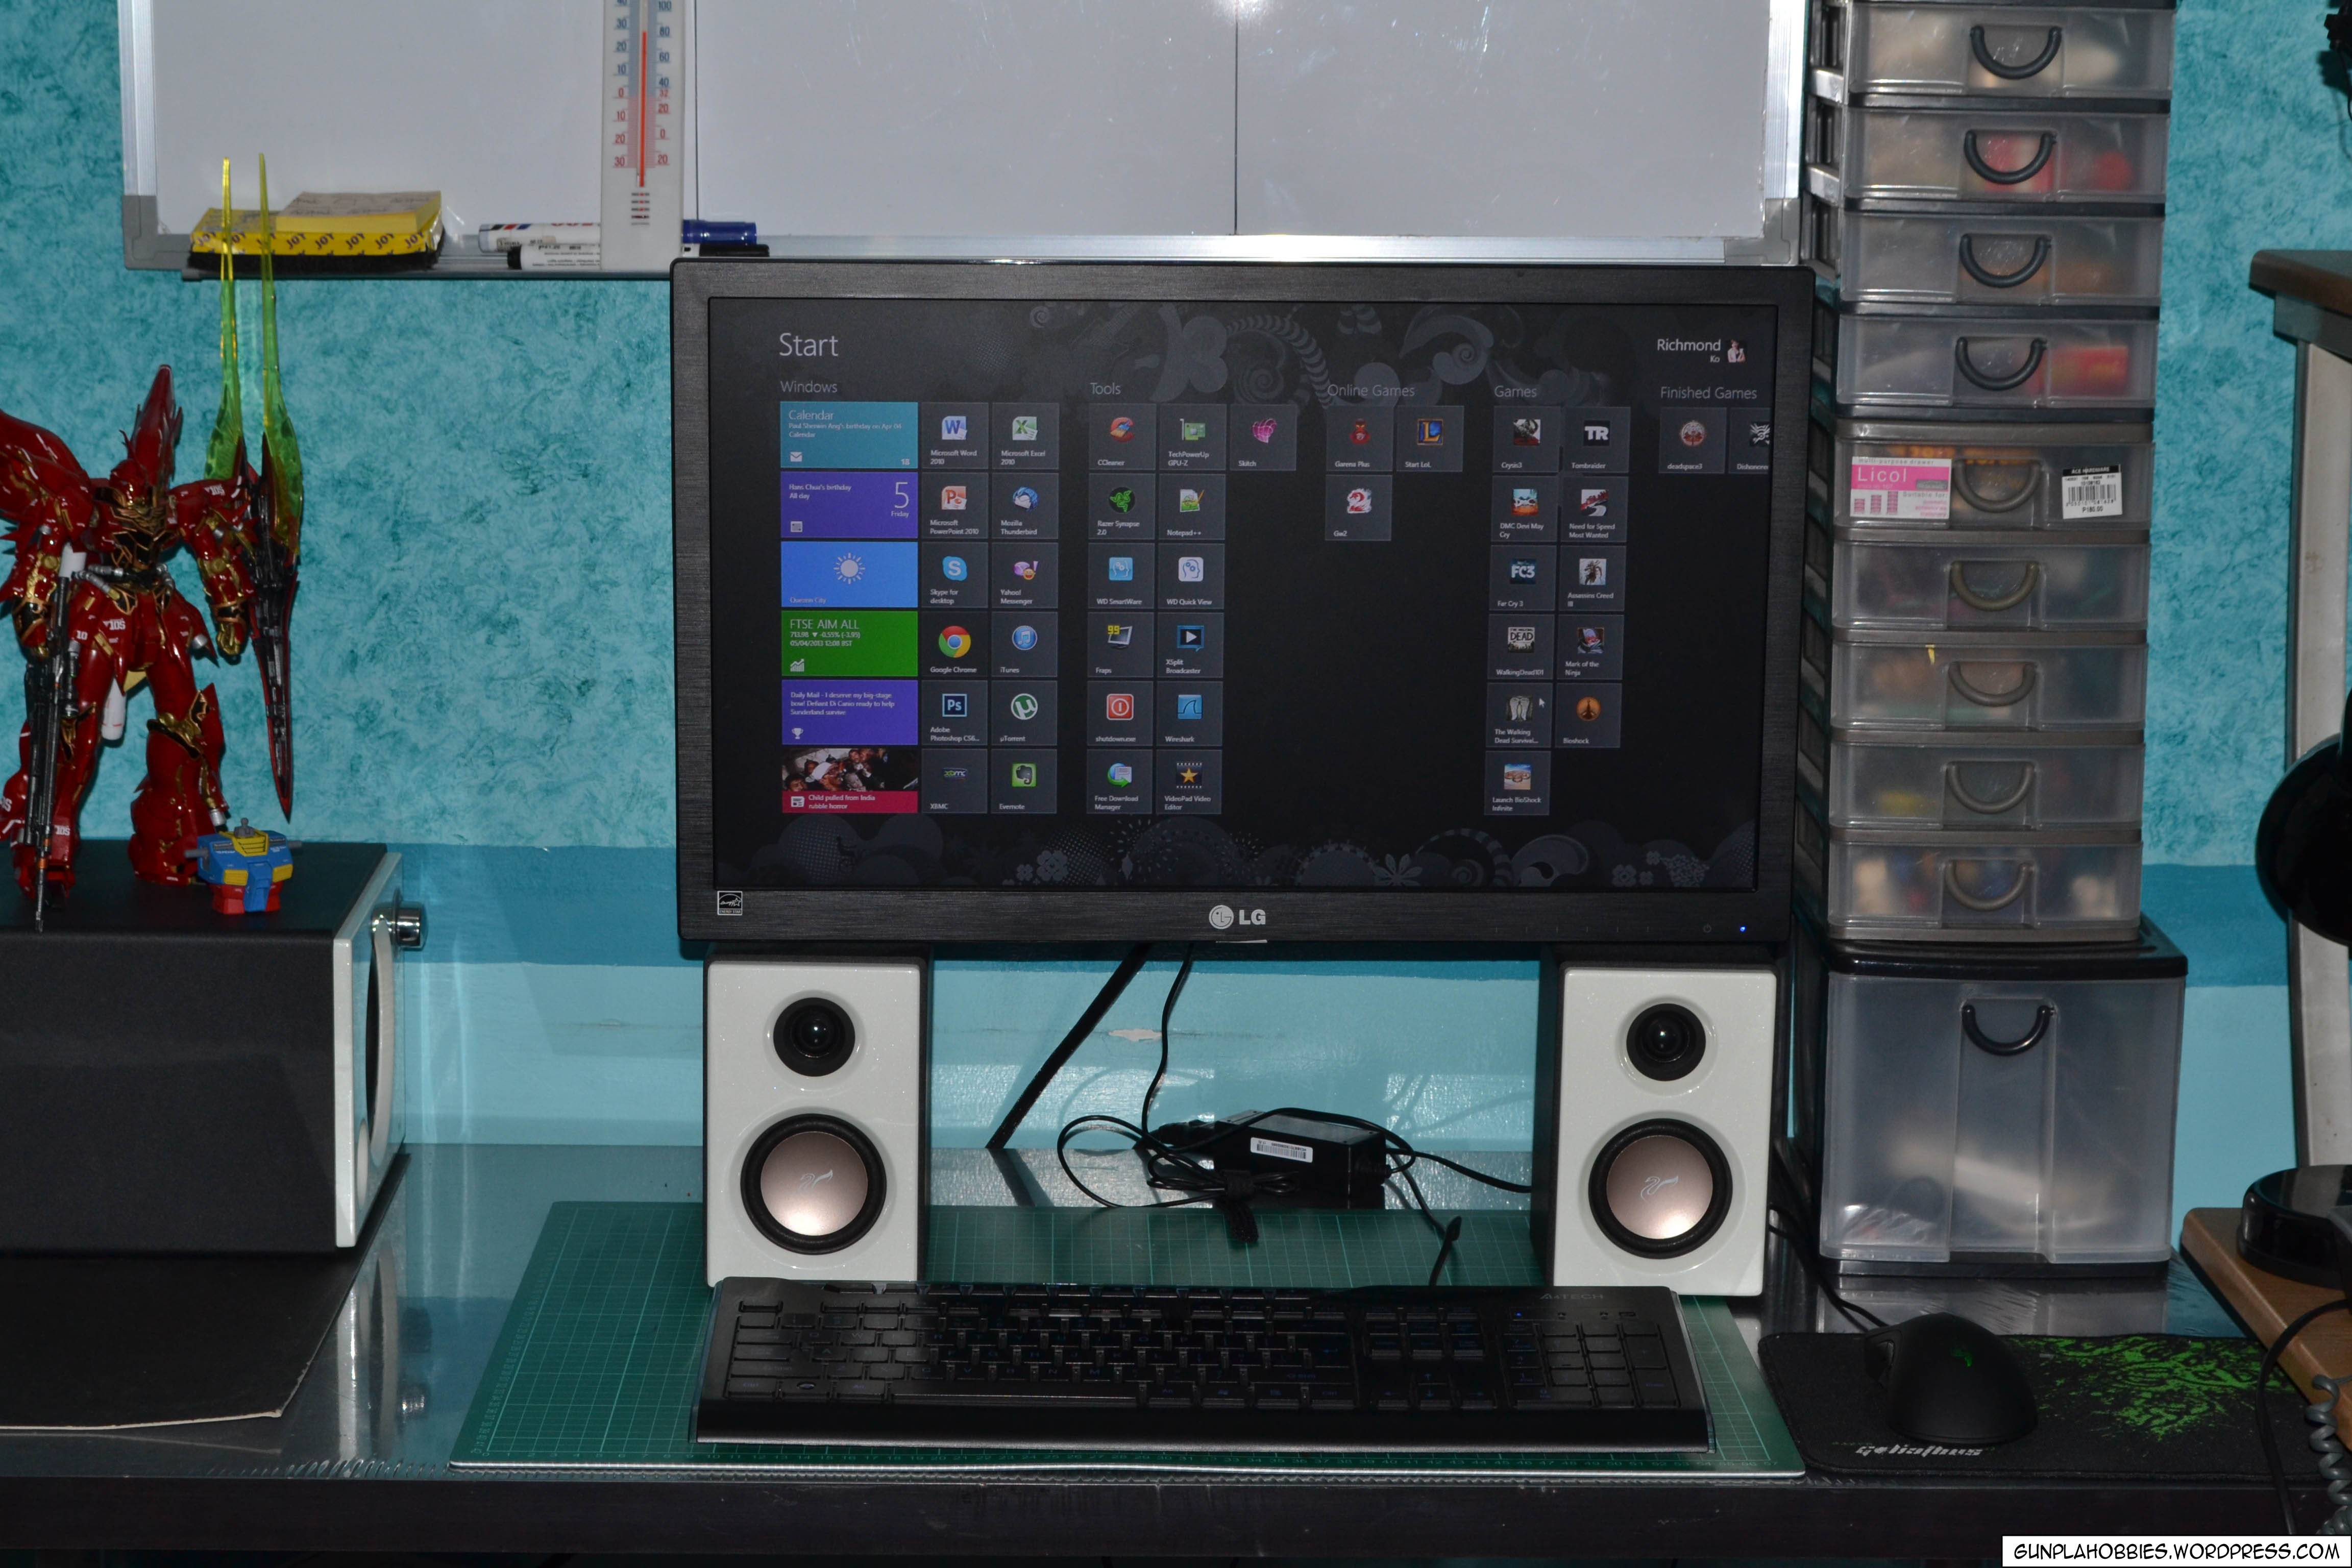

It doesn’t look like a hobbyist work space right? Looks just like a typical personal computer setup with not that much space. But I have set it up in such a way that my computer work space transforms into my hobby work space! I just push the monitor and the speakers inwards and set my keyboard upright by the speakers and viola!:
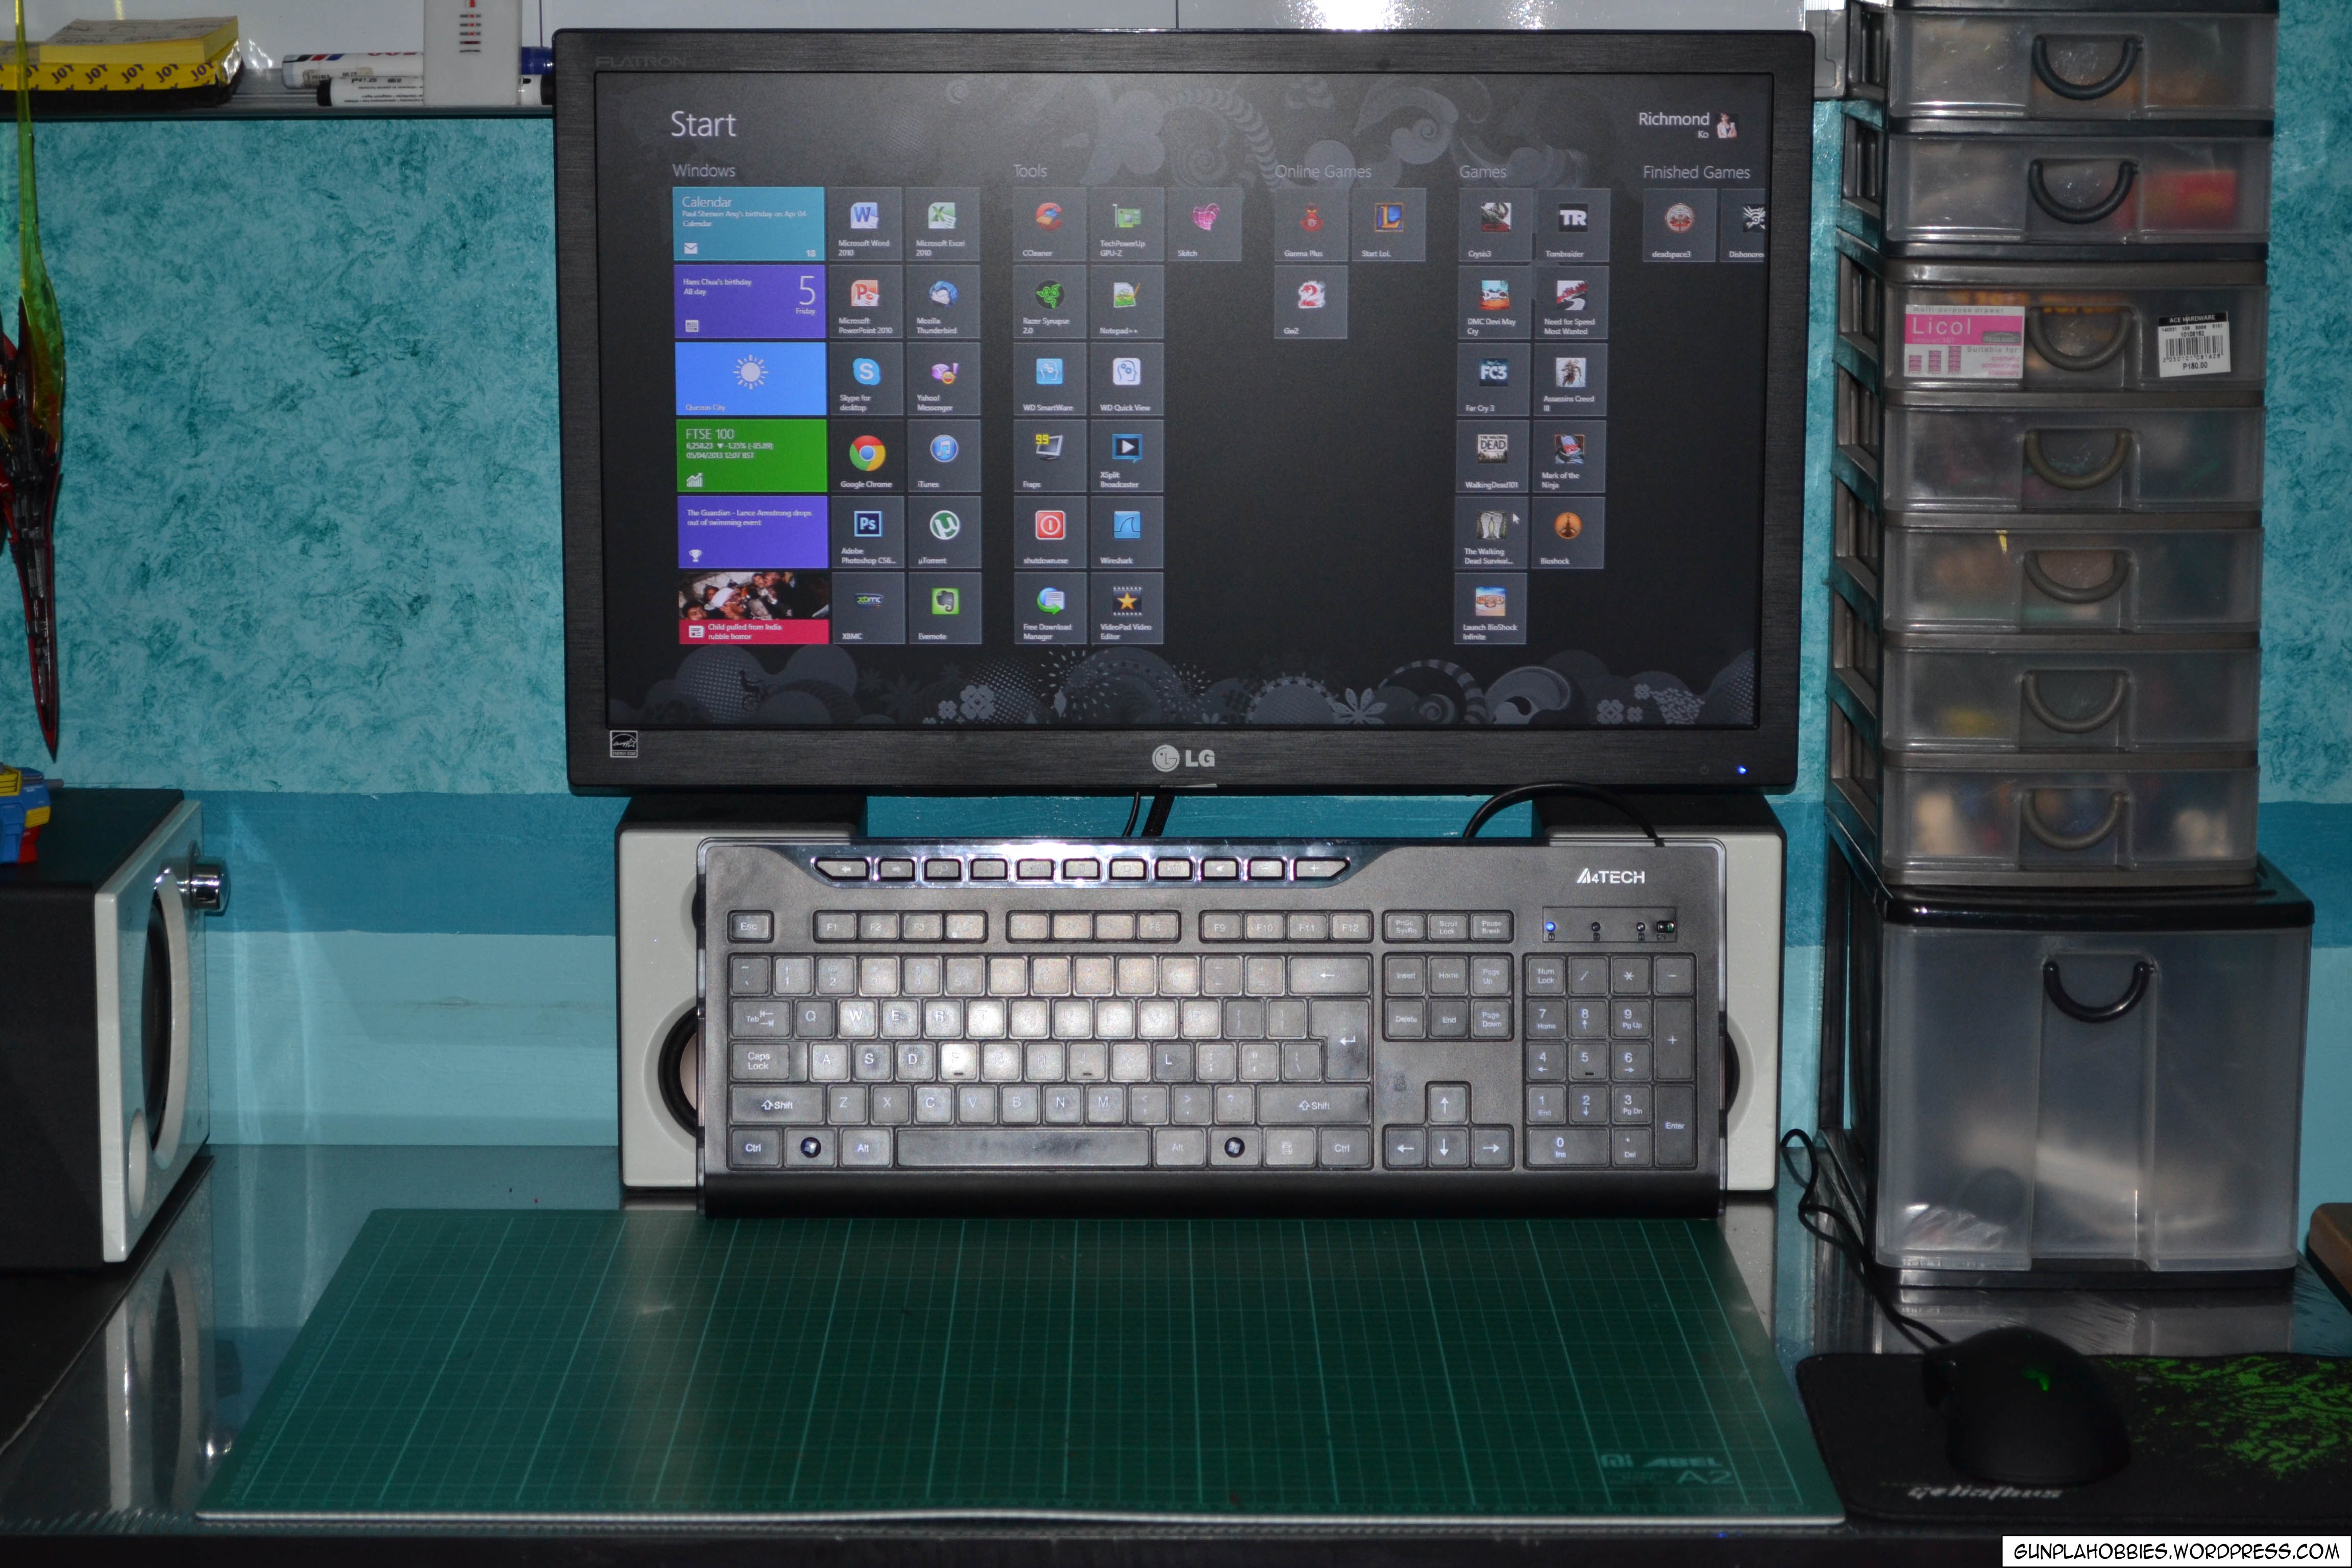
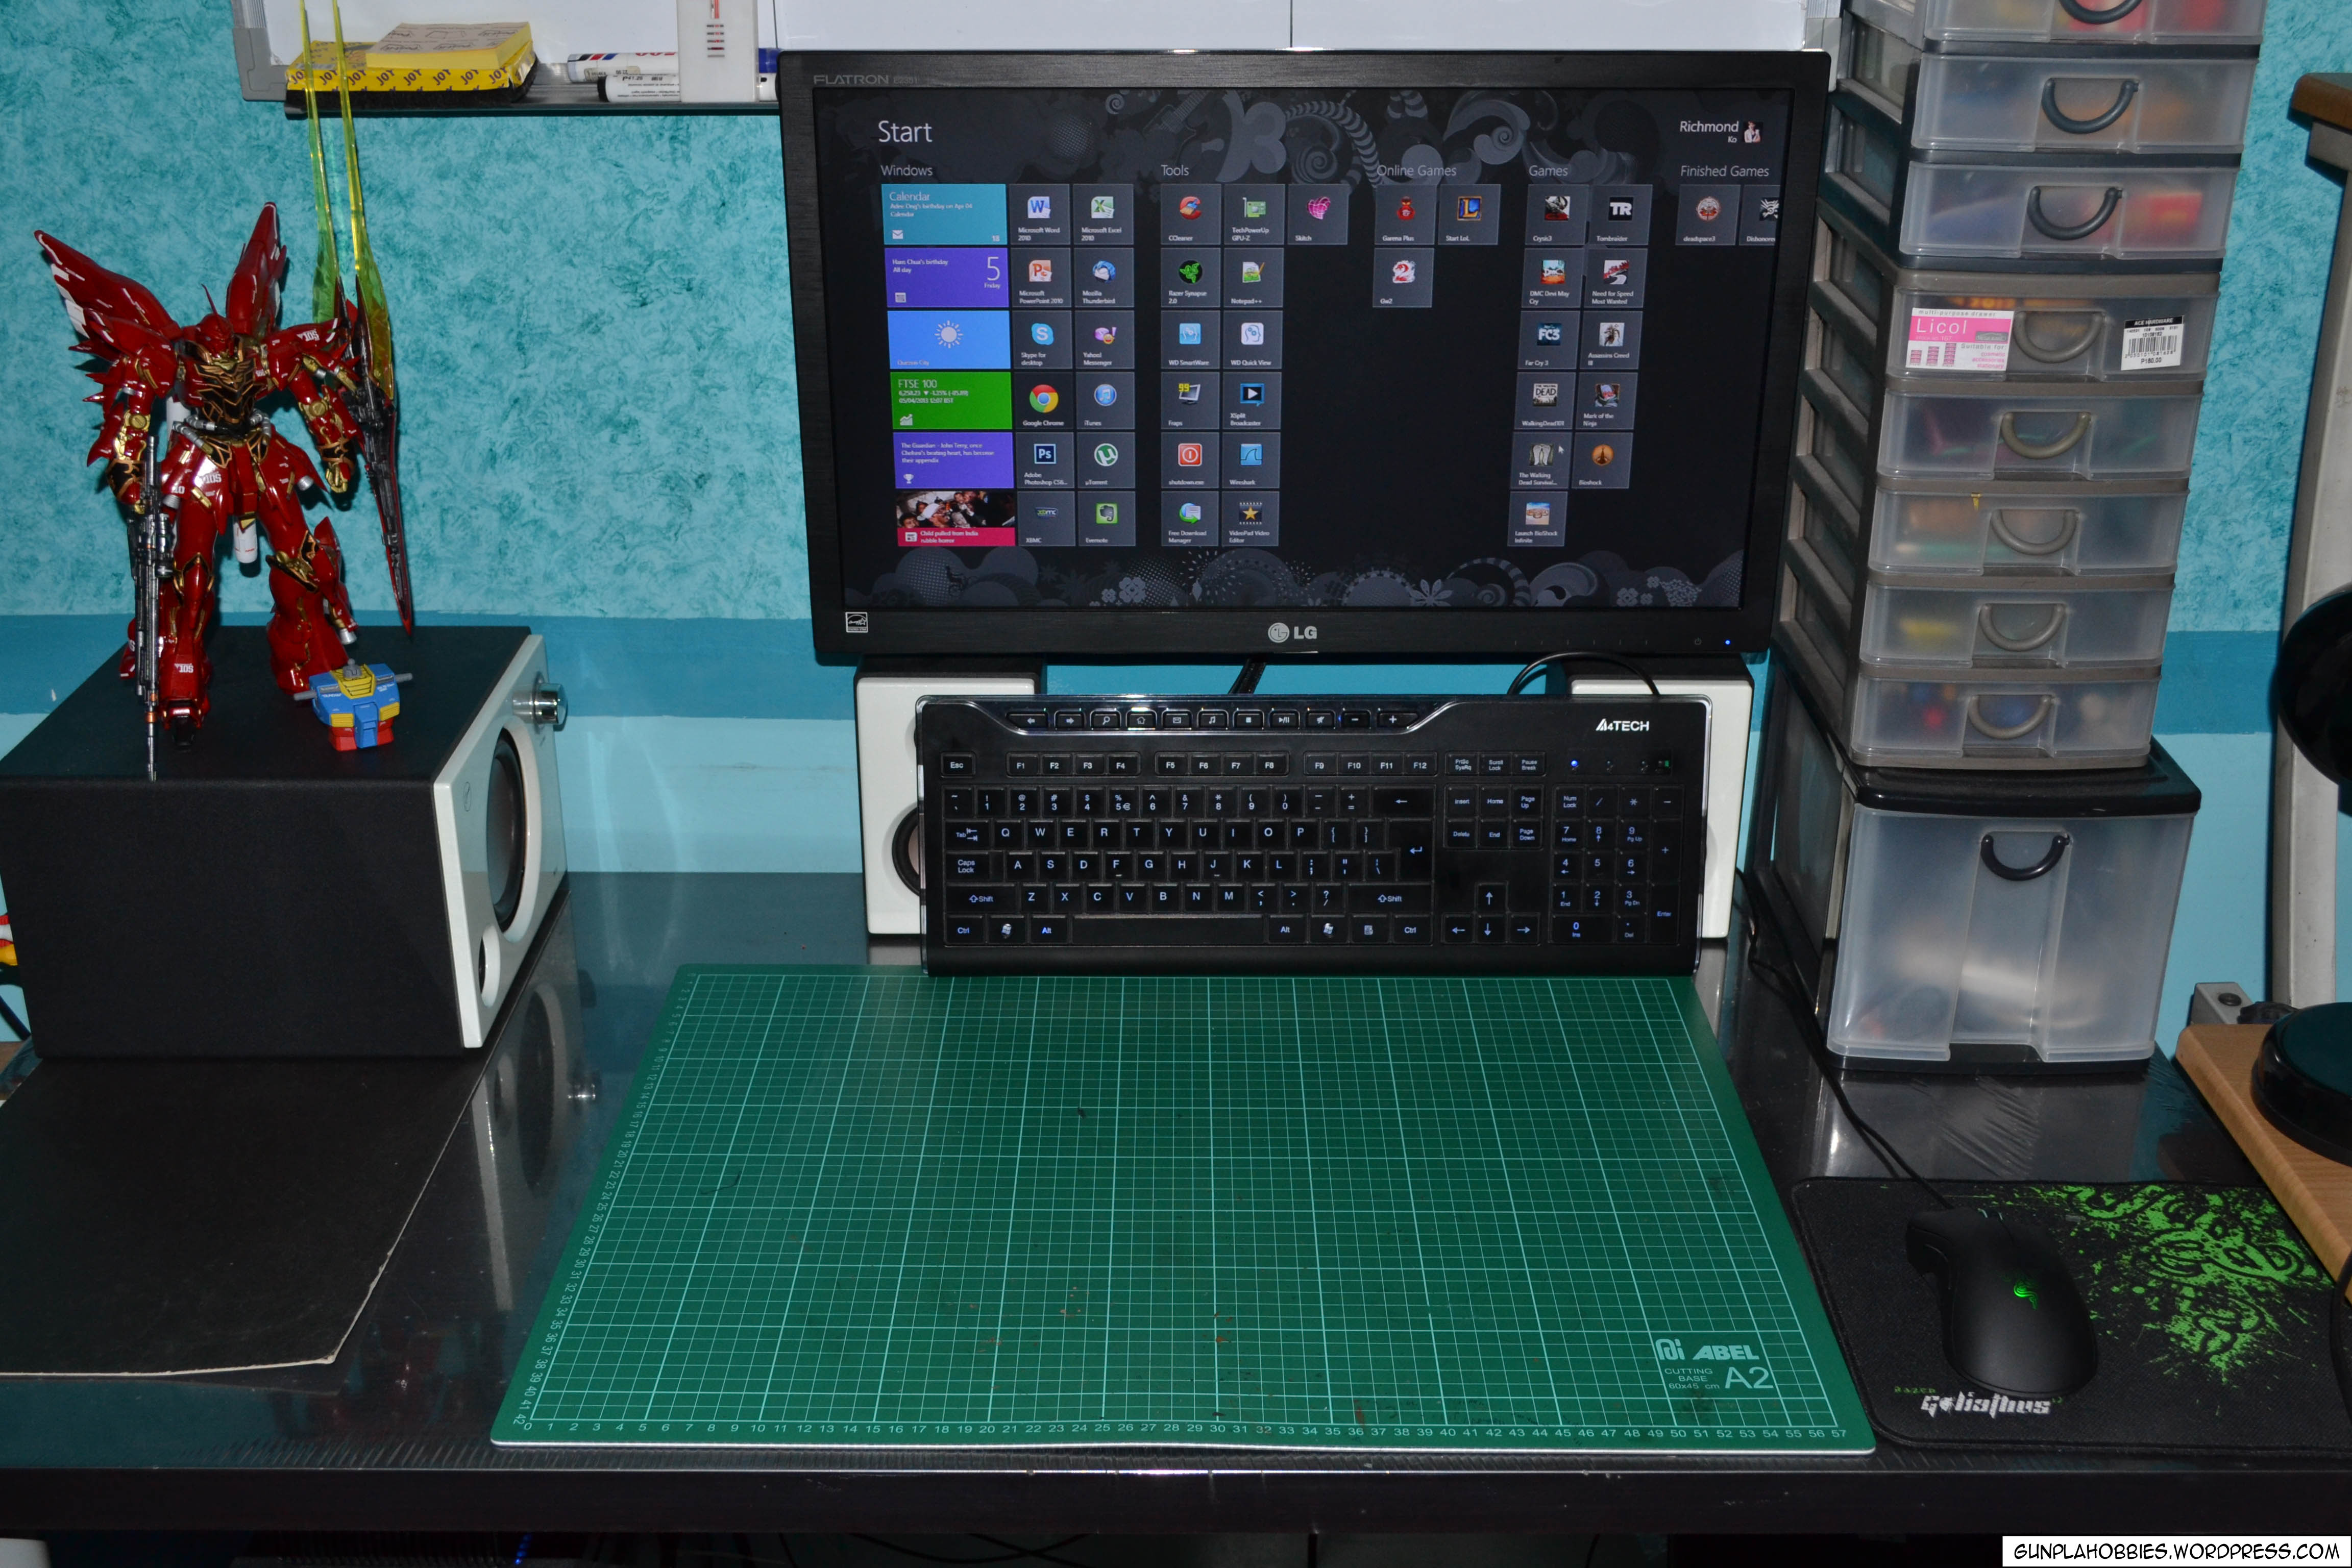
Now I have enough space, large enough, for my hobby! It’s nice to have a large cutting mat so that you’ll not damage your table while cutting. Now Ill show you the various tools I use in modeling Gunpla.

I use a hobbyist toolbox as you can see above, it houses my cutting tools, paint brushes, paint bottles and various other modeling tools.

The box has a removable upper part that separates my handheld tools from the paint bottles and thinners.
Let’s get on with the actual tools, first up is of course the side cutters:
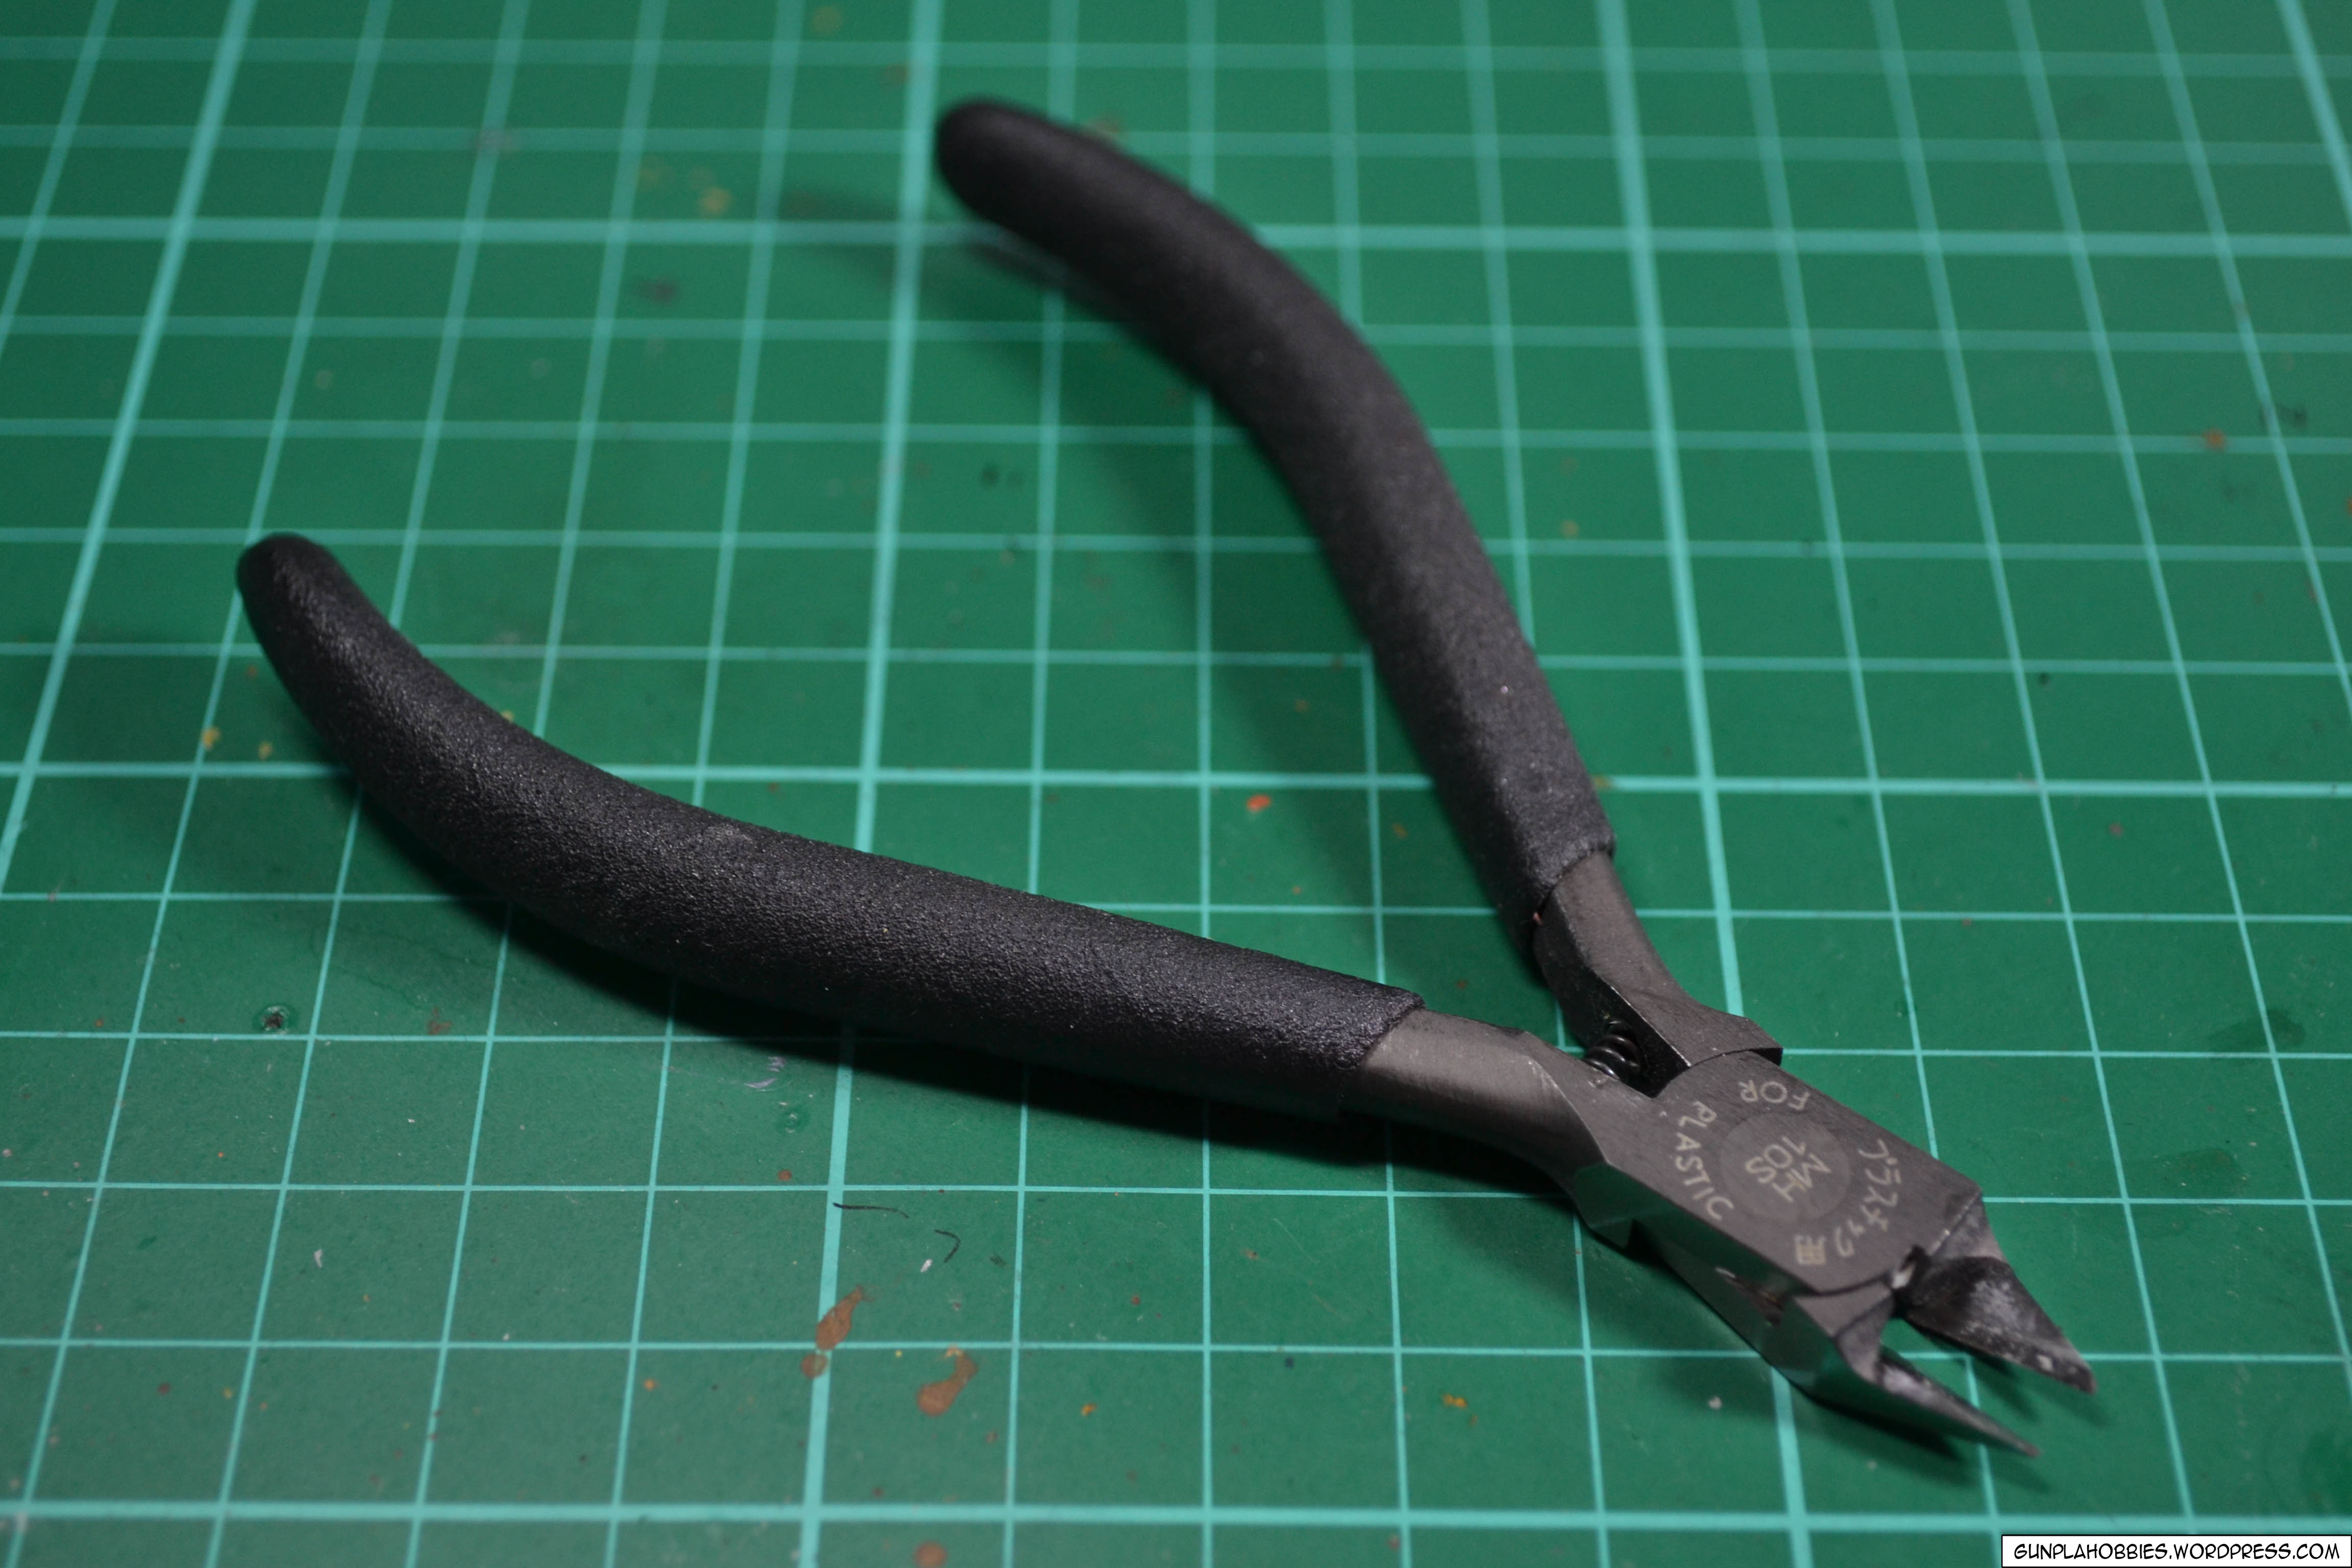
This is Tamiya craft tools no. 35 if I’m not mistaken, it’s the best side cutters I’ve had for a while. It cuts plastic like butter! Great for removing nib marks because stress on the plastic while cutting is reduced due to its high quality design and sharpness. Back then I used diagonal cutting plies that were originally used to cut copper wiring, but they weren’t good enough for cutting plastic and smaller parts. This tool is a good investment if you are planning to pursue Gunpla. It costs around 800+ Php and can be bought at Lil’s Hobby Center.
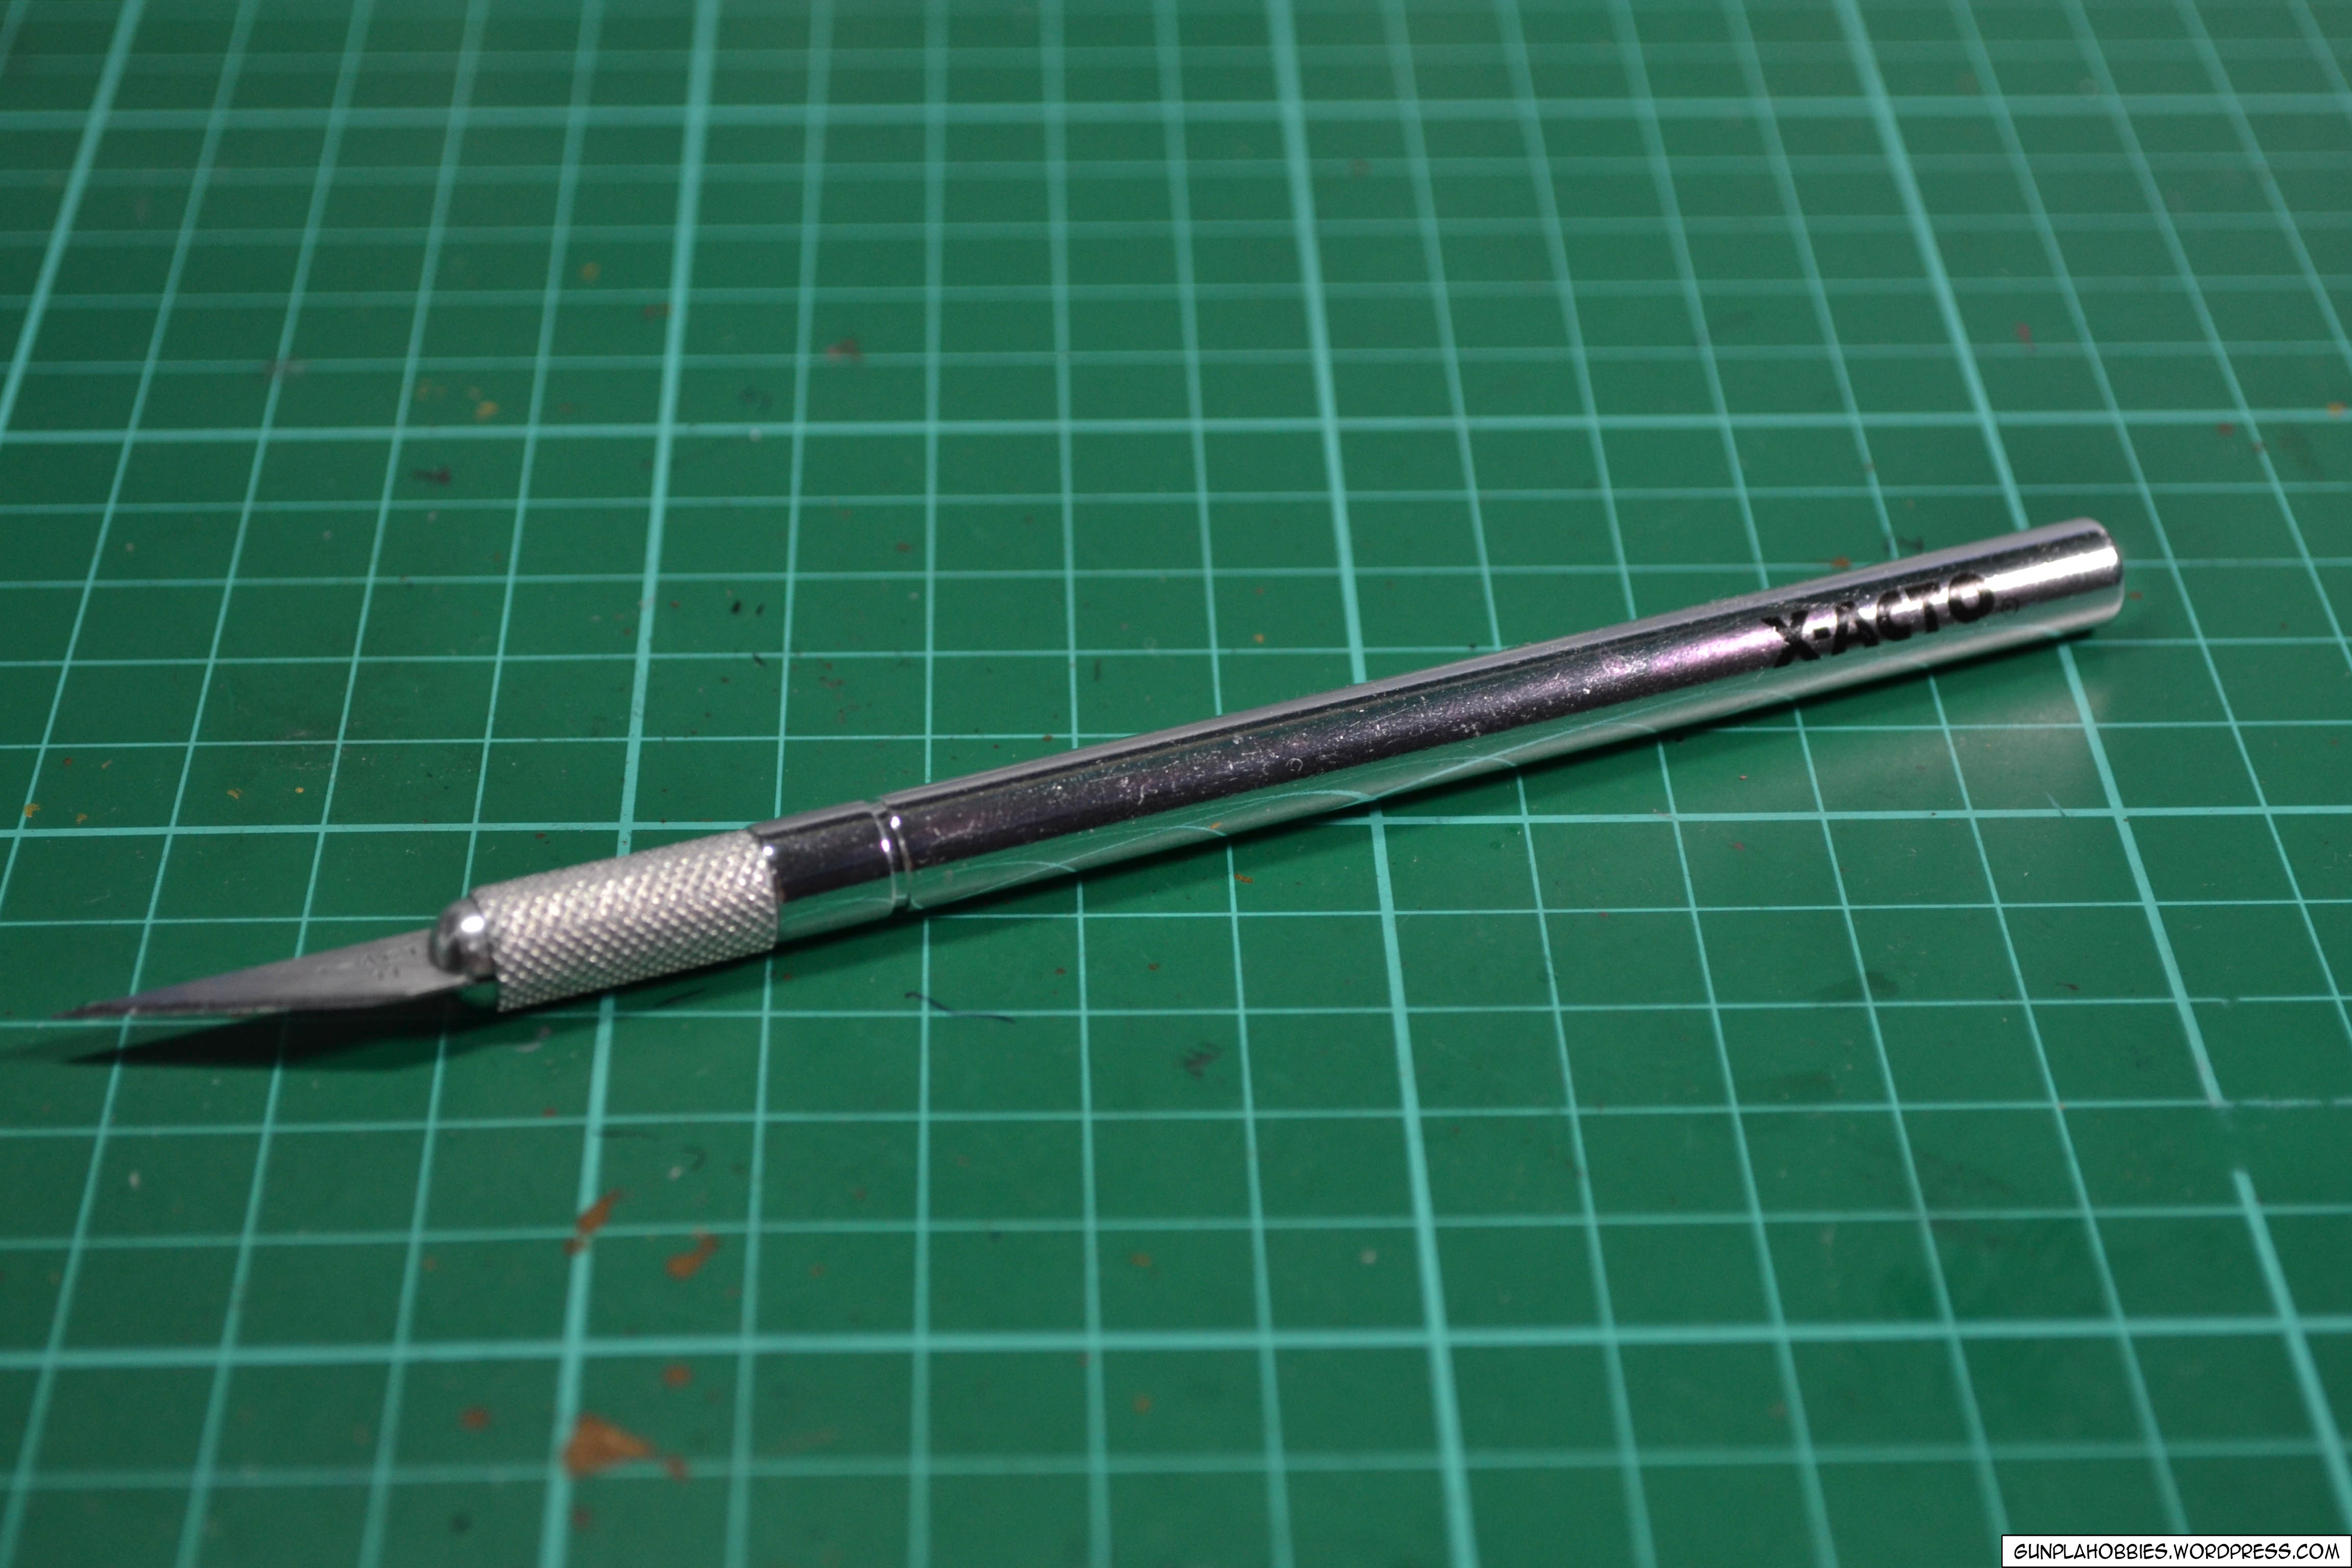
For further cleaning of nib marks I use an X-Acto hobby knife, be careful in using this tool because its extremely sharp! Other than cleaning out nib marks, I also use X-Acto in cutting decals and clear stickers.
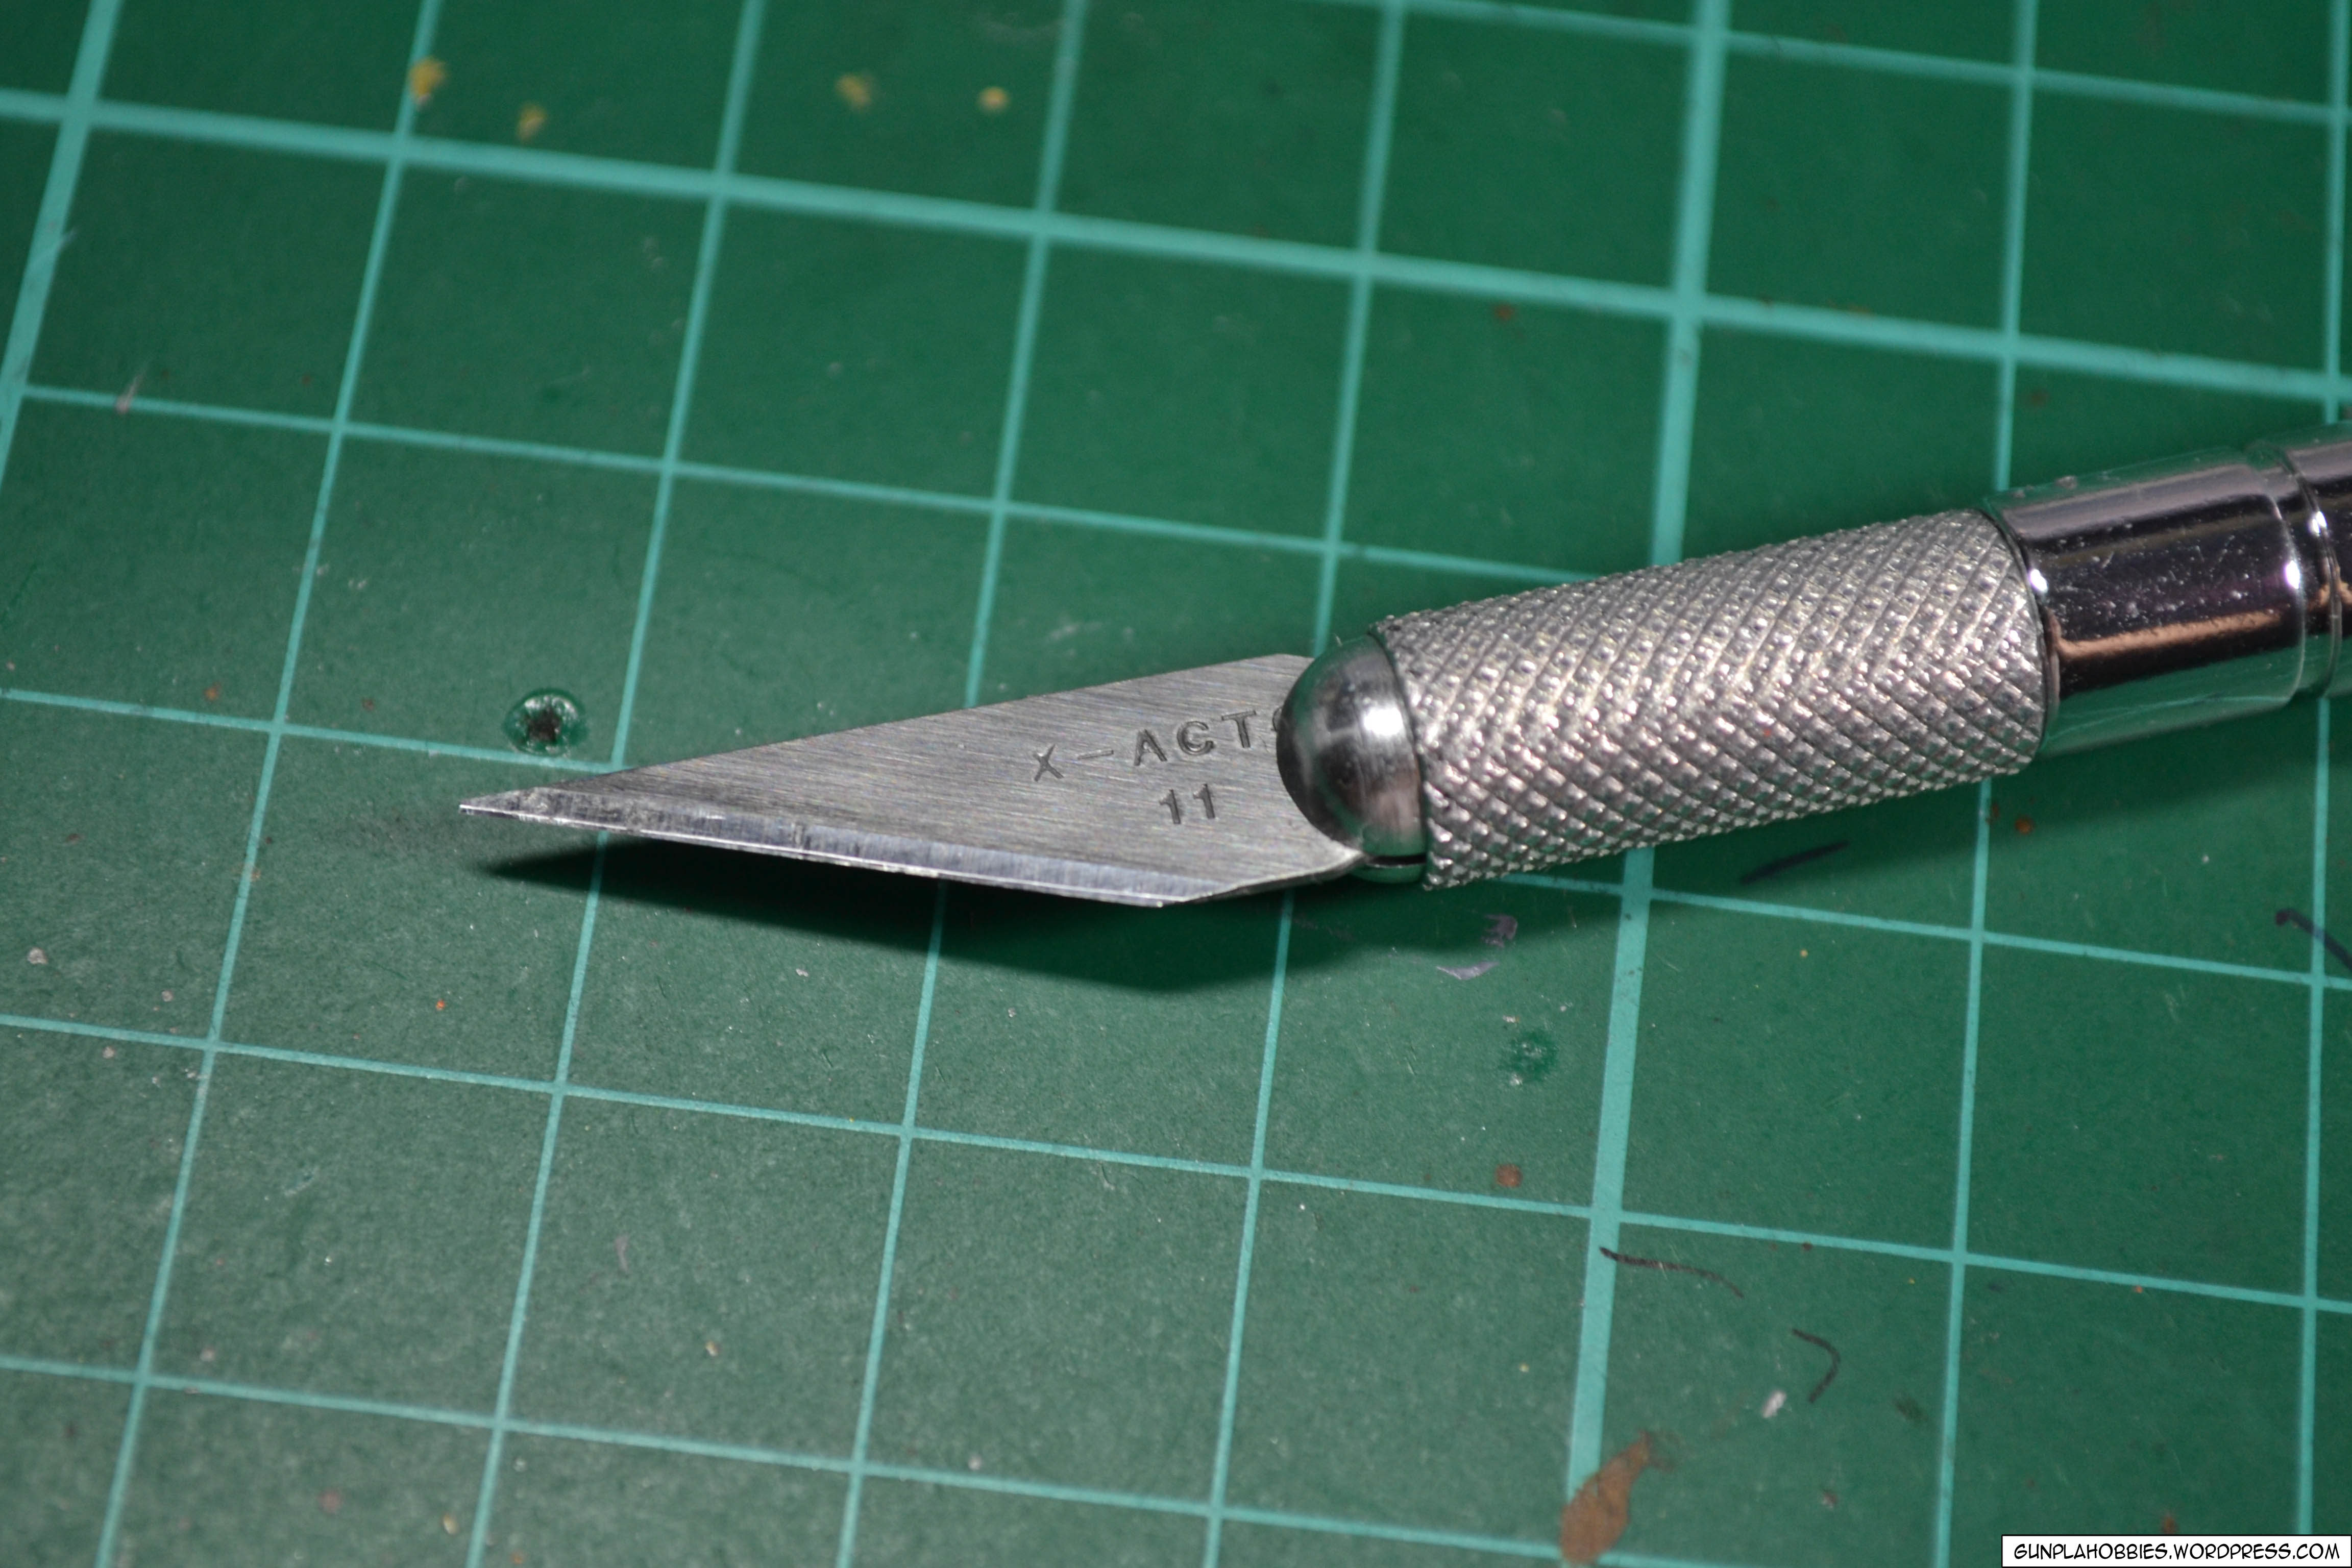
An X-Acto hobby knife can be bought at National Bookstore or at Lil’s hobby shop, it doesn’t cost as much as the side cutters. I think it’s just around 100+ Php if you buy this one without a cap.
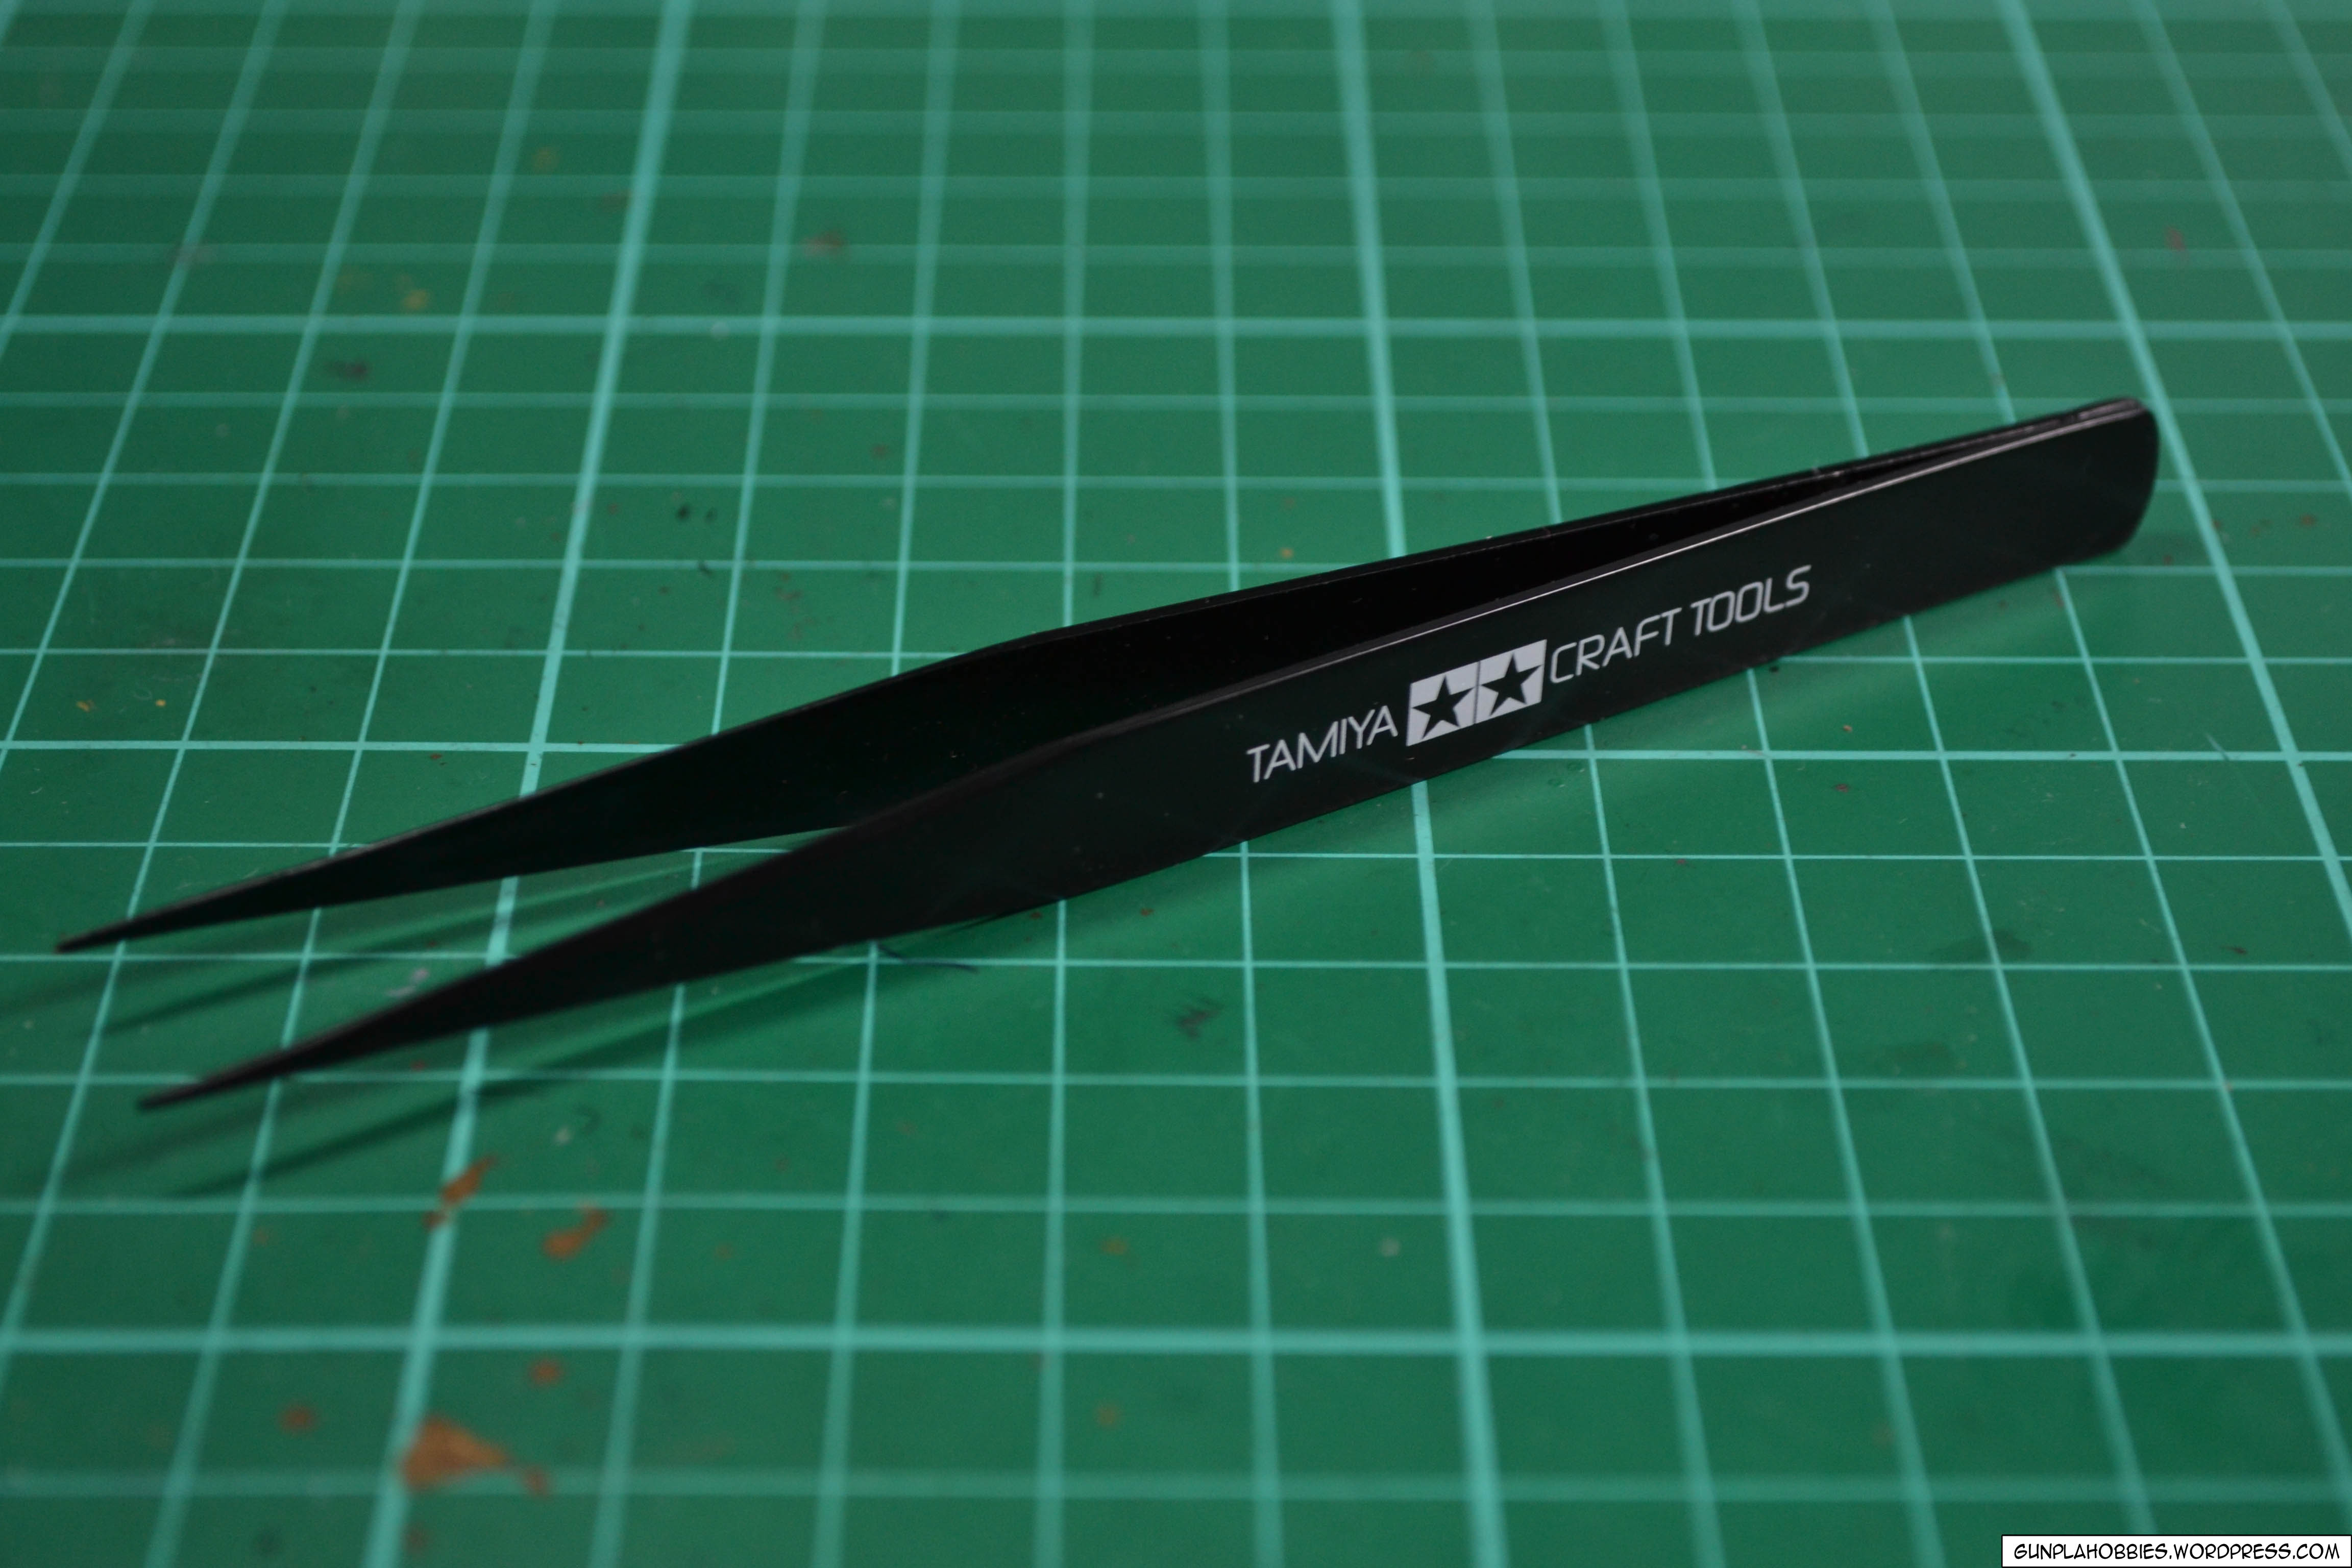
For picking up small parts and putting clear stickers, I use a pair of Tamiya tweezers! It’s hard to use your fingers in applying stickers and decals since they are so small. It’s easier to apply the stickers with the use of these tweezers. The metal is strong and sturdy even at the tips that you can also use this tool in taking apart parts.
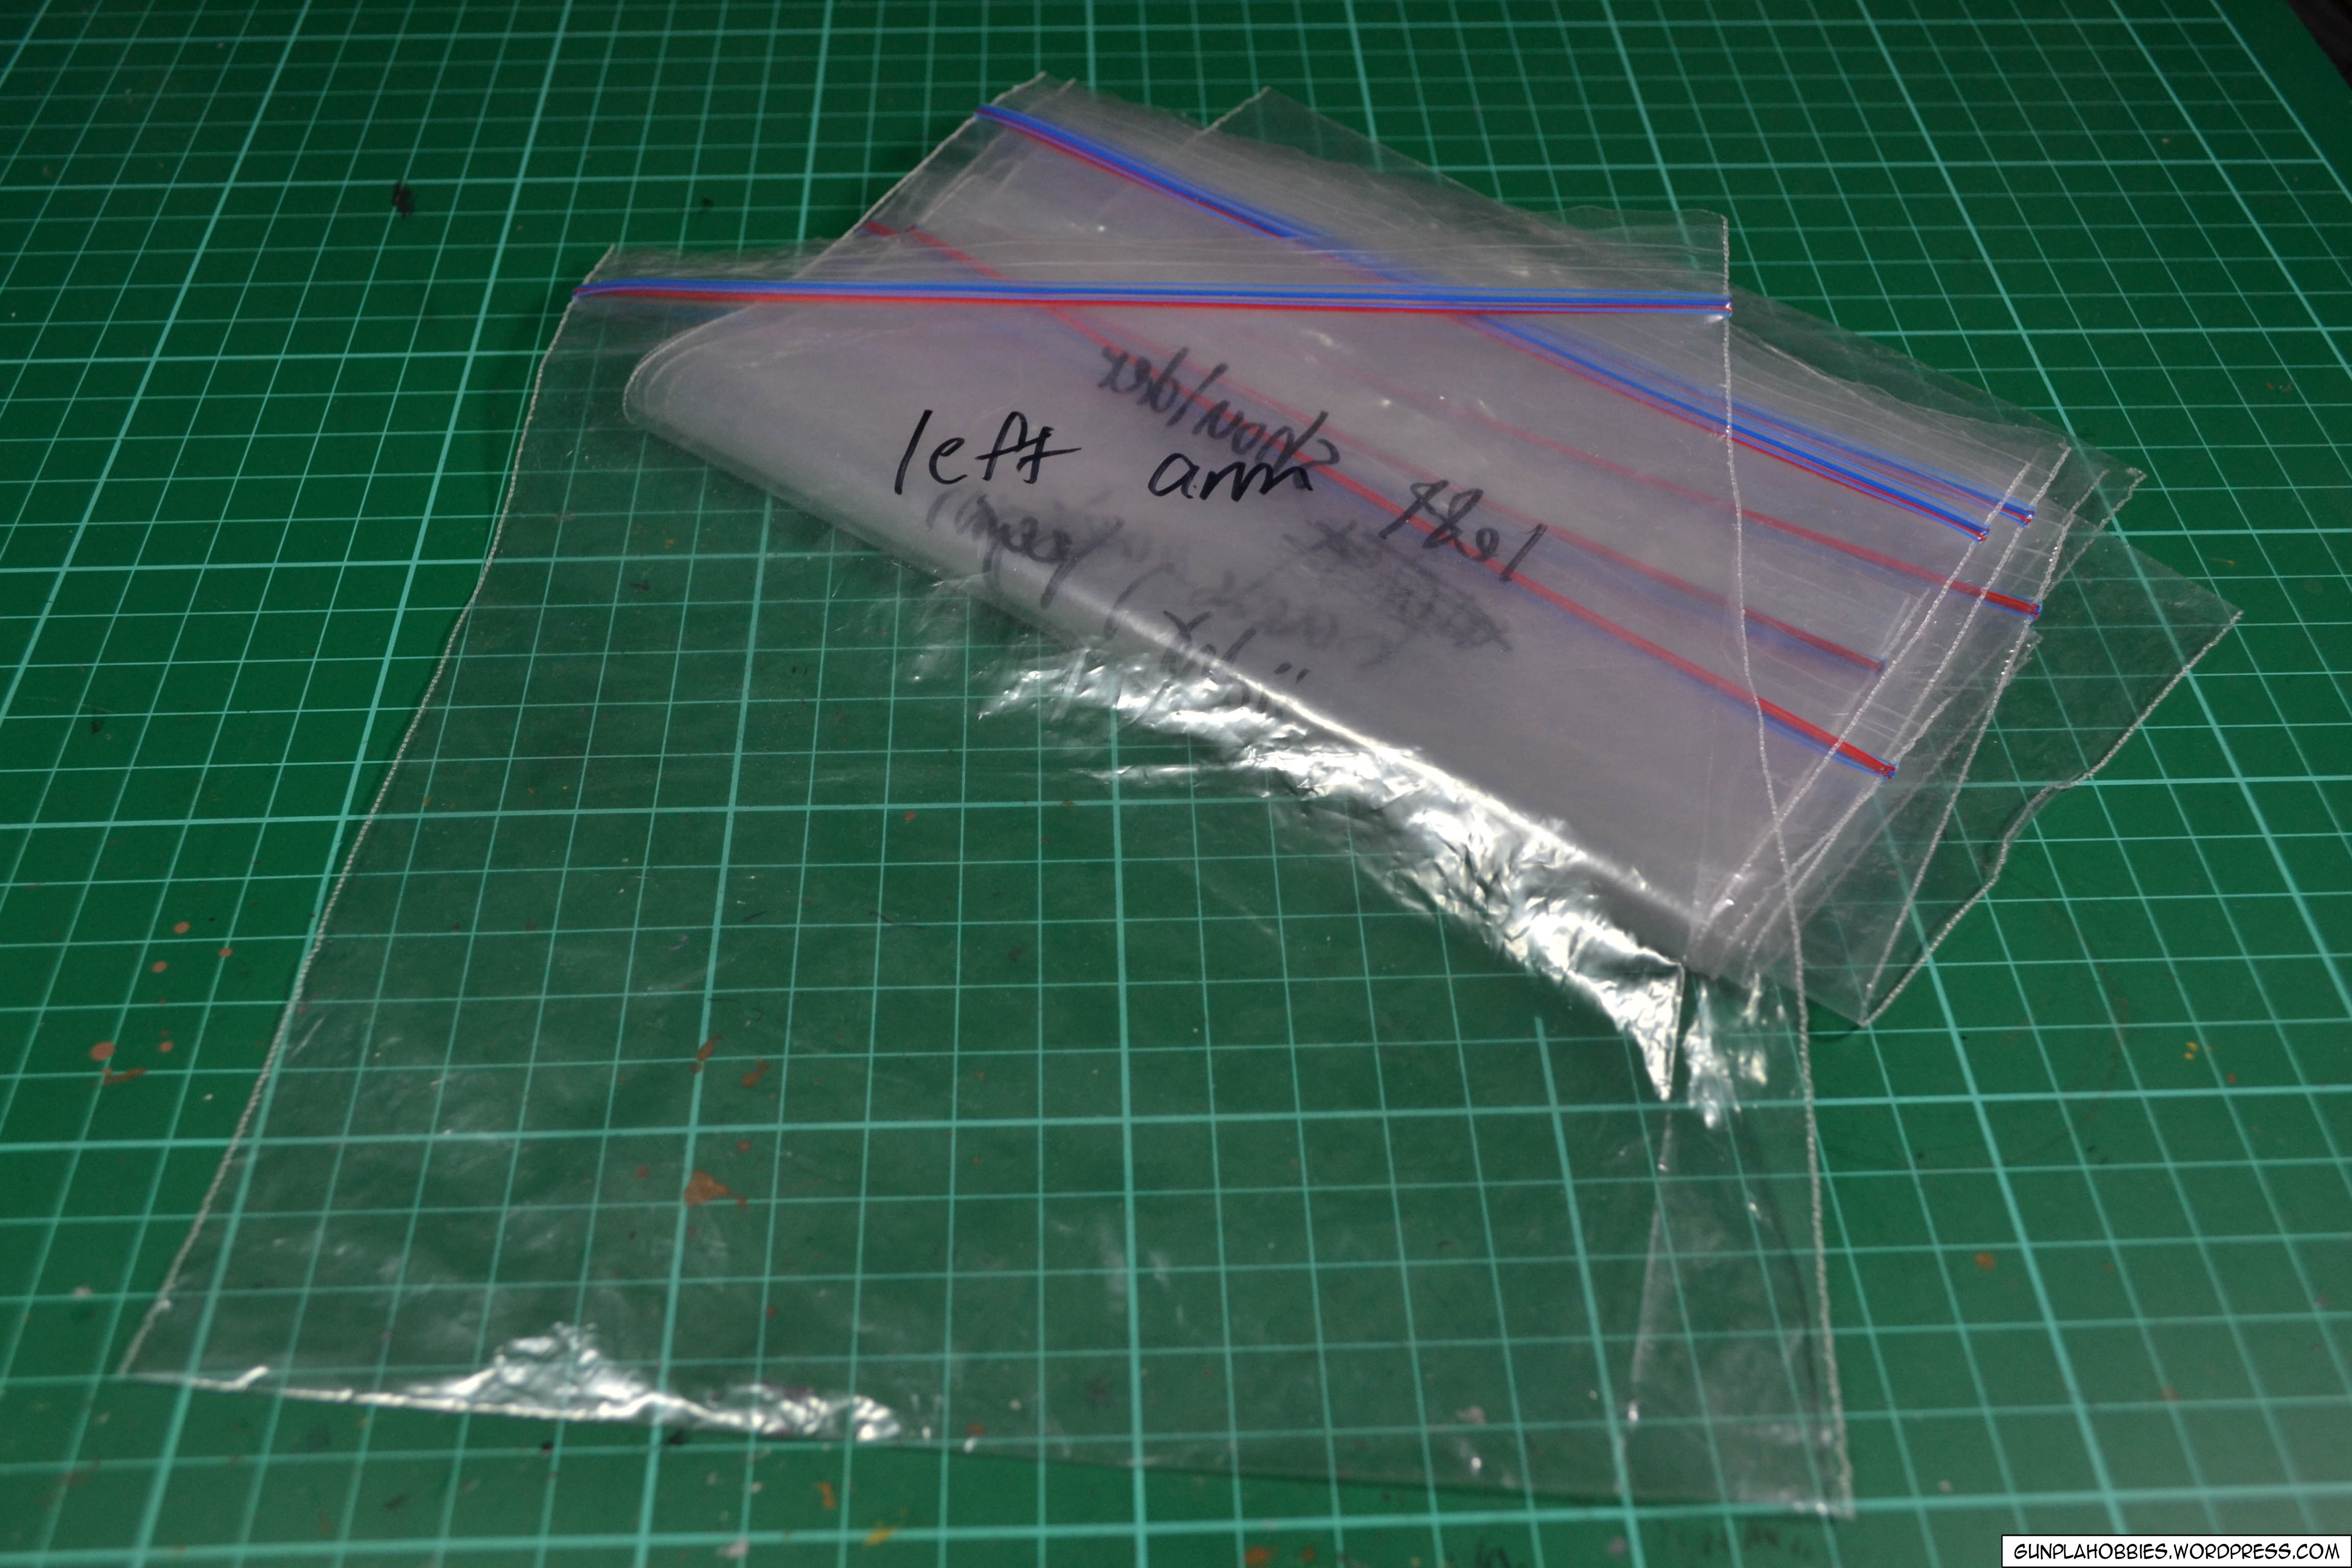
I use plastic sandwich bags to keep the parts that I have separated from the runners ( I’m a organized freak I suppose):
If still have those nasty nib marks after using your side cutters and hobby knife, you can use sanding sticks! I made my own at home using Popsicle sticks and cut out sandpaper then glued them together.

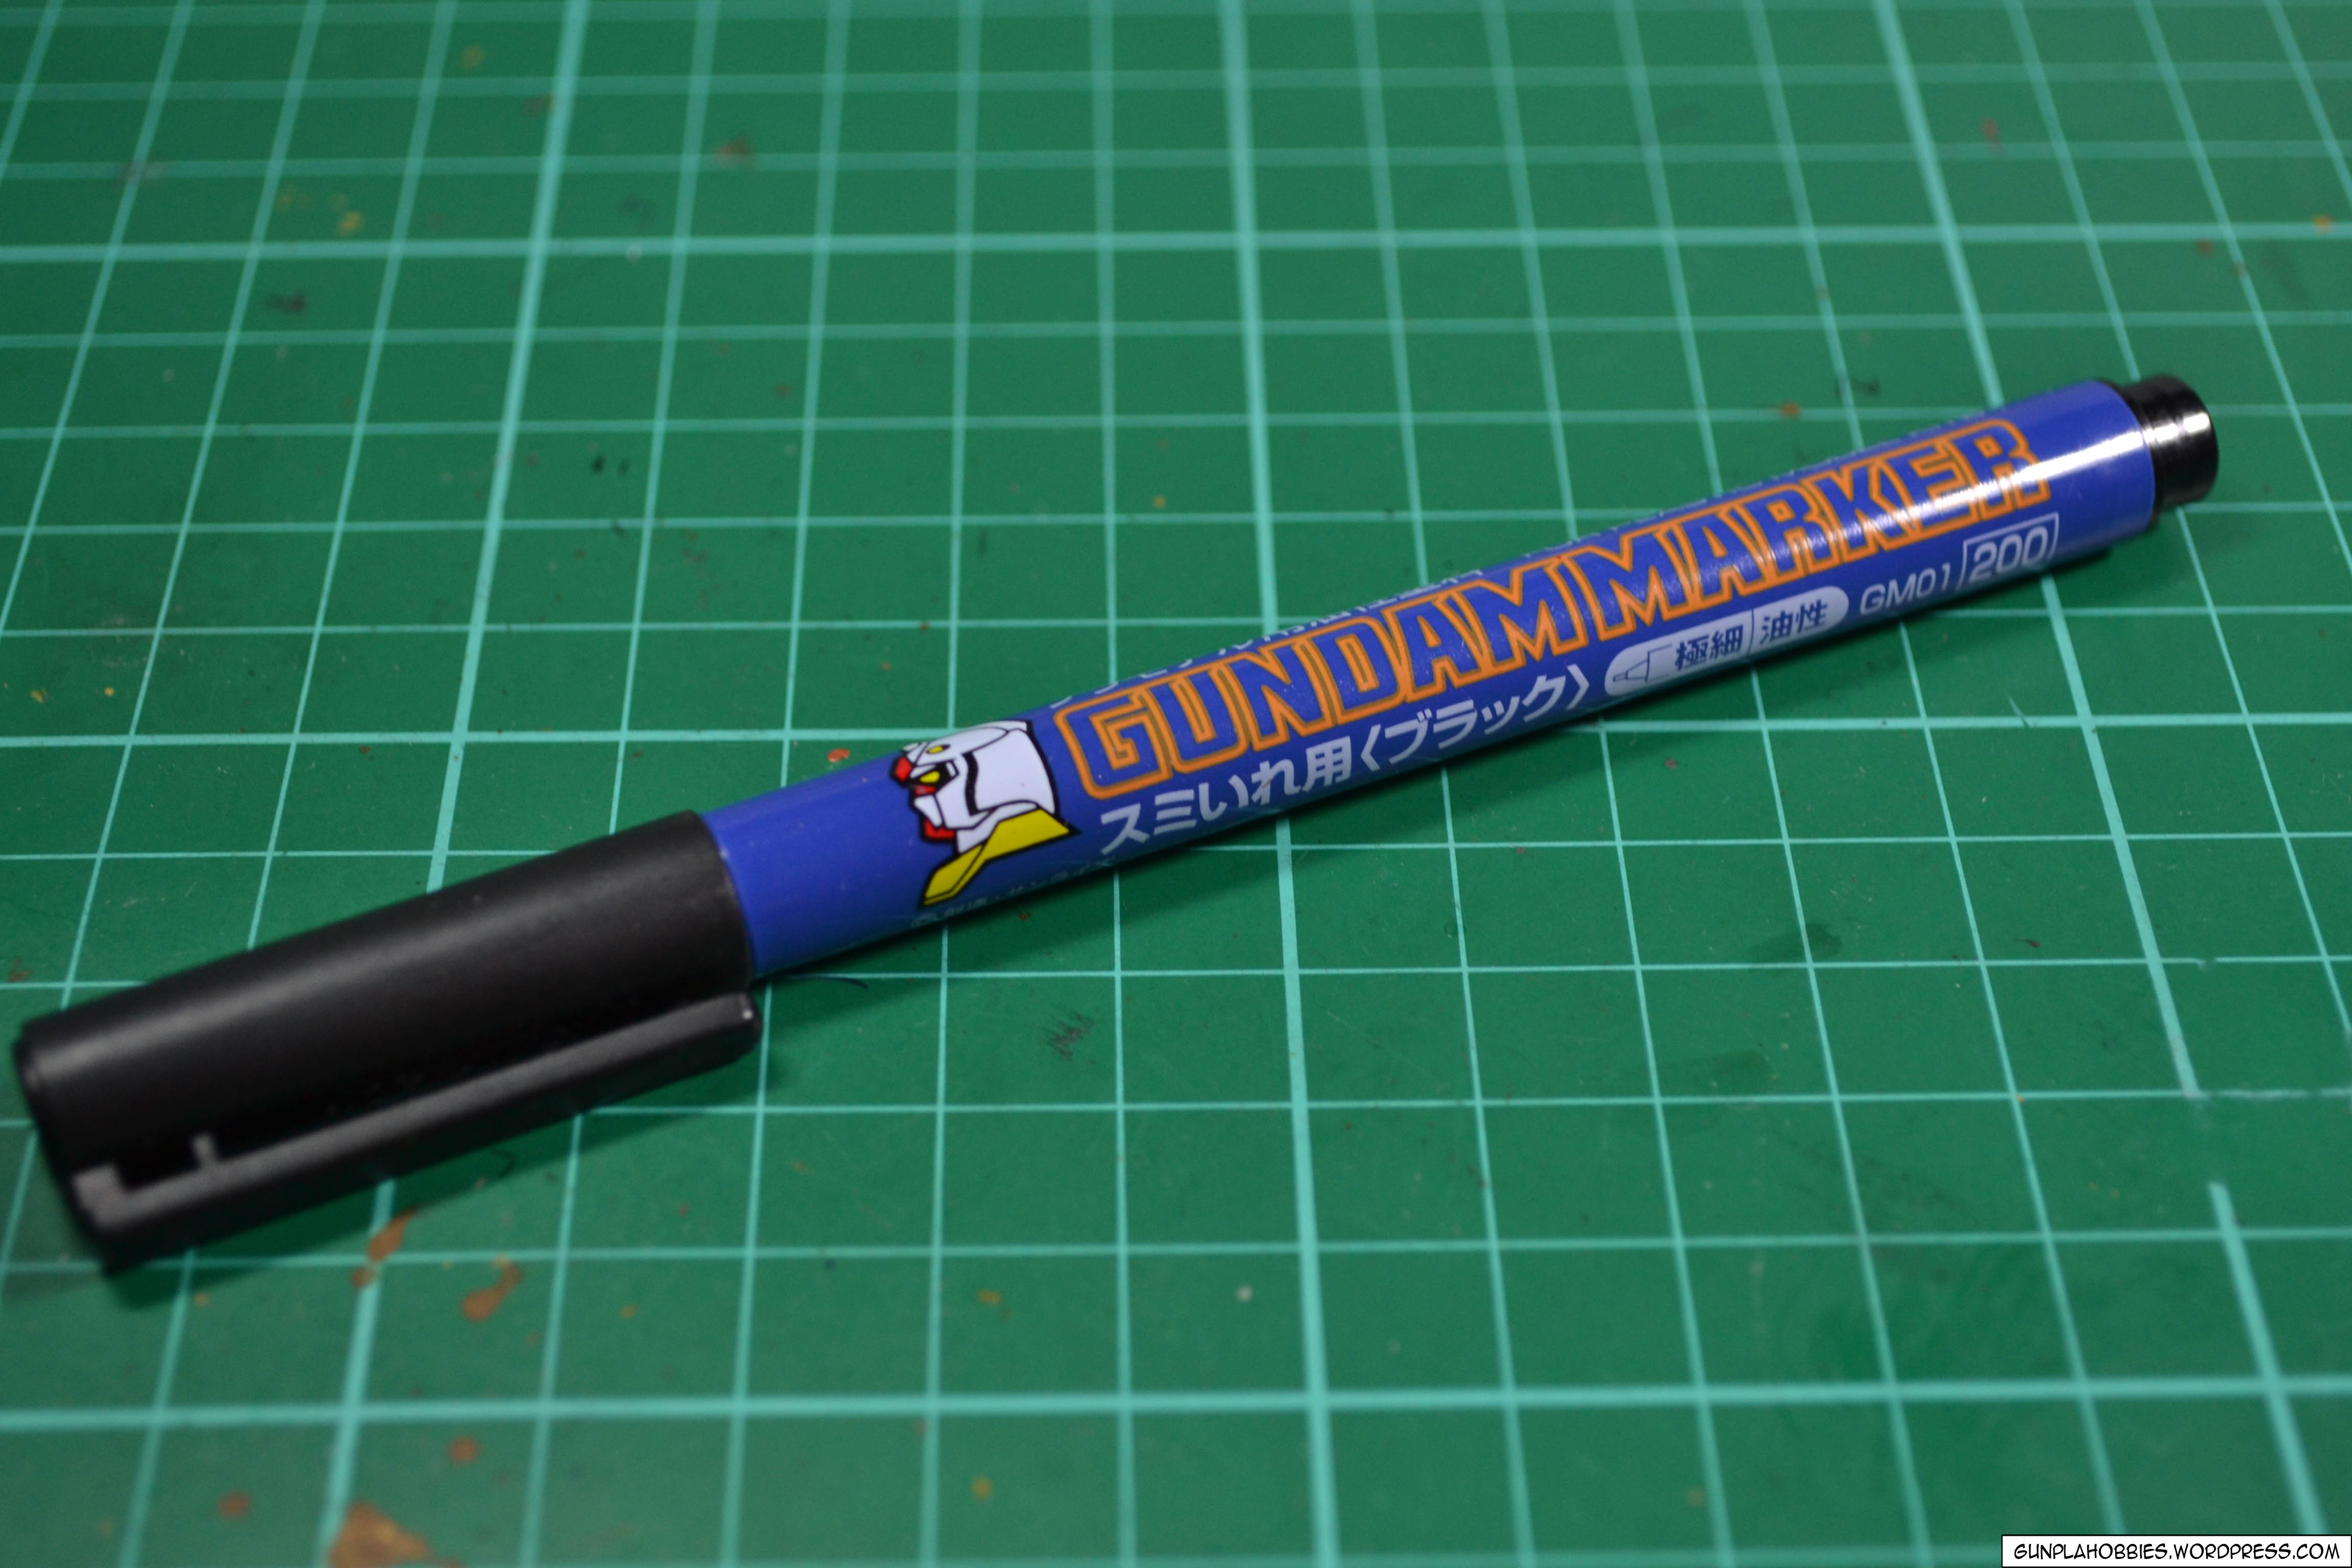
When you’re all done sanding and cleaning the nib marks, you can now do panel lining if you don’t plan to paint. Most of my collection I’ve used a fine Gundam Marker GM01, but recently I’ve been using enamel paint in doing my panel lines. This costs around 100+Php at Gunpla stores.
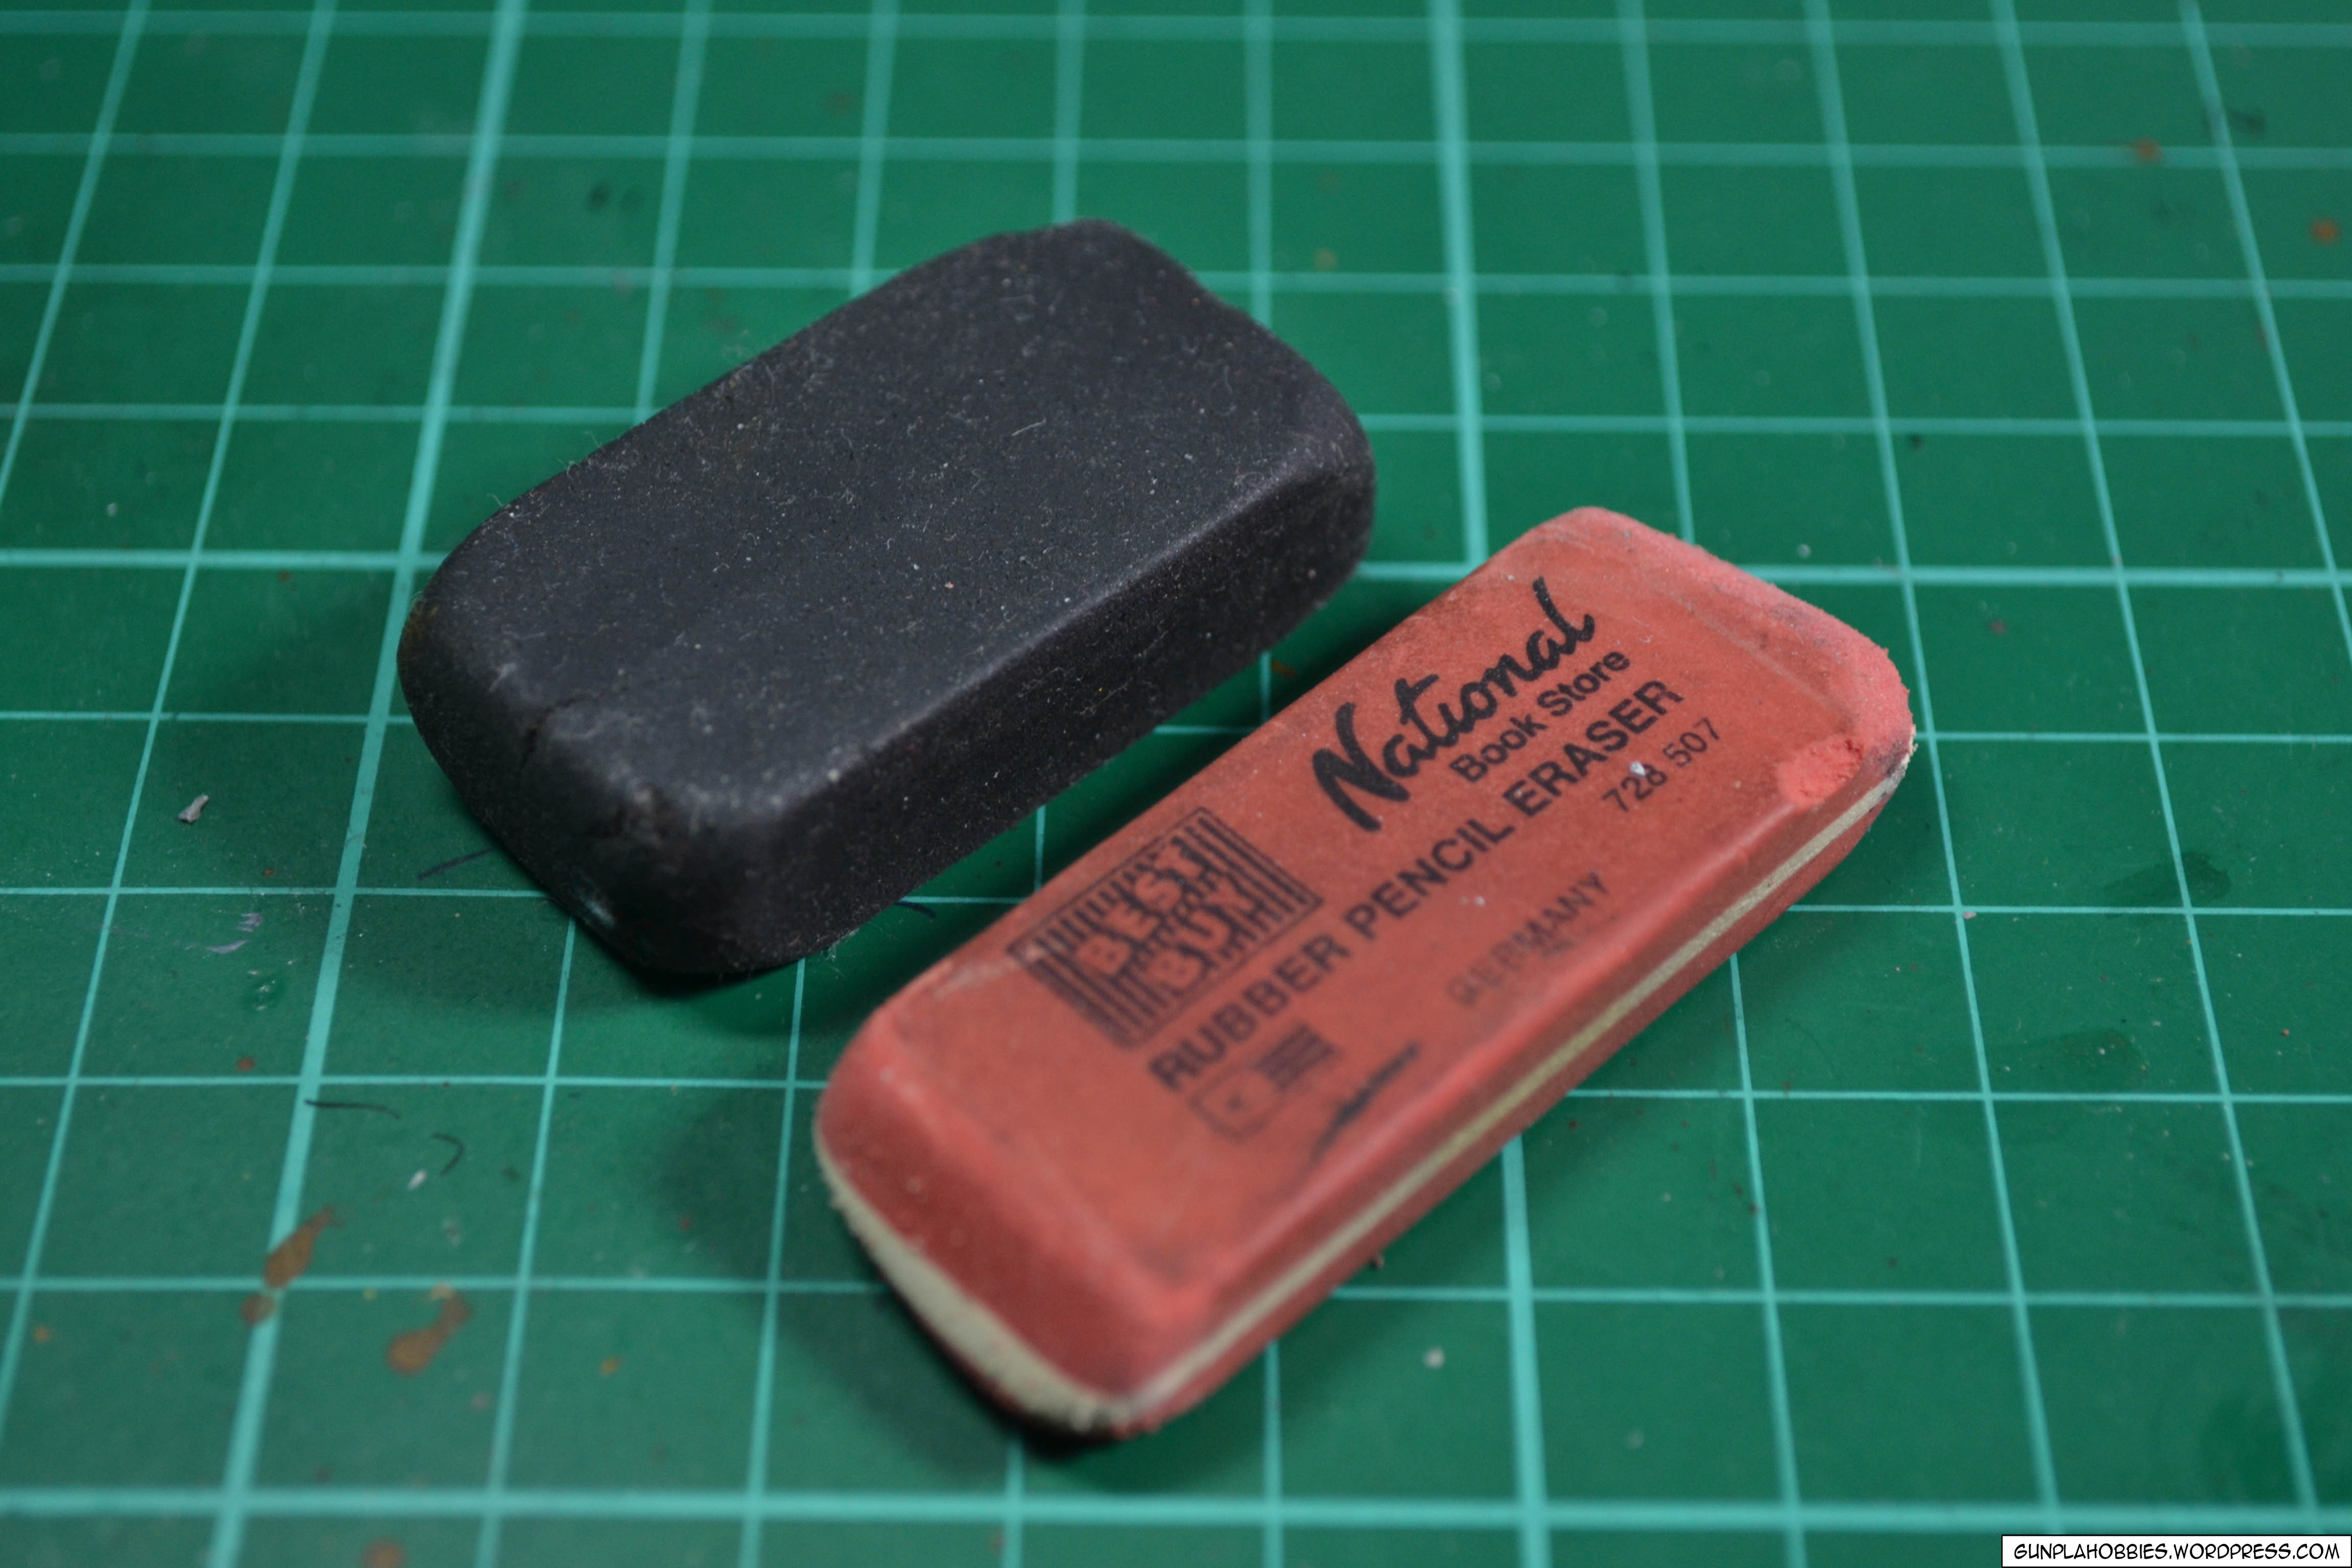
If I happen to make a mistake or if the lines are too thick, I use rubber erasers to clean them out:
 This one is Mr. Mark Setter, it is used for water slide decals to make the adhere well to the surface and make them look painted on the surface:

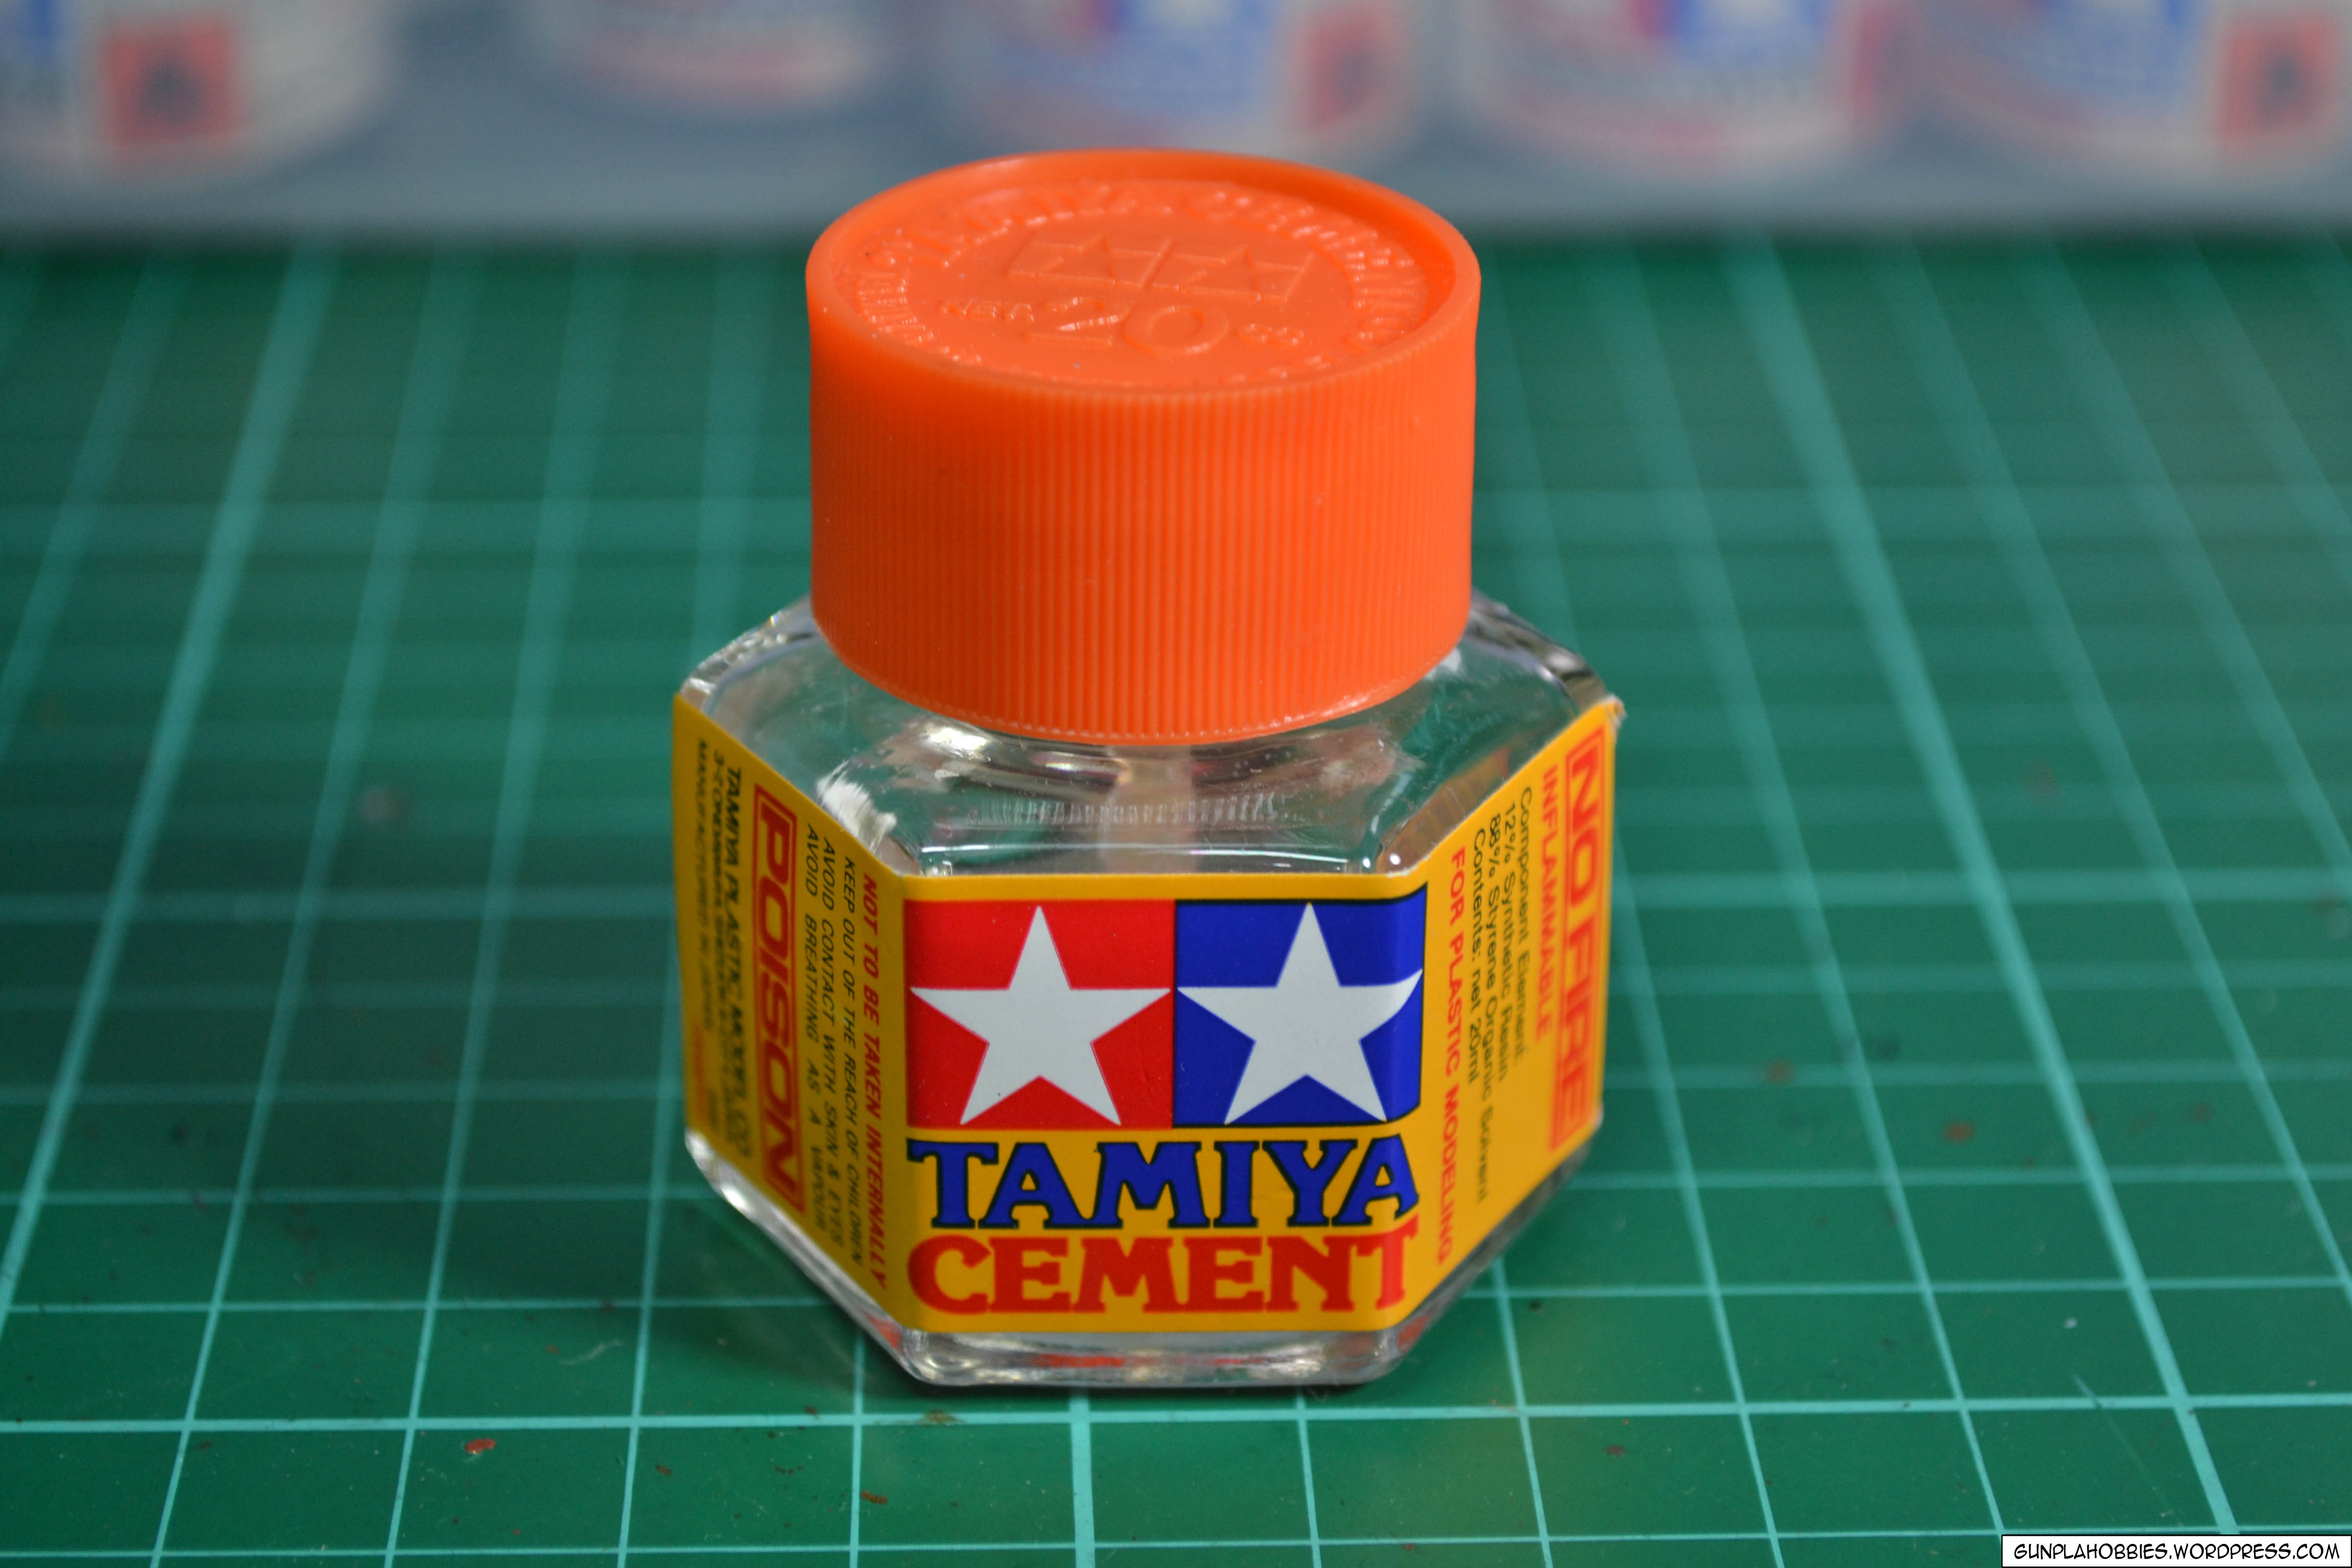
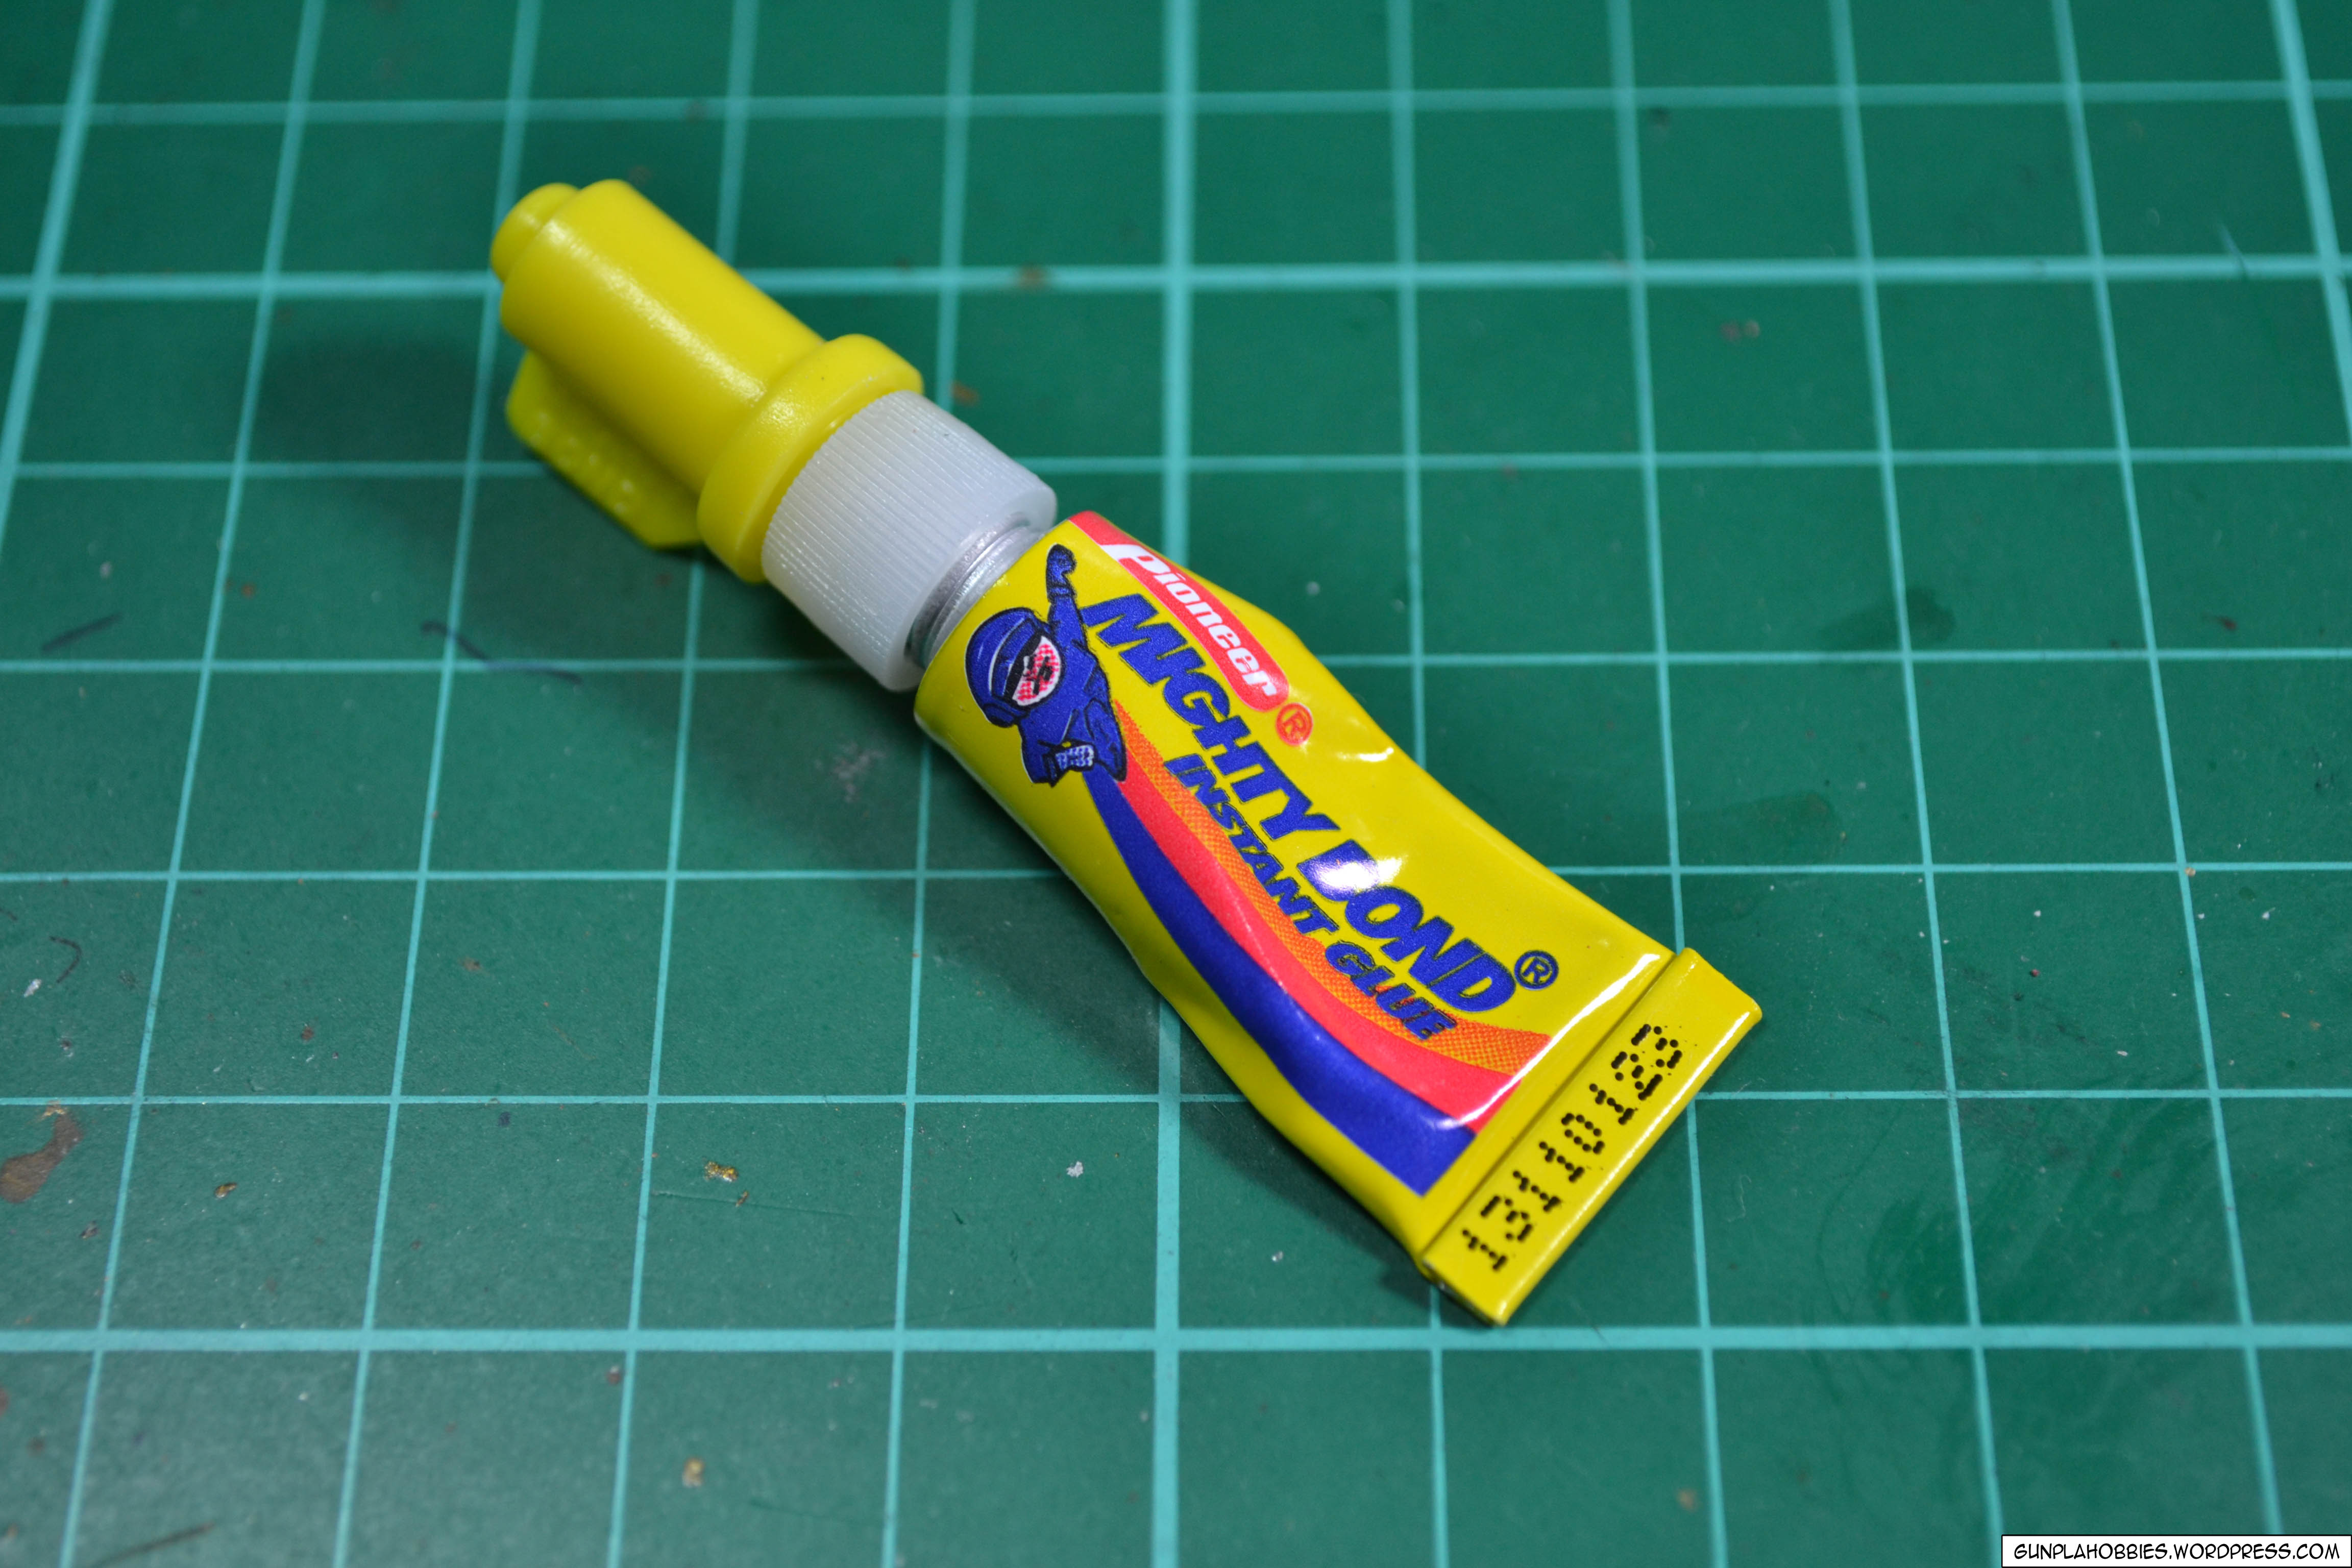
If you accidentally broke a part, you can use plastic cement in fixing it, it welds the plastic together. Plastic cement will do in most situations but they are cases wherein plastic cement can’t hold the part together and I use super glue instead, the problem with super glues in the past is that they leave a nasty white residue, but recently I’ve discovered the newer ones today don’t leave white residues anymore. Plastic cement is also used in removing seam lines.
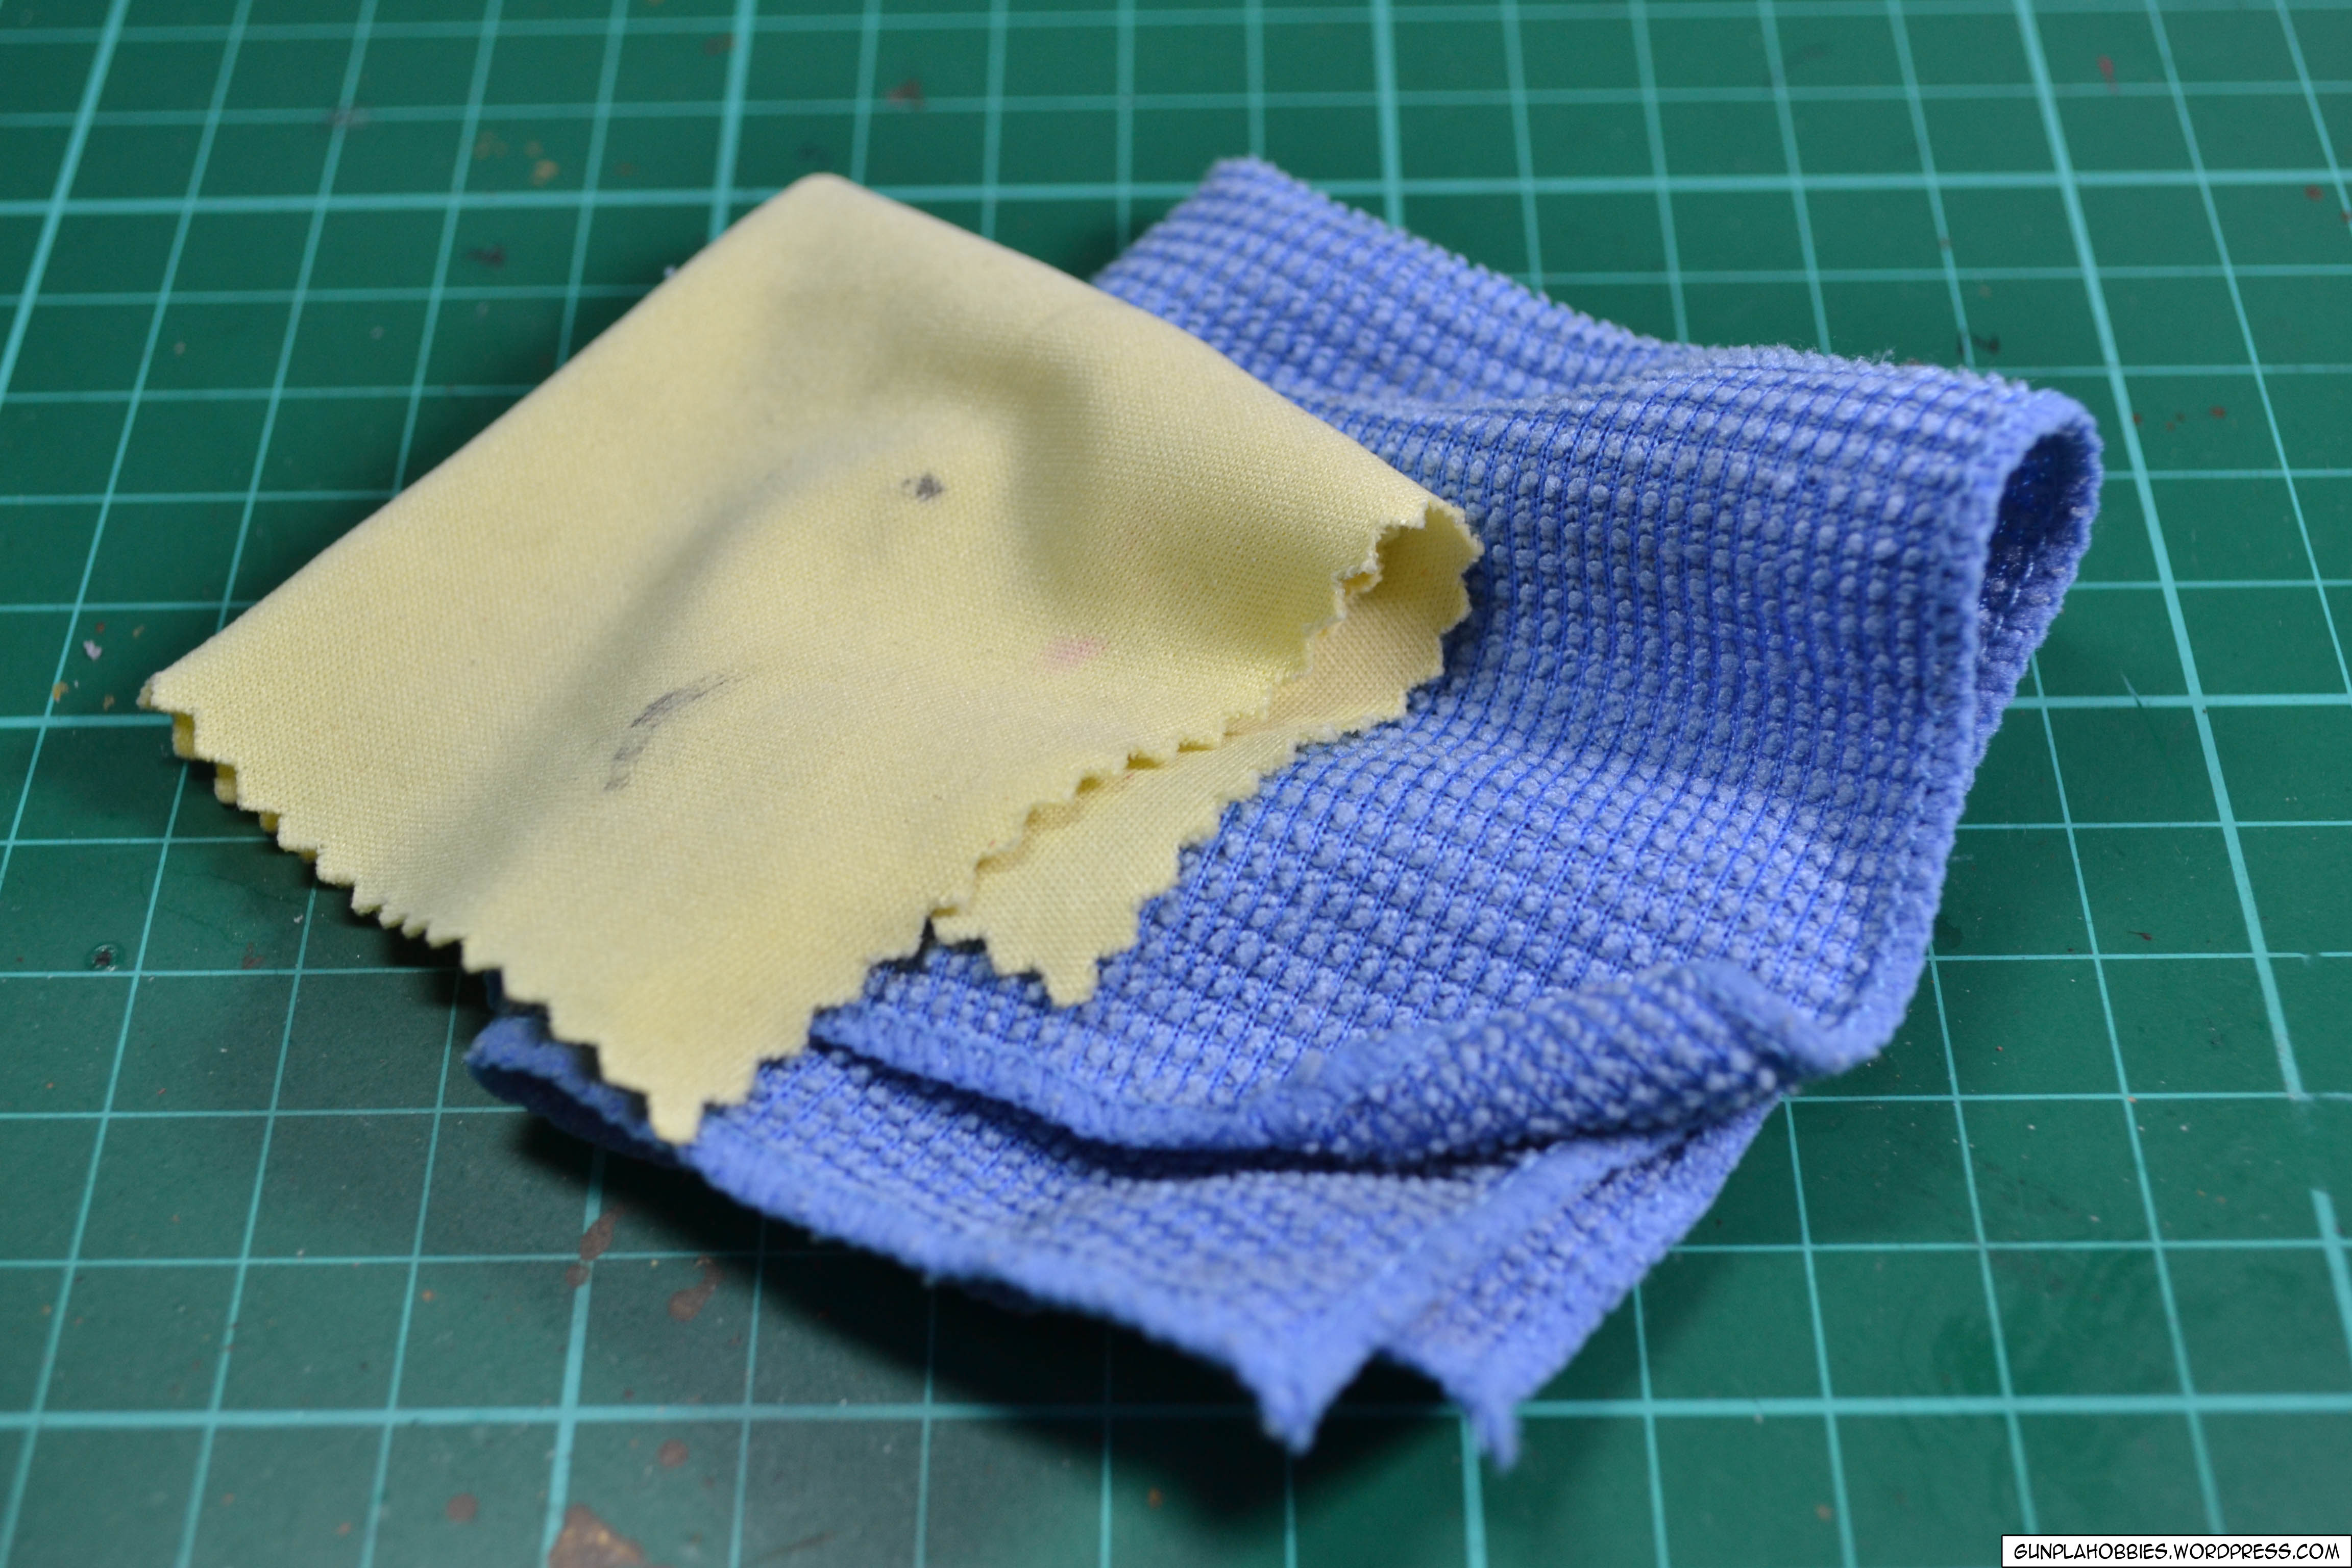
Sanding can produce a lot of plastic dust around the part, I use some pieces of cloth to clean them out:
Now if you’re on to painting, you’ll going to need paint brushes. I use various types of paint brushes, mostly the finer ones depending on the application.
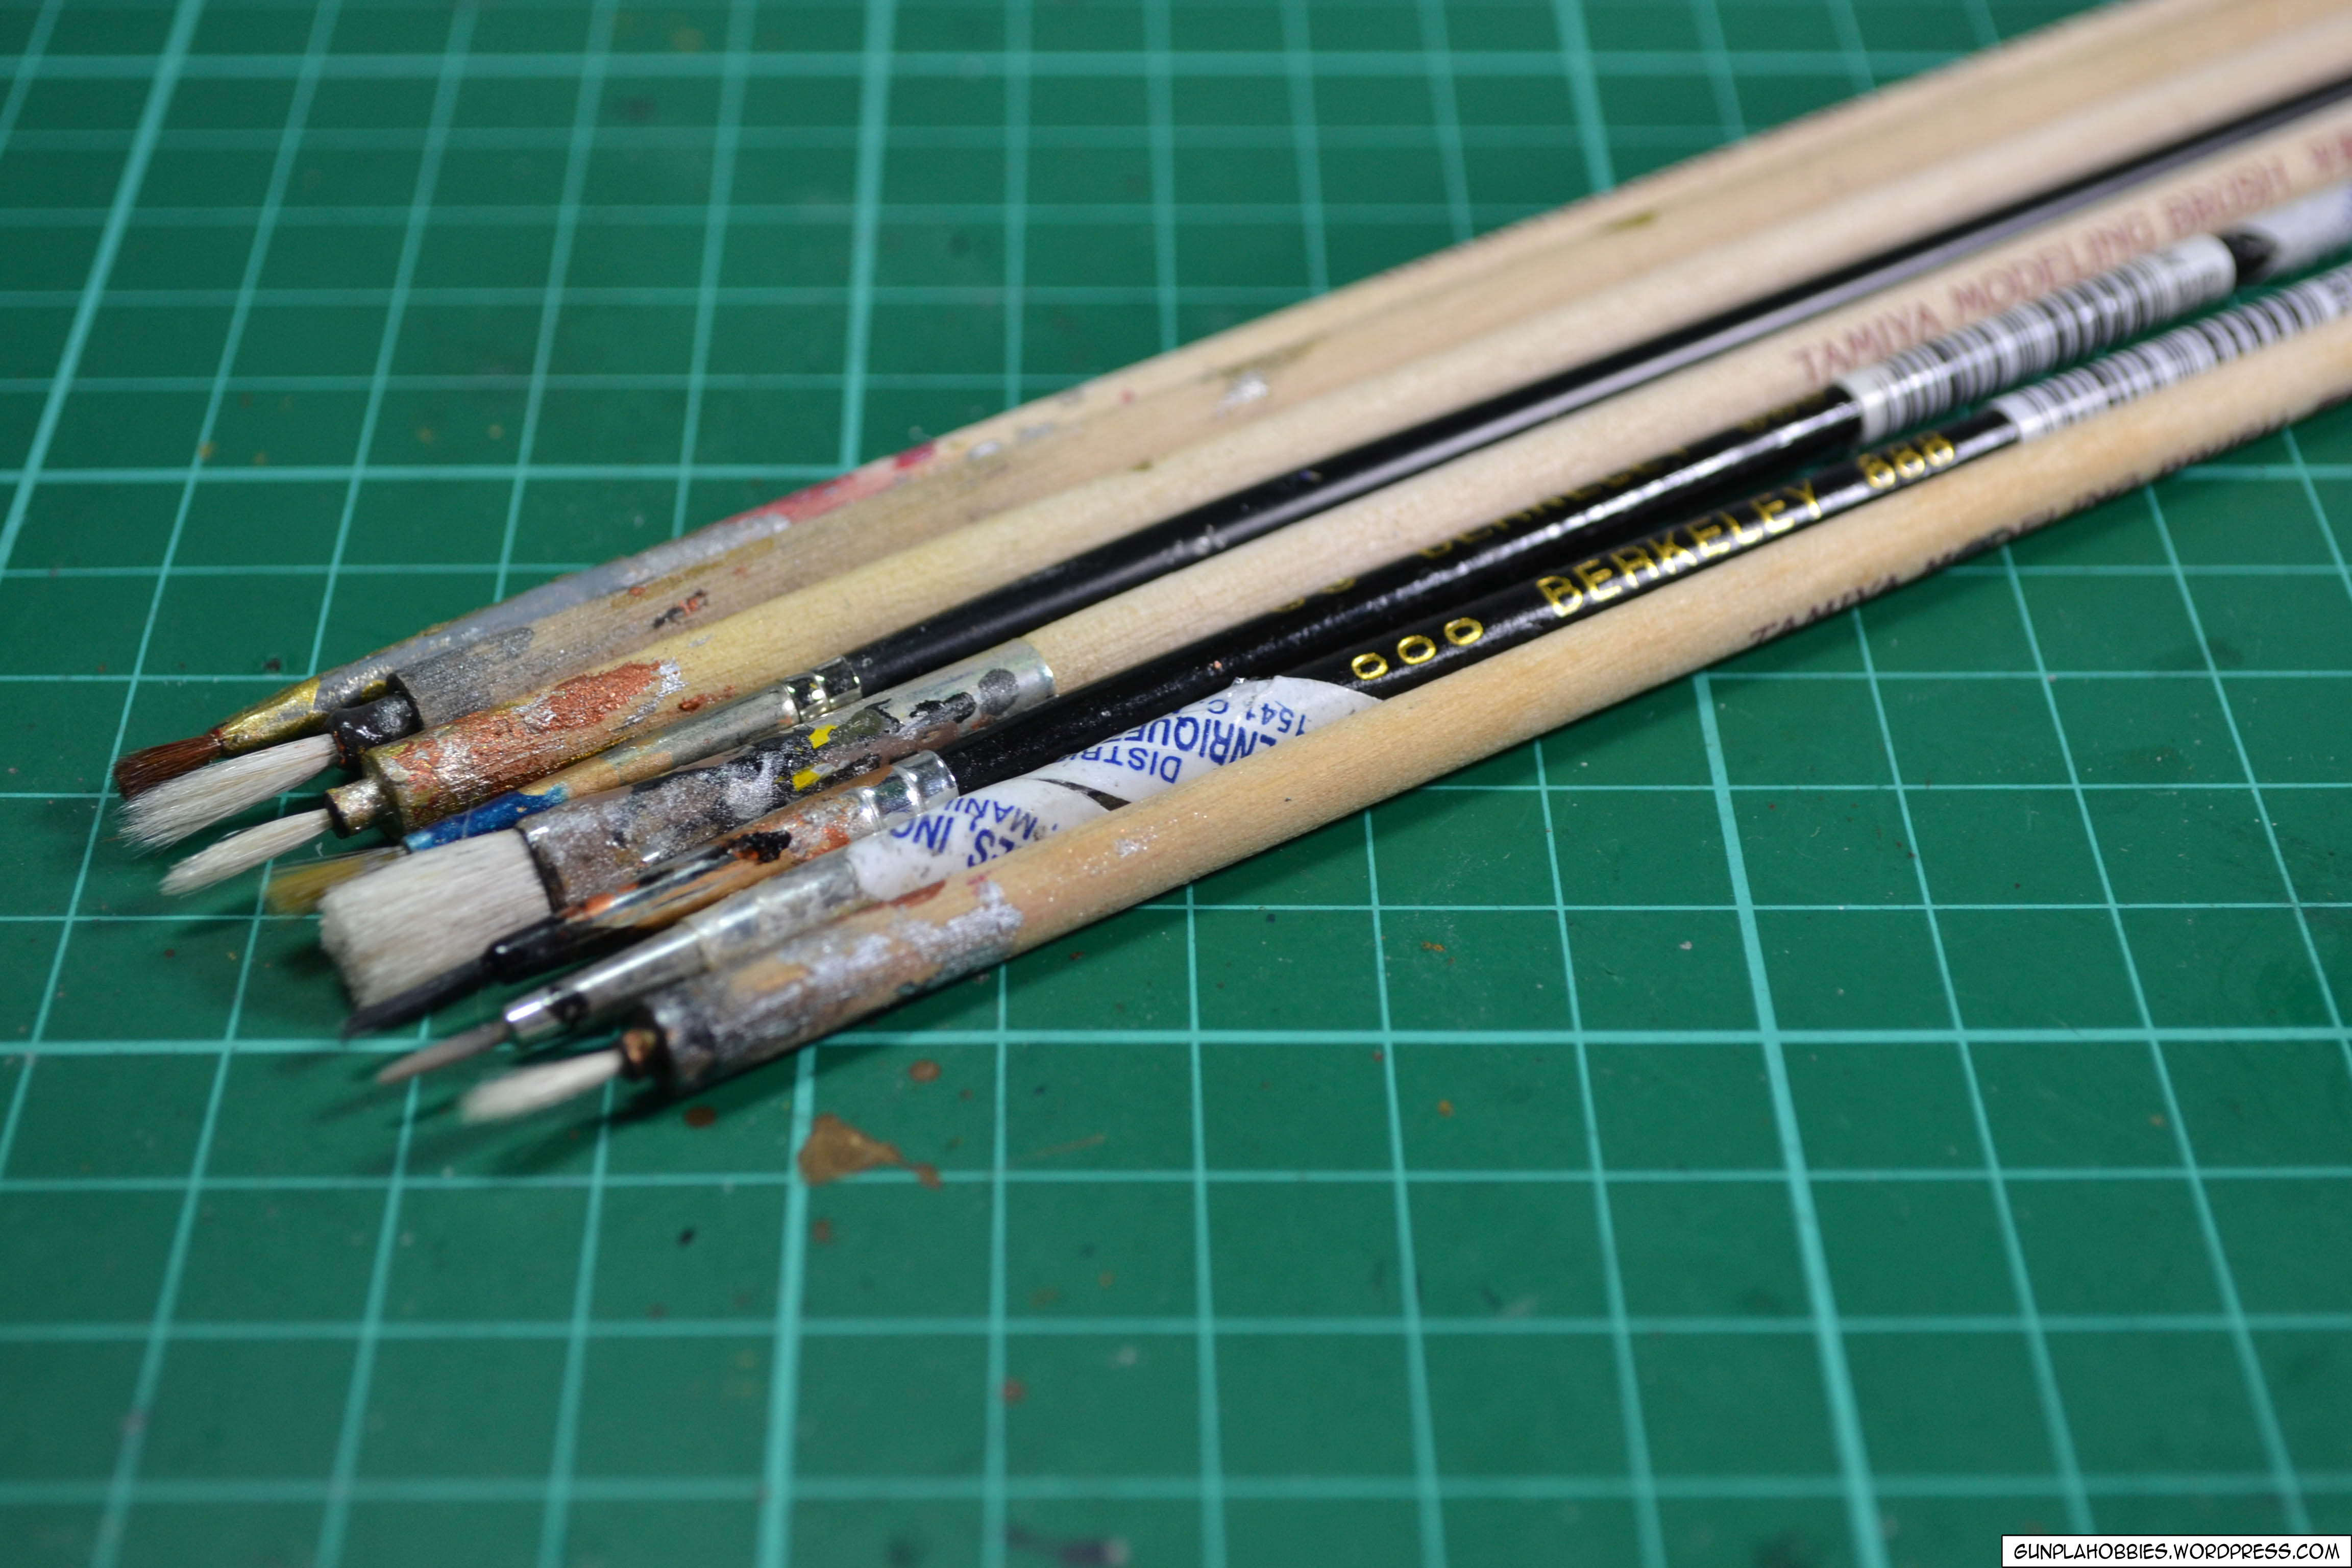
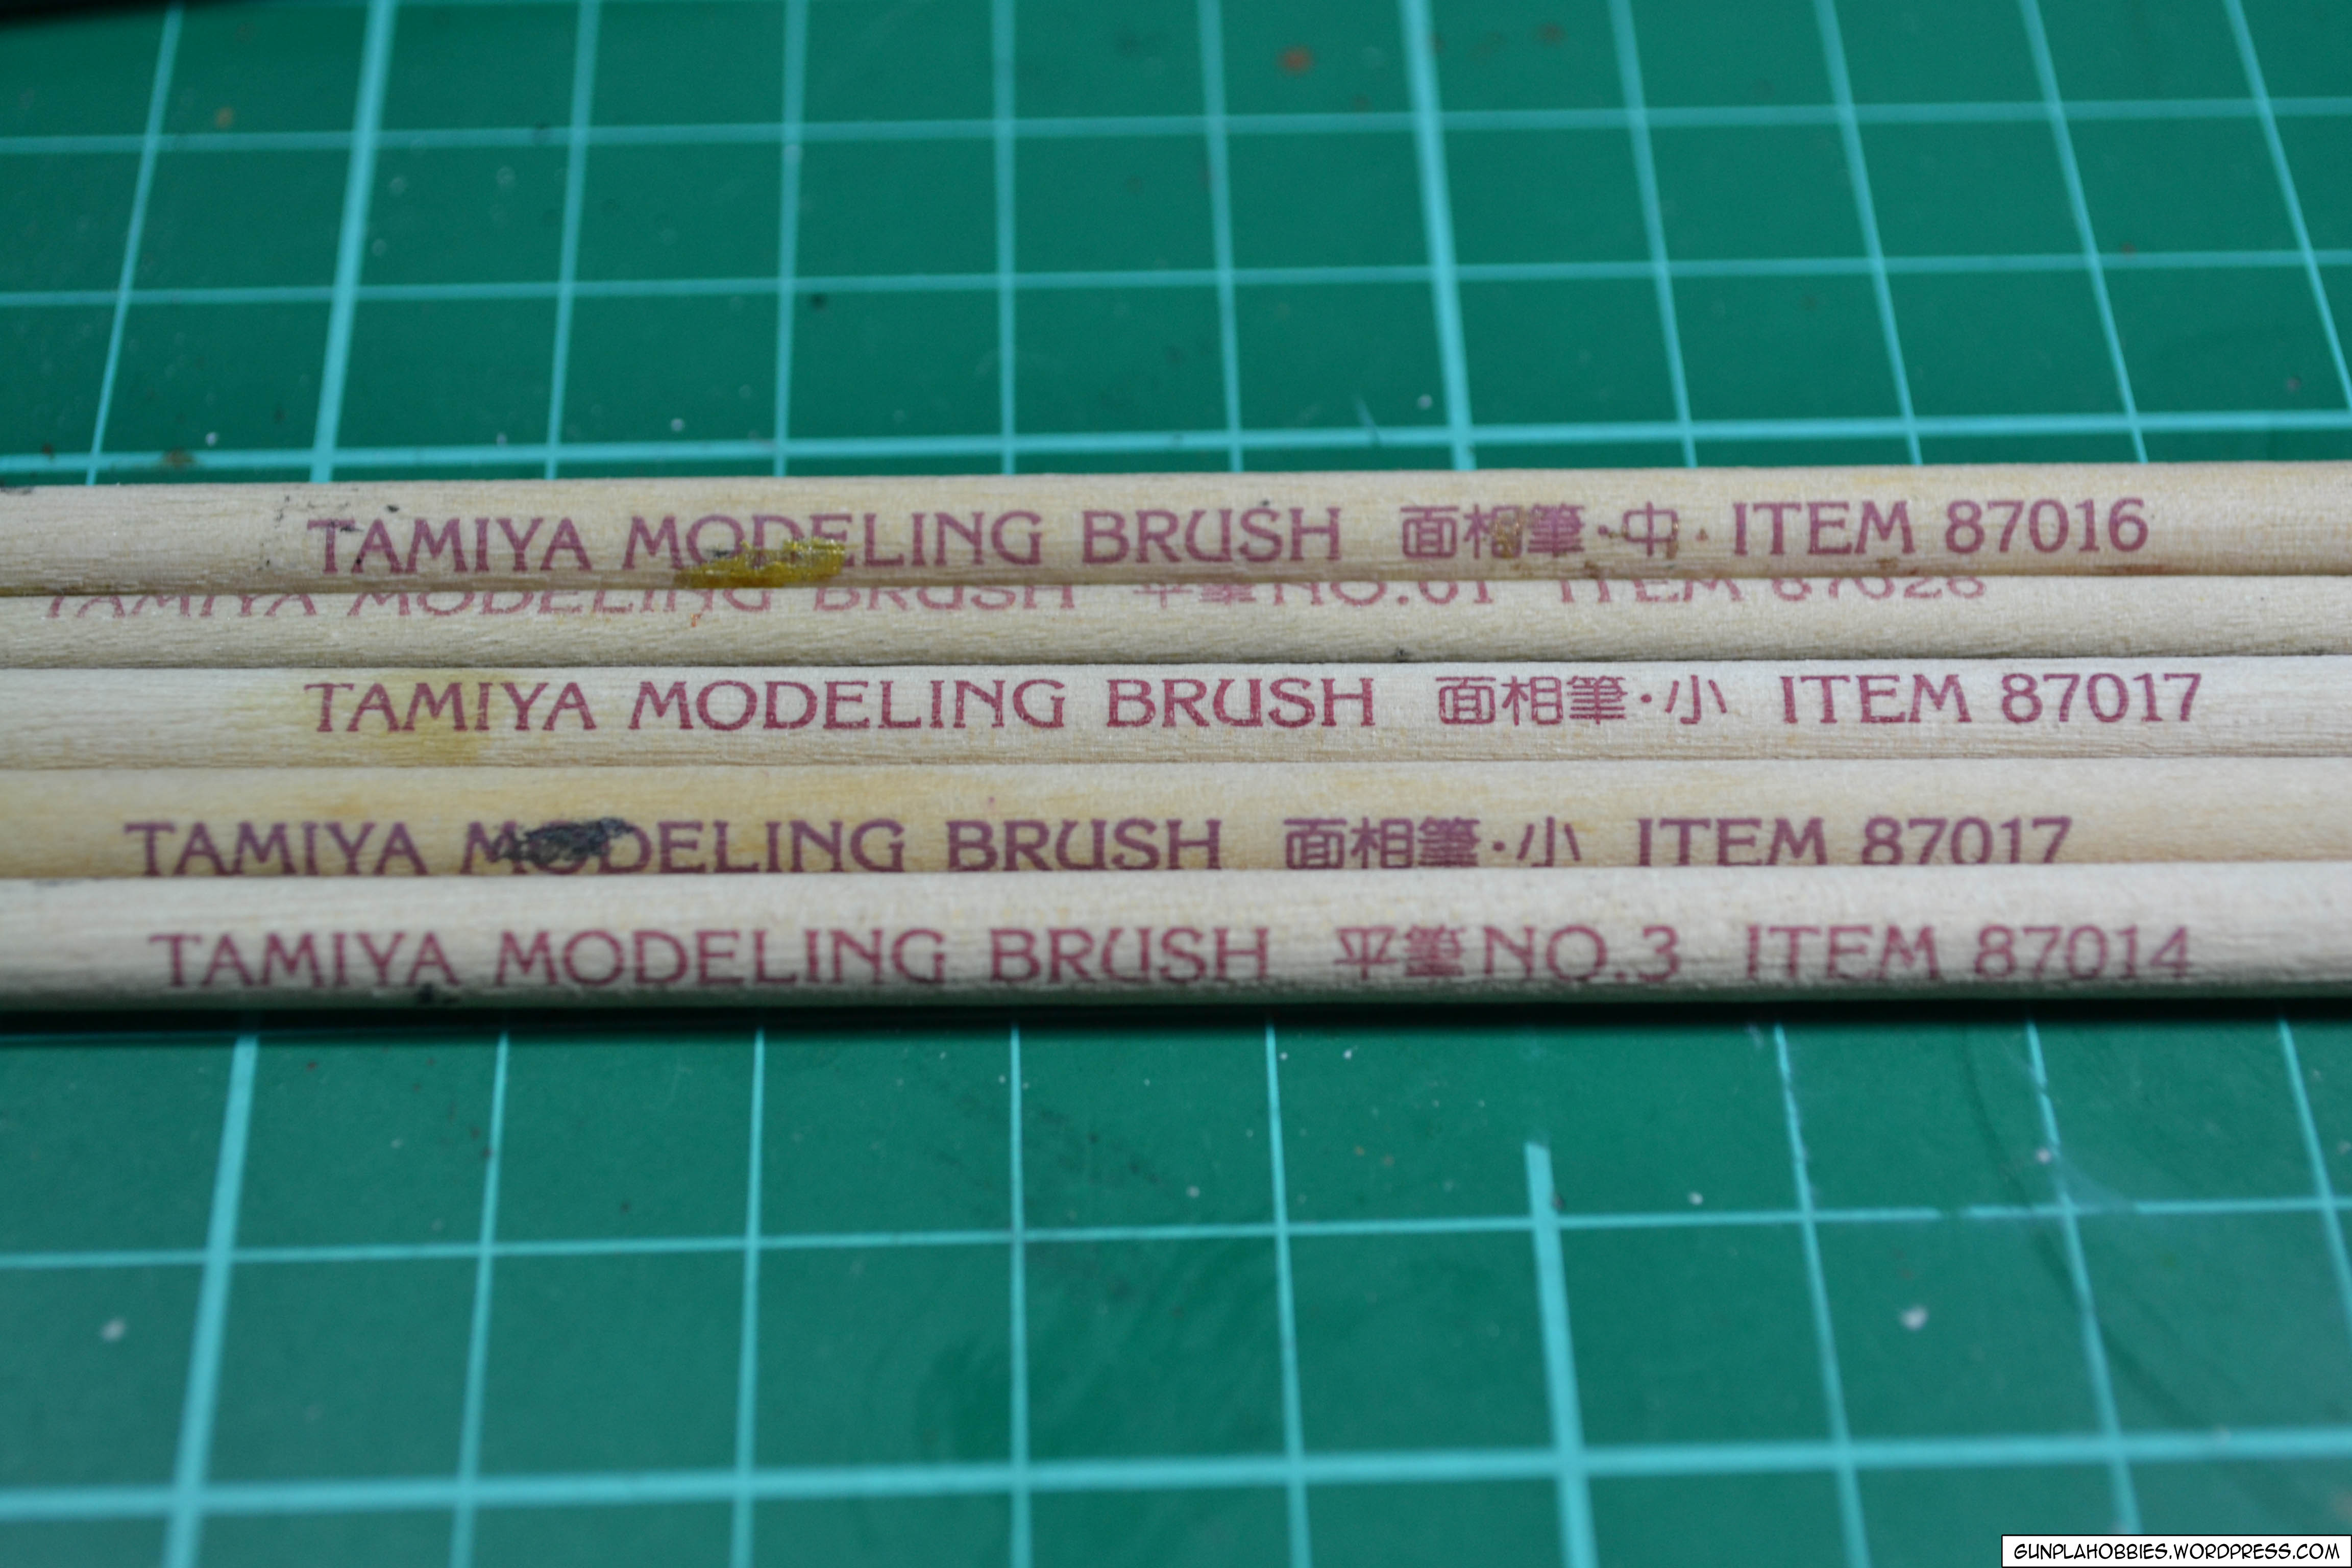
It doesn’t have to be Tamiya brand, some of my finest paint brushes are cheap and can also be bought at National bookstore.
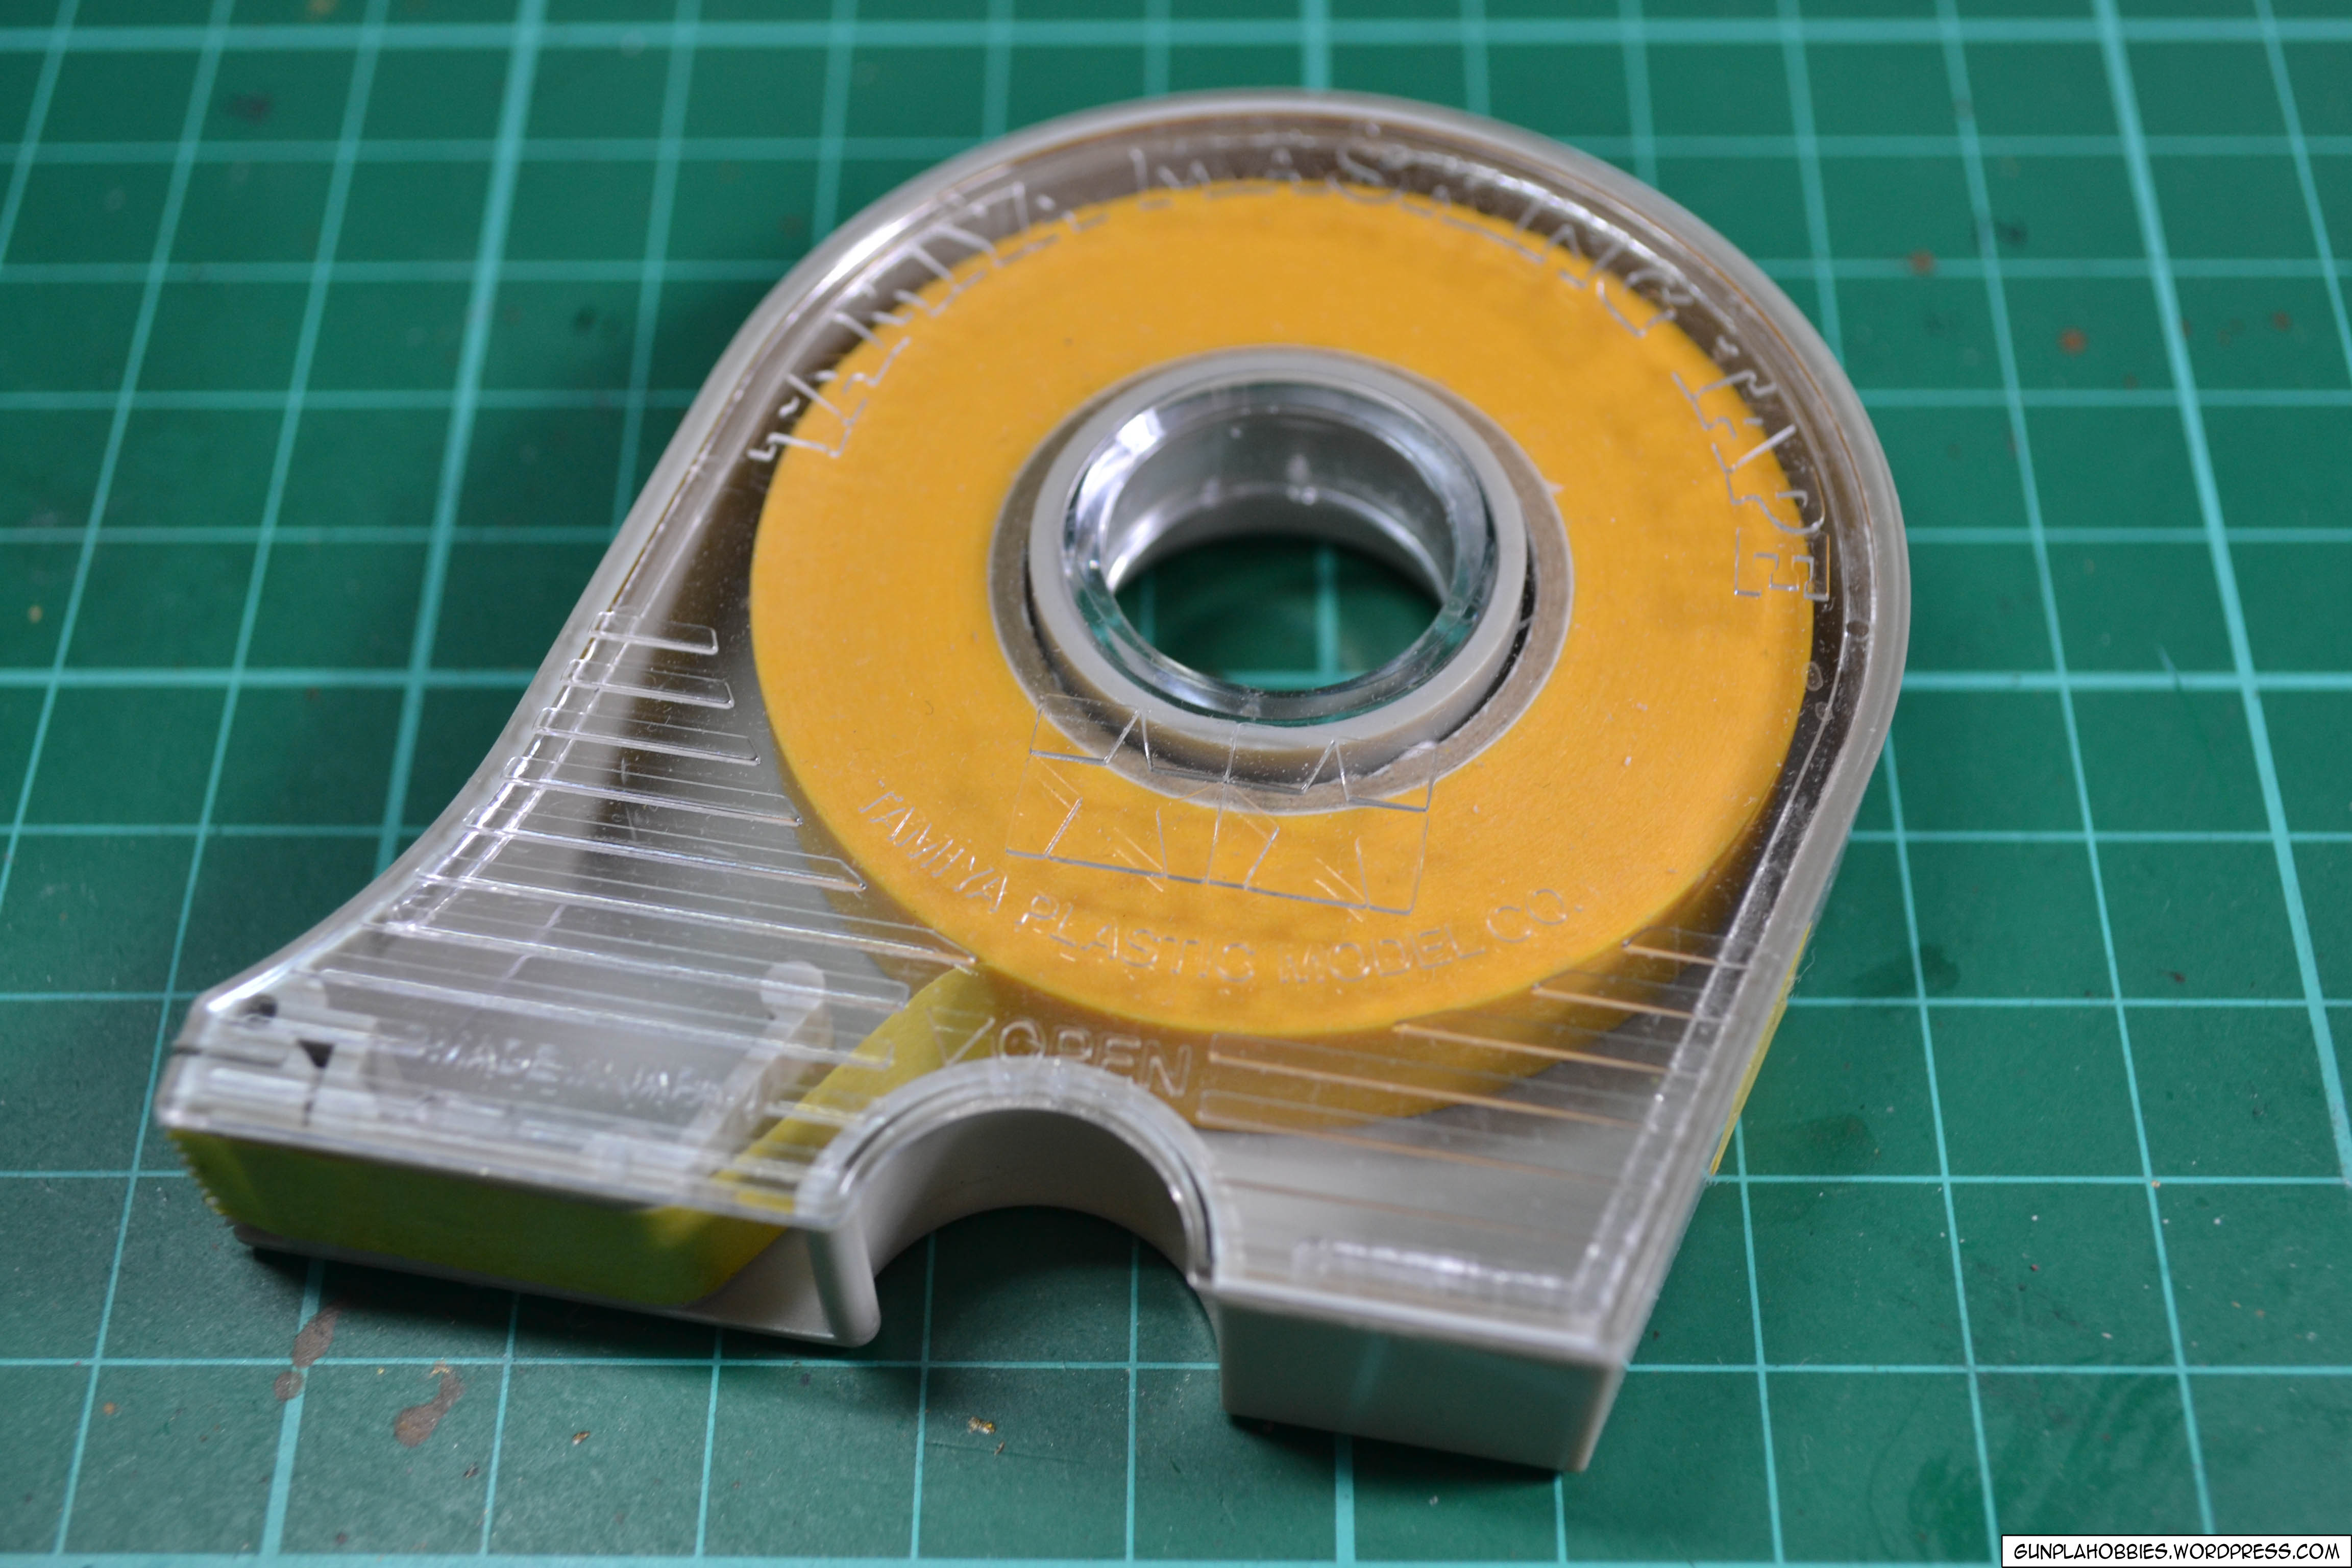
These are Tamiya hobby grade masking tape. I have tried using ordinary masking type but it just doesn’t work, hobby grade masking tape are the real deal! They mask the part well during painting. They can also be used to hold dry transfer decal pieces on to the part before you rub it on the part.
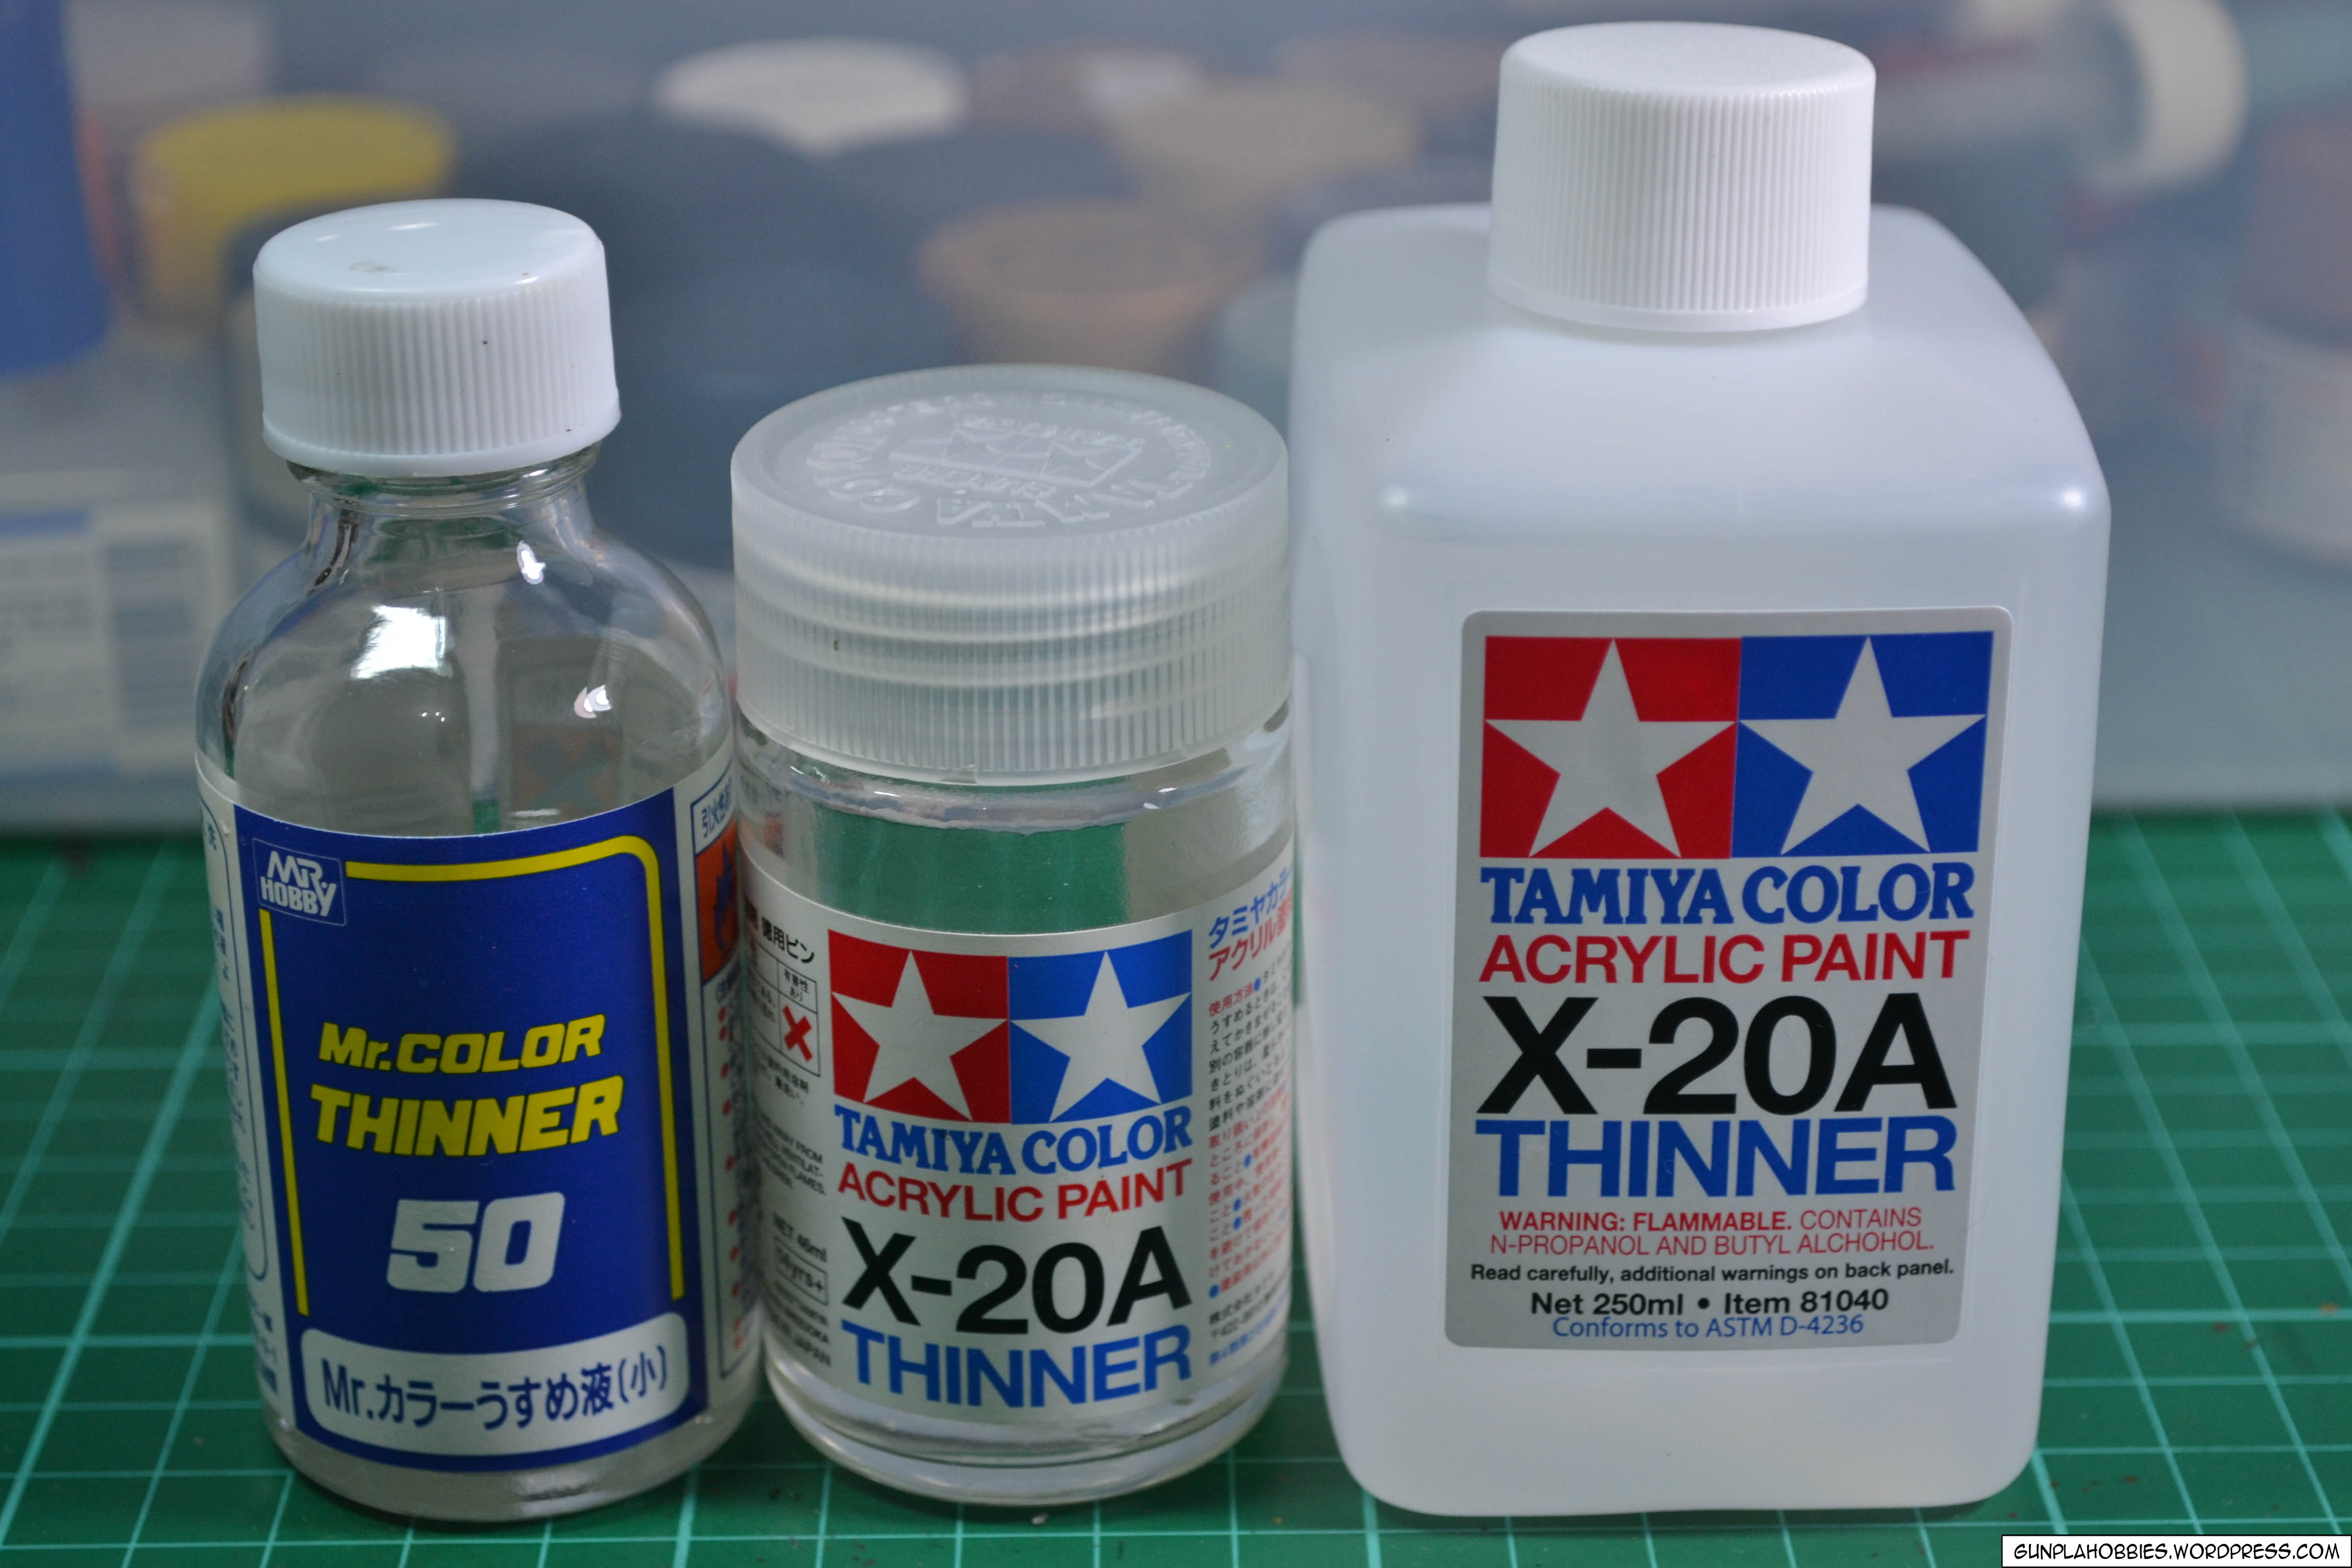
Thinners! Thinners are very important in painting, I mainly use them to dilute my paint so that it will even out smoothly when painted on to the surface. It can also be used to strip paint if you changed your mind about a color.
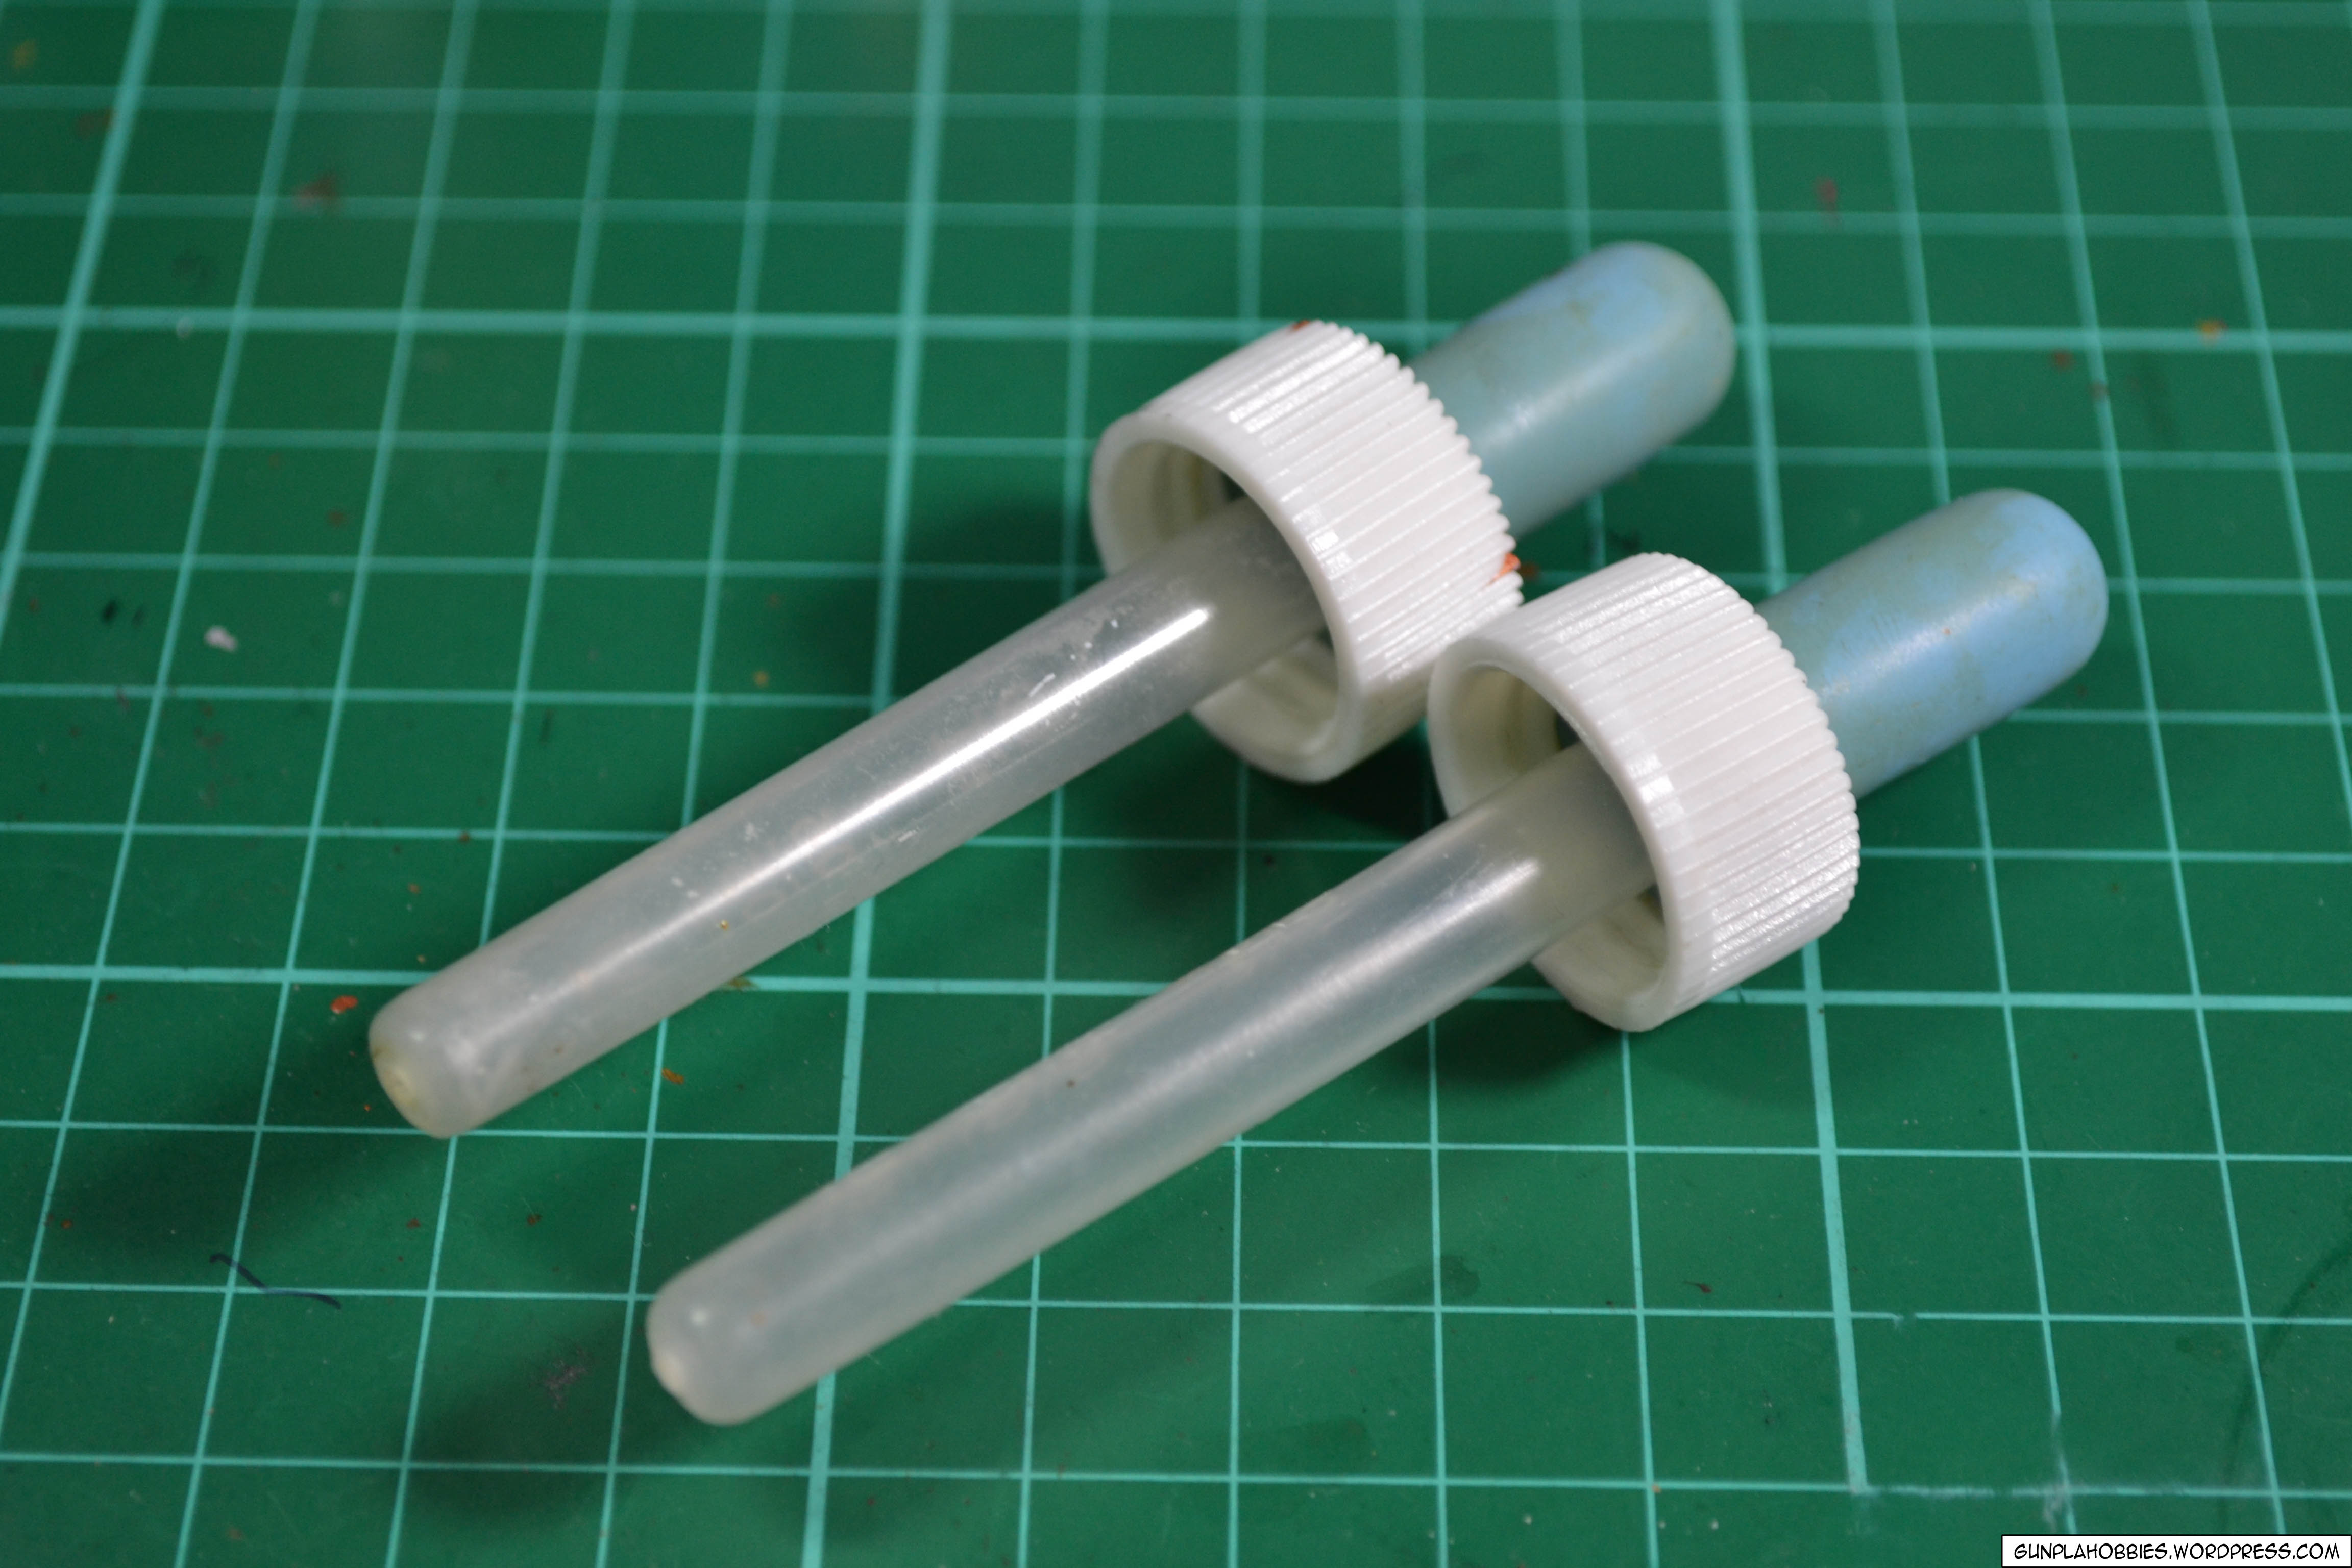
I use some cheap medicine droppers to get thinner from the thinner bottles and drop them on to my mixing palette.
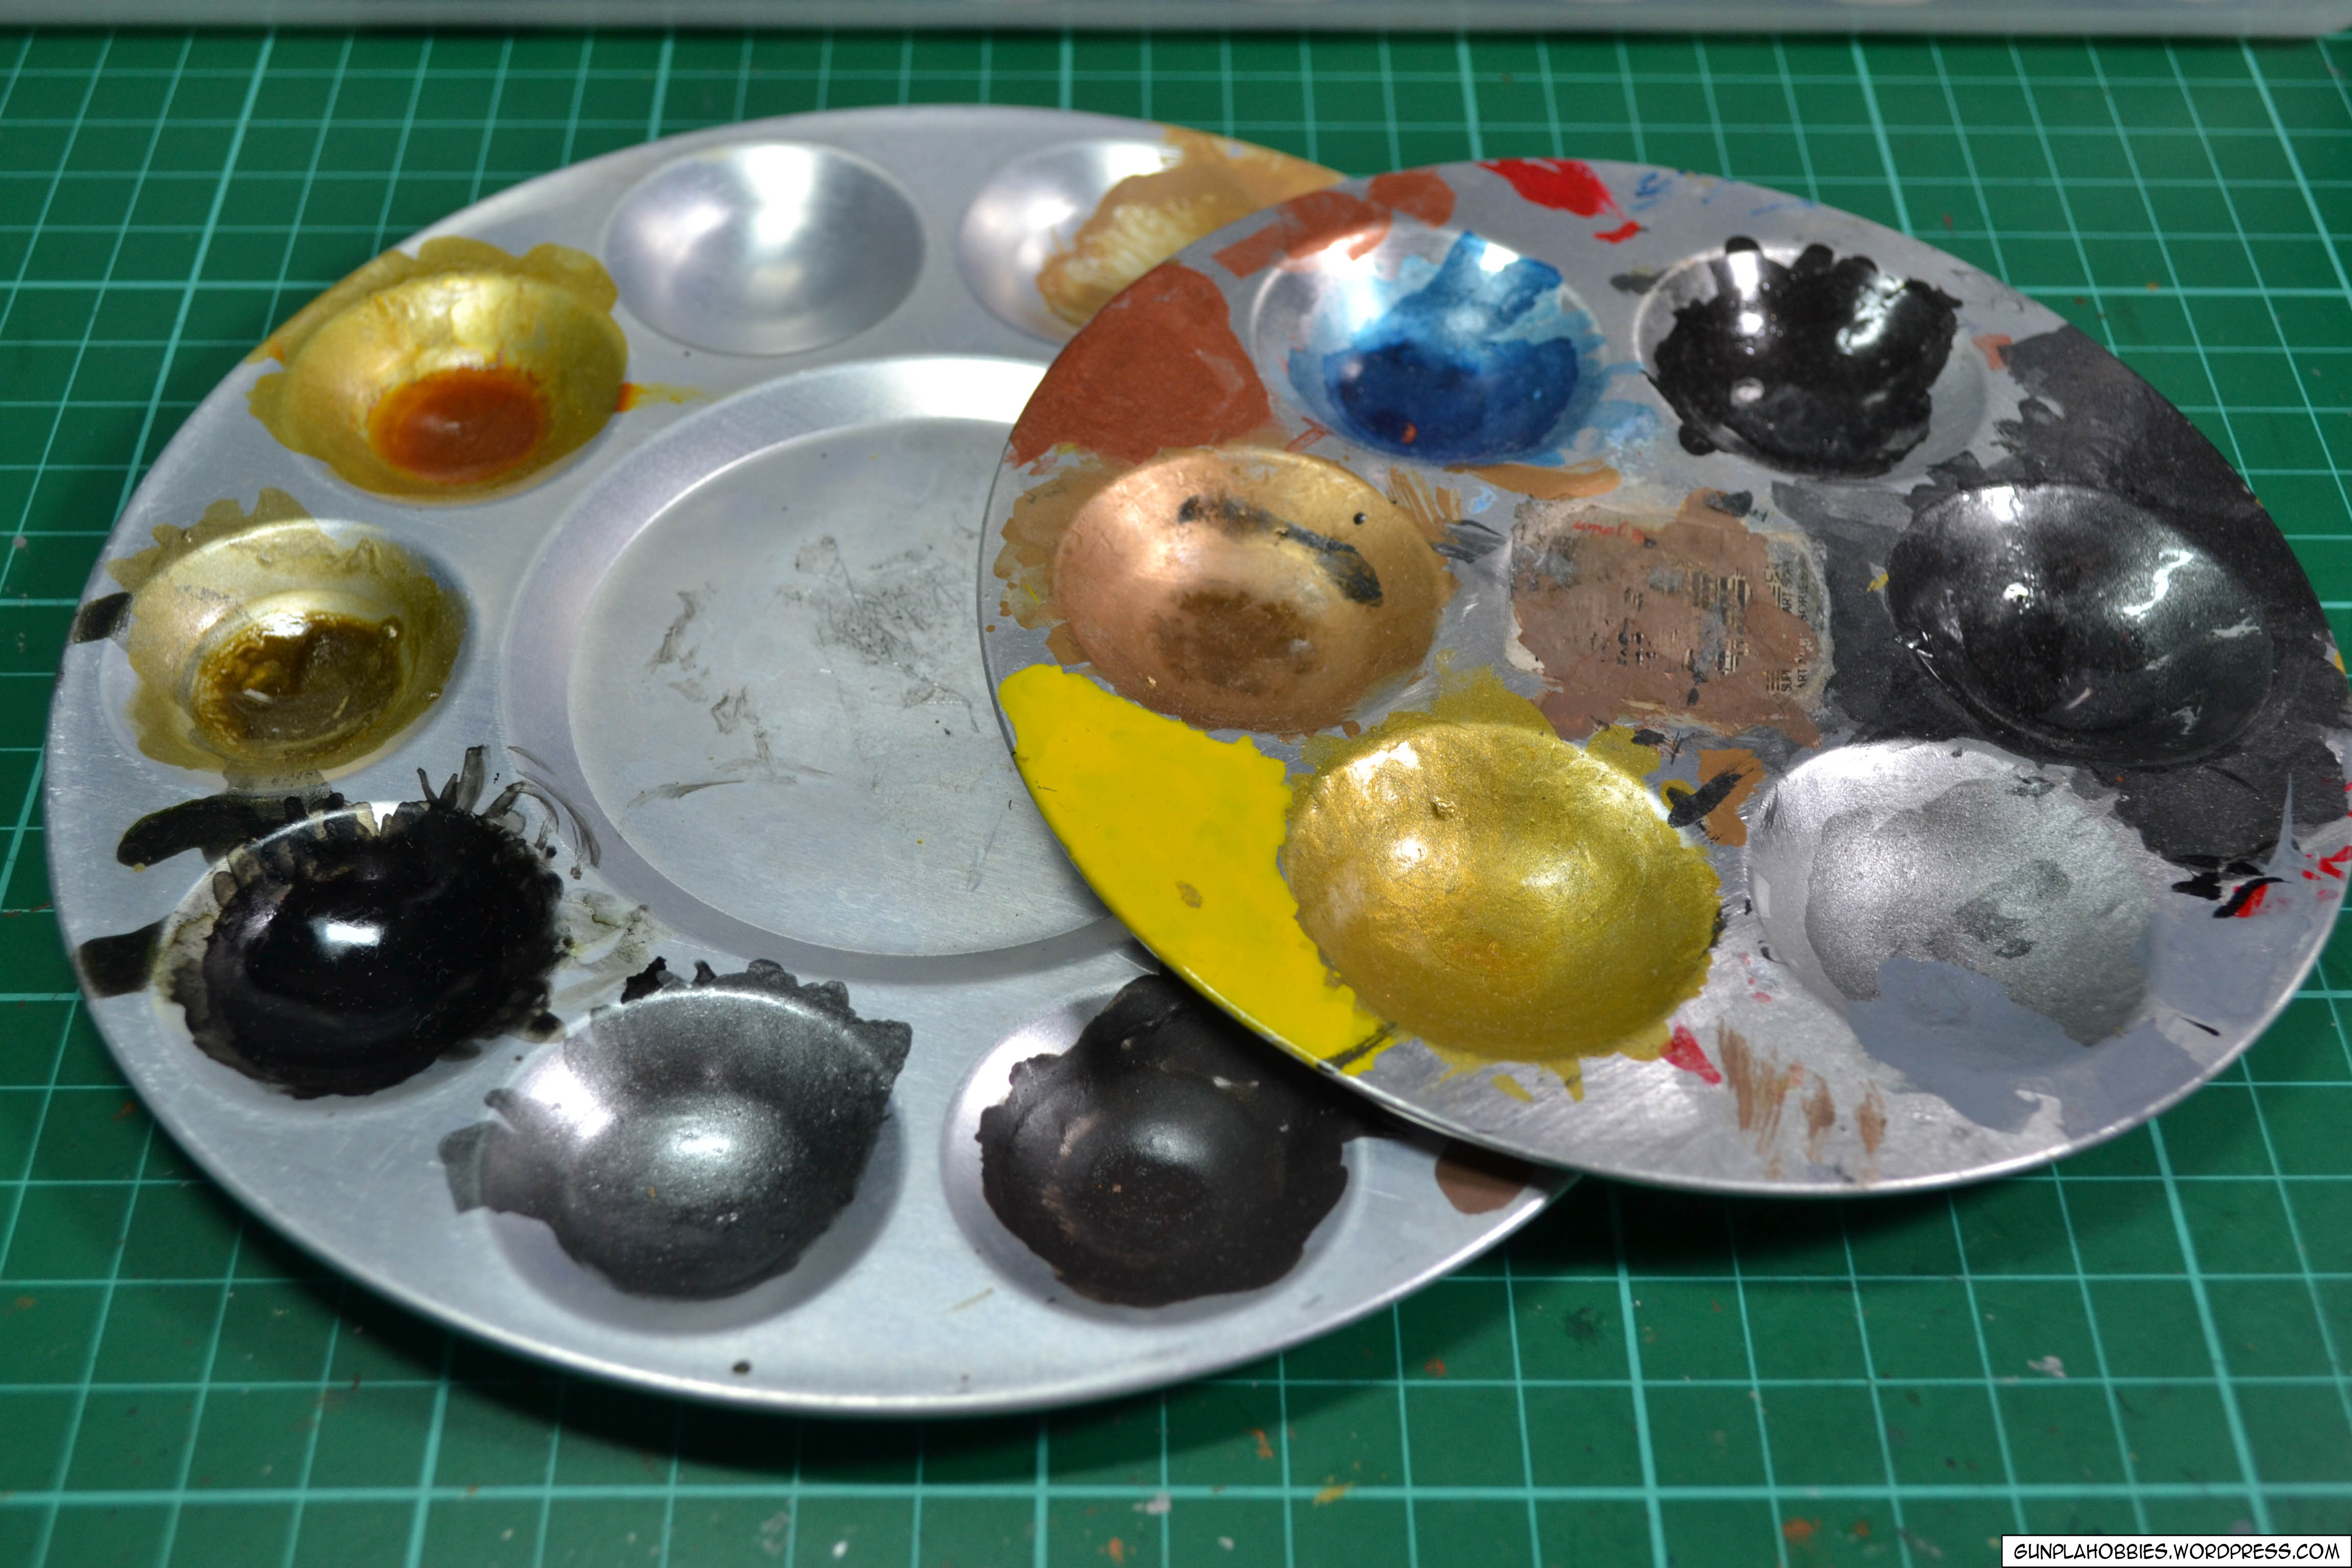
Of course you’ll need something to mix your paint and thinner on. Some aluminum palettes will do the job. I prefer aluminum ones than the plastic ones because the plastic ones melt when you put too much thinner on to it.
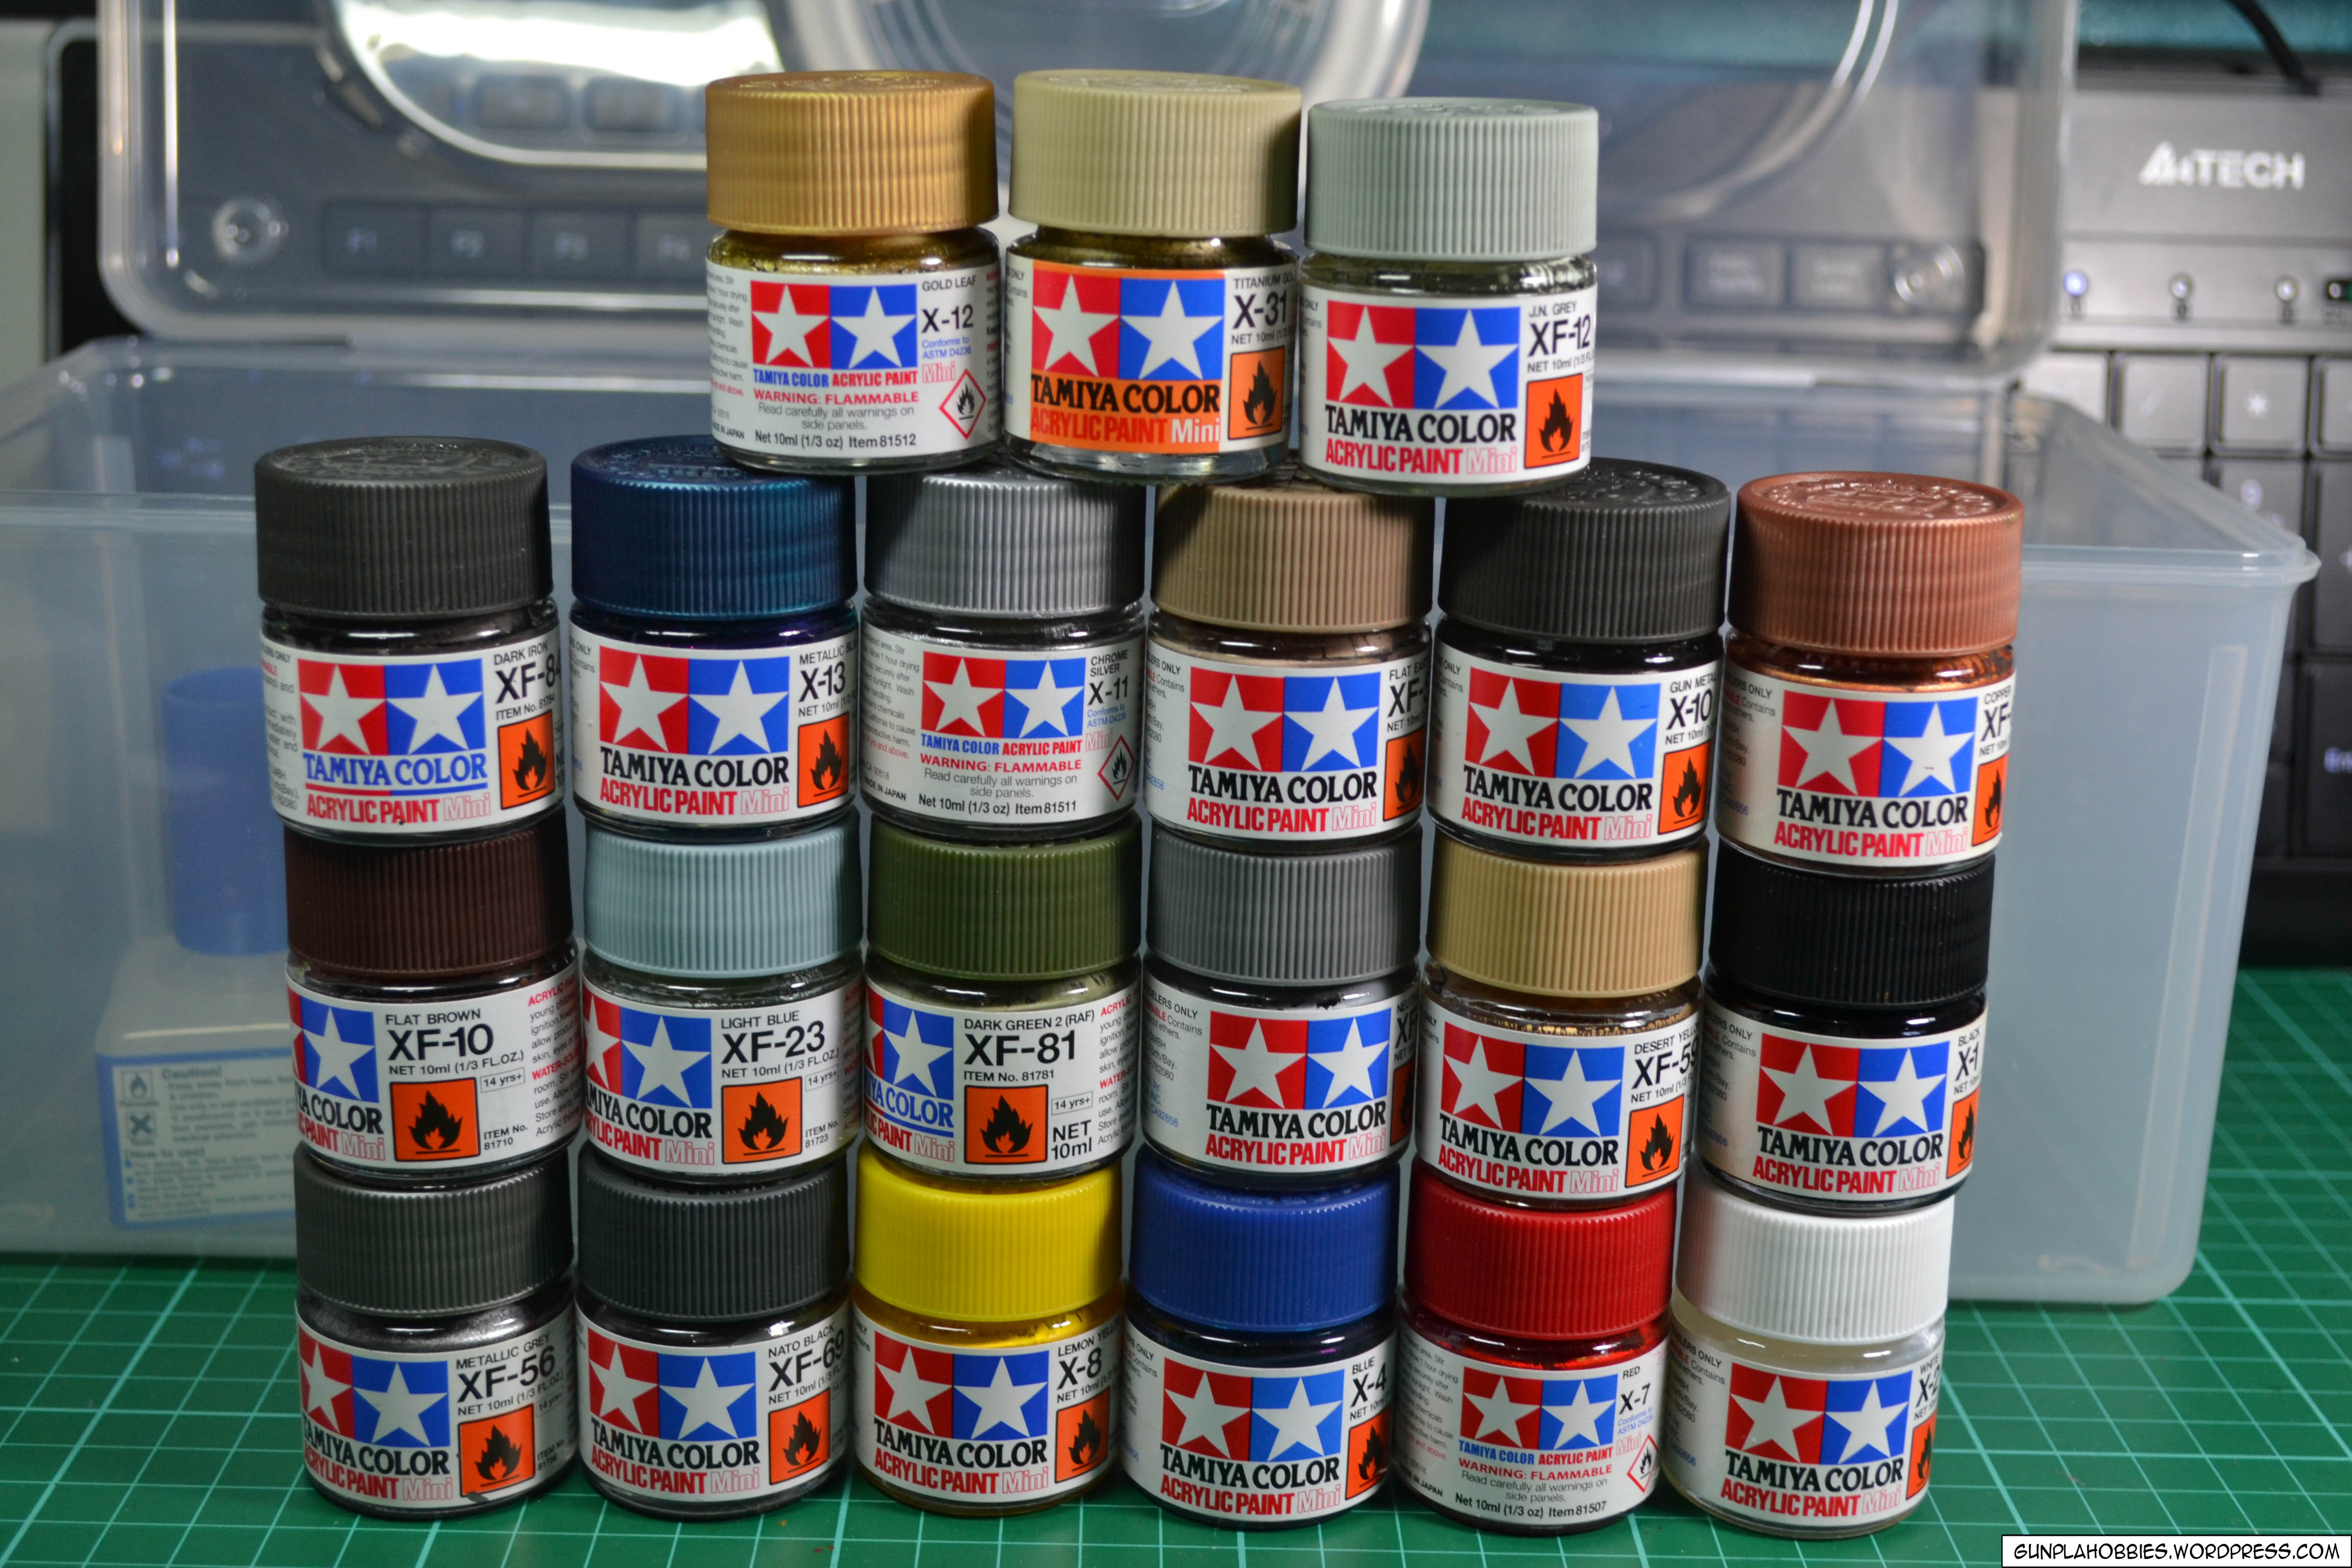
I did hand-painting in most of my collection. It’s easy to use acrylic paints in hand-painting since they are water based and can be thinned using water. But I prefer thinning them using specialized thinners as I mentioned above. My Tamiya acrylic paint bottle collection is growing as my hobby progresses.
You can also use lacquer paint bottles but they are harder to use because you will need a special thinner to have them even out on a surface. And they dry up pretty quickly so you have to work fast to have a smooth even finish.
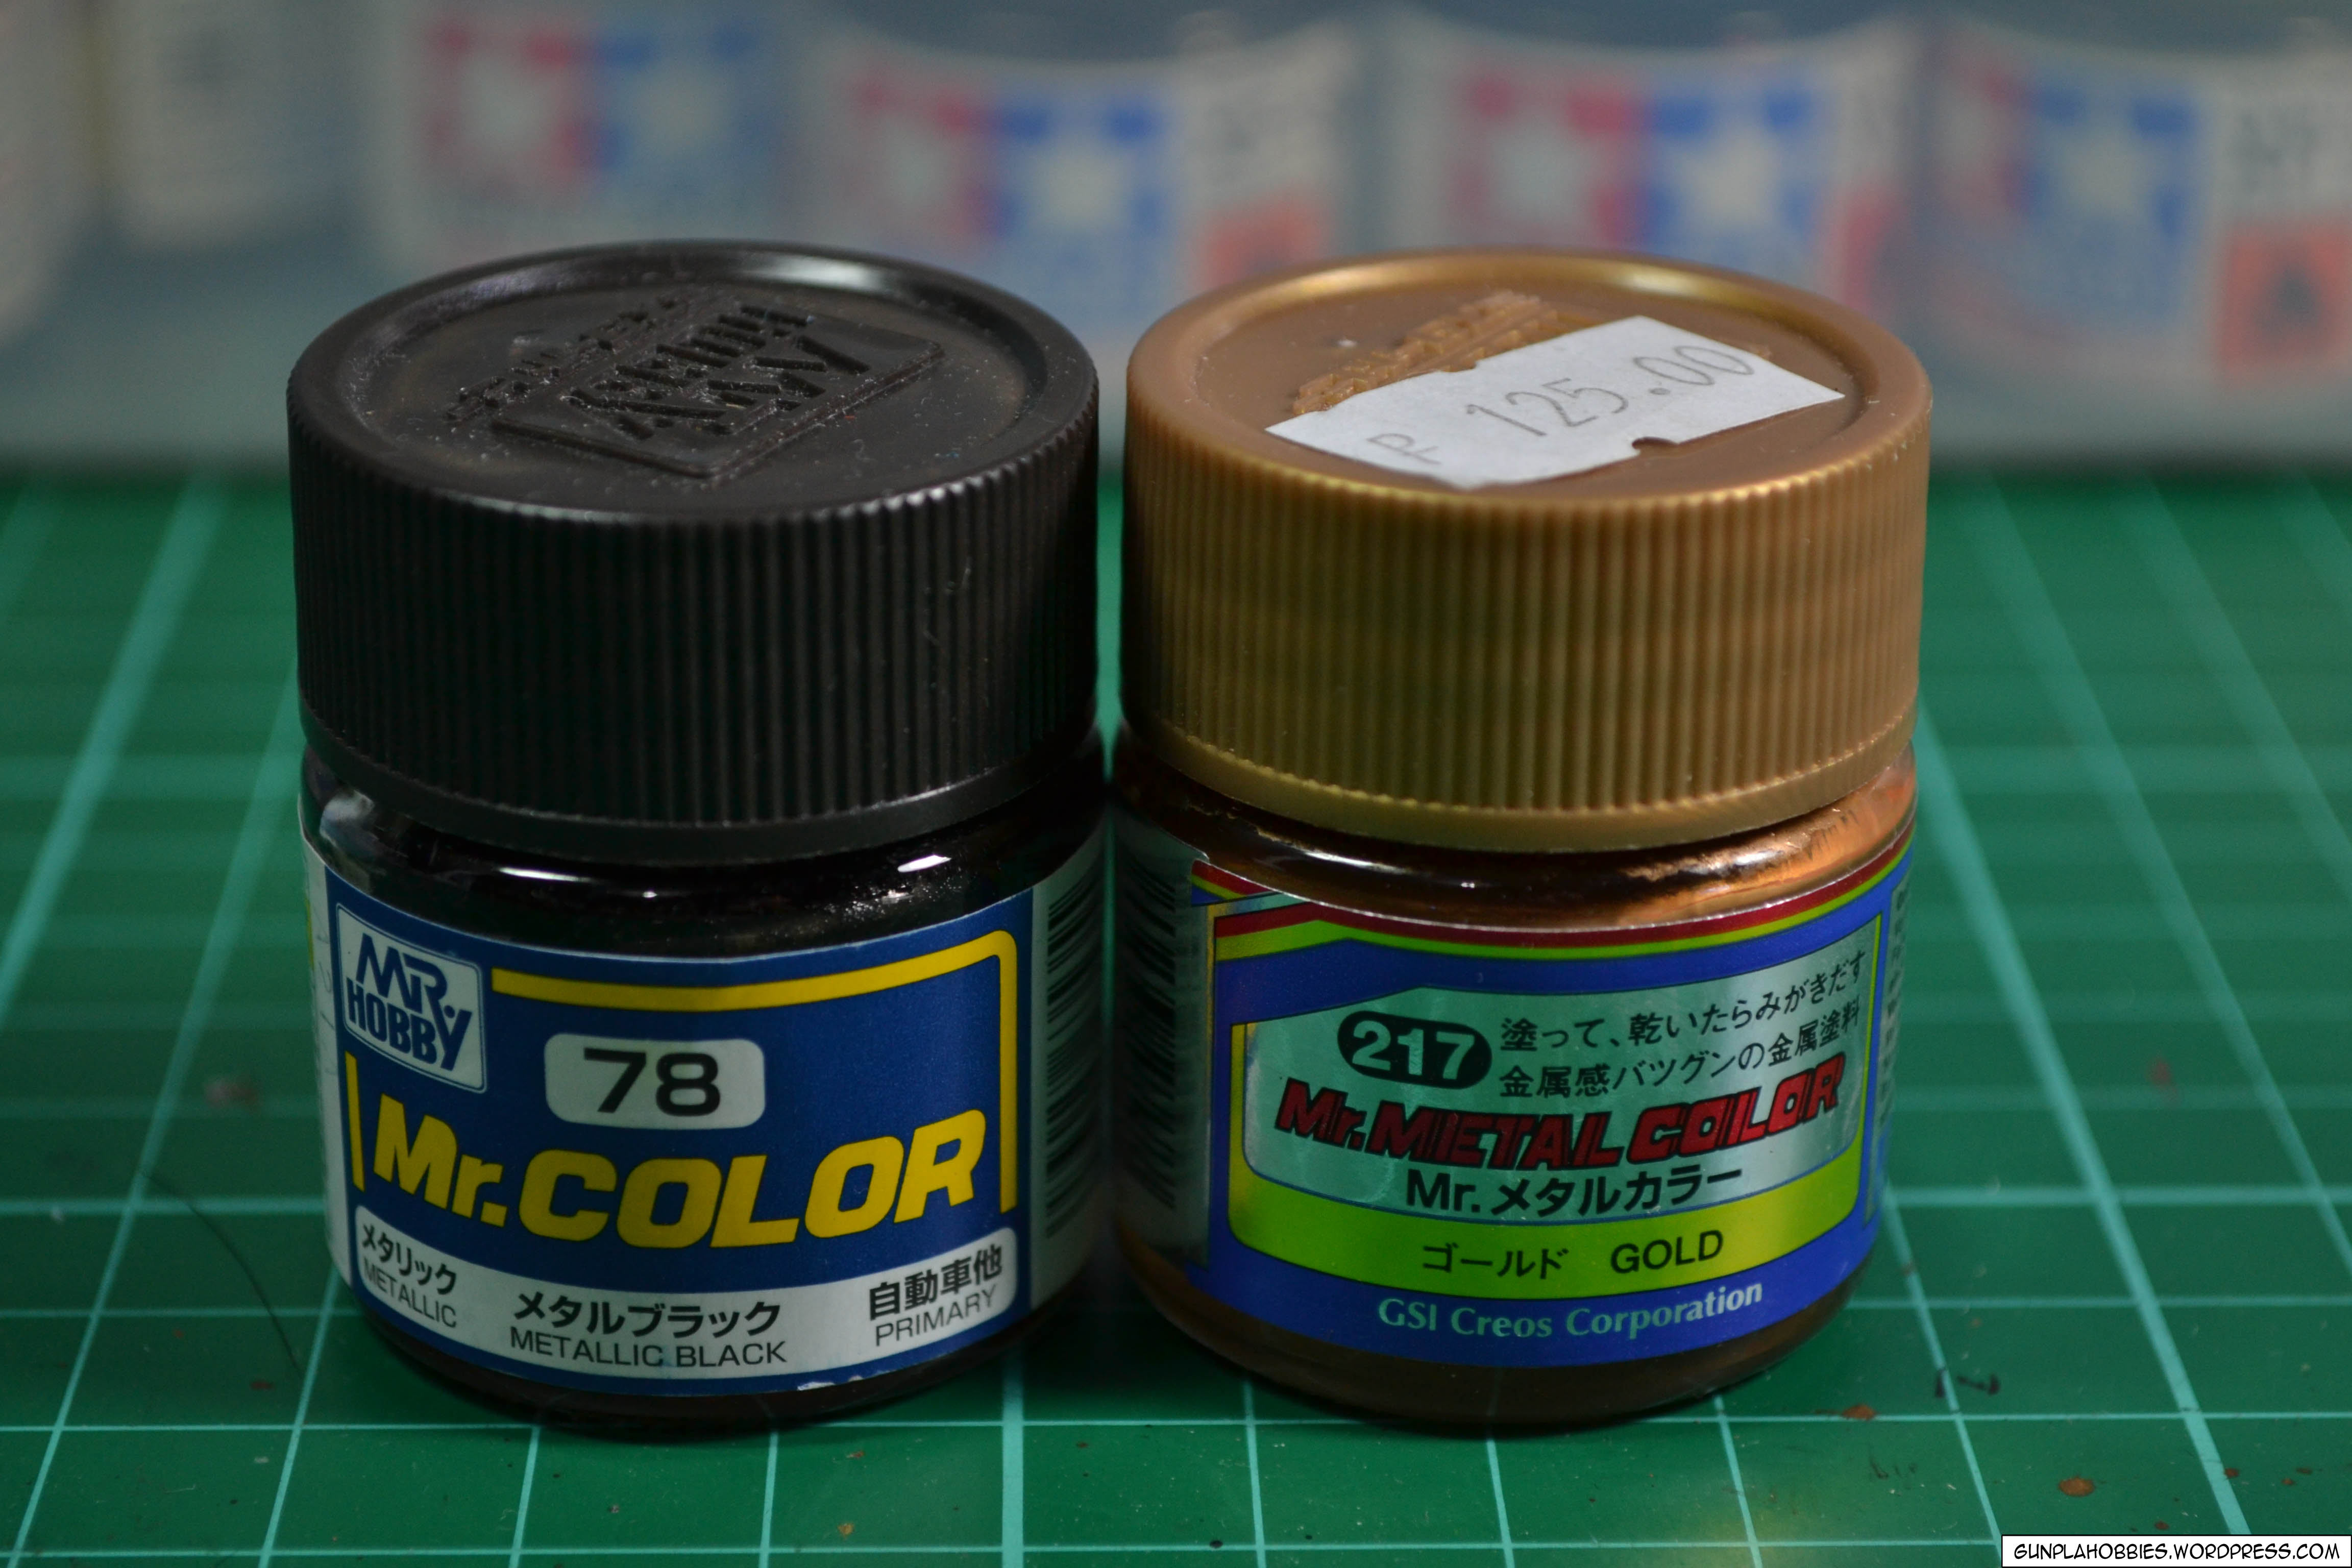
I’m starting to use enamel paint in panel lining using the enamel wash method, you simply dilute the paint such that it is runny. When you apply them to the part where you want to panel line, it will just ‘run’ on the line! Then you can just clean the excess afterwards using cotton buds and a little amount of lighter fluid.
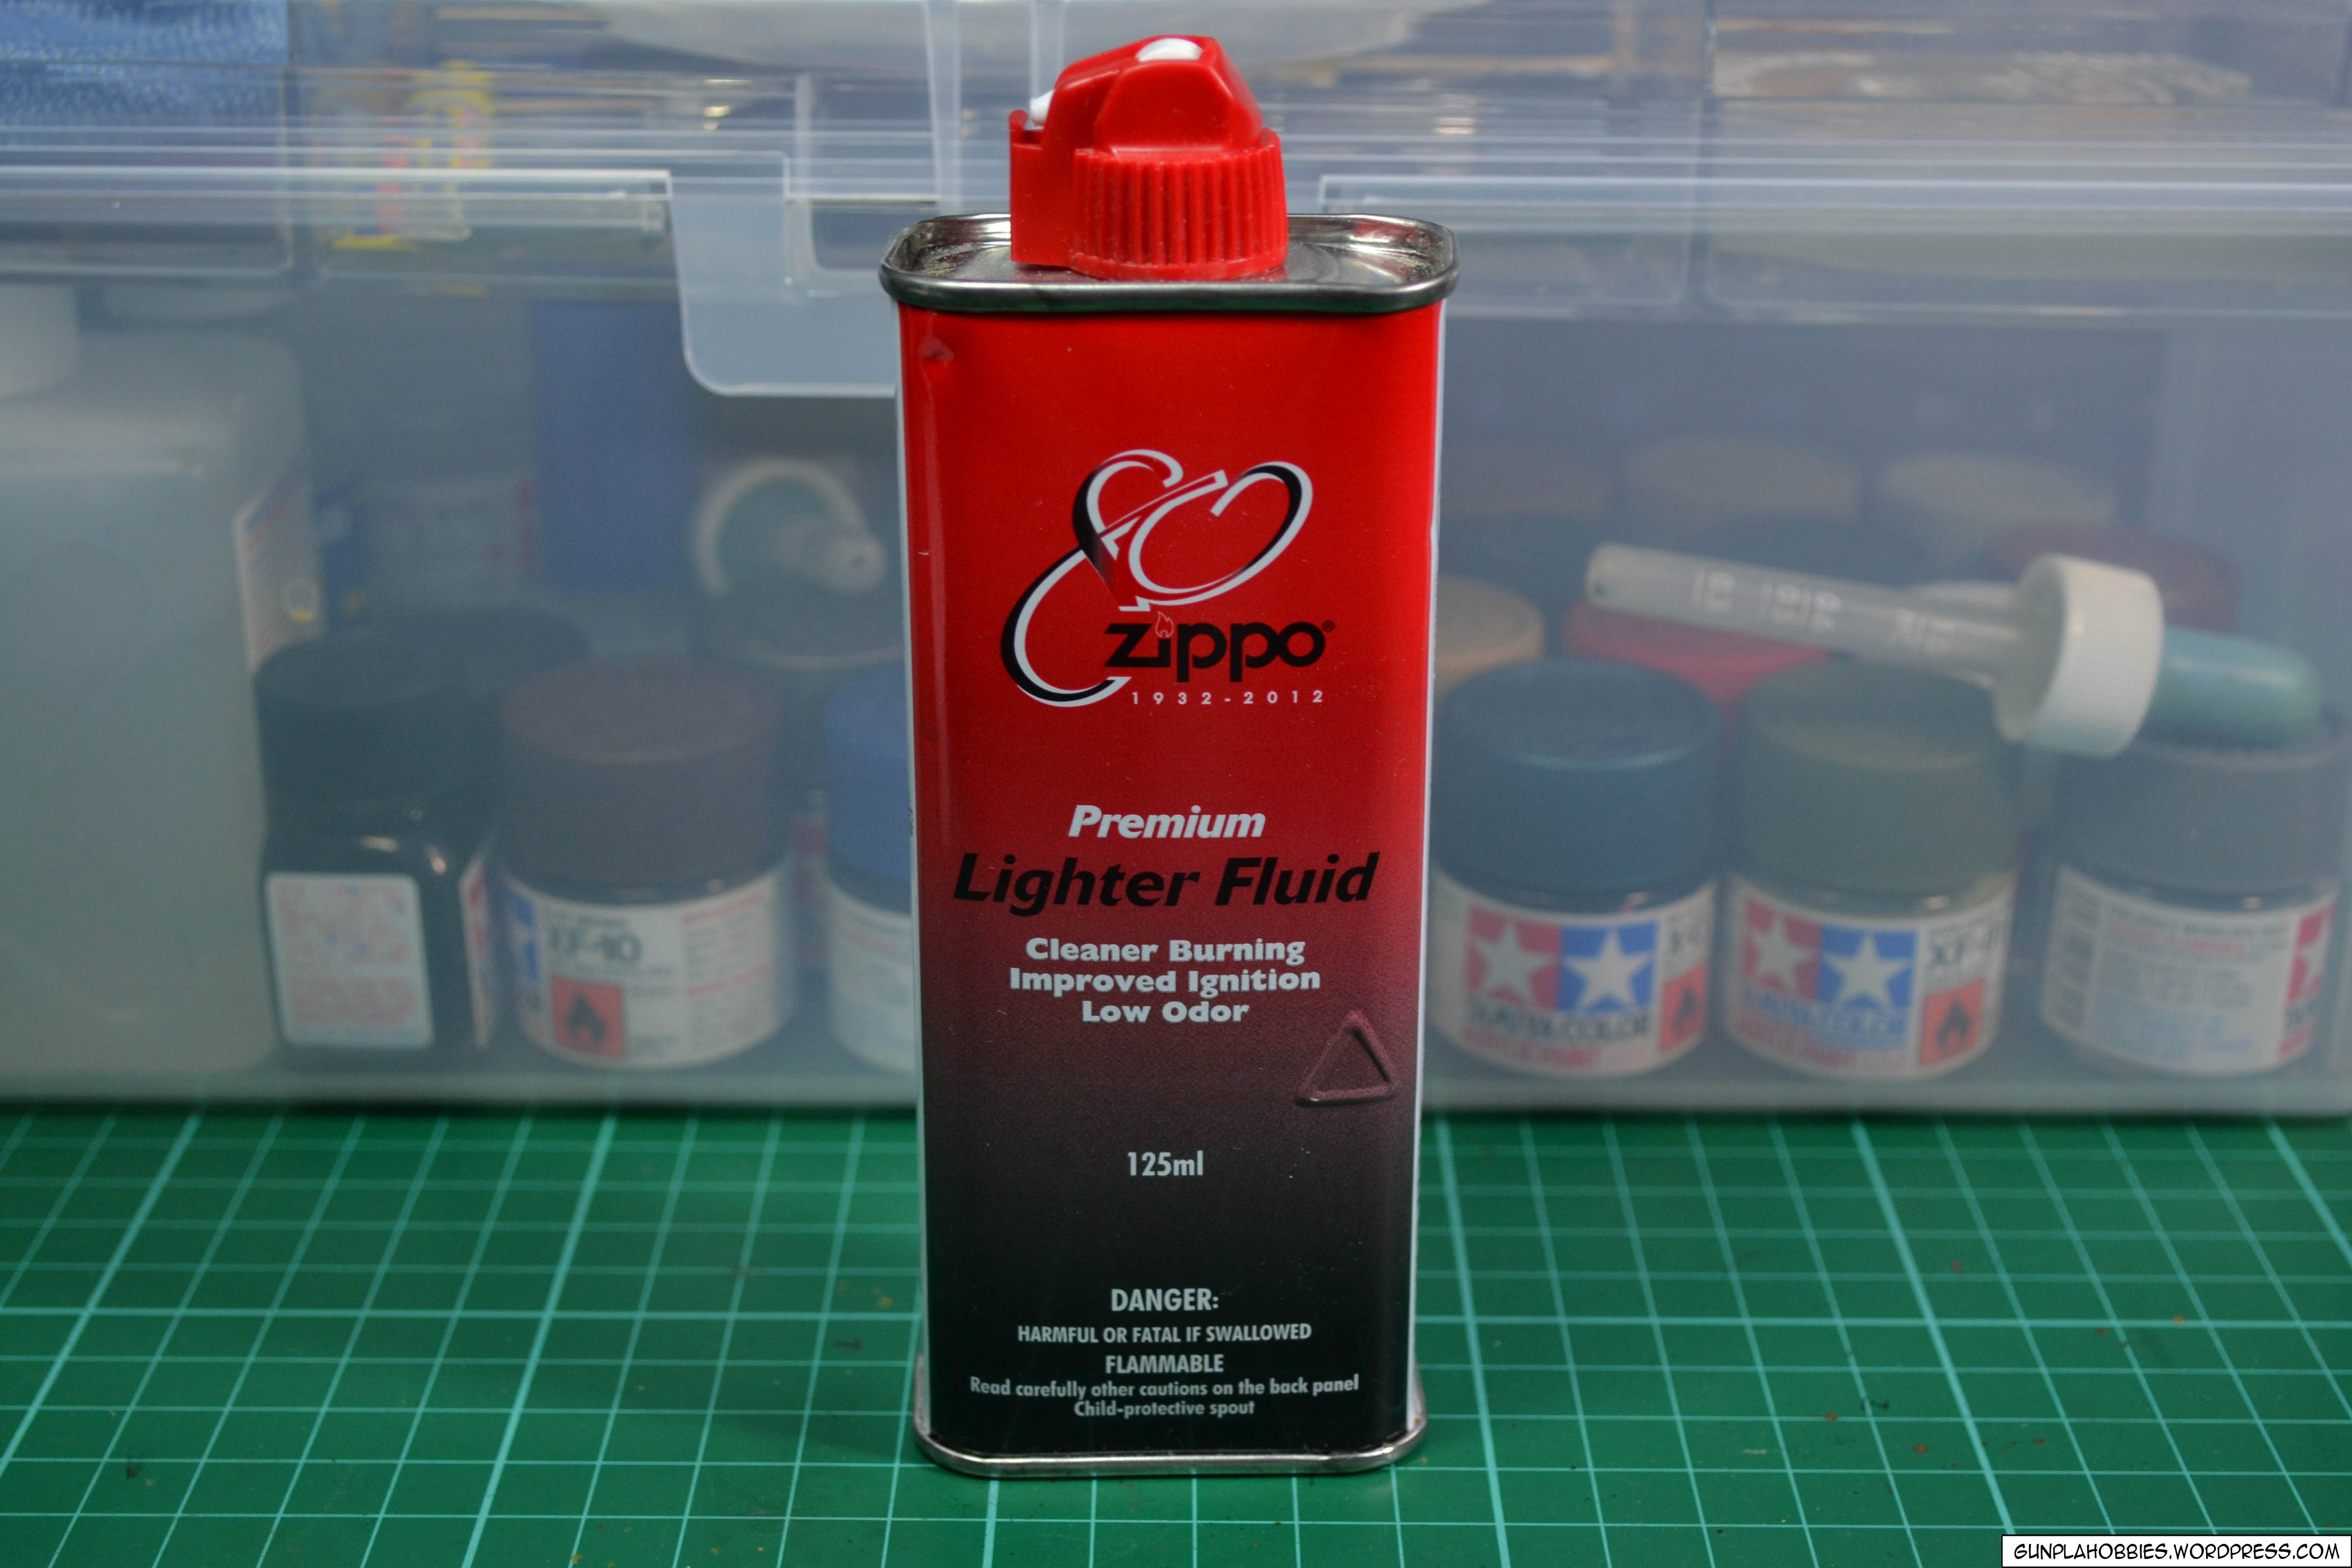
 I use Zippo lighter fluid to dilute the enamel paint, be careful not to start a fire though:
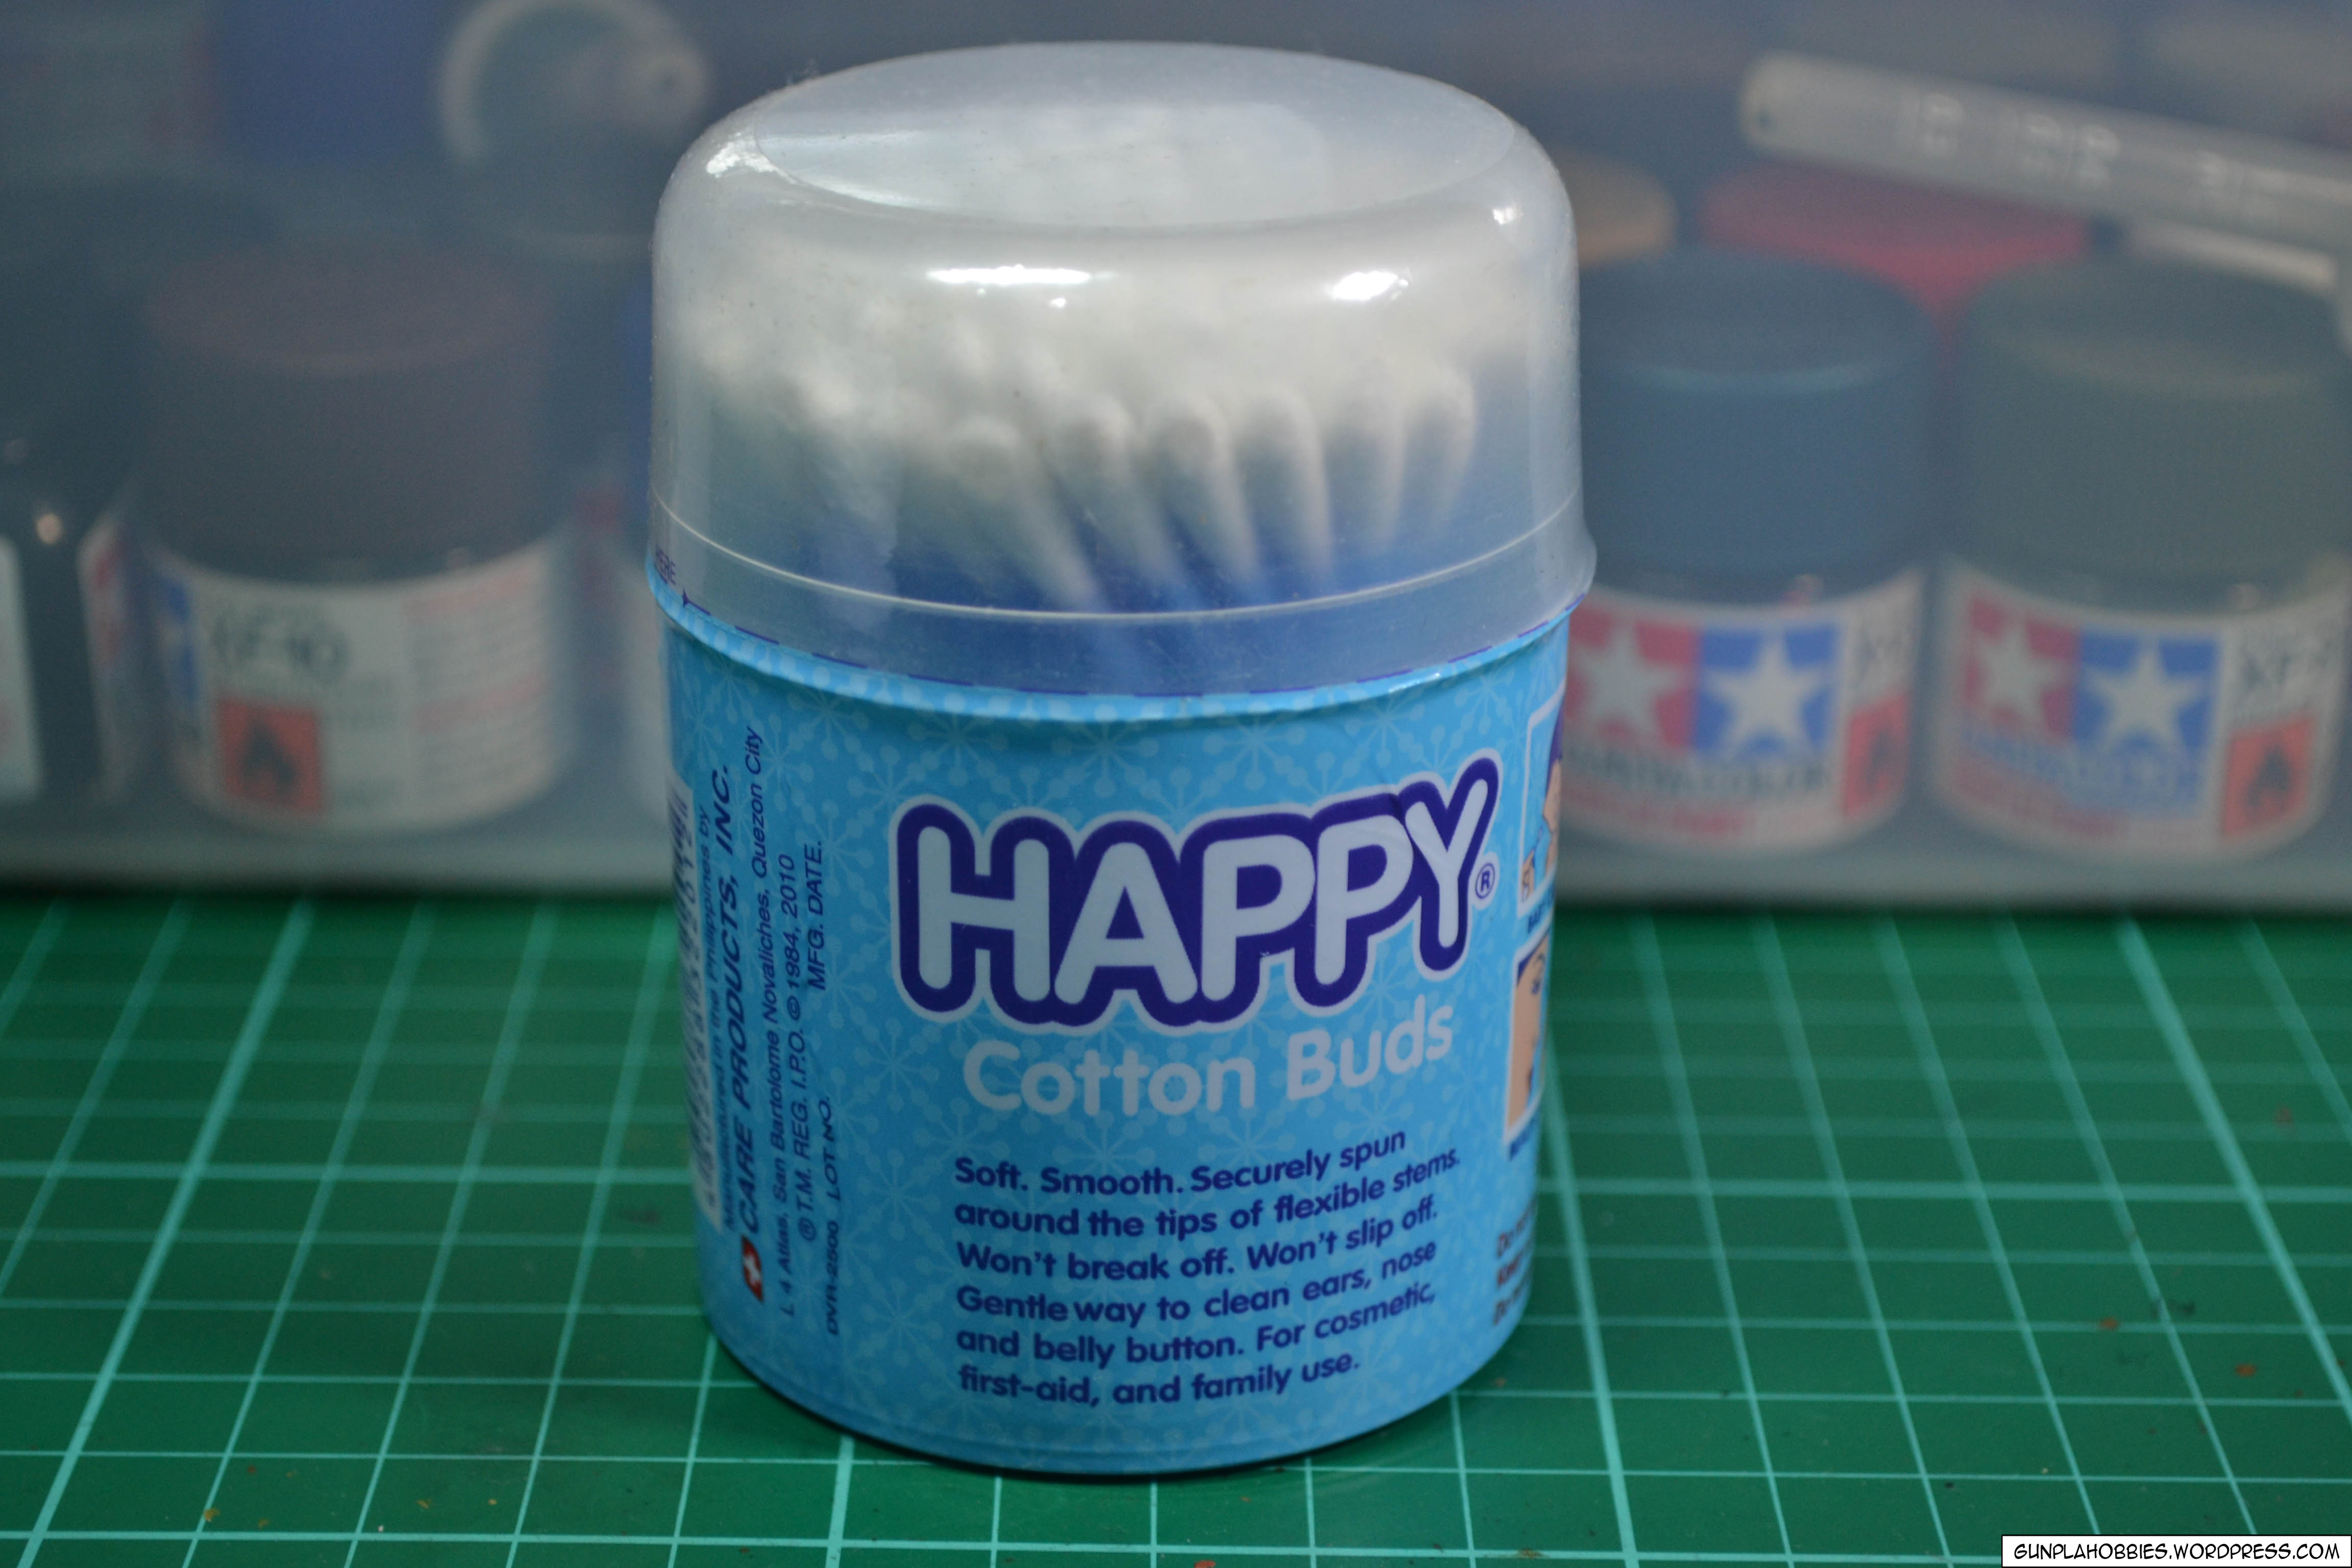
Some cotton buds would be handy in cleaning, you can also use these in applying weathering on your model:
Other than hand-painting, I have also tried spray painting, sometimes I use a primer sometimes I do not, it depends on the situation. I also have a collection of Tamiya spray cans but I did not show them all in the photo because they’re many. Primer has various uses, it can be used so that paint will adhere to the plastic surface, or it can be used to flatten and clean out scratch marks or plastic imperfections. It can also be used to brighten or darken the colors you desire for your kit since the primer will be the base coat. I have learned in spray painting (made a lot of mistakes already) that you have to be patient and spray in thin layers, wait for them to dry and spray another thin later if you are not satisfied with the result. This is done so that the paint will not run on the surface or leave nasty pools of paint that you would have to redo, sand and paint again.
 For cheaper alternatives, you can use industrial spray cans found in hardware stores, the downside in using the cheaper alternatives is that the spray nozzle has a wider blast range and larger spray particles. You would have to increase your distance to the part being painted as compared to using Tamiya spray cans. Tamiya spray cans produce finer particles therefore a smoother even finish.
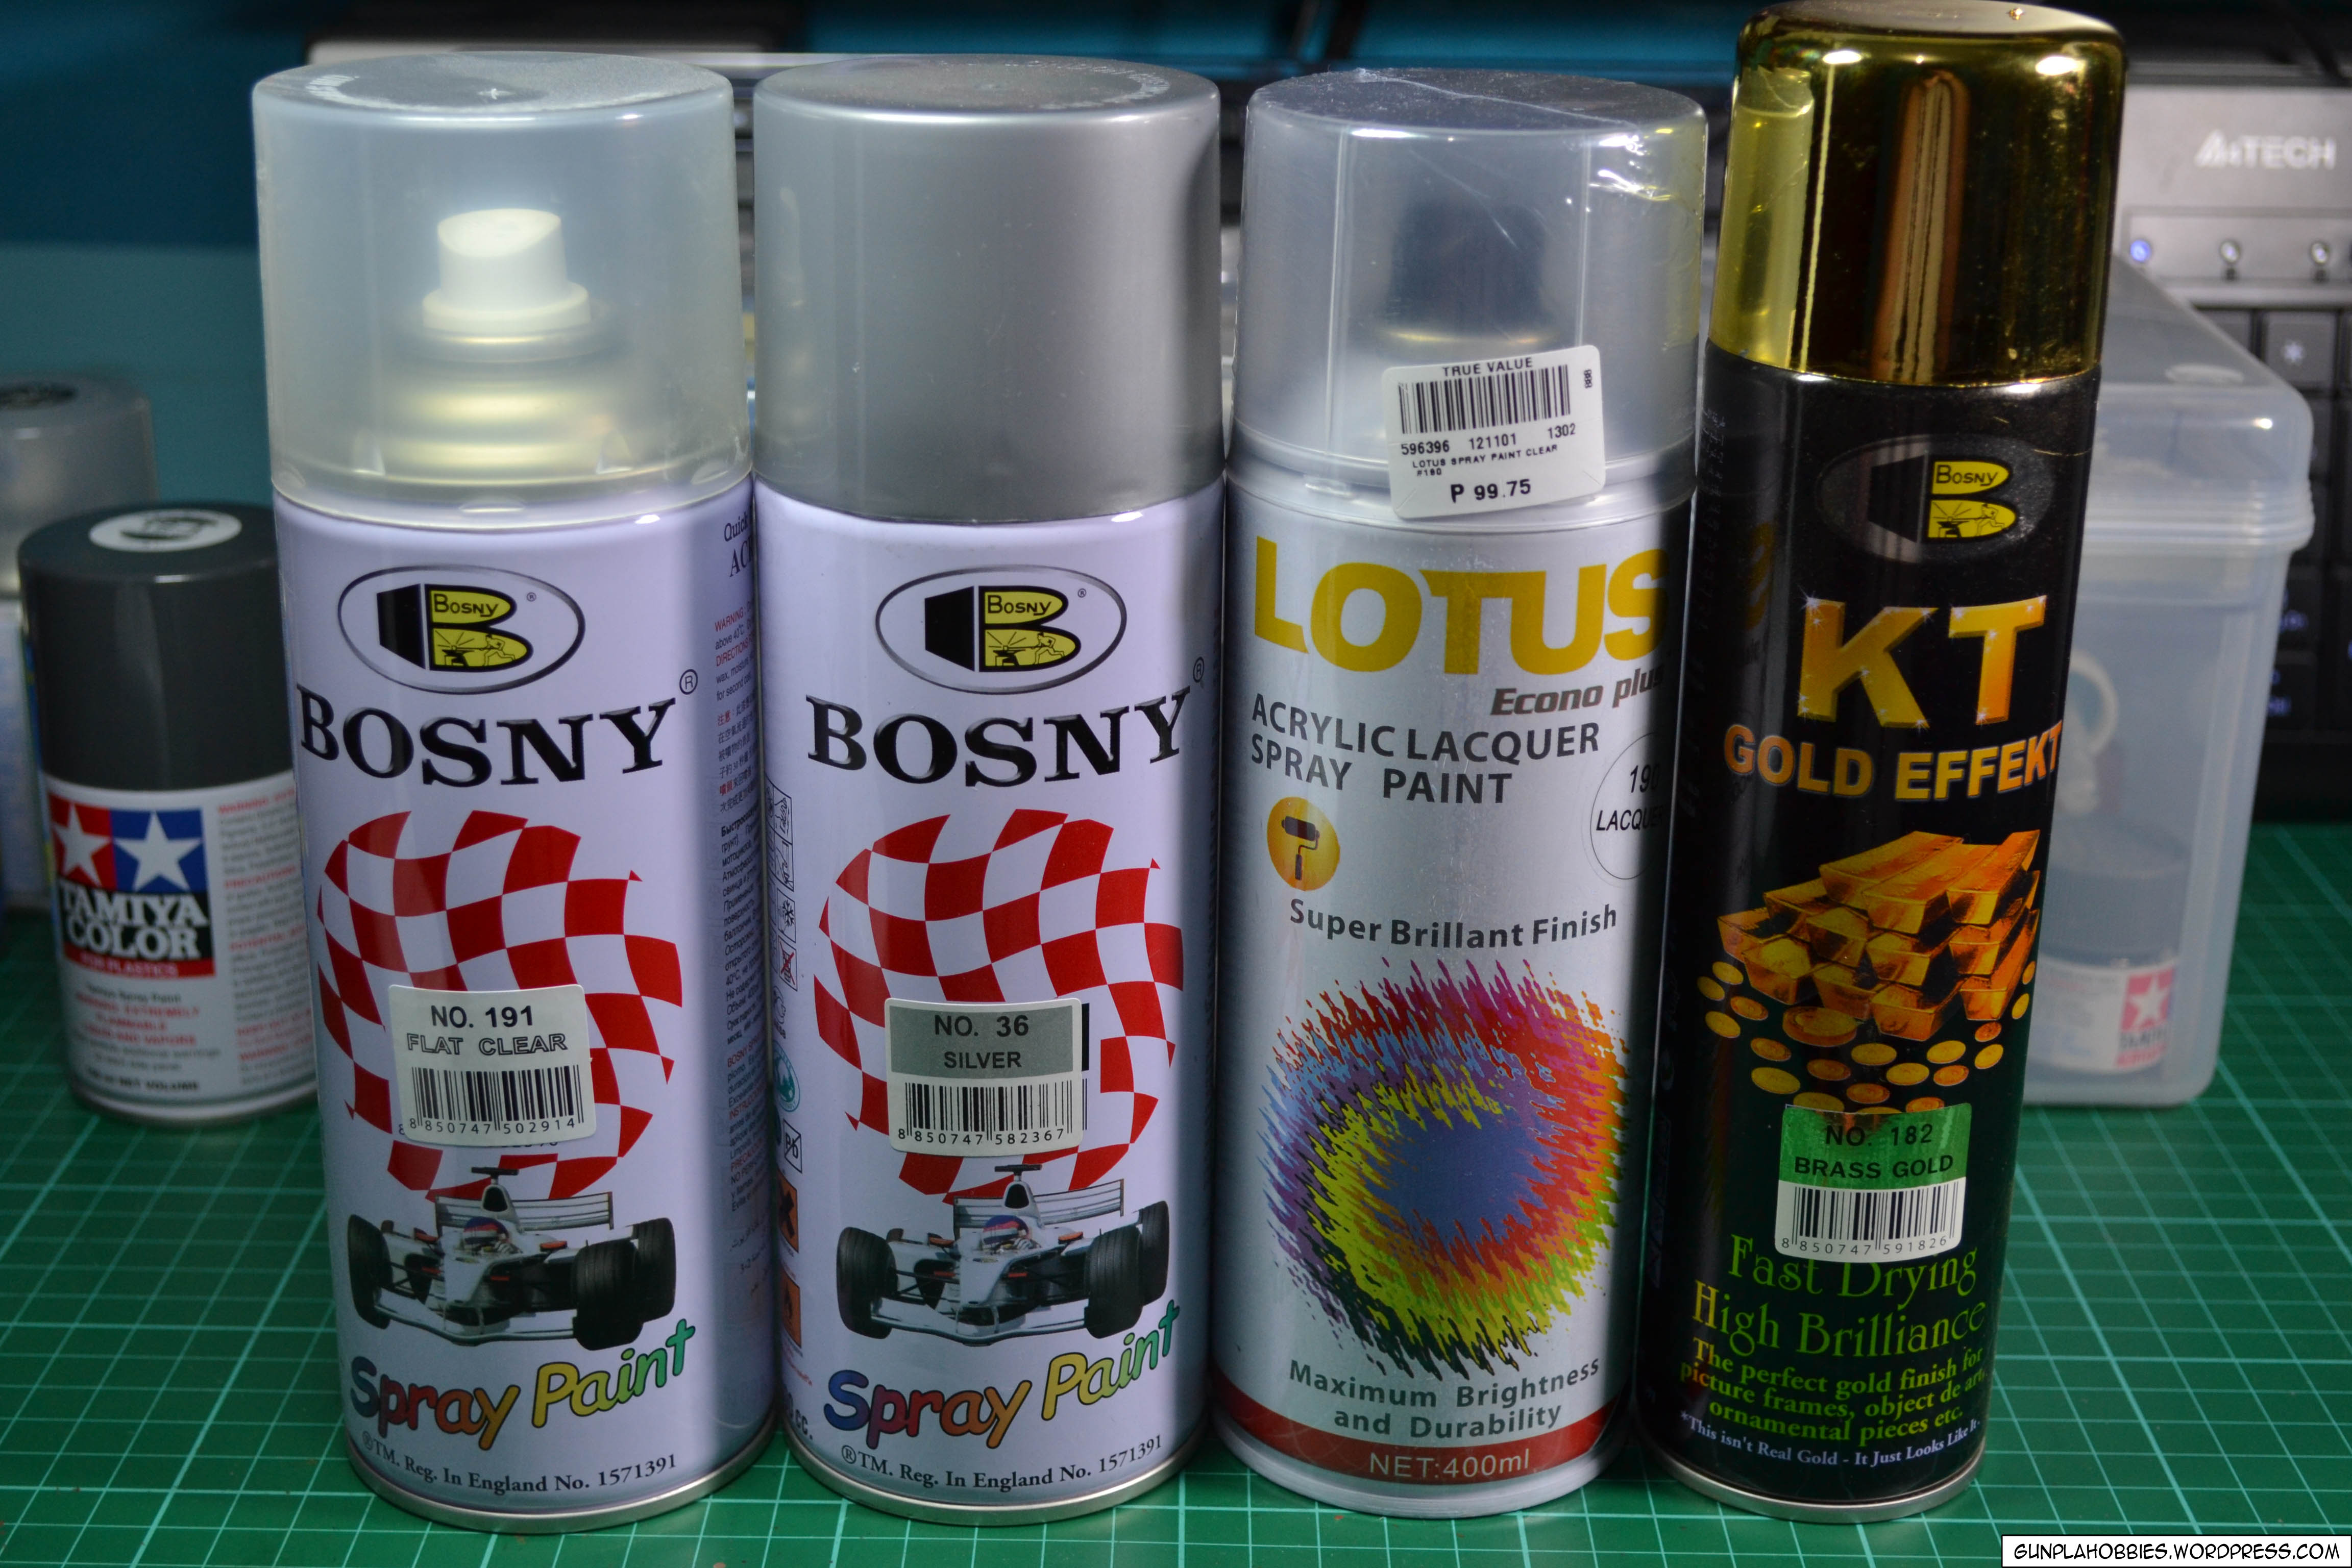
For topcoat I either use Mr Hobby ones or Bosny No. 191 for matte and 190 for gloss:

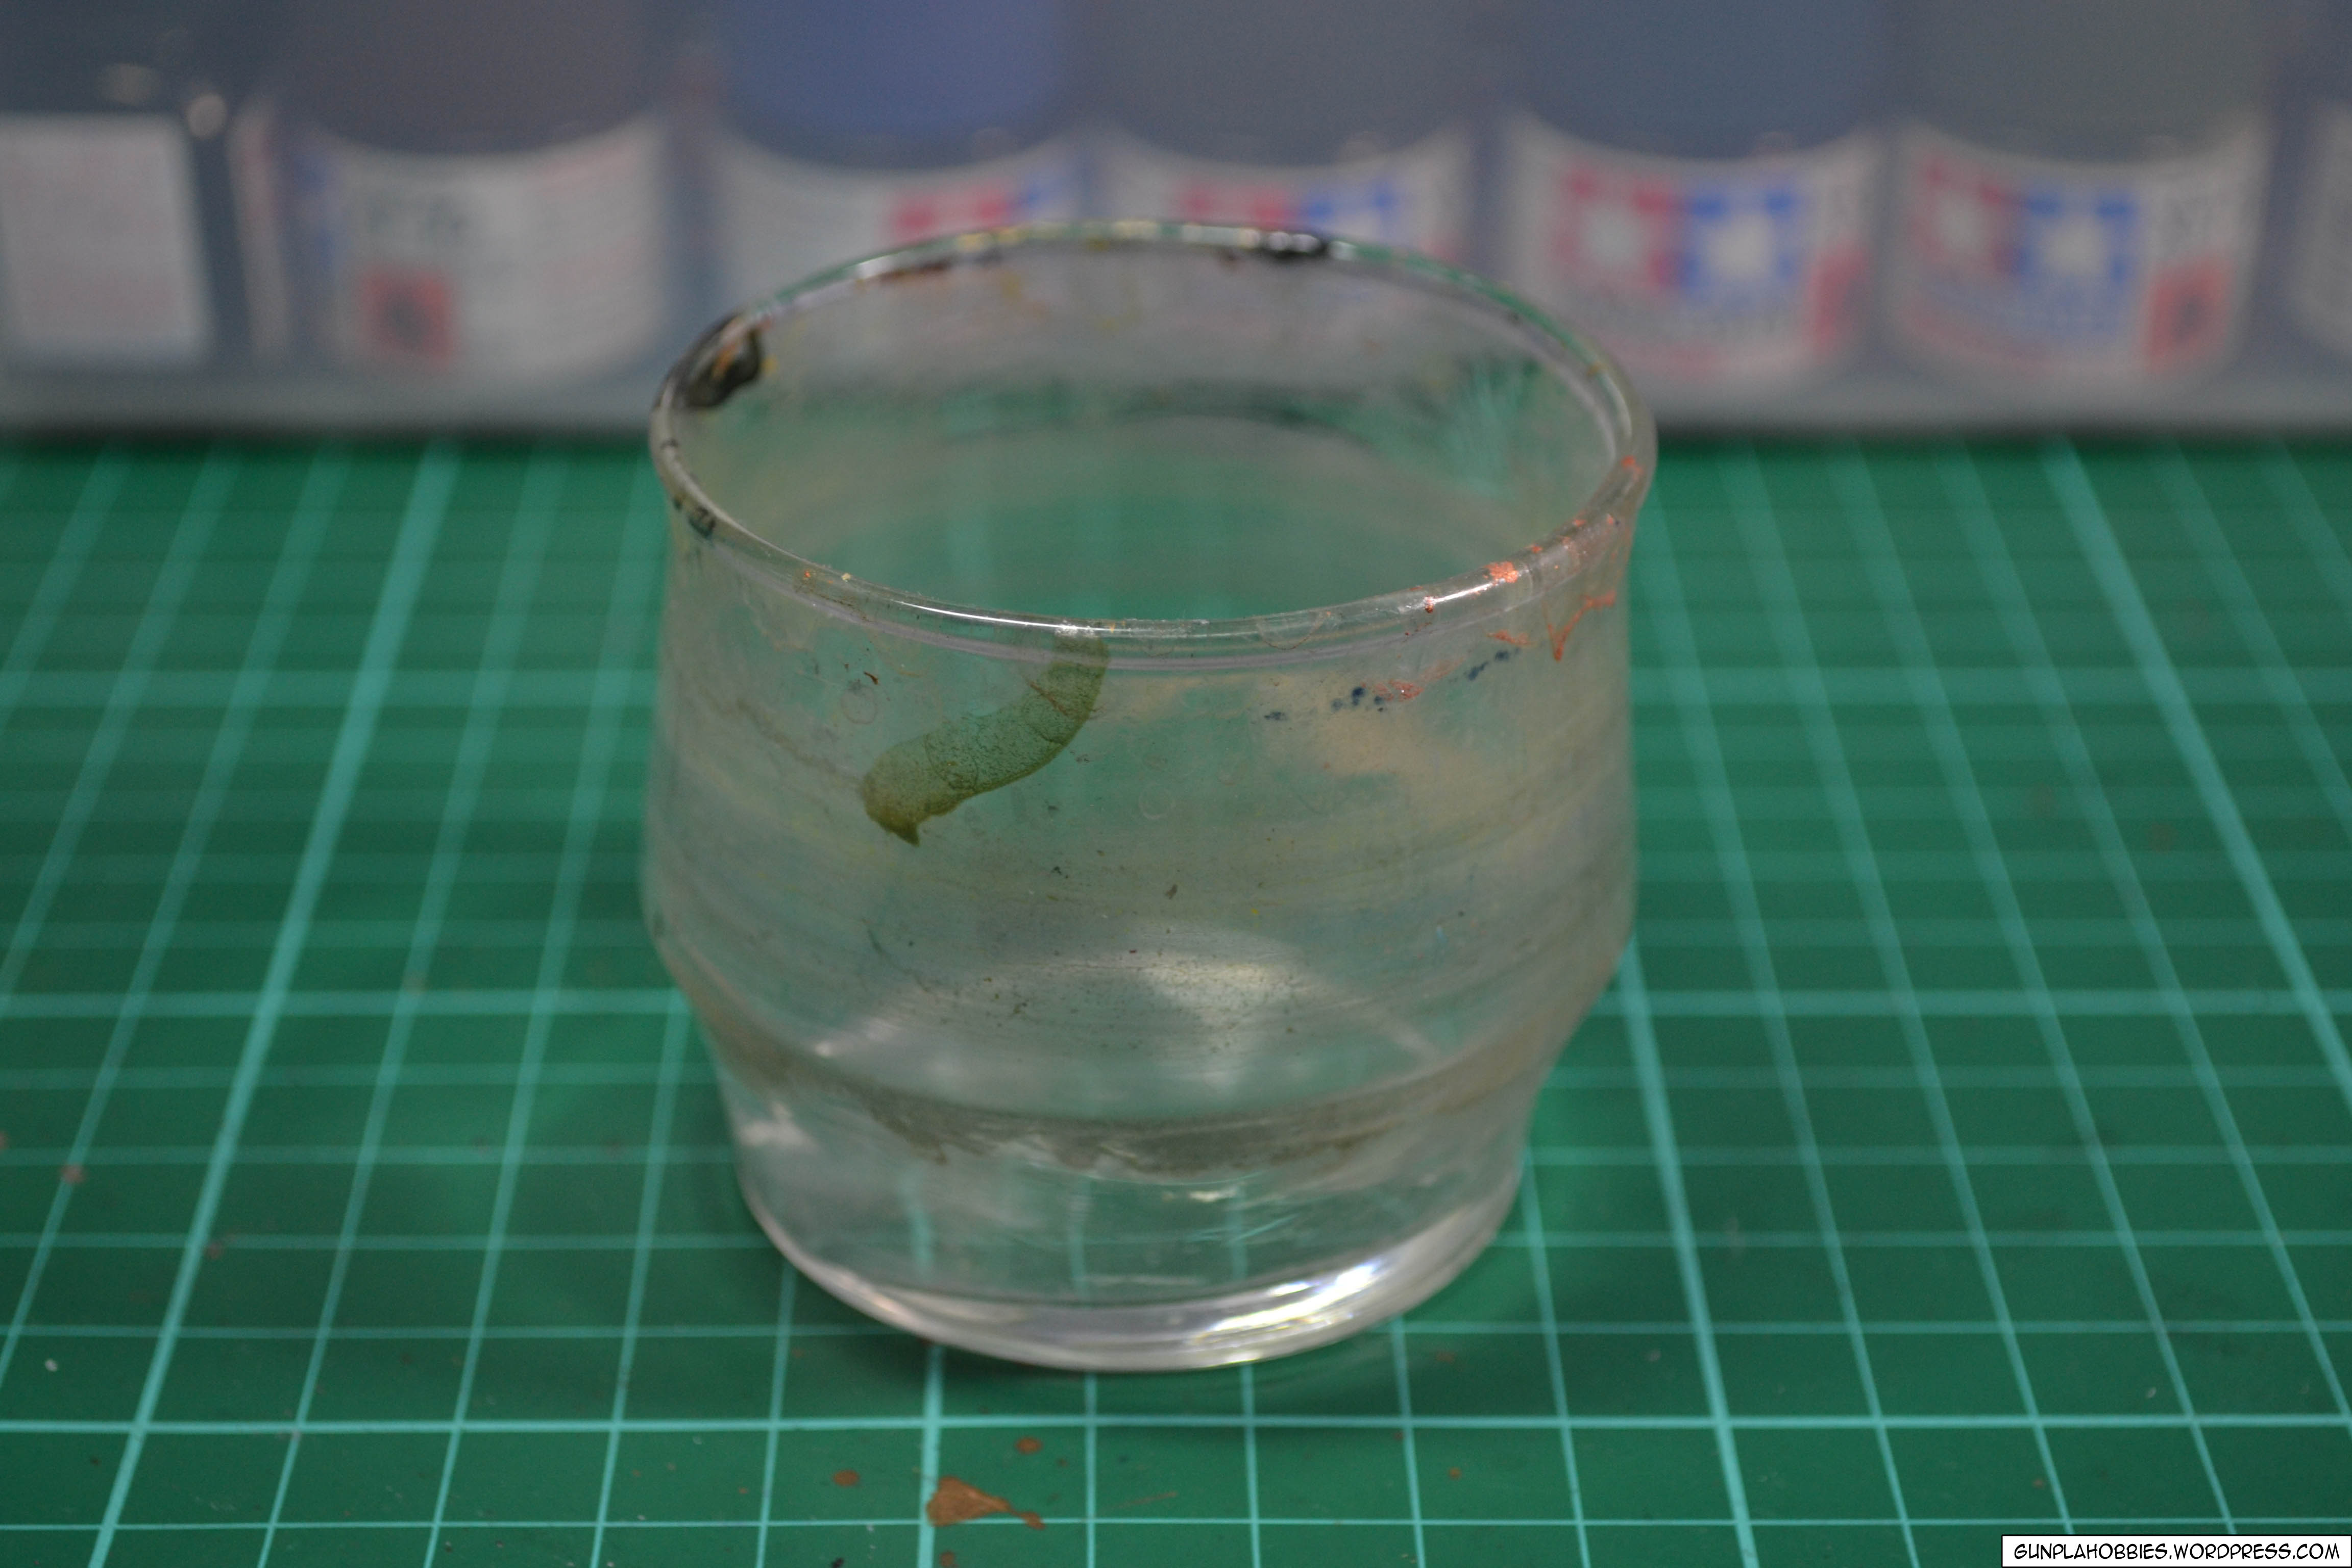
For washing my paint brushes, I simply use a small glass like the photo below. I put water in it to clean paint brushes that I have used for acrylic paints. You cannot dip a lacquer tainted or enamel tainted paintbrush in water, it will not wash off, it will just harden the paint on the bristles and ruin your brush. Its best to clean brushes that have been used with enamel or lacquer paints using specialized thinner for the specific paint types.
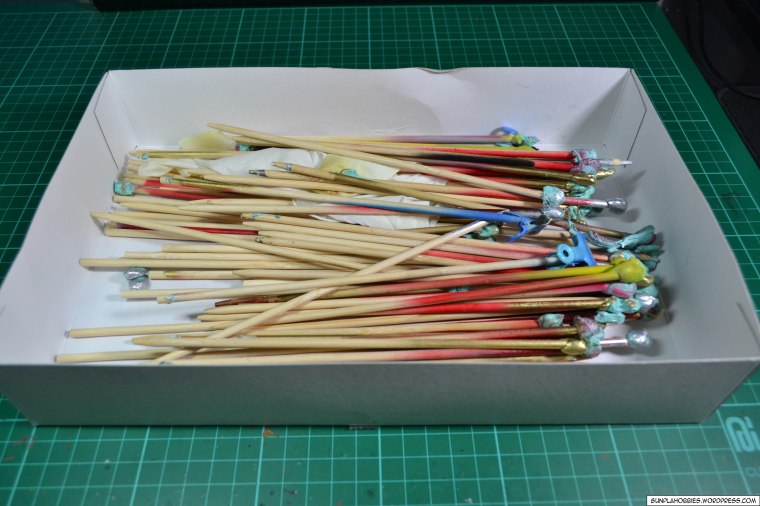
For holding the parts during painting, I use bamboo barbecue sticks with small clips or blue tack depending on the part that you want to hold, other people use alligator clips but I haven’t tried them before:

I have a whole lot of them in an HG kit box:
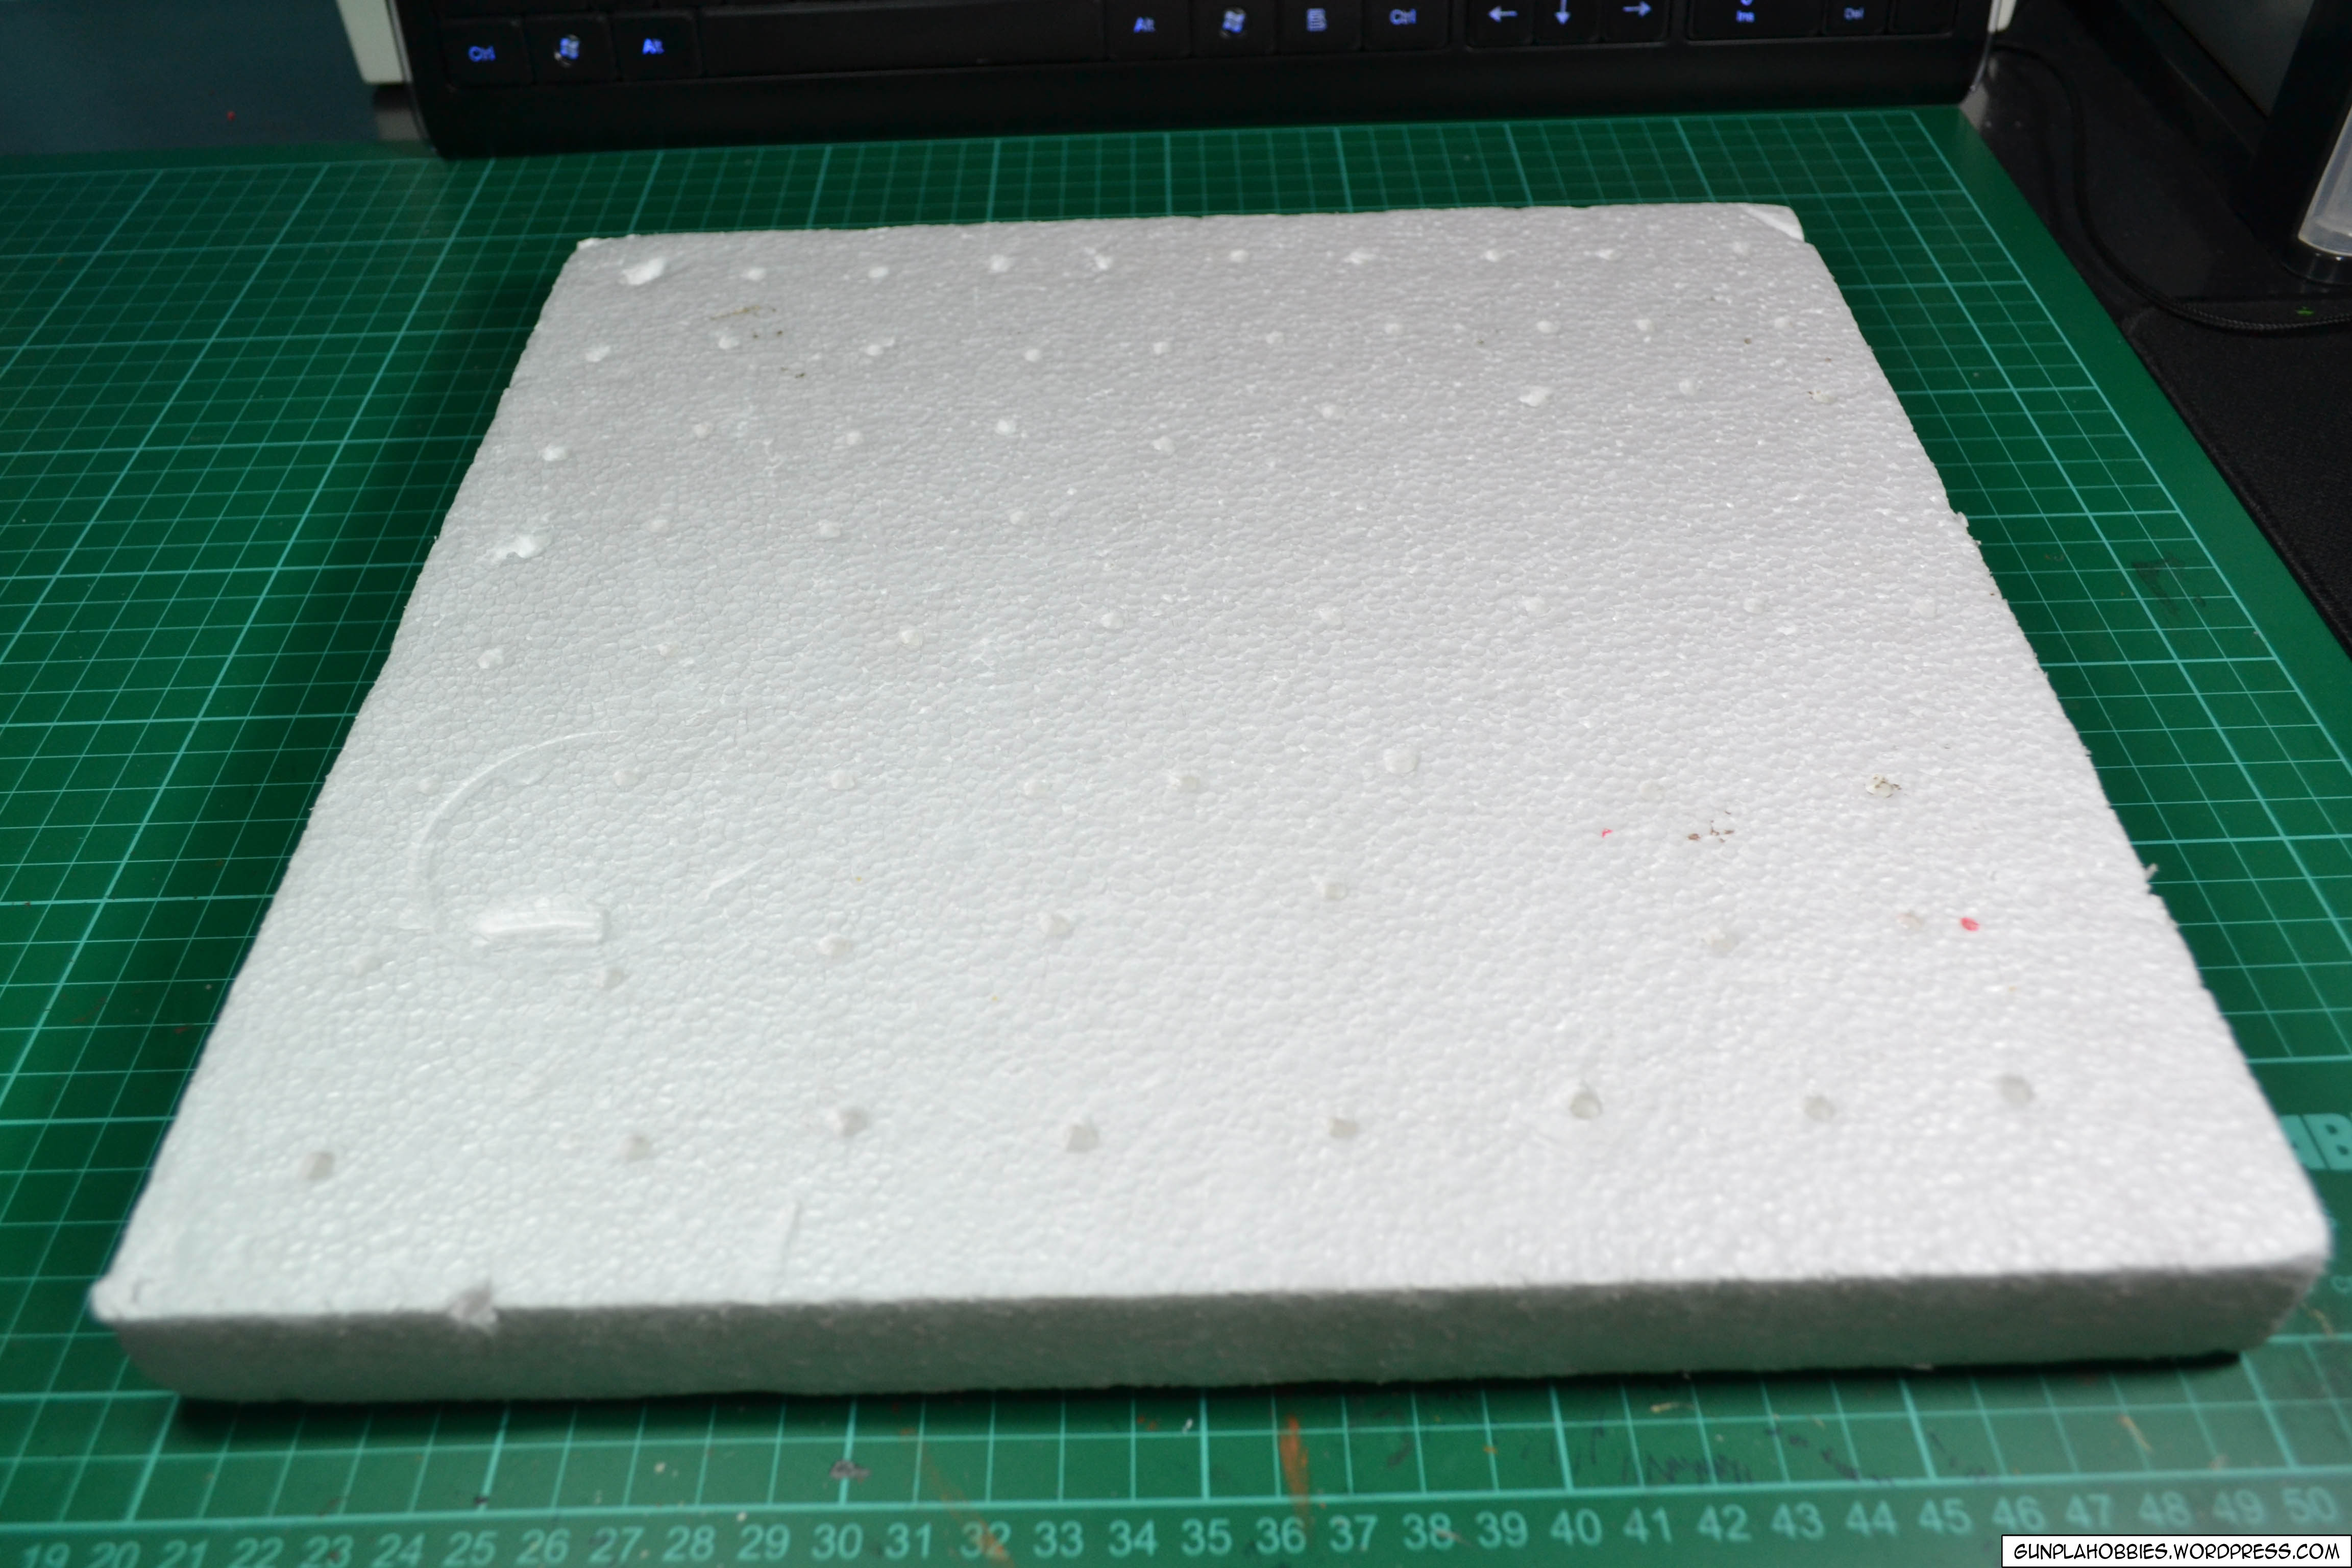
After painting the pieces, you can stick them into a expanded polystyrene block for drying. (Styrofoam is a brand name, it’s suppose to be called expanded polystyrene)
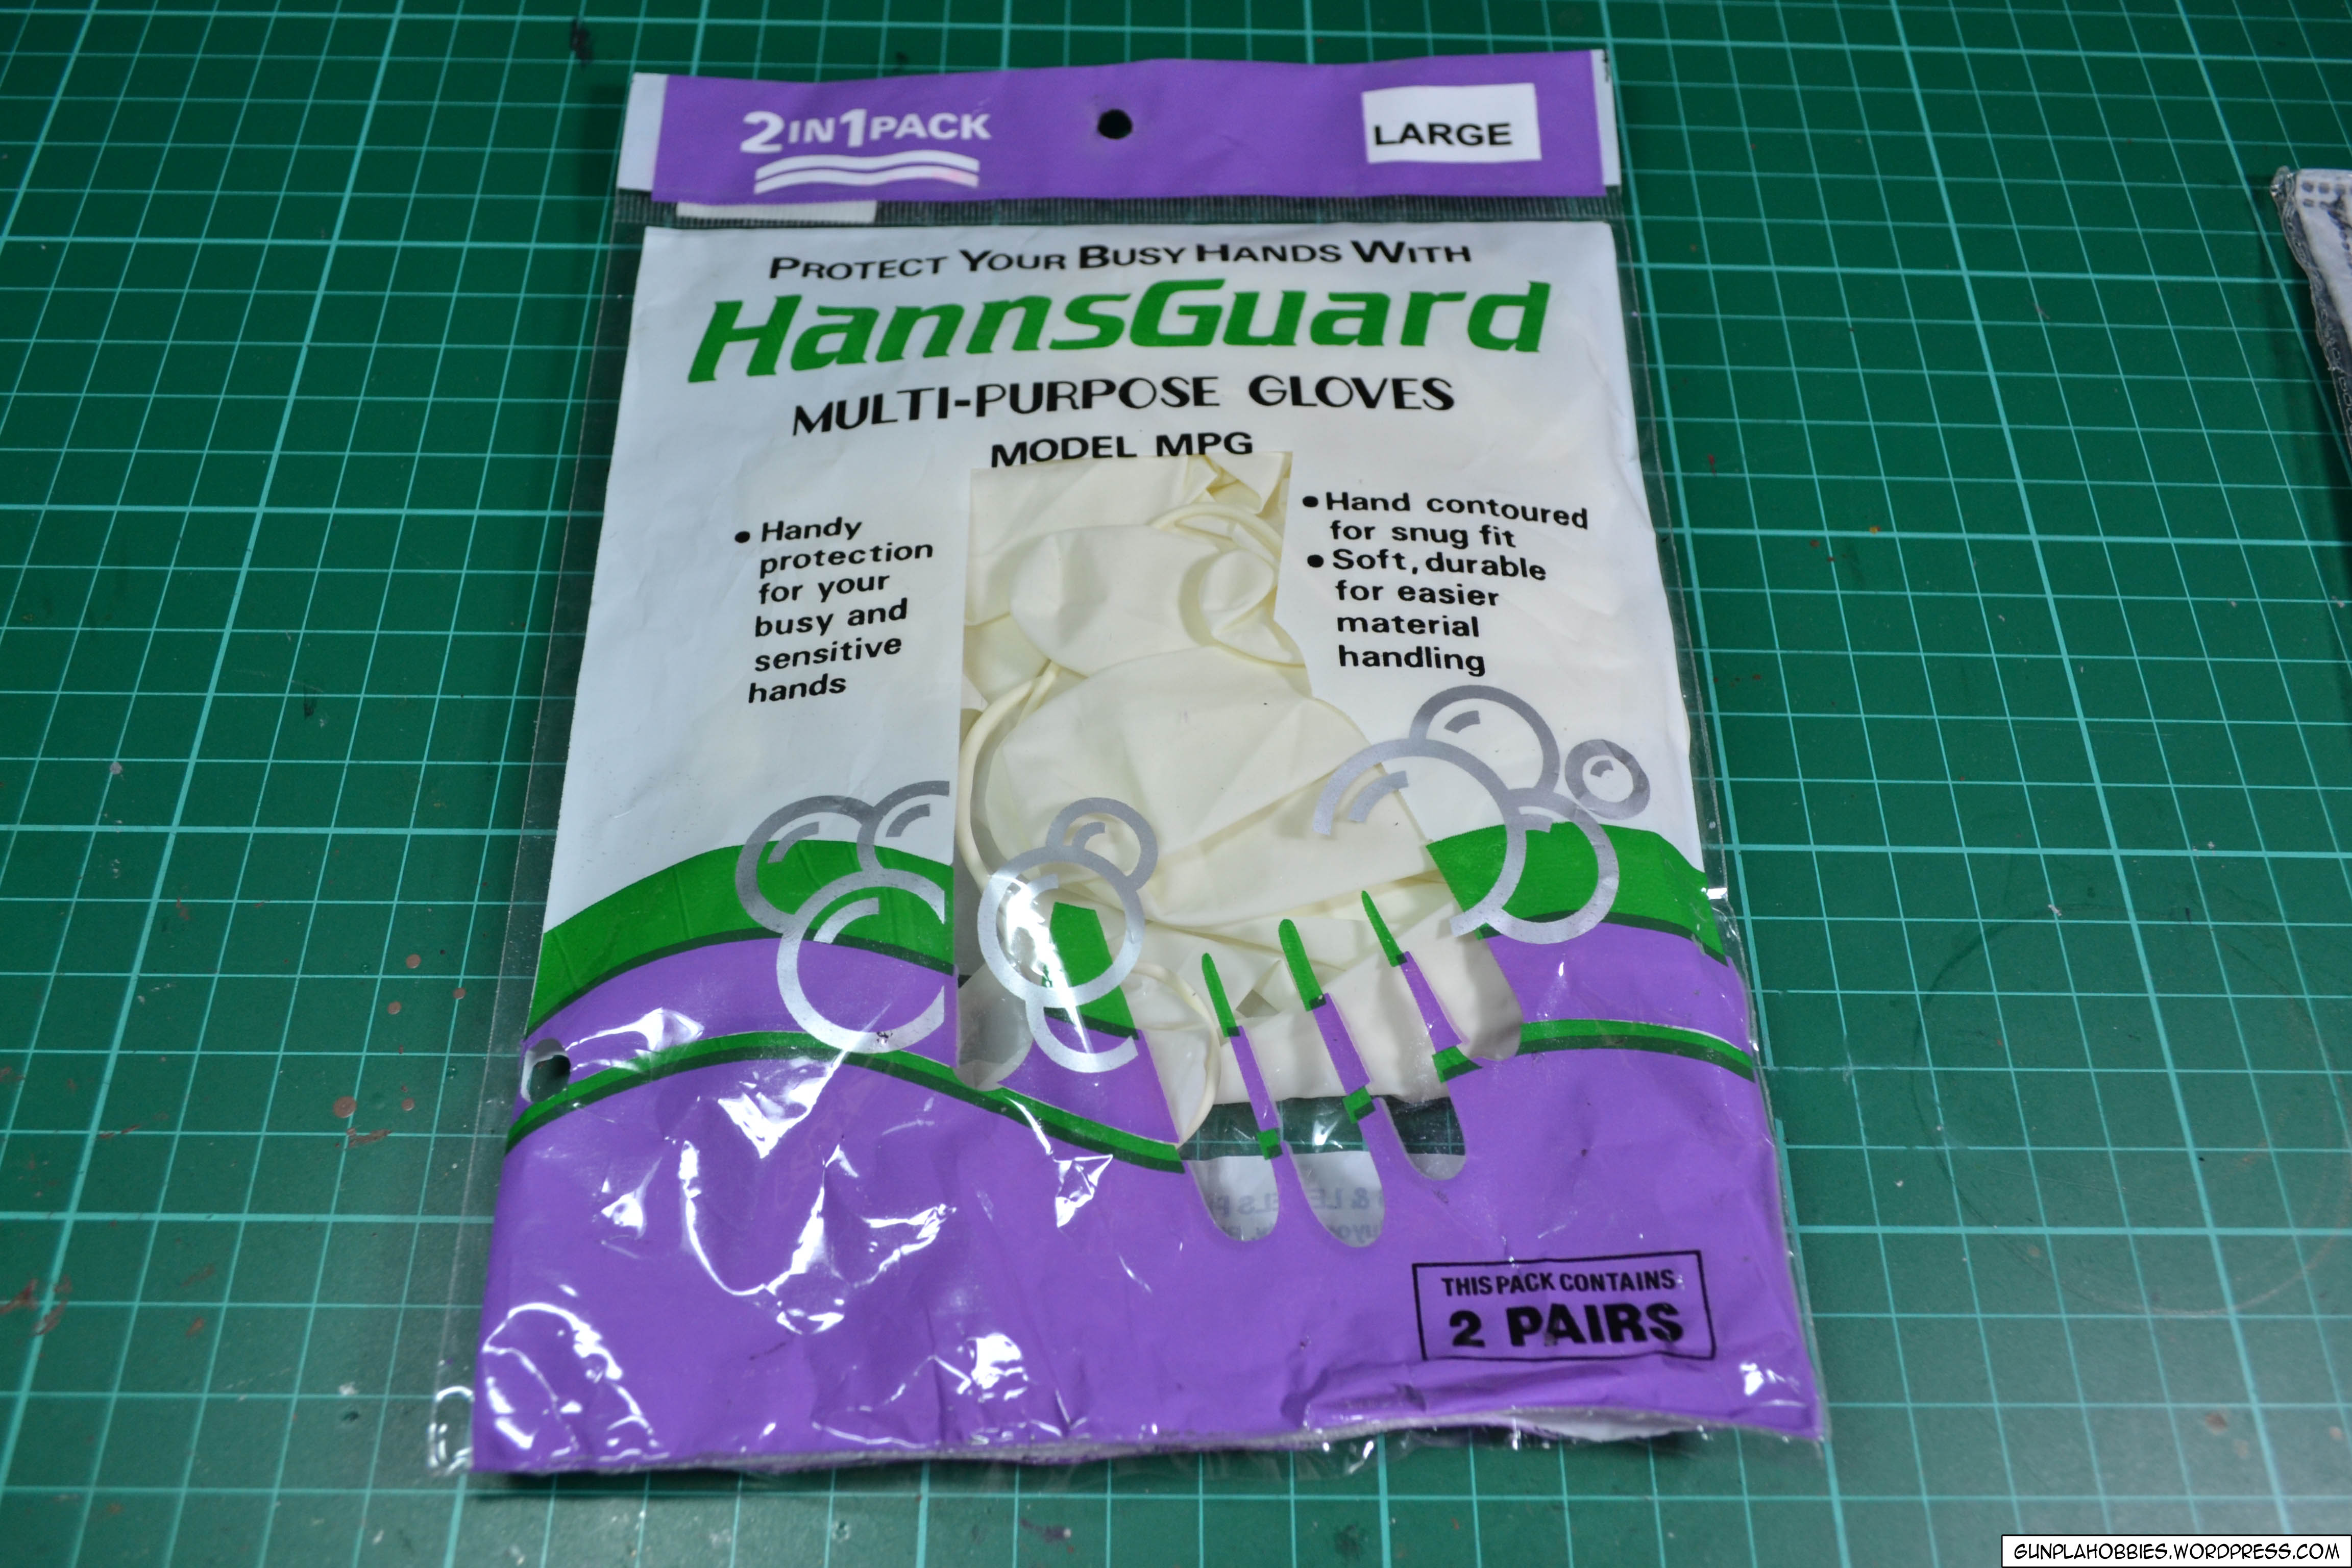
Some of the paints are harmful to human skin especially the industrial spray cans as well as the Tamiya spray cans, so we have to protect ourselves and uphold the safety code of Gunpla modelers (if there’s such a thing) using these latex gloves or whatever gloves you can find(not baseball gloves though):
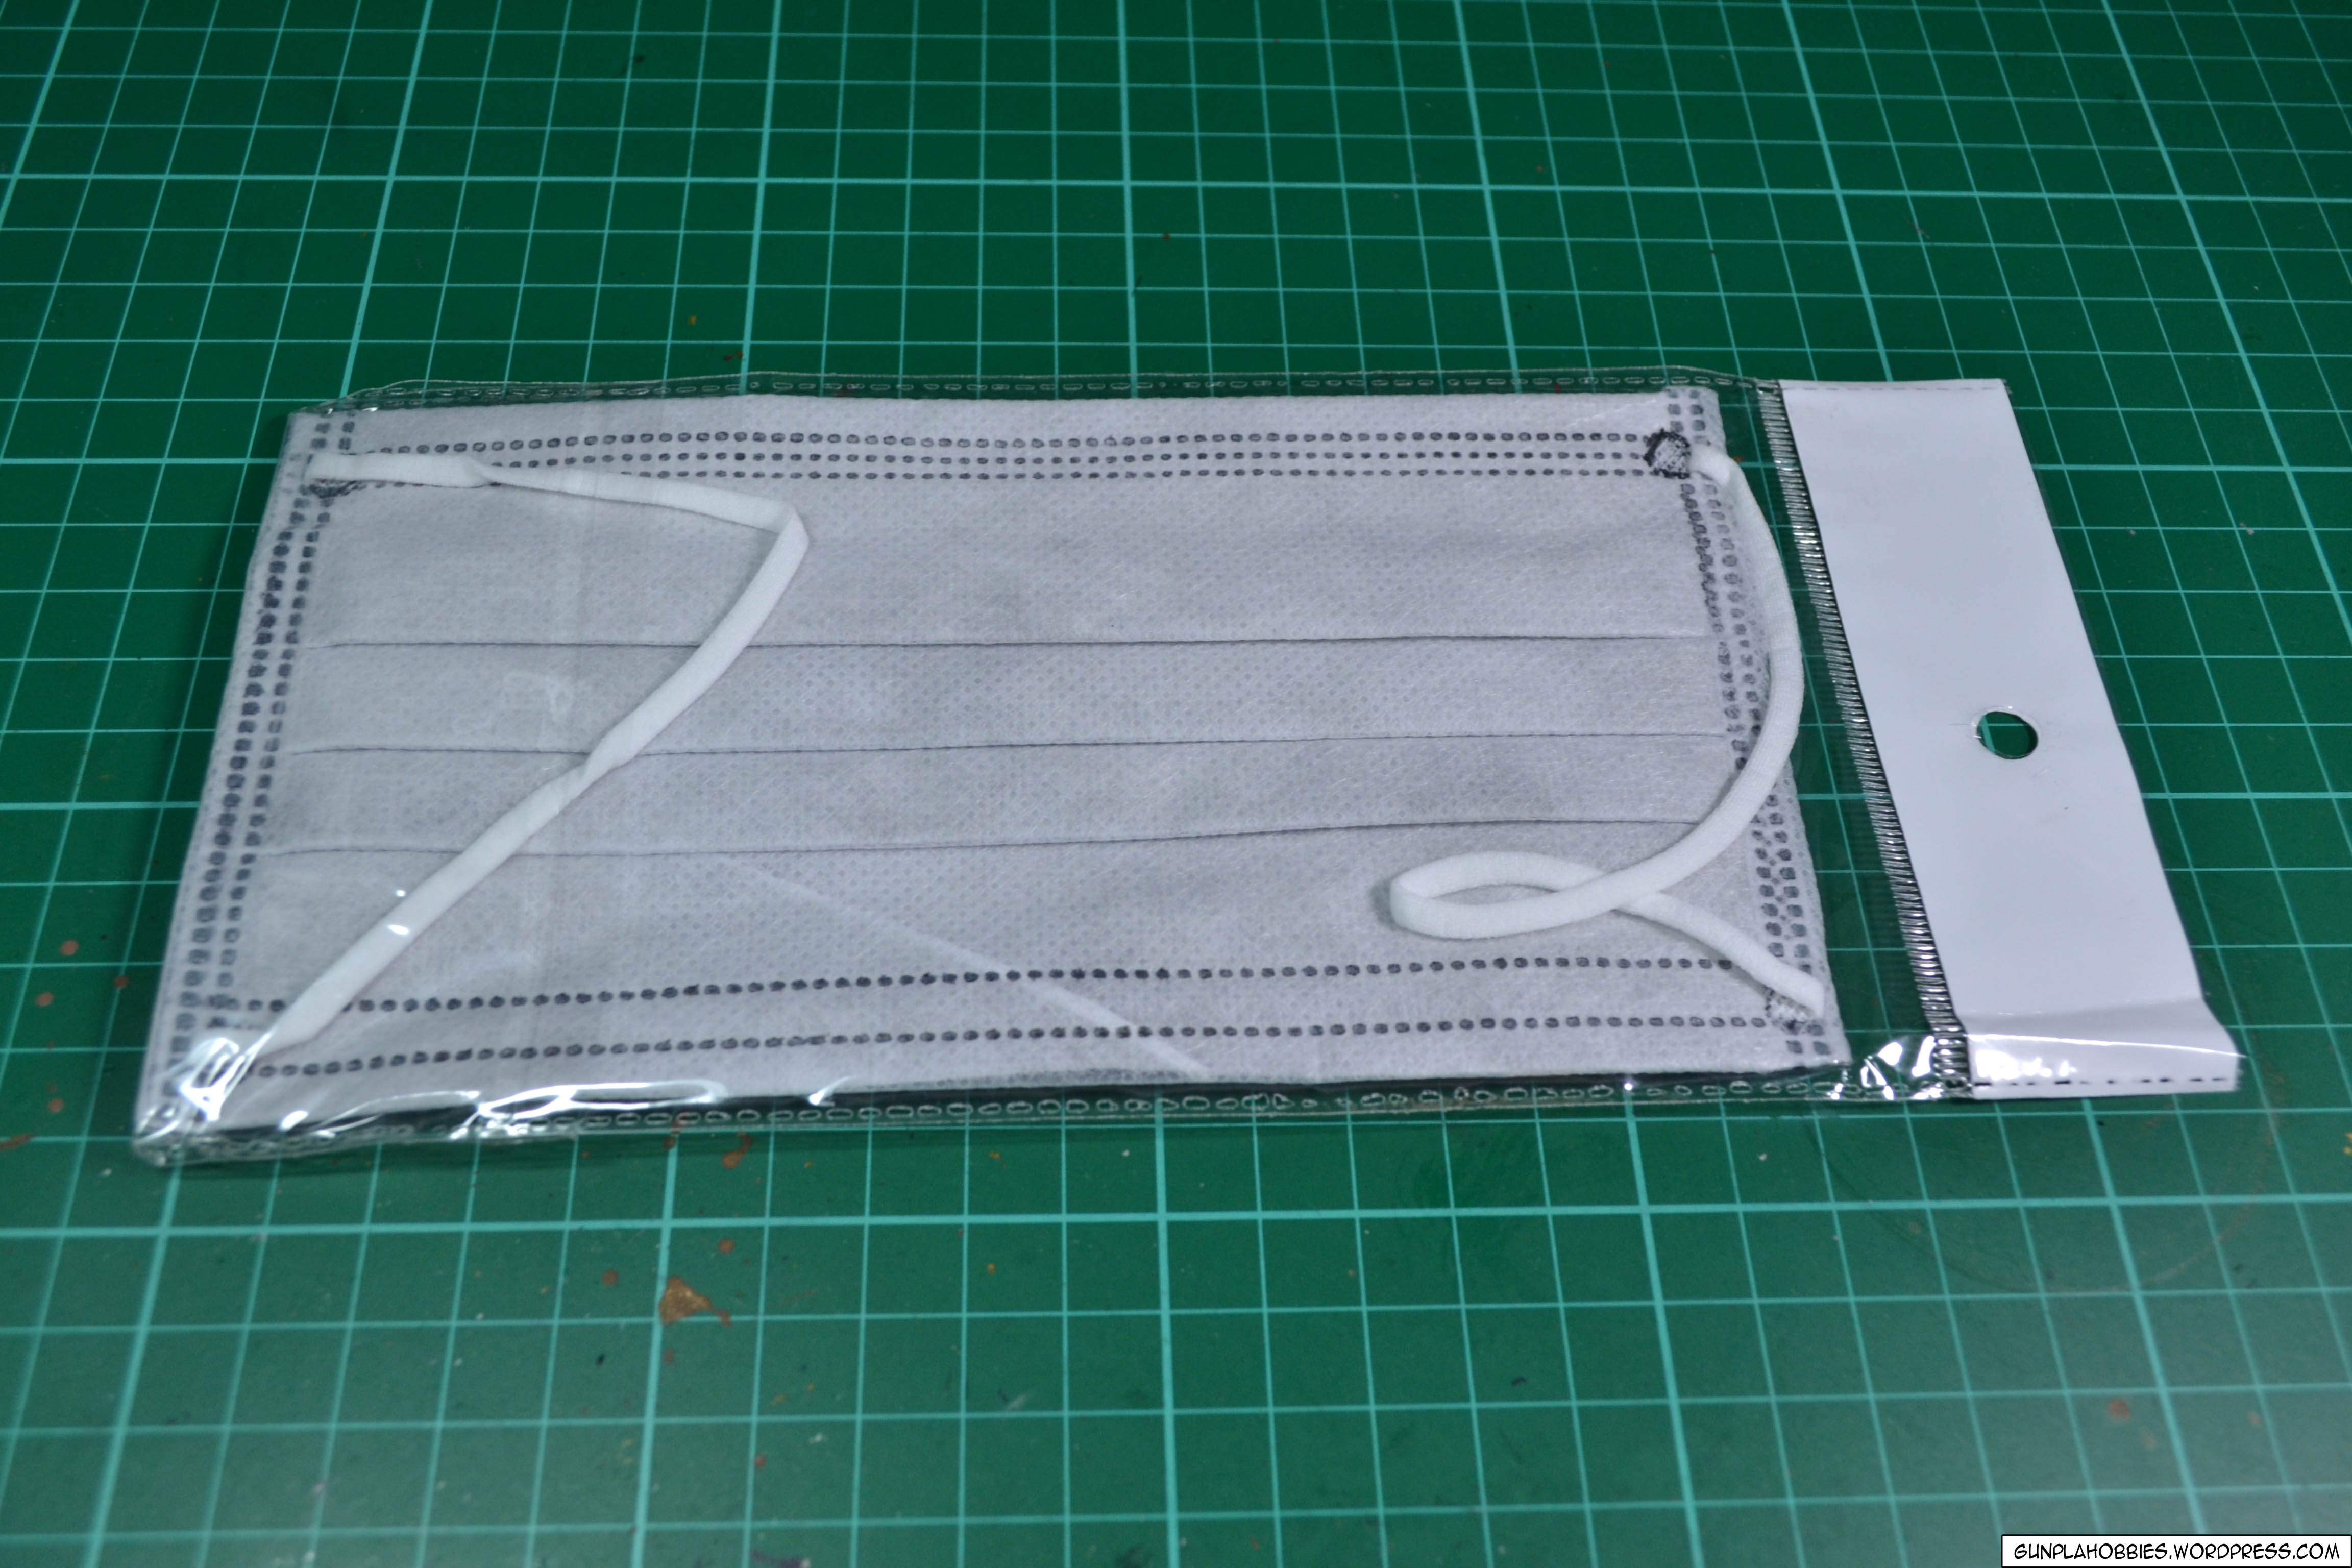
Paint fumes is also dangerous to human lungs! So be sure to wear a carbon filter mask to decrease intake of harmful paint fumes:
After you have cut, cleaned, assembled, primed, painted, applied decals and topcoated your kit, it’s now time to share your work to other people! I use my Nikon d3100 and standard lens in taking my photos:

Here is my current light-box setup:

The cloths are used to diffuse the light source so that no hard shadows appear.

Light sources are from the left, right and top. On the top rests one fluorescent batten as the light source from the top.


The right side light source is my black lamp with a flourescent bulb of 20 watts I think? I’m not sure but it is pretty damn bright! 🙂


There are two light sources for the left side, one florescent lamp and one florescent batten.

So that’s how I setup my photobooth! It works great! I use cartolina for my background, basically its just a large piece of paper that is harder than the usual copy paper and comes in different colors!
That’s it for the tools that use in Gunpla modeling, hope this helps to people who are interested and wants to start out doing Gunpla modeling!

I have a buddy who dabbles lightly in this. I knew it got intense, but… Damn, man. I wish I had half your patience or fine-tuned putting-models-together skills.
Also personally used to be pretty big into Warhammer, but never put anything together aside from generic troops. The big siege weapons and stuff looked nightmarish to pull off.
LikeLike
haha yeah it really takes a lot of time and effort, but the reward is you have a better looking model =3
LikeLike
hehehe…. now that I can get ALL the right tools, there should be NO problem in building a real high-High Grade Gunplas! xD Douno-arigatou 4 the info-desu, choco-san! :3….. oh, and btw, this post is just PERFECT! 😀 It’s very detailed, must cost you a lot of time… o3o just a shame that there’s nothing that i can do to repay you for it, or is there? 😉
LikeLiked by 1 person
Haha thanks! I did this post a few months ago.. I’m still have a lot of tutorials that I want to make =3 Well you already repaid me by reading the post haha! :”D
LikeLike
Good information here…Quite Useful.
LikeLike
thanks 🙂
LikeLike
This is a great guide. For sanding, it sounds weird, but I use nail files for mine o_< Nice photo setup.
LikeLike
Thanks! Using nail files is a great and resourceful idea! 🙂
LikeLike
Hi! Thank you very much for this comprehensive guide. I’d like to ask where in the Philippines you bought your Tamiya brand tools and Gundam markers. I live in the Philippines as well (I assume you are Filipino from your mentions of Php and National Bookstore, yes?) 😀
LikeLike
Yes I am Filipino! 🙂 You can buy Tamiya products at Lil’s Hobby Center. They have branches at Glorietta, SM Megamall and another one at Pasig Capitolyo. Here is their crappy website: http://lilsfutaba.net/about/
Parksquare doesn’t exist anymore so don’t go there, they also gave Gundam Markers there but you can also buy markers at Greenhills shopping center. Go at shopsville plus and there’s a new store there, Colfire, that sells them cheaper than others. They sell cheap Gundam kits as well compared to other stores.
LikeLike
THANK YOU!!!! SO MUCH!!!! >.<
LikeLike
welcome~! 😀
LikeLike
Seems like I have no choice but to learn how to get to and around those places 😀 Thank you very much!
LikeLike
Yes, but it’s worth it, you can ask people there, they know the stores there. 😀
LikeLike
hello, im new in gunpla. and im planning to make my first kit this month. I saw in the comment that you were Filipino. I am too. I was wondering if you had a facebook account, and if it woud be okay if i add you so i could ask tips and advice in modelling gundams. Thanks and mabuhay!
LikeLike
Sure no problem! I have a facebook page:https://www.facebook.com/GunBies
LikeLike
Hi, is there any alternative to the plastic cement? or is Mighty Bond enough.
LikeLike
Mighty Bond could work, but the disadvantage in using it is that it leaves white stains or residues after drying. But its visibility can be reduced by sanding. 🙂
LikeLike
Hi there! I was wondering if you could still get the tamiya sharp pointed side cutter at lil’s hobby center. Last time I checked the only side cutter they had was the tamiya modeller’s side cutter.
LikeLike
Yes, maybe they just didn’t have it on stock at the time of your visit. You can ask the saleslady there when they’ll have it on stock. 🙂
LikeLike
Thanks! I’ve already bought mine. I’m wondering what brand of sandpaper you use? I went to Ace hardware and they have so many brands!
LikeLike
I use Akira EcoWet, but any brand will do, only the grit number matters. 🙂
LikeLike
Sir, san po kayo nakabili ng Mr. Mark Setter/Softer at yung Mr. Hobby Topcoat? Ang tagal ko na naghahanap, wala akong makita 😦 di ko matapos-tapos Sinanju ver. Ka ko dahil sa water slide decals. Di kaya ng tubig lang! Plano ko gamitan ng softer at i-topcoat after para dumikit. Sana maganda parin maging itsura niya haha! Thank you!
LikeLike
You can buy Mr. Mark Setter/Softer at Lil’s Hobby Centre, they have branches at SM Megamall, Pasig Capitolyo and Glorietta 4. Make sure to call first the selected branch to ask for available stock so that your visit won’t go to waste 🙂 You can substitute Mr. Hobby Topcoat with Bosny Dull/Matte Clear spray paint can like I do since Mr. Hobby is more expensive. But if you really want Mr Hobby, they also have that too in Lil’s 🙂
LikeLike
Thanks! I tried calling Lil’s a while ago, they ran out of stock. 😦 Awesome guide, btw!
LikeLike
Thanks! 😀
LikeLike
Hi, where did you get you’re “hobbyist toolbox”?
I’ve been searching for a long time but i really wanted one with a top tray, just like yours. 😦
Cool guide btw, this has been my go-to place for everything gundam.
LikeLike
Hello Amir!!
I’ve bought them at True Value hardware store. I already bought two of them. 🙂
Thank you so much! It means a lot to me when people view my blog. 😀
I hope to post more helpful stuff! 🙂
LikeLike
breath taking guide man, even more breath taking is that a fellow filiipino made this guide! really helpful not just to those interested in gunpla, but to all newbie customizers such as me (into MU figs),
will be referencing this post in times of need 🙂
LikeLiked by 1 person
Thank you so much for the great comment! That’s really great to know! 🙂
LikeLike
i just like your light-box 🙂 , how its your build that ?
LikeLiked by 1 person
I just bought the lightbox at a general store (cdrking in the Philippines) 🙂
LikeLiked by 1 person
oh, i see 🙂
I think you create your own 🙂
LikeLike
That’s a very impressive setup 🙂 Thanks for the guide, I’m just starting building kits and this will help me choose what tools to buy. I don’t know if I can easily find those products in my country, though…
LikeLike
Thanks, nice to know my article helps. 😀 I hope you find them in your country, try to find some hobby shops?
LikeLike
That’s the thing, I’m not sure there’s such a thing as Hobby Shop where I live
LikeLike
Hi! Would u know the street where Lil’s is located in Kapitolyo??
LikeLike
http://panpages.ph/listings/ph865916-lil-s-hobby-center
https://foursquare.com/v/lils-hobby-shop-warehouse/4ba49d02f964a5206fa738e3
I’m not sure which one. XD
LikeLike
thanks for the very detailed post! now i know what i need to make my (future) gunplas more kickass
LikeLiked by 1 person
You’re very welcome! 😀
LikeLike
wooo pinoy ka pala salamat talaga sa guide! now alam ko na san may side cutters with inverted blade!!! THANKS 😀
LikeLike
Yes I am! Welcome! 🙂
LikeLike
Howdy, thanks for the great tutorial & tips.
I was wondering where you bought your cutting mat. I’ve been looking for one but haven’t had any luck finding it at NBS or a few shops I’ve visited in Greenhills.
LikeLiked by 1 person
You’re welcome. As far as I remember, I bought it at Office Warehouse, the one with the paper clip on its yellow sign. 😀
LikeLike
ano po pang unang layer pag mag spray paint?
LikeLiked by 1 person
For best results, you can try soaking the parts in some warm water and soap to wash off some factory production oils from the plastic surface, but if you feel that the kit you got doesn’t have that much factory residue, then you can proceed to spraying a primer. White primer for bright color coats, grey primer for darker color coats. Basically its primer -> color of choice -> seal with gloss -> apply panel lining and decals -> seal with gloss or matte (whichever you prefer) 🙂
LikeLike
Hi. Meron po ba Tamiya spray paints sa mga stores sa greenhills or sa lil’s lang talaga sya nabibili? Thanks 🙂
LikeLike
Yes there are, but they are rare in greenhills and you might not find the colors that you want. I really recommend buying them at Lil’s because they have the complete selection. 😀
LikeLike
Is there lil’s store in qc?
LikeLike
None that I know of. Sorry. Only in Megamall, Glorietta and Pasig Kapitolyo.
LikeLike
where’d you able to buy the zippo lighter fluid?
LikeLike
I was able to buy them at Lighter’s Galore. Or the usual shops and kiosks that sell lighters.
LikeLike
so many tamiya products
i cant even find them here in antipolo
LikeLike
You can buy them at Lil’ss hobby centre in Pasig Kapitolyo, Glorietta and Megamall. 😀
LikeLike
Highly informative. Will attempt to build my first very own Gunpla and eager to start with the right tools. Thanks for the guidance. Now to go get some tools 🙂
LikeLike
Good to know! You’re very welcome! 😀
LikeLike
wish i’ve found this blog before i started building my gunpla kits! =( but thanks a lot man for all this info! cheers!
LikeLike
I wish too! Welcome! Much appreciated that you visit! 🙂
LikeLike
do you have a facebook page or fan page or instagram so i can follow you? haha! maybe i can see more of your gunpla stuff, thanks! =)
LikeLike
I actually have a facebook page, just search gunbies in facebook or click the link on the right sidebar of this site. 😀
LikeLike
Hey, about those “sandsticks”, is it really necessary to go up to P2000? I really want a smooth surface, though.
LikeLike
If smooth surface is what you want then the answer is yes. 😀
LikeLike
I didn’t think you would reply with such speed. I’m a little concerned, cause over here very few sell the P1500, not to mention P2000.
Very informative guide, though. Helped me open my eyes quite a few. Thanks.
LikeLike
I’m checking comments from time to time. 😀 Oh, I hope you find P2000 one! I’m sure there’s one somewhere. 🙂
LikeLike
Is it really true that Acrylic can be used for brushing? Can you perhaps show me (or give me a link) a sample product of your work where you used Tamiya Acrylic to paint the whole model? Thanks very much!
LikeLike
here: https://gunbies.com/2014/04/16/mg-1100-strike-rouge-ootori/
https://gunbies.com/2012/07/21/hg-1144-age-1-titus/
https://gunbies.com/2012/11/03/hg-1144-ghirarga/
LikeLike
Here’s a tutorial: https://gunbies.com/how-tos-tips-and-tricks-tutorials/gunpla-hand-painting-tutorial-2/
LikeLike
This article along with the comments helps alot for somebody like me who is just starting on gunpla. Thanks alot.
LikeLike
You’re very welcome sir! 😀
LikeLike
What is the mat your using?!?! Is it a cutting mat?🤔
LikeLike
Yes, my big old cutting mat. It’s A2 size 60×45 cm.
LikeLike
^_^ nice guide,thanks for this.. (Y)
LikeLike
Thanks! 😀
LikeLike
is it ok to use pastel chalk for alternative in weathering
LikeLike
Yes of course, but I personally found it hard to use. 😀
LikeLike
Hi… I started building last year without paint or topcoat. But now I want to try applying topcoat. Question, do I need to apply a primer before applying a topcoat?
LikeLike
No you don’t need to.
LikeLike
Gud eve….sir may idea po ba kau kung panu ma aachive yung brass gold ng kt effekt gold? I tried many combination but di ko makuha yung actual or closest na color…need help..ty
LikeLike
Medyo mahirap gawin, yung iba may special paints pa na gamit, pero kaya ata gawin gamit base na kahit anong metallic silver, tapos top coat mo is clear color na red or whatever color na gusto mo maging metallic.
LikeLike