


Introduction:
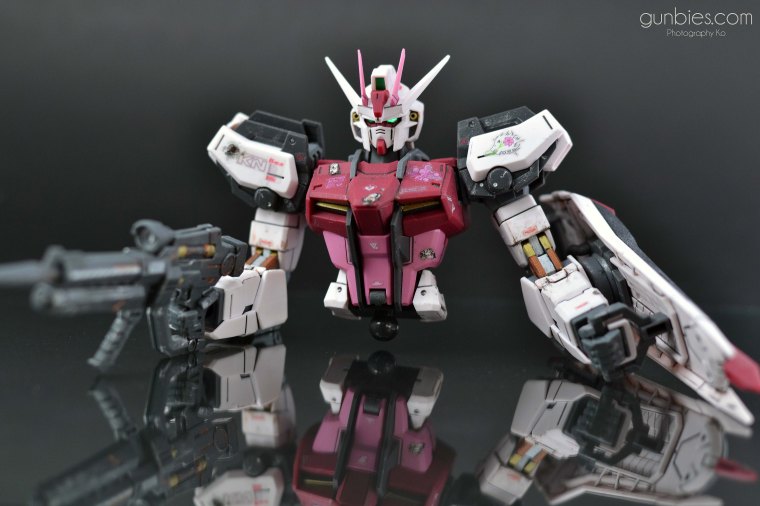
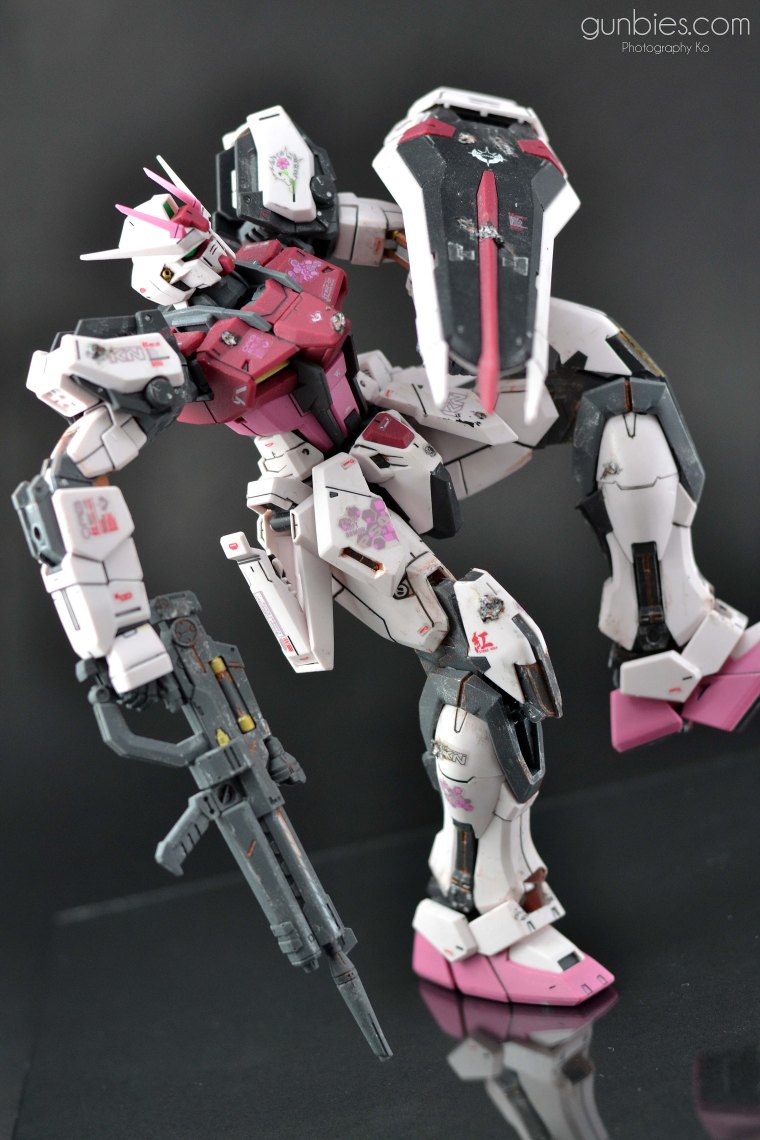
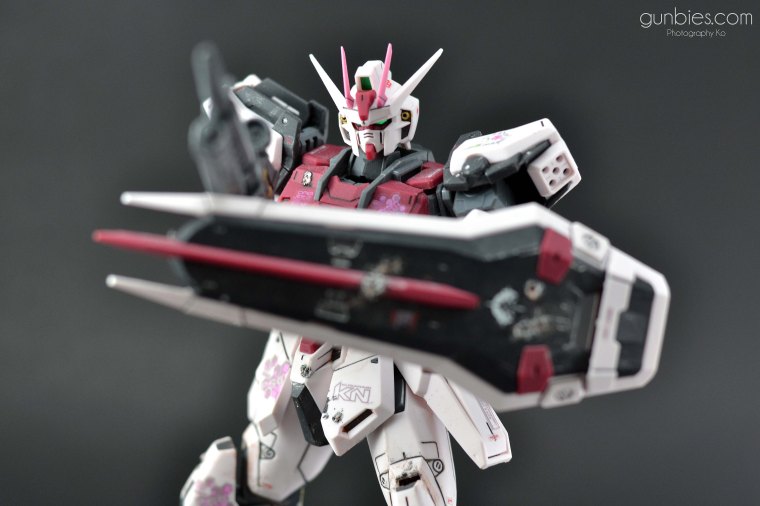
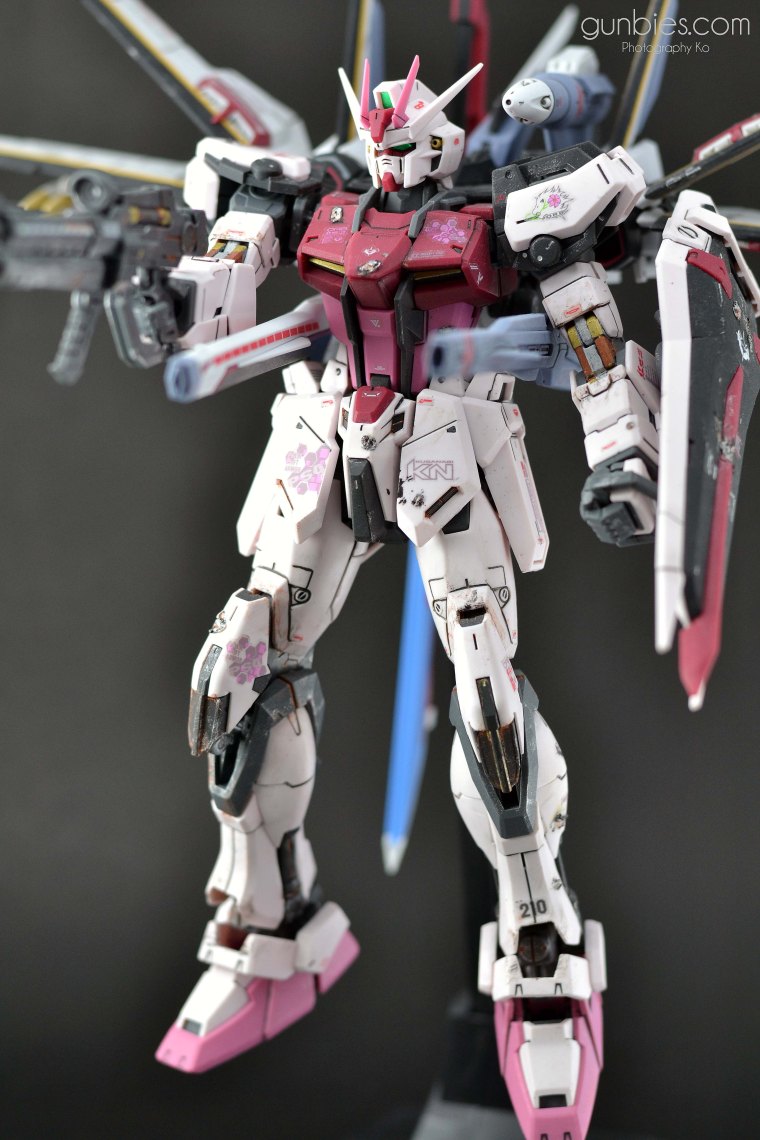
Hi guys! At last I have accomplished my latest project: MG 1/100 Strike Rouge + Ootori, with light weathering, battle damage and hand painted details. This kit was bought last year and he’s one of the newest MGs that Bandai recently released. Obviously the attention catcher is his Ootori and its different color scheme! It’s different from the usual Aile Strike. I personally like the color scheme that is “Rouge”.
I remember wanting to buy the RG kit of Stike Rouge, but since the RG kit was a limited edition, he was more expensive than the usual RG and was priced higher than this MG kit of Strike Rouge. I was glad Bandai made an MG release of the Strike Rouge that is not limited edition.
At first I only planned to straight build this kit and just apply panel lining and the decals, but I wanted my Strike Rouge to look nice so I decided to do a bit of light weathering and battle damage (and not overdo it) and make him look more awesome. I hope I did the trick because It’s been a while since I did battle damage and weathering. All painted details are hand painted using Tamiya brand acrylic paints in bottle.
Summary of what I did:
1. Straight build and cleaning of nib marks using X-Acto hobby knife.
2. Hand painted details using Tamiya acrylic paints.
2. Panel lining using 0.05 Copic Multiliner and Black Enamel paint.
3. Applied decals and clear stickers.
4. Applied battle damage using multiple burnt toothpicks.
5. Applied weathering using Copper, Black, Flat Platinum acrylic paints.
6. Top coated with Bosny Flat/Dull Clear.
The primary pilot of Strike Rouge is the Princess of Orb Cagalli Yula Athha. It was built using spare parts from the original Aile Strike and is also equipped with a Strike Pack (Ootori). She is also equipped with Phase Shift armor that makes its armor look red and pink in its active state. (Gundam Wikia)
Let us first take a closer look at the individual parts: (Caution! This post is photo heavy! Might take time to load all photos.)
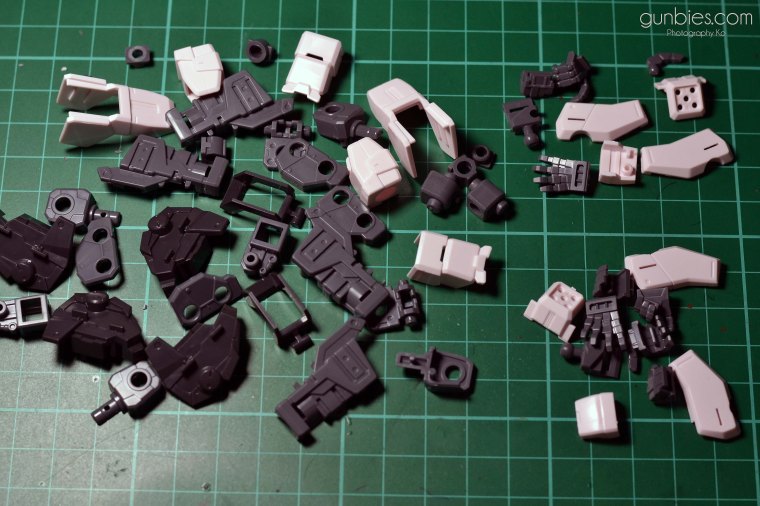
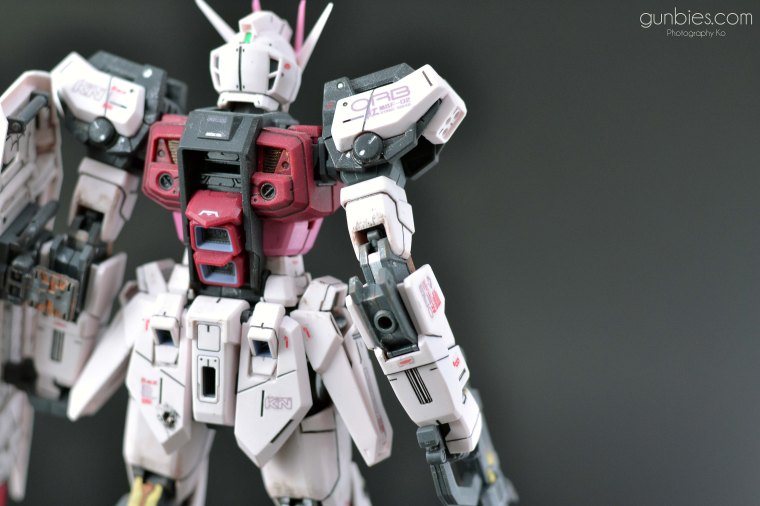
Body Unit:

Some pieces were missed out in this photo though.
My advice to those who are going to get this kit is to be careful of the front armor as you can see in the above photo on the lower left corner. That part has a thin connection with the middle portion of the armor such that if you held the piece with enough pressure, you’ll break it, and I almost did. XD
The front part can be opened to reveal the pilot in the cockpit as most MG has this feature. I will show this in the later photos.
The thrusters on his lower back can be moved a little bit.
Nice simple construction, nothing too fancy for an MG.
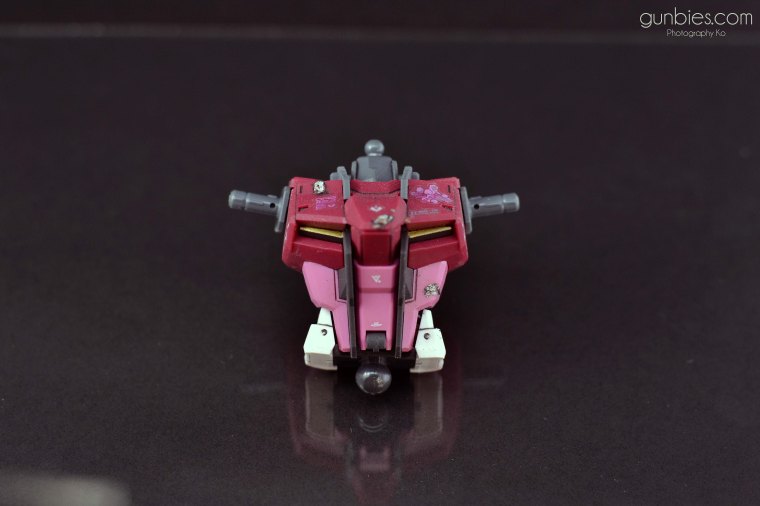
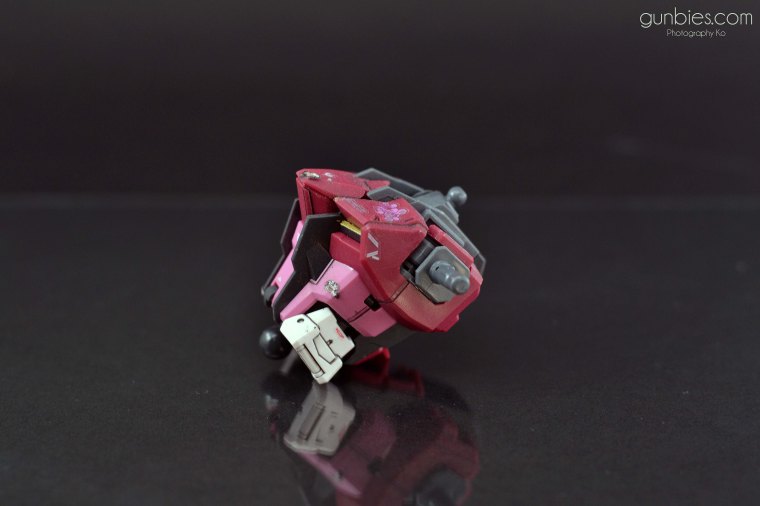
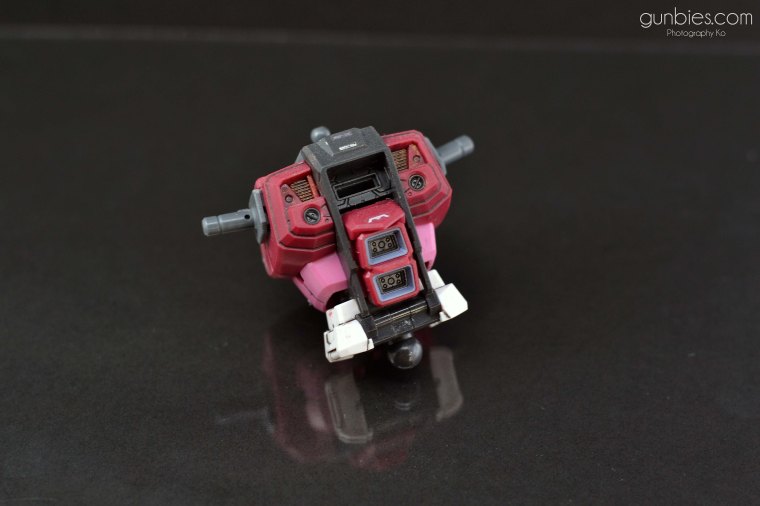
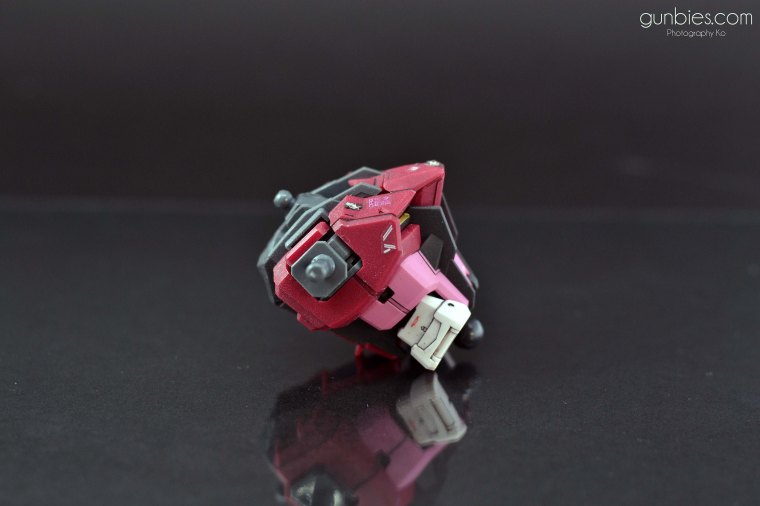
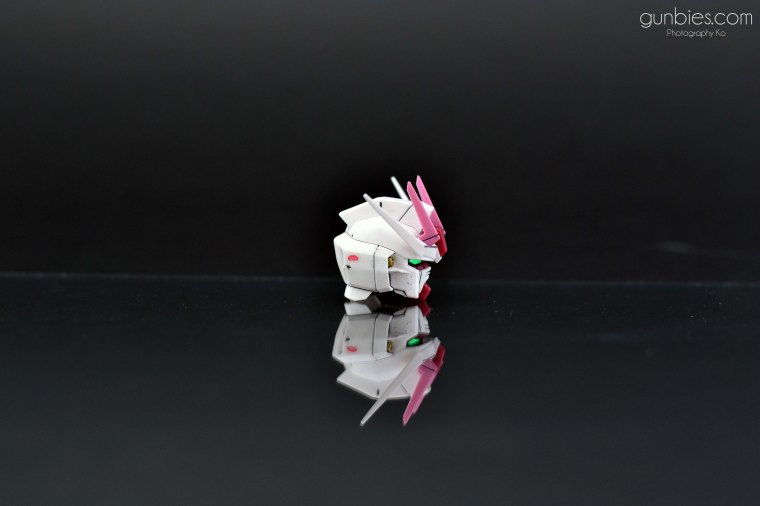
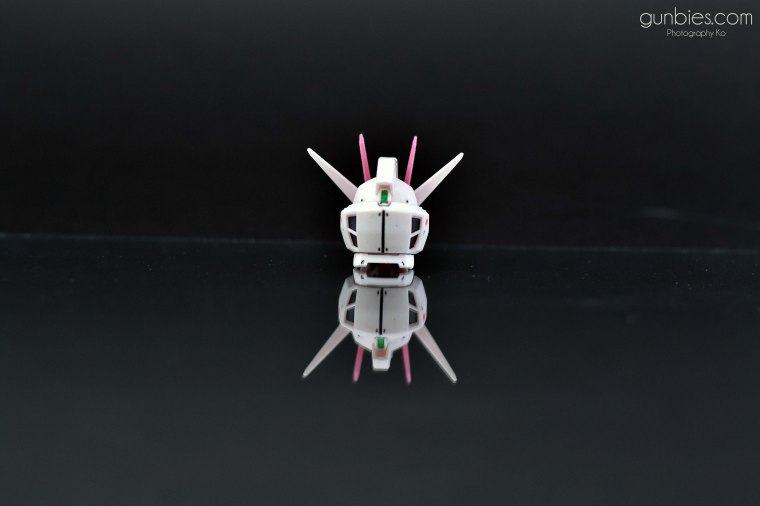
Head Unit:

Standard MG Gundam head parts.
I painted the “Igelstellung” 75mm multi-barrel Anti Air CIWS with a bit of Gold Leaf.

Left and Right Arm:
I miss the old MG hands with individual fingers parts with a peg on the palm, though weapons are more stable to handle using these new MG hands but sometimes they are a hassle to change since not one hand configuration is compatible with all weapons. If you want his fingers spread out for a certain pose, you need to change the hand part.
I painted the elbow joint with a bit of Gold Lead, Chrome Silver and Copper.
Some of the details of the shoulders I painted using Flat Platinum.
This is the left arm with the shield attached.


This is the right arm that will be holding the beam rifle.

57mm High-energy Beam Rifle:

This beam rifle can easily destroy a Ginn with one shot. (Gundam Wikia)

Painted some of the details with Copper, Gold Leaf and Flat Platinum.
Putting together what we have so far:
Here’s what she looks like with her cockpit open, the pilot can be seen inside of the cockpit.

Head articulation:


Shoulder and arm articulation:


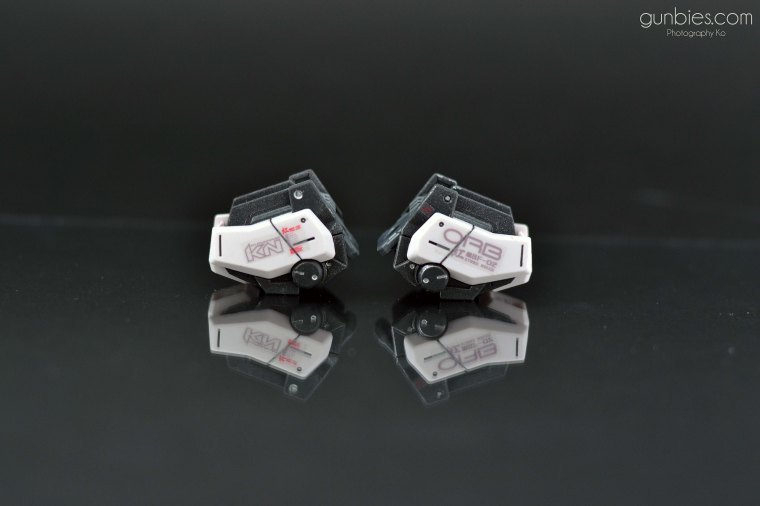
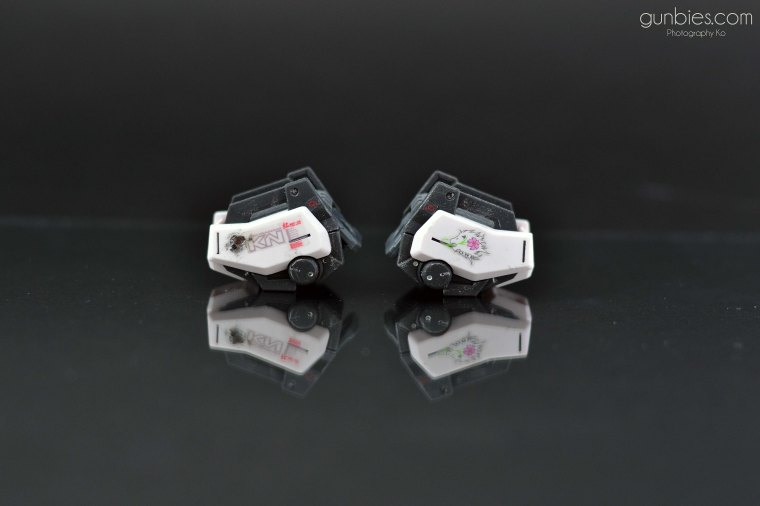
Waist Unit:

Armor Schneider Combat Knife:
They are housed inside the side skirts.
These knives do not need power from the suit, it can be thrown, and their blades vibrate at high speed allowing them to pierce through most armor. (Gundam Wikia)

Attaching the waist unit:

Waist articulation:


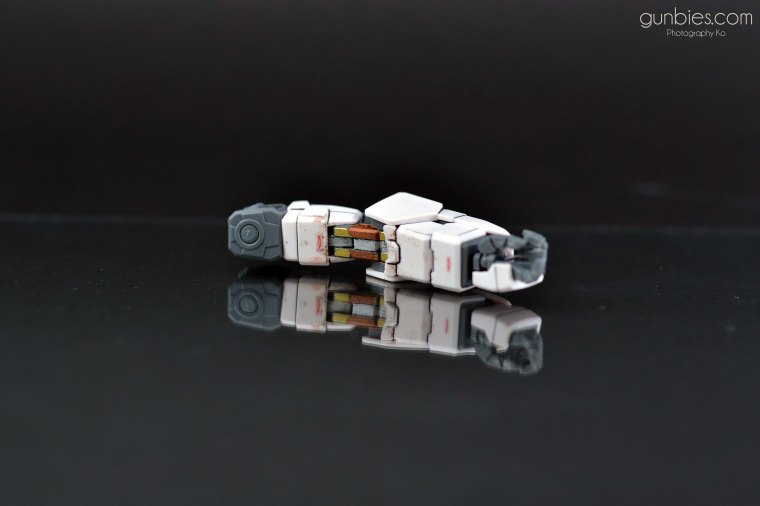
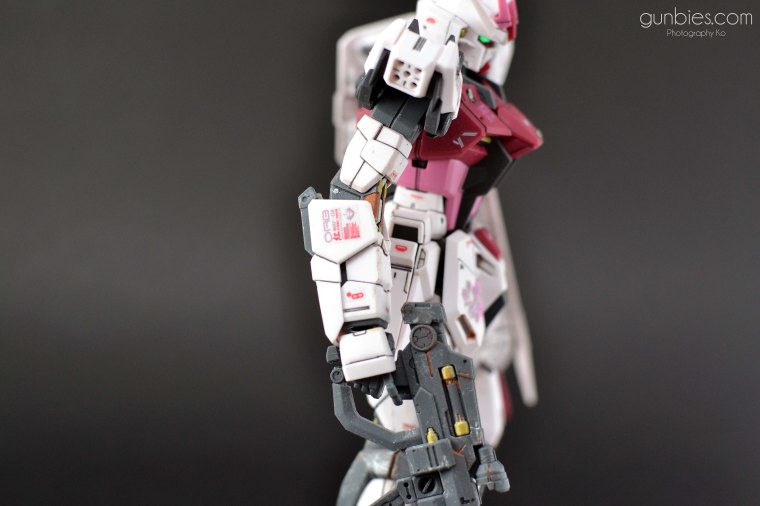
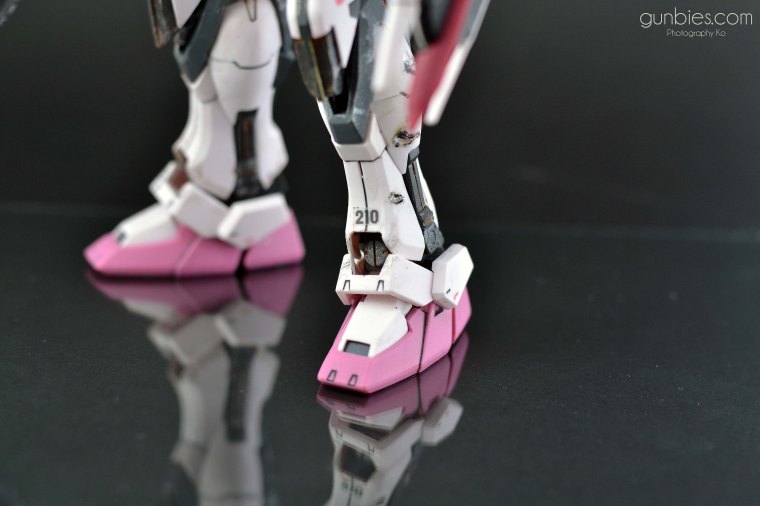
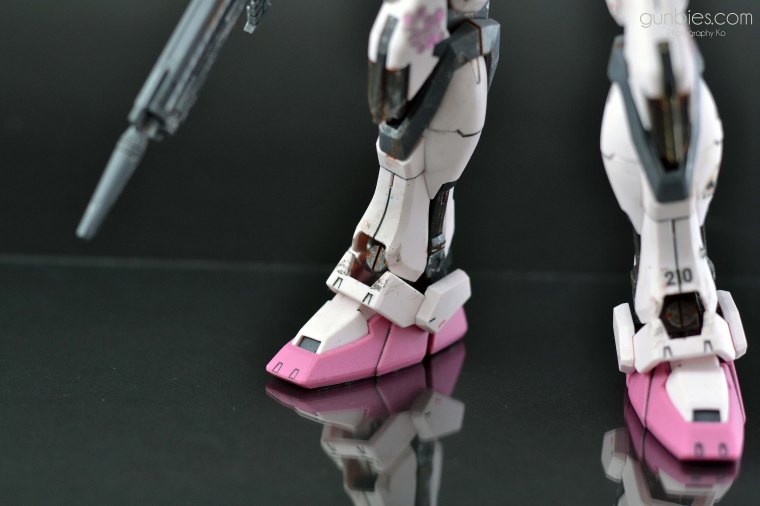
Left and Right Leg Units:


Again, details are all hand painted using Flat aluminum, Copper and Gold Leaf.
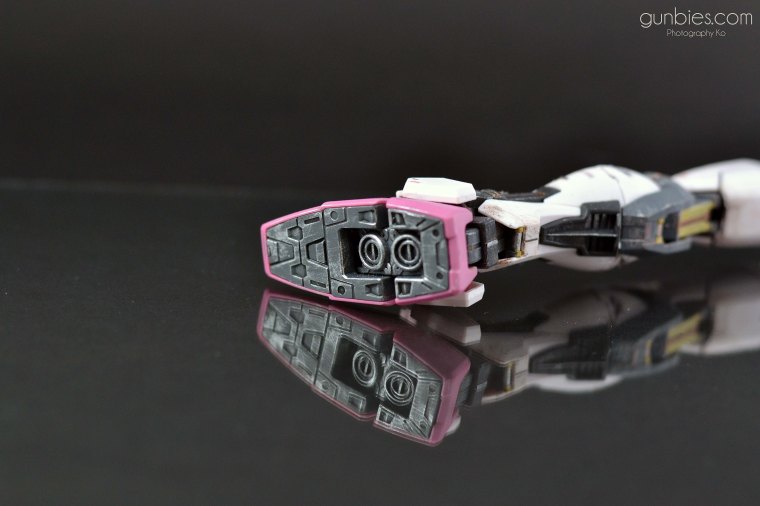
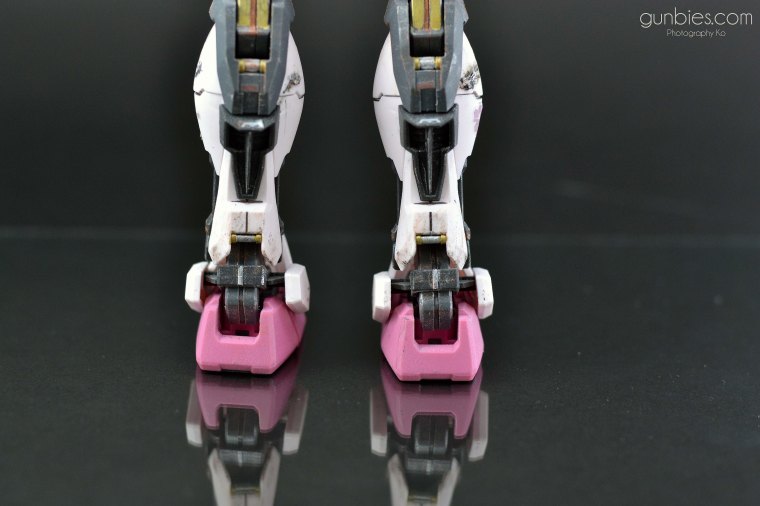
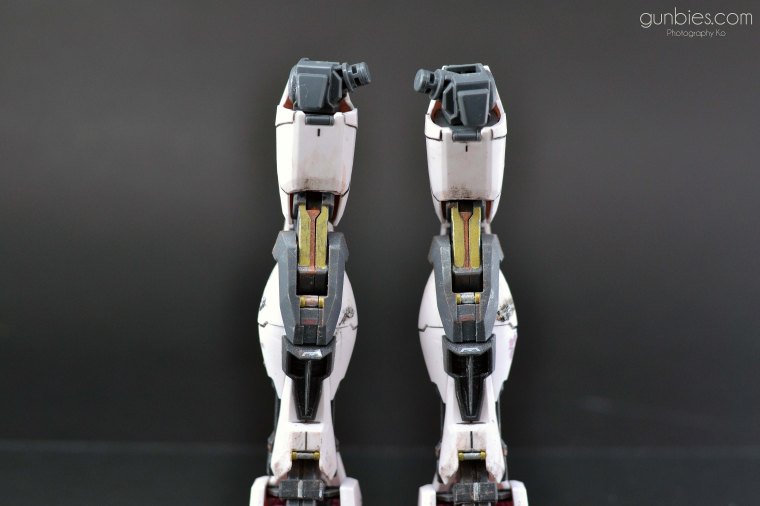
Pretty good leg articulation as expected from an MG kit.


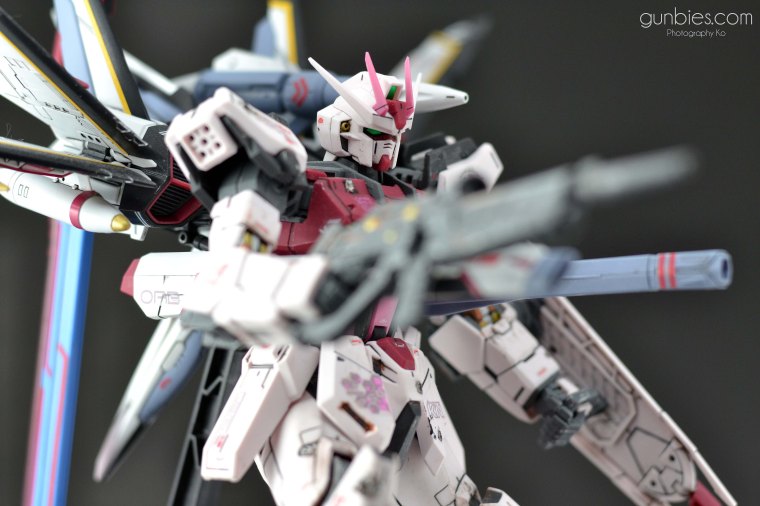
And now let’s have fun with some close-up photos and silly poses:


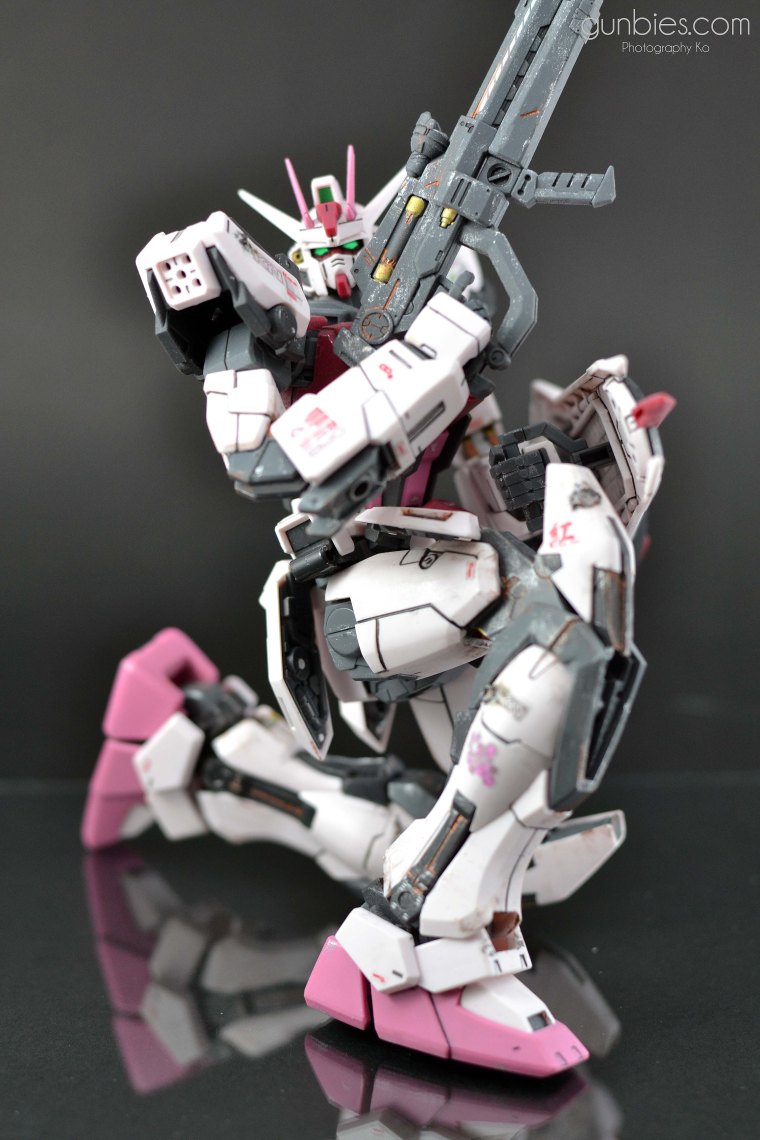


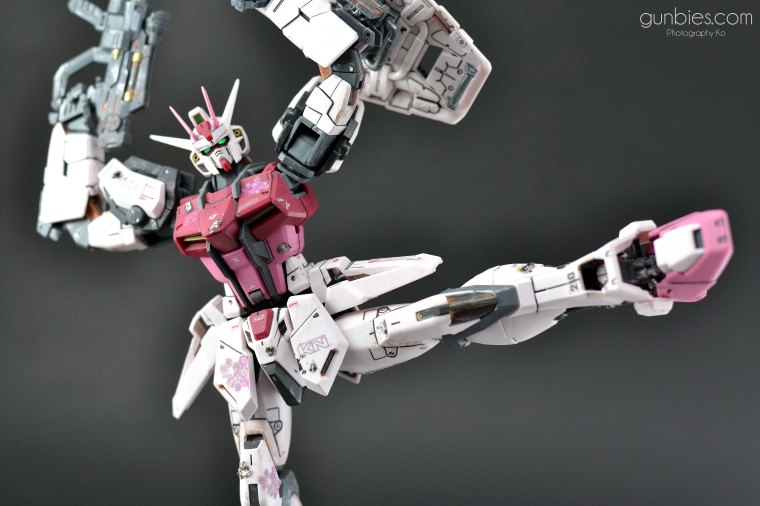
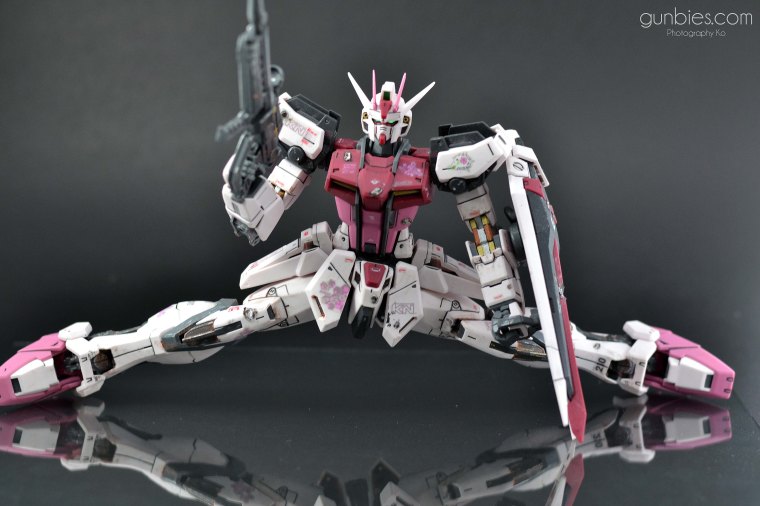
“Everyday I’m shuffling..”
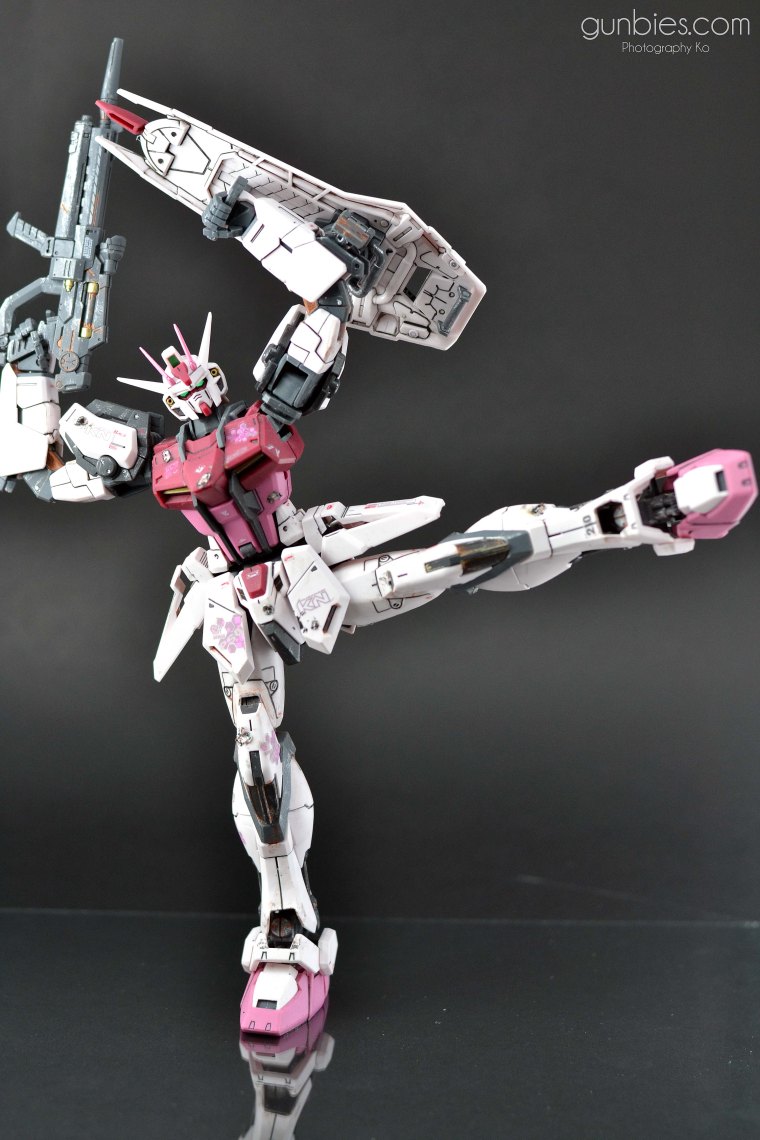
“I wanted to do ballet.. “


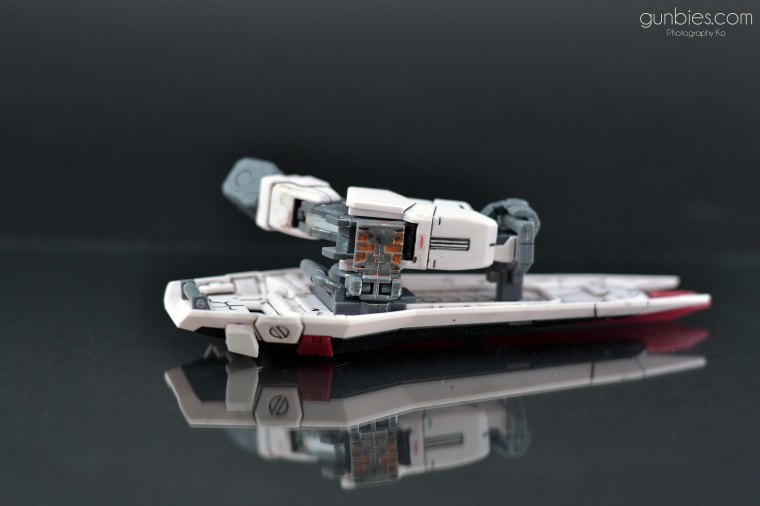
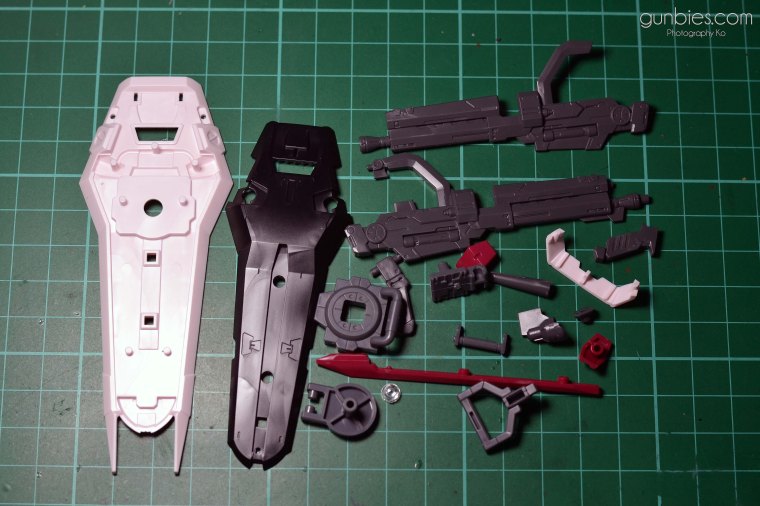
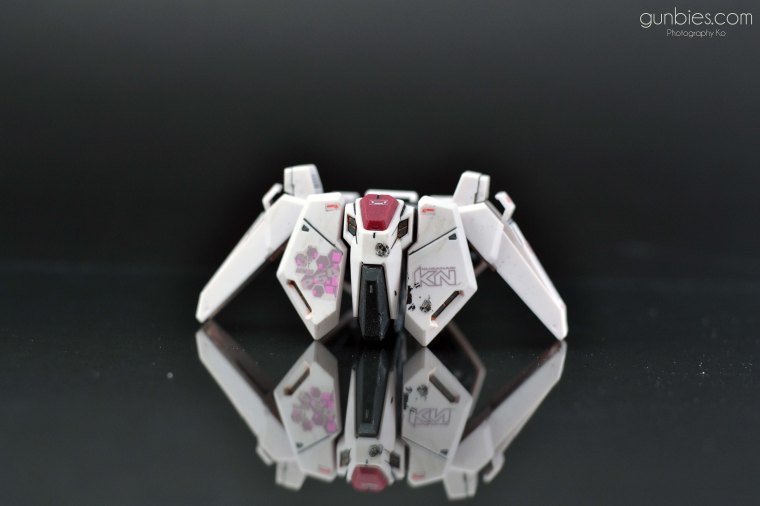
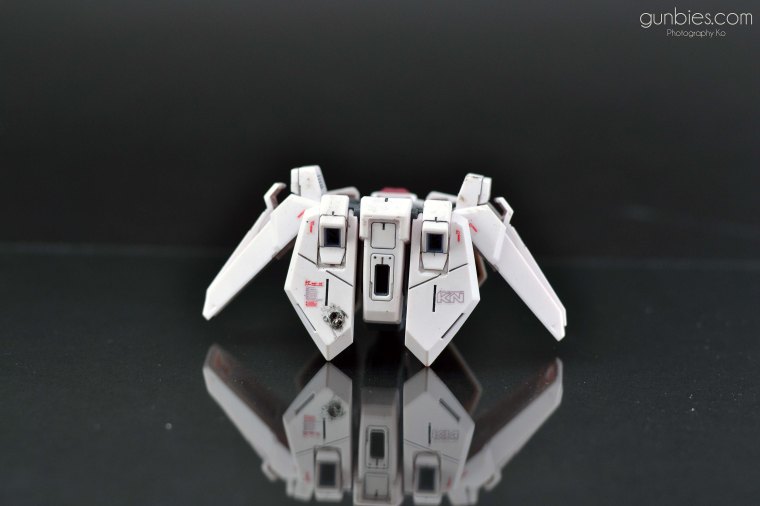
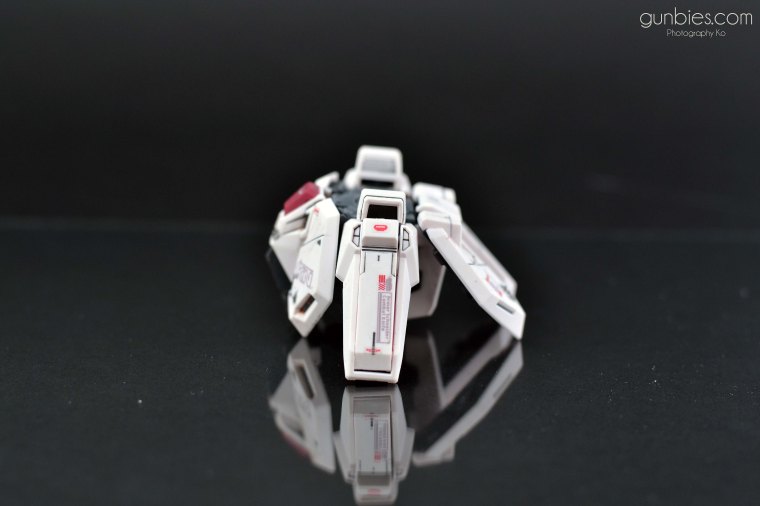
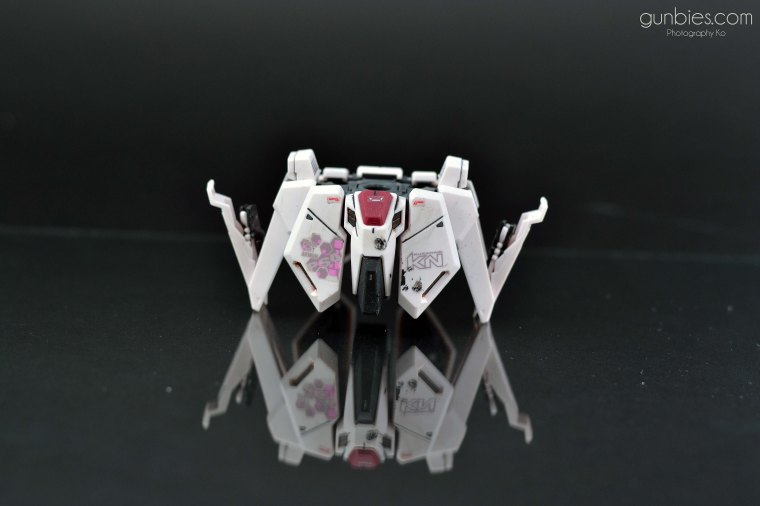
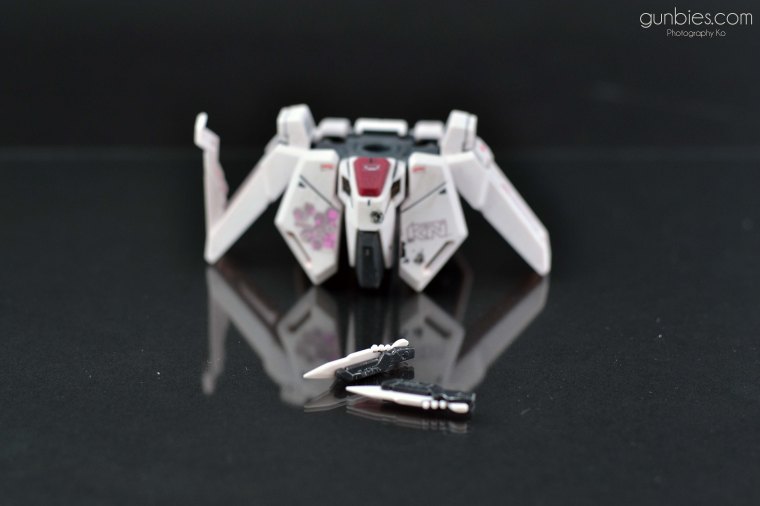
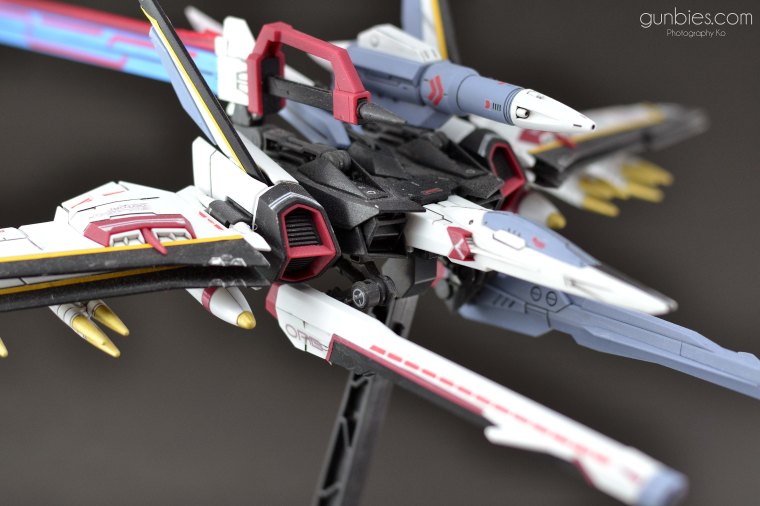
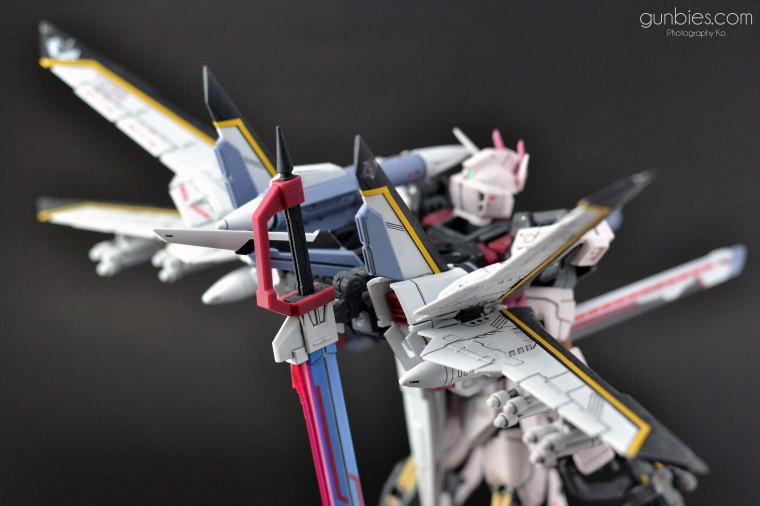
But wait! There’s more! The EW454F Ootori Striker:

Lots of parts.

Painted the missile tips with Gold Leaf and highlighted some panel lines with Chrome Silver.
The pack is equipped with a beam launcher, railgun, large anti-ship sword, missile launcher and several missiles that are mounted on the wings. (Gundam Wikia)

The droptanks on the bottom wings contain a stealth support system that utilizes mirage colloid but not much detail is known. In addition, the Ootori Striker can transform into its fighter mode and function as an independent unit when it is separated from the Strike Rouge. (Gundam Wikia)


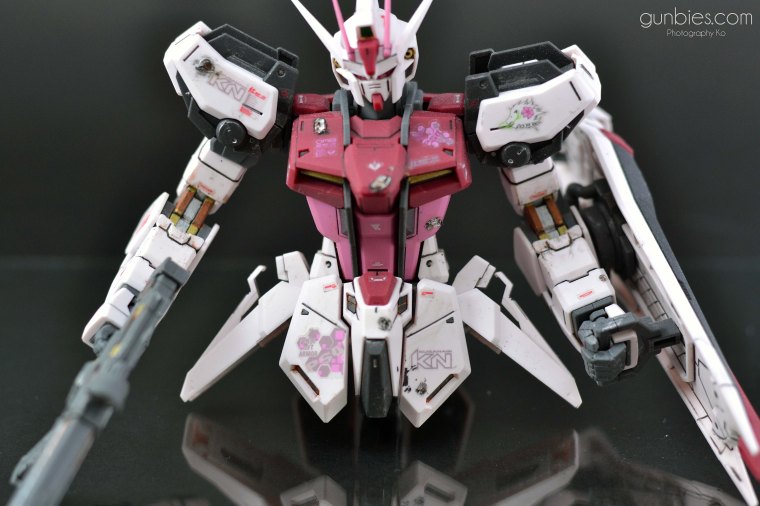
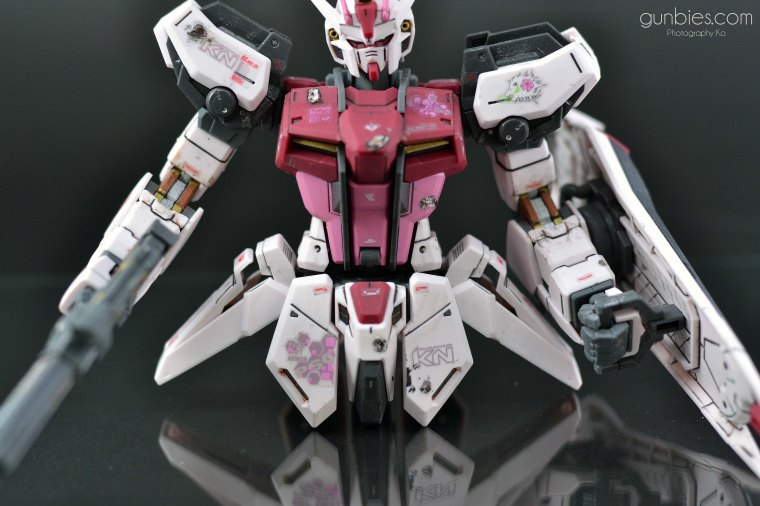
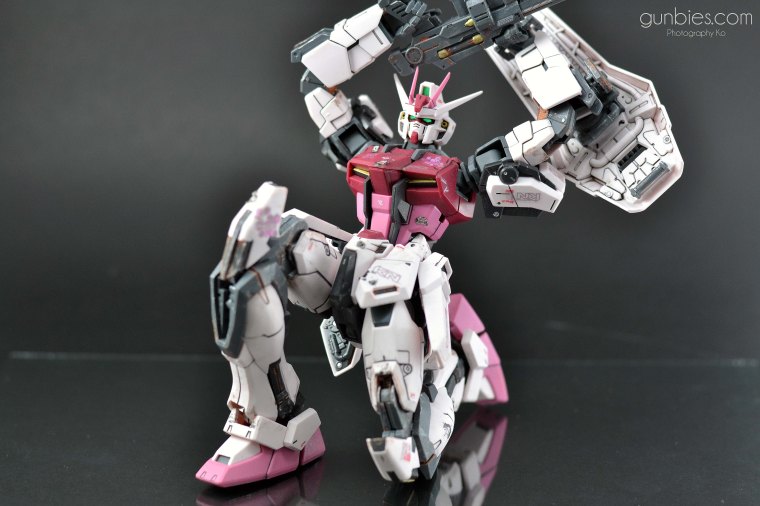
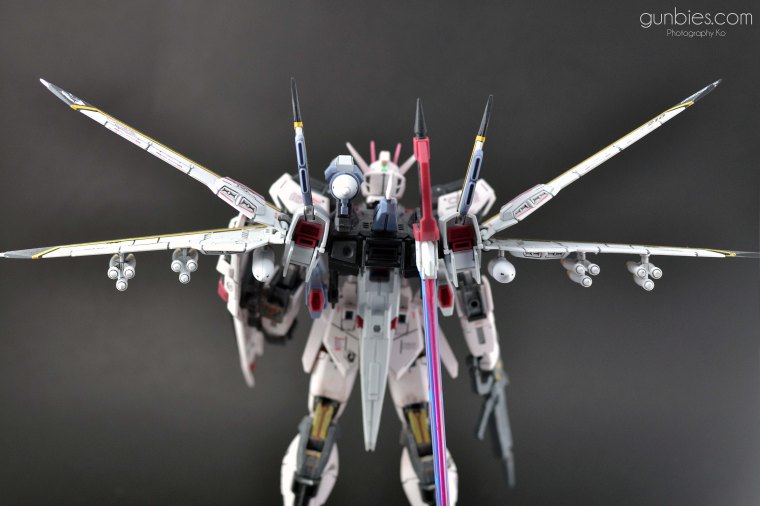
Attaching the Ootori Striker on Strike Rouge:
Now she looks more intimidating.

Pure awesomeness.


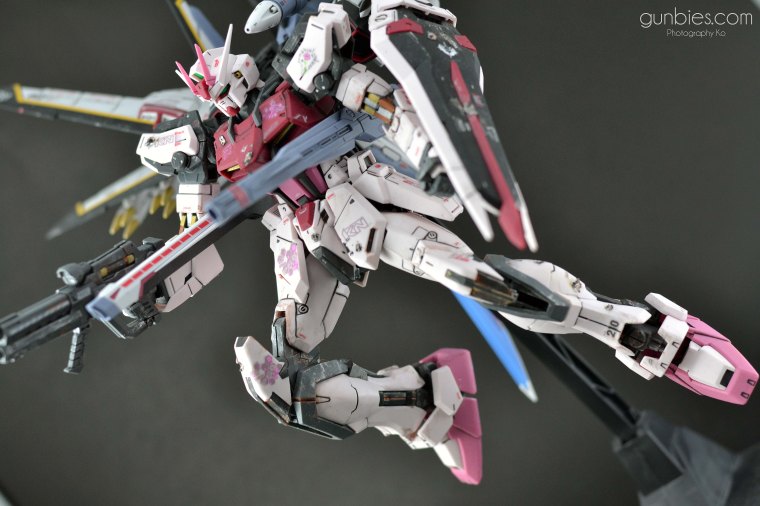


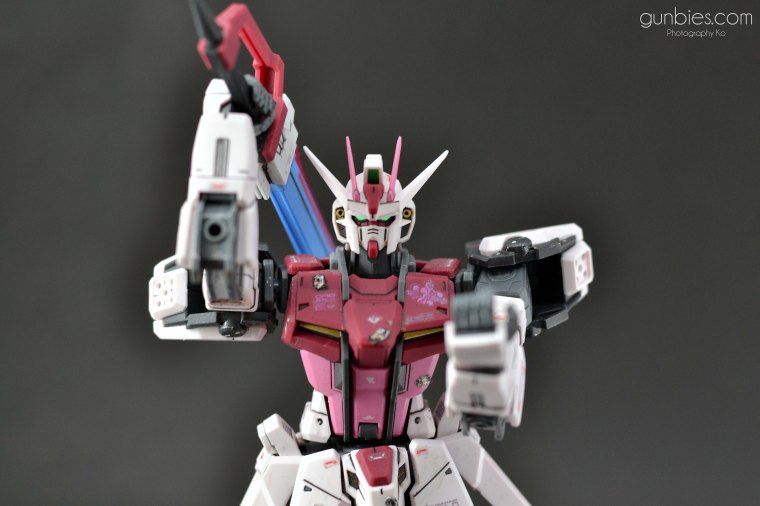
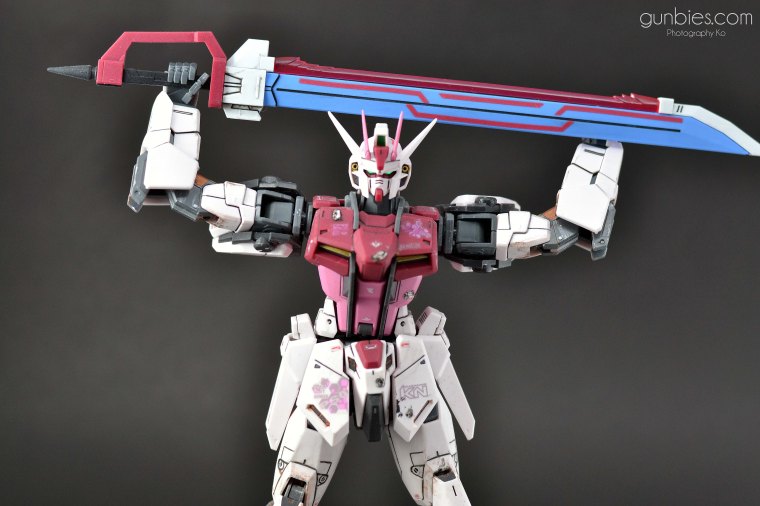
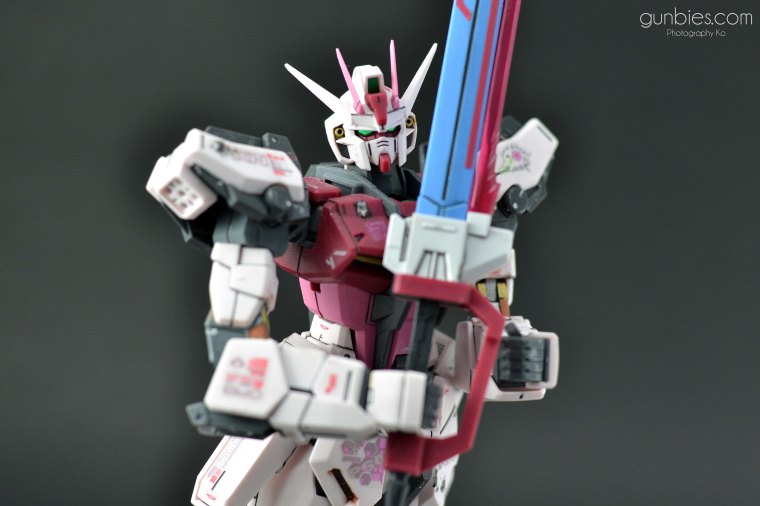
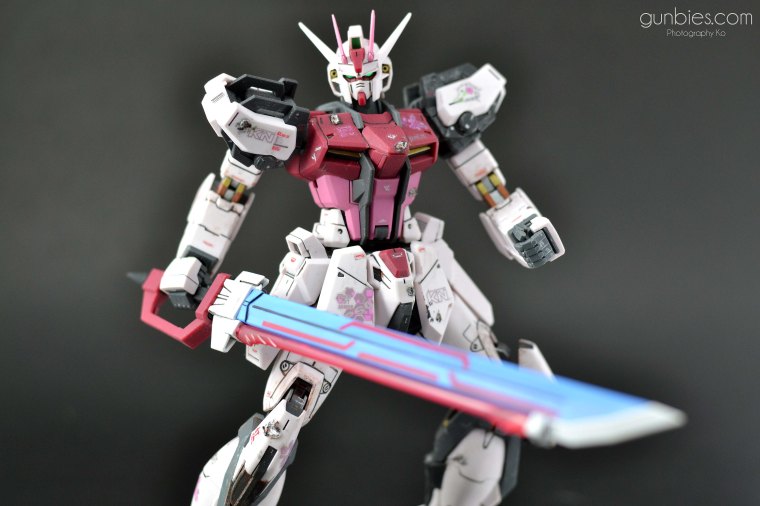
Final shoot with Large Anti-Ship Sword:
You can never go wrong with a big ass sword:

The Strike Rouge Ootori is equipped with a large anti-ship sword as its primary close combat weapon. It is a large physical sword that has a laser blade along the cutting edge. (Gundam Wikia)


Man, It’s pretty obvious I had fun with this kit. This is one of the most enjoyed kits that I built!
To sum up as I always do,
What I like about this kit:
1. Color scheme. Love the feminine touch since the pilot is a female anyway. Yay to flower power!
2. Articulation is satisfying, waist unit does not hinder so much the leg articulation.
3. The Ootori Striker. Its awesome and has a lot of added armaments.
4. The kit contains a stand for the Ootori and the Strike Rouge.
5. Default panel lines are satisfying.
6. Decal count were more than what I expected since this is not a ver. Ka kit. And the decal designs are nice, lots of extra clear stickers too!
7. Not back heavy despite the Ootori’s size, he can stand and pose pretty stable even with its Ootori Striker installed. No problems in balancing.
Things I did not like about this kit:
1. Hmm.. Just the damn new MG hands I guess, I find it a hassle to change the hand parts every now and then just to be able to handle a different weapon or a different pose. But I guess the new MG hands makes weapons handling more stable than the old MG hands. Maybe if they could combine the old and the new MG hands, then I would be happier. 🙂
Thanks for reading! Till next post! 🙂
Photo Gallery (Click on a photo to show a larger one):


