
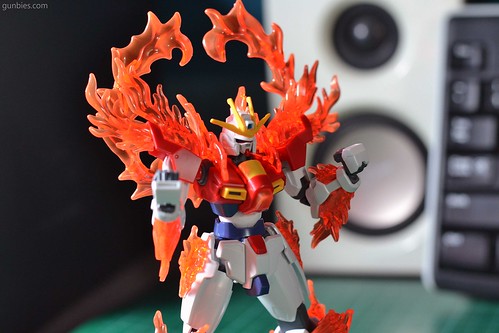
Hi guys! It’s been a while, here I present a simple straight build HG 1/144 Try Burning Gundam.
Hi guys! It’s been a while, here I present a simple straight build HG 1/144 Try Burning Gundam.

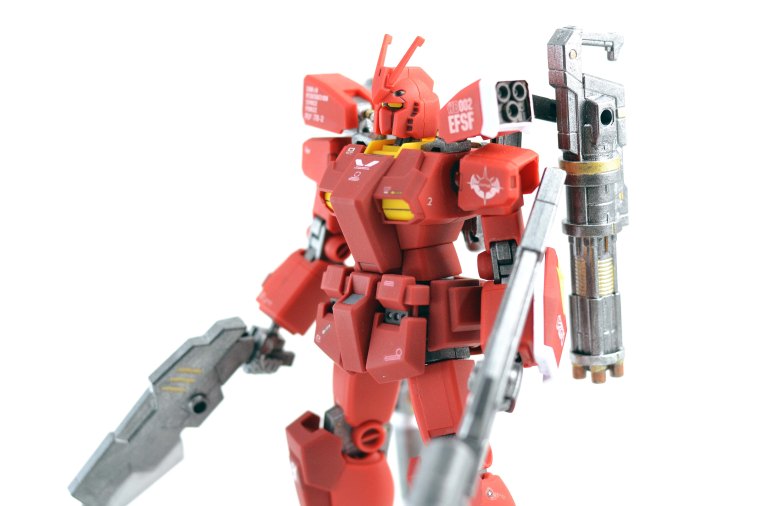
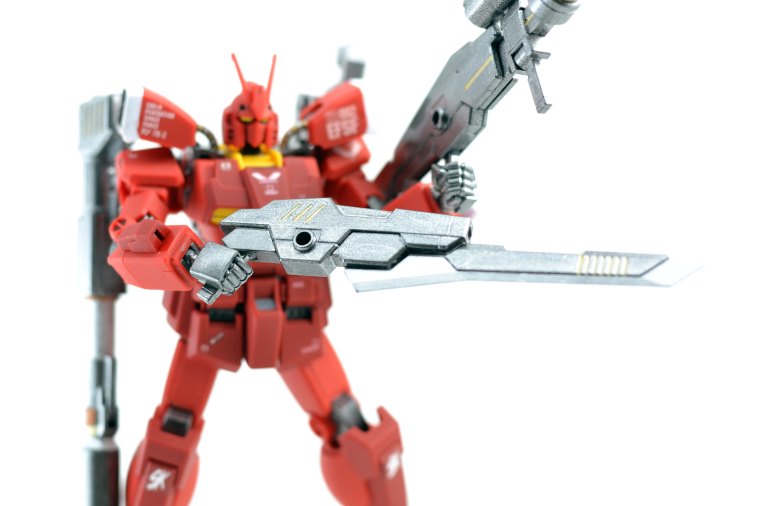
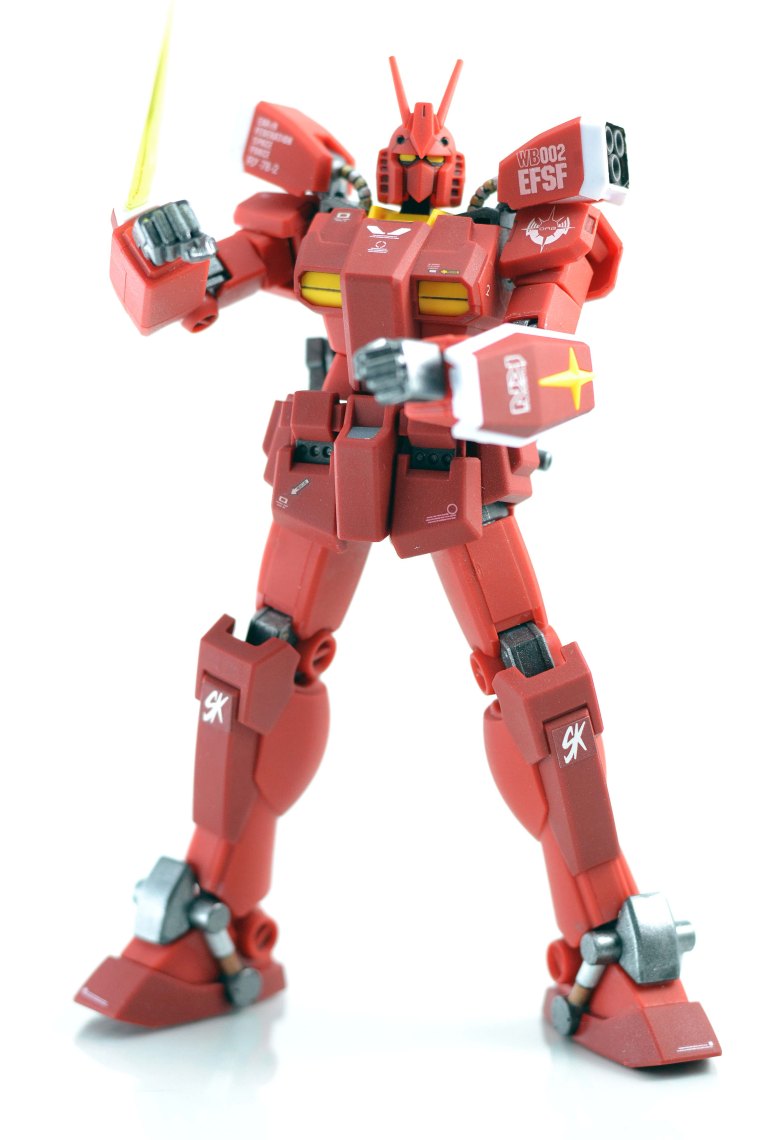
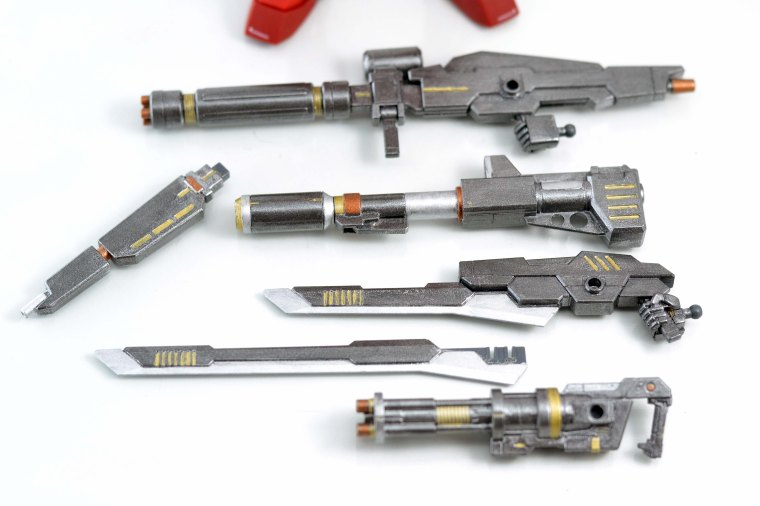
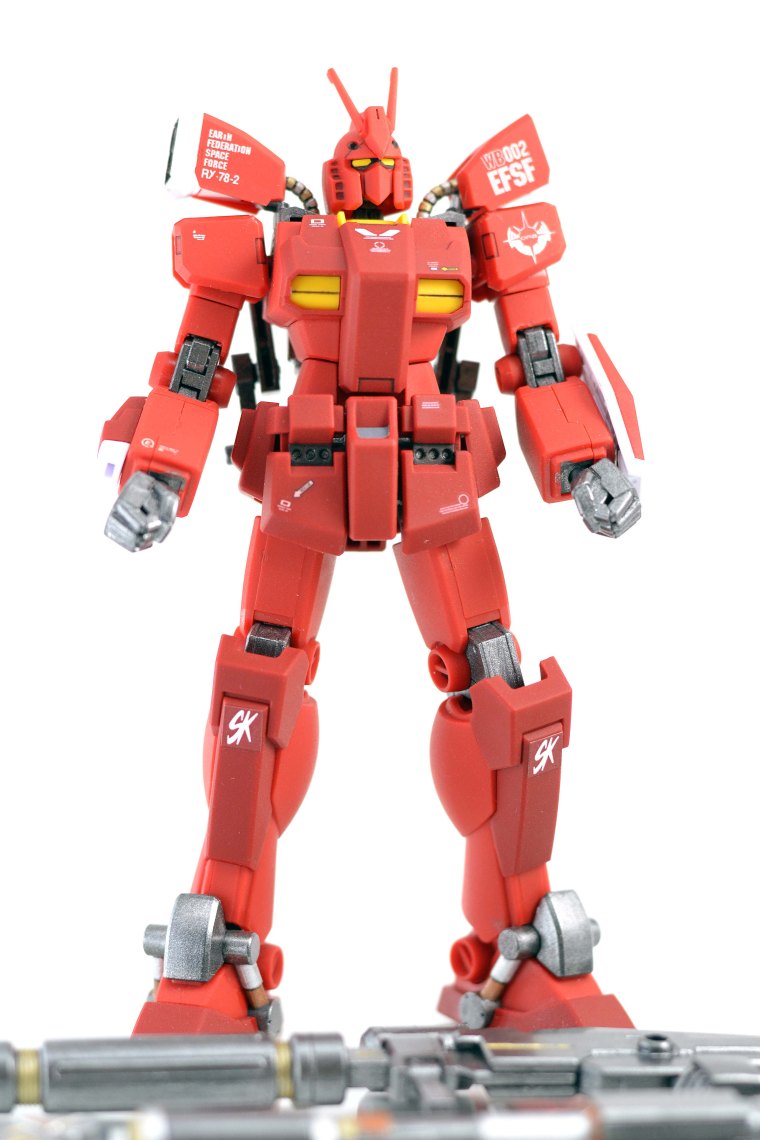
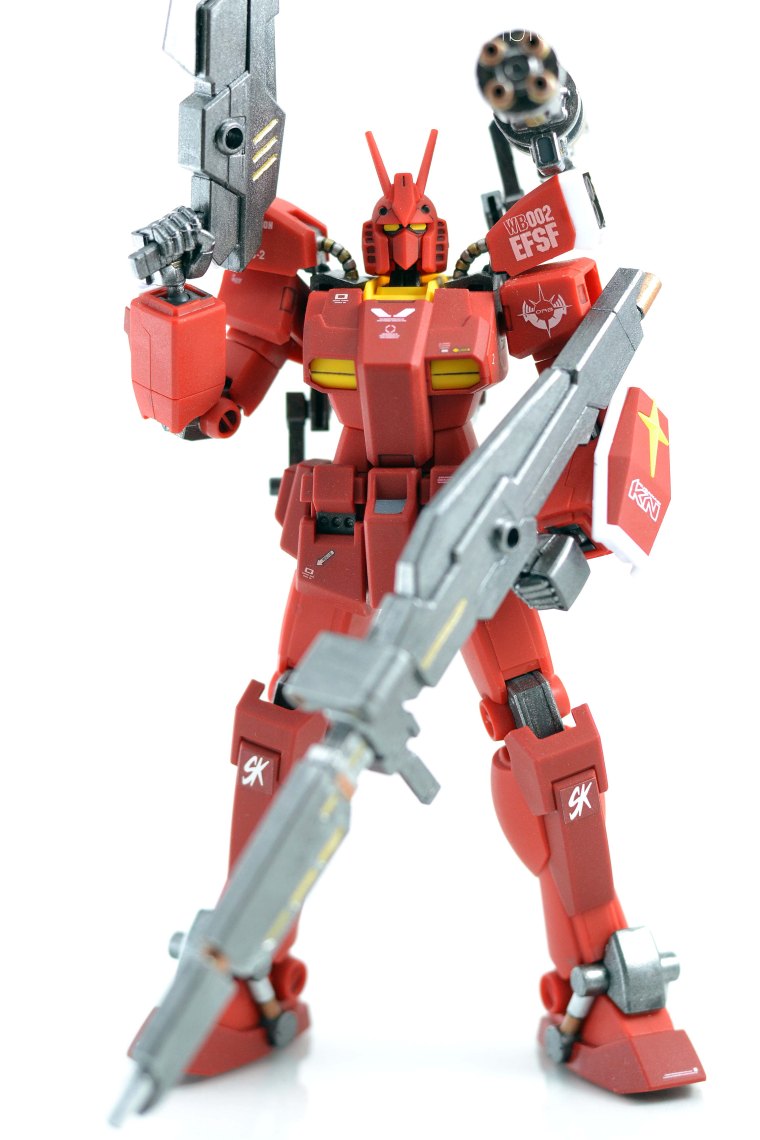
Hello guys! This is my latest work: a custom painted HGBF 1/144 Amazing Red Warrior from the Build Fighters series. This is actually the product of a Gunpla hand-painting tutorial article I wrote for a private company. Too bad I can’t post the article on my own blog because of SEO concerns. But of-course I will create a new one so that I can post a Gunpla hand-painting tutorial for my own blog.
You can find detailed mobile suit information here: http://gundam.wikia.com/wiki/PF-78-3A_Gundam_Amazing_Red_Warrior
Things I did:
1. Usual nib mark cleaning.
2. Hand-painted all inner frame parts and base coating of weapons using Tamiya Gun Metal.
3. Hand-painted vulcans on the head unit and on the waist unit using Tamiya Dark Iron. Thrusters on the shoulders are also painted using Dark Iron.
4. Hand-painted details using a combination of Tamiya Gold Leaf, Copper and Flat Aluminum.
5. Panel lining using Copic Multiliner.
6. Applied custom water slide and dry transfer decals.
7. Top coated all non-metallic parts with Bosny Clear Dull/Matte spray can.
And viola! Enjoy the photos!


 And that’s it, thanks for viewing! till next build! 🙂
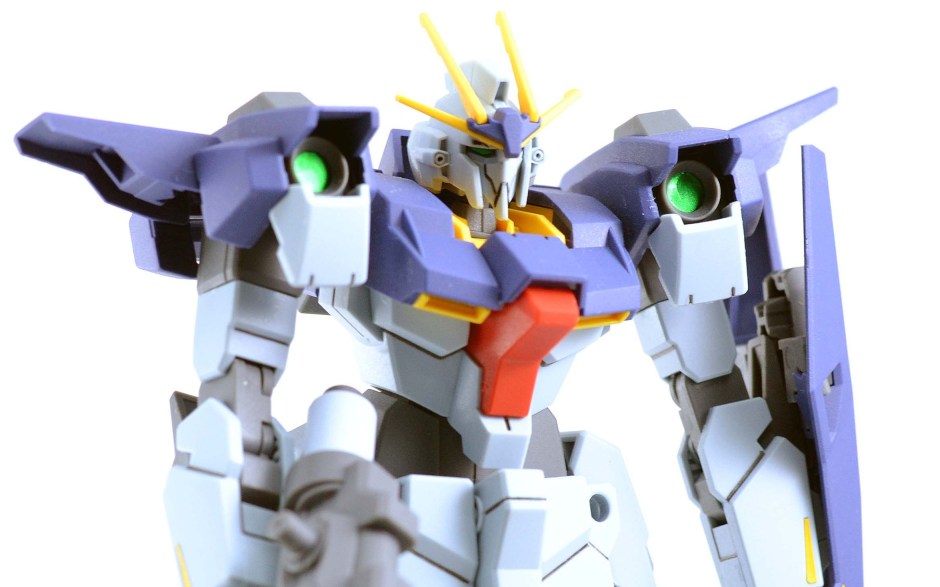
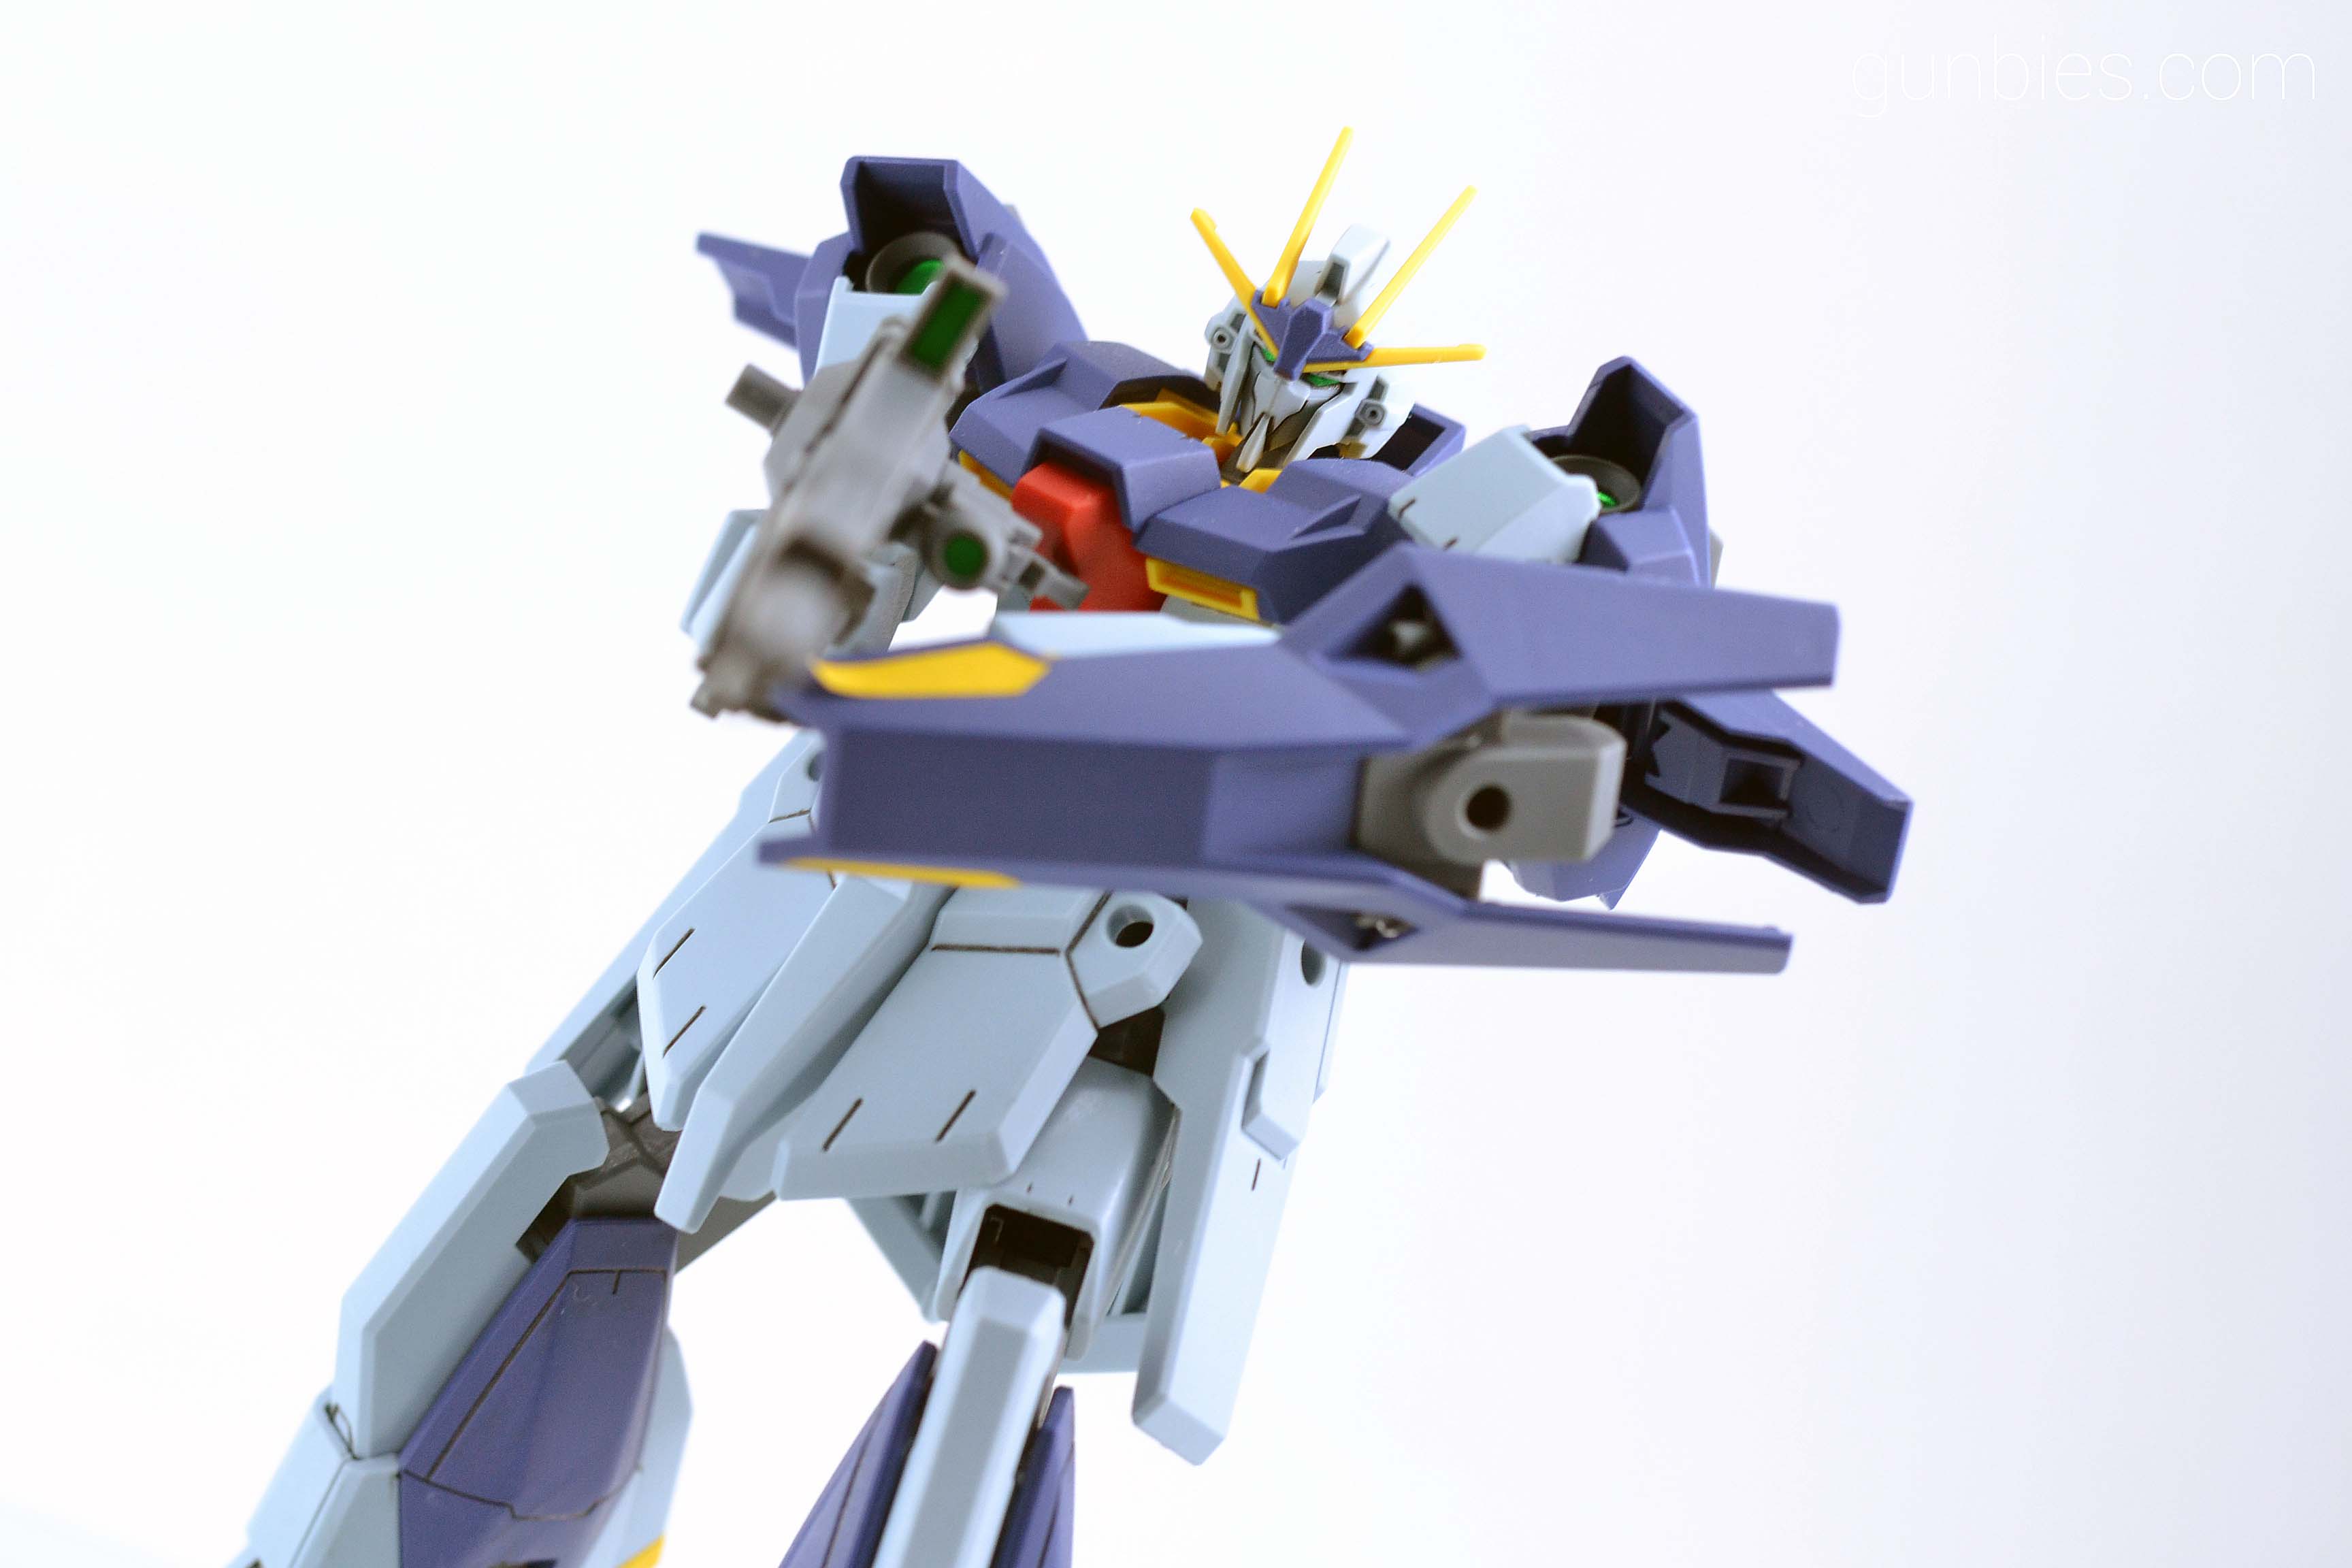
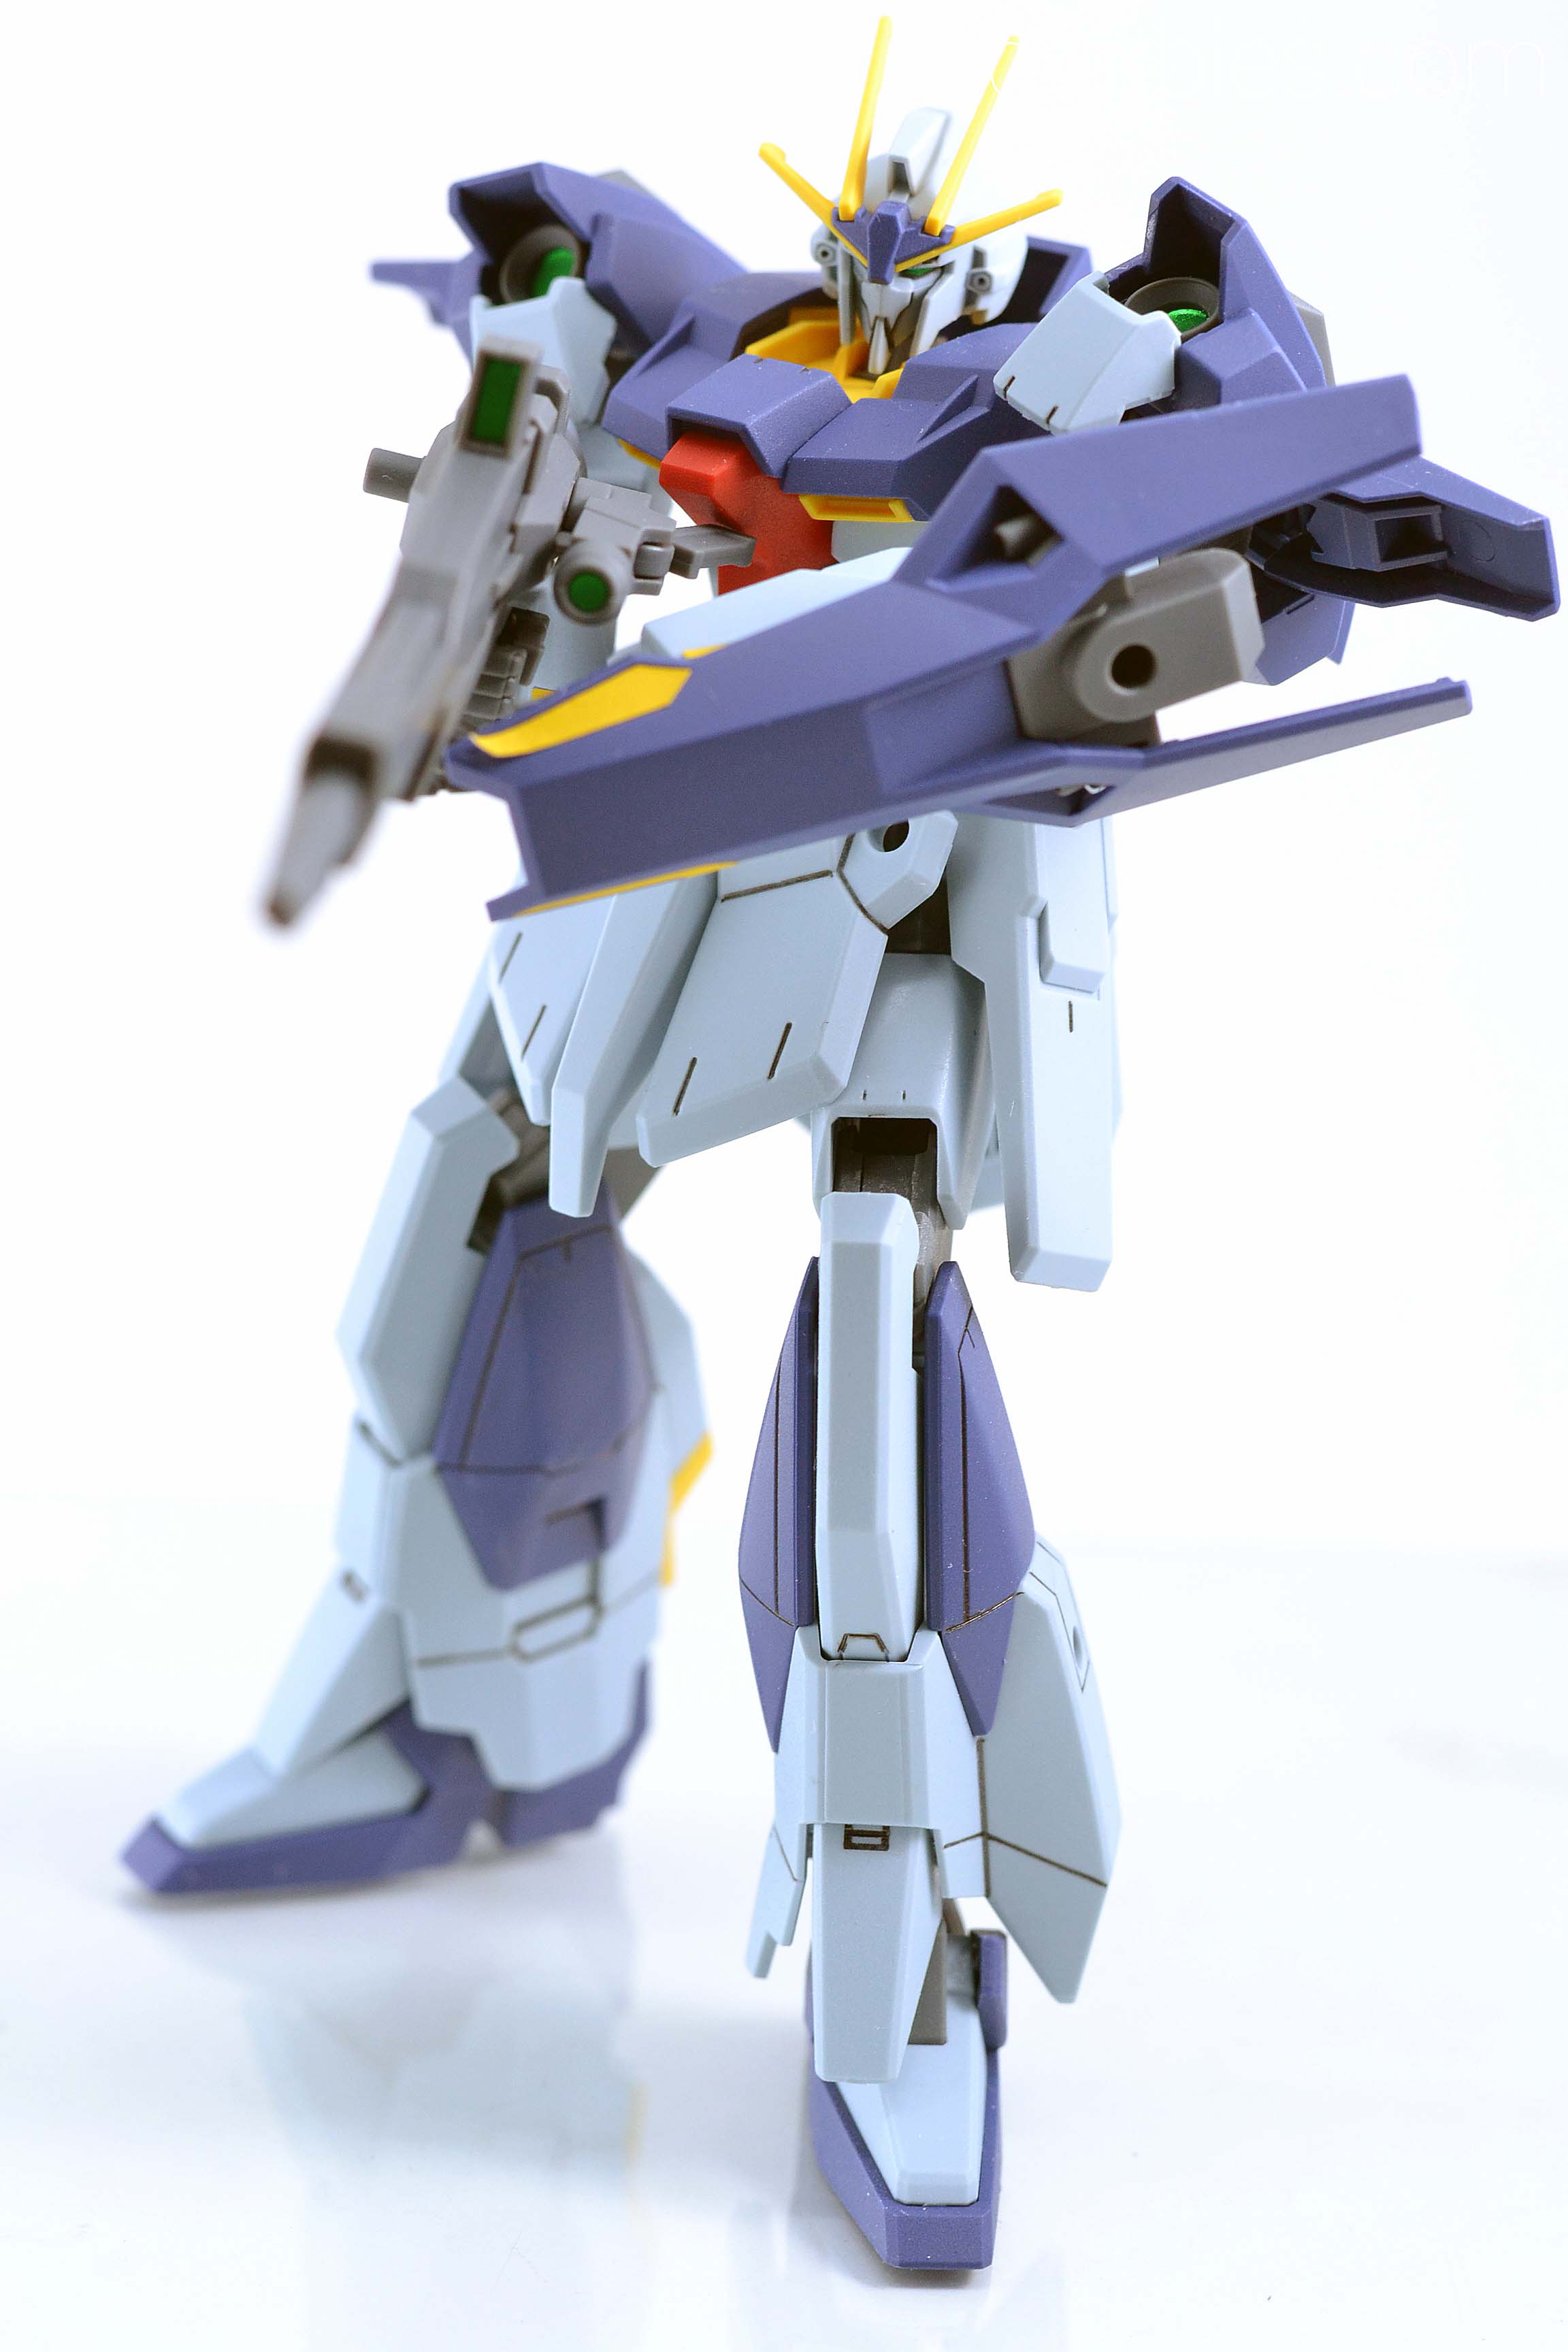
Hi guys! This is my latest build, nothing fancy, just a straight build and panel lining. Sometimes its nice to keep things simple. This is Lightning Gundam from Gundam Build Fighters piloted by Yuuma Kousaka. It’s a long range sniper unit that can also transform into a mobile unit. I’m currently interested with the HGBF line that I pre-ordered a Wing Honoo, Amazing Red Warrior and Try Burning Gundam last January, the preview photos looked good and I hope the actual kits are too.
Enjoy the photos:

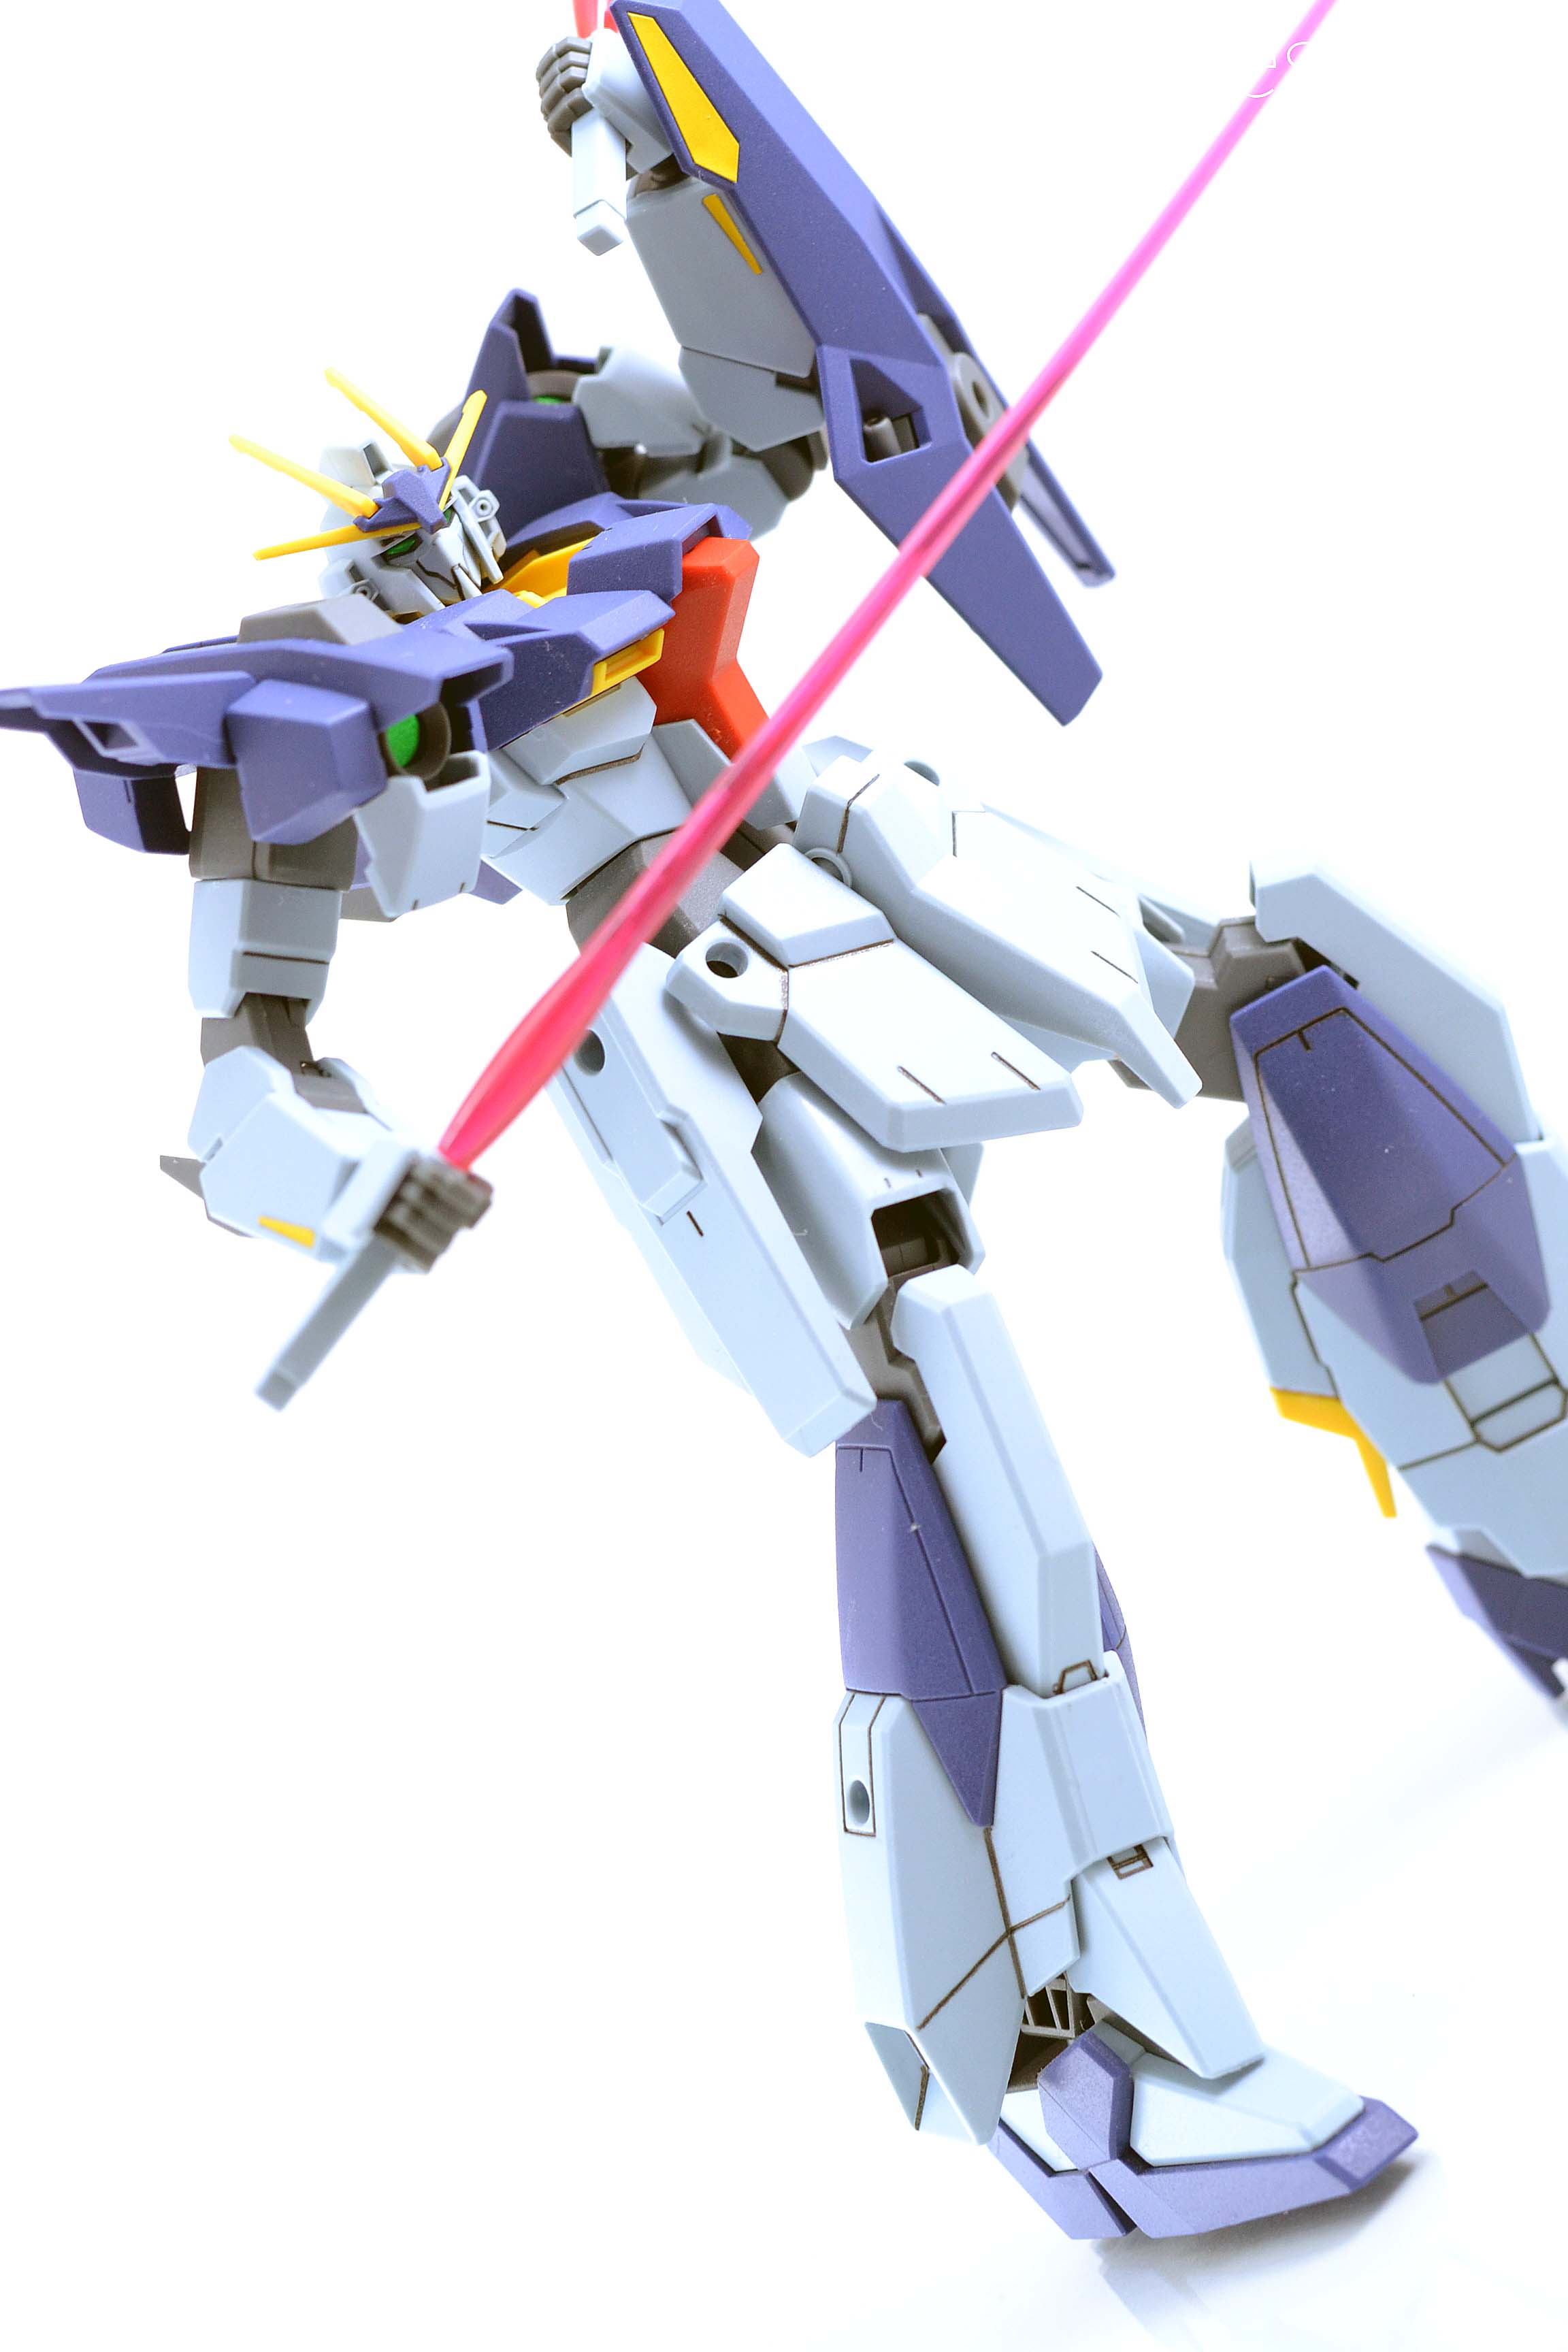


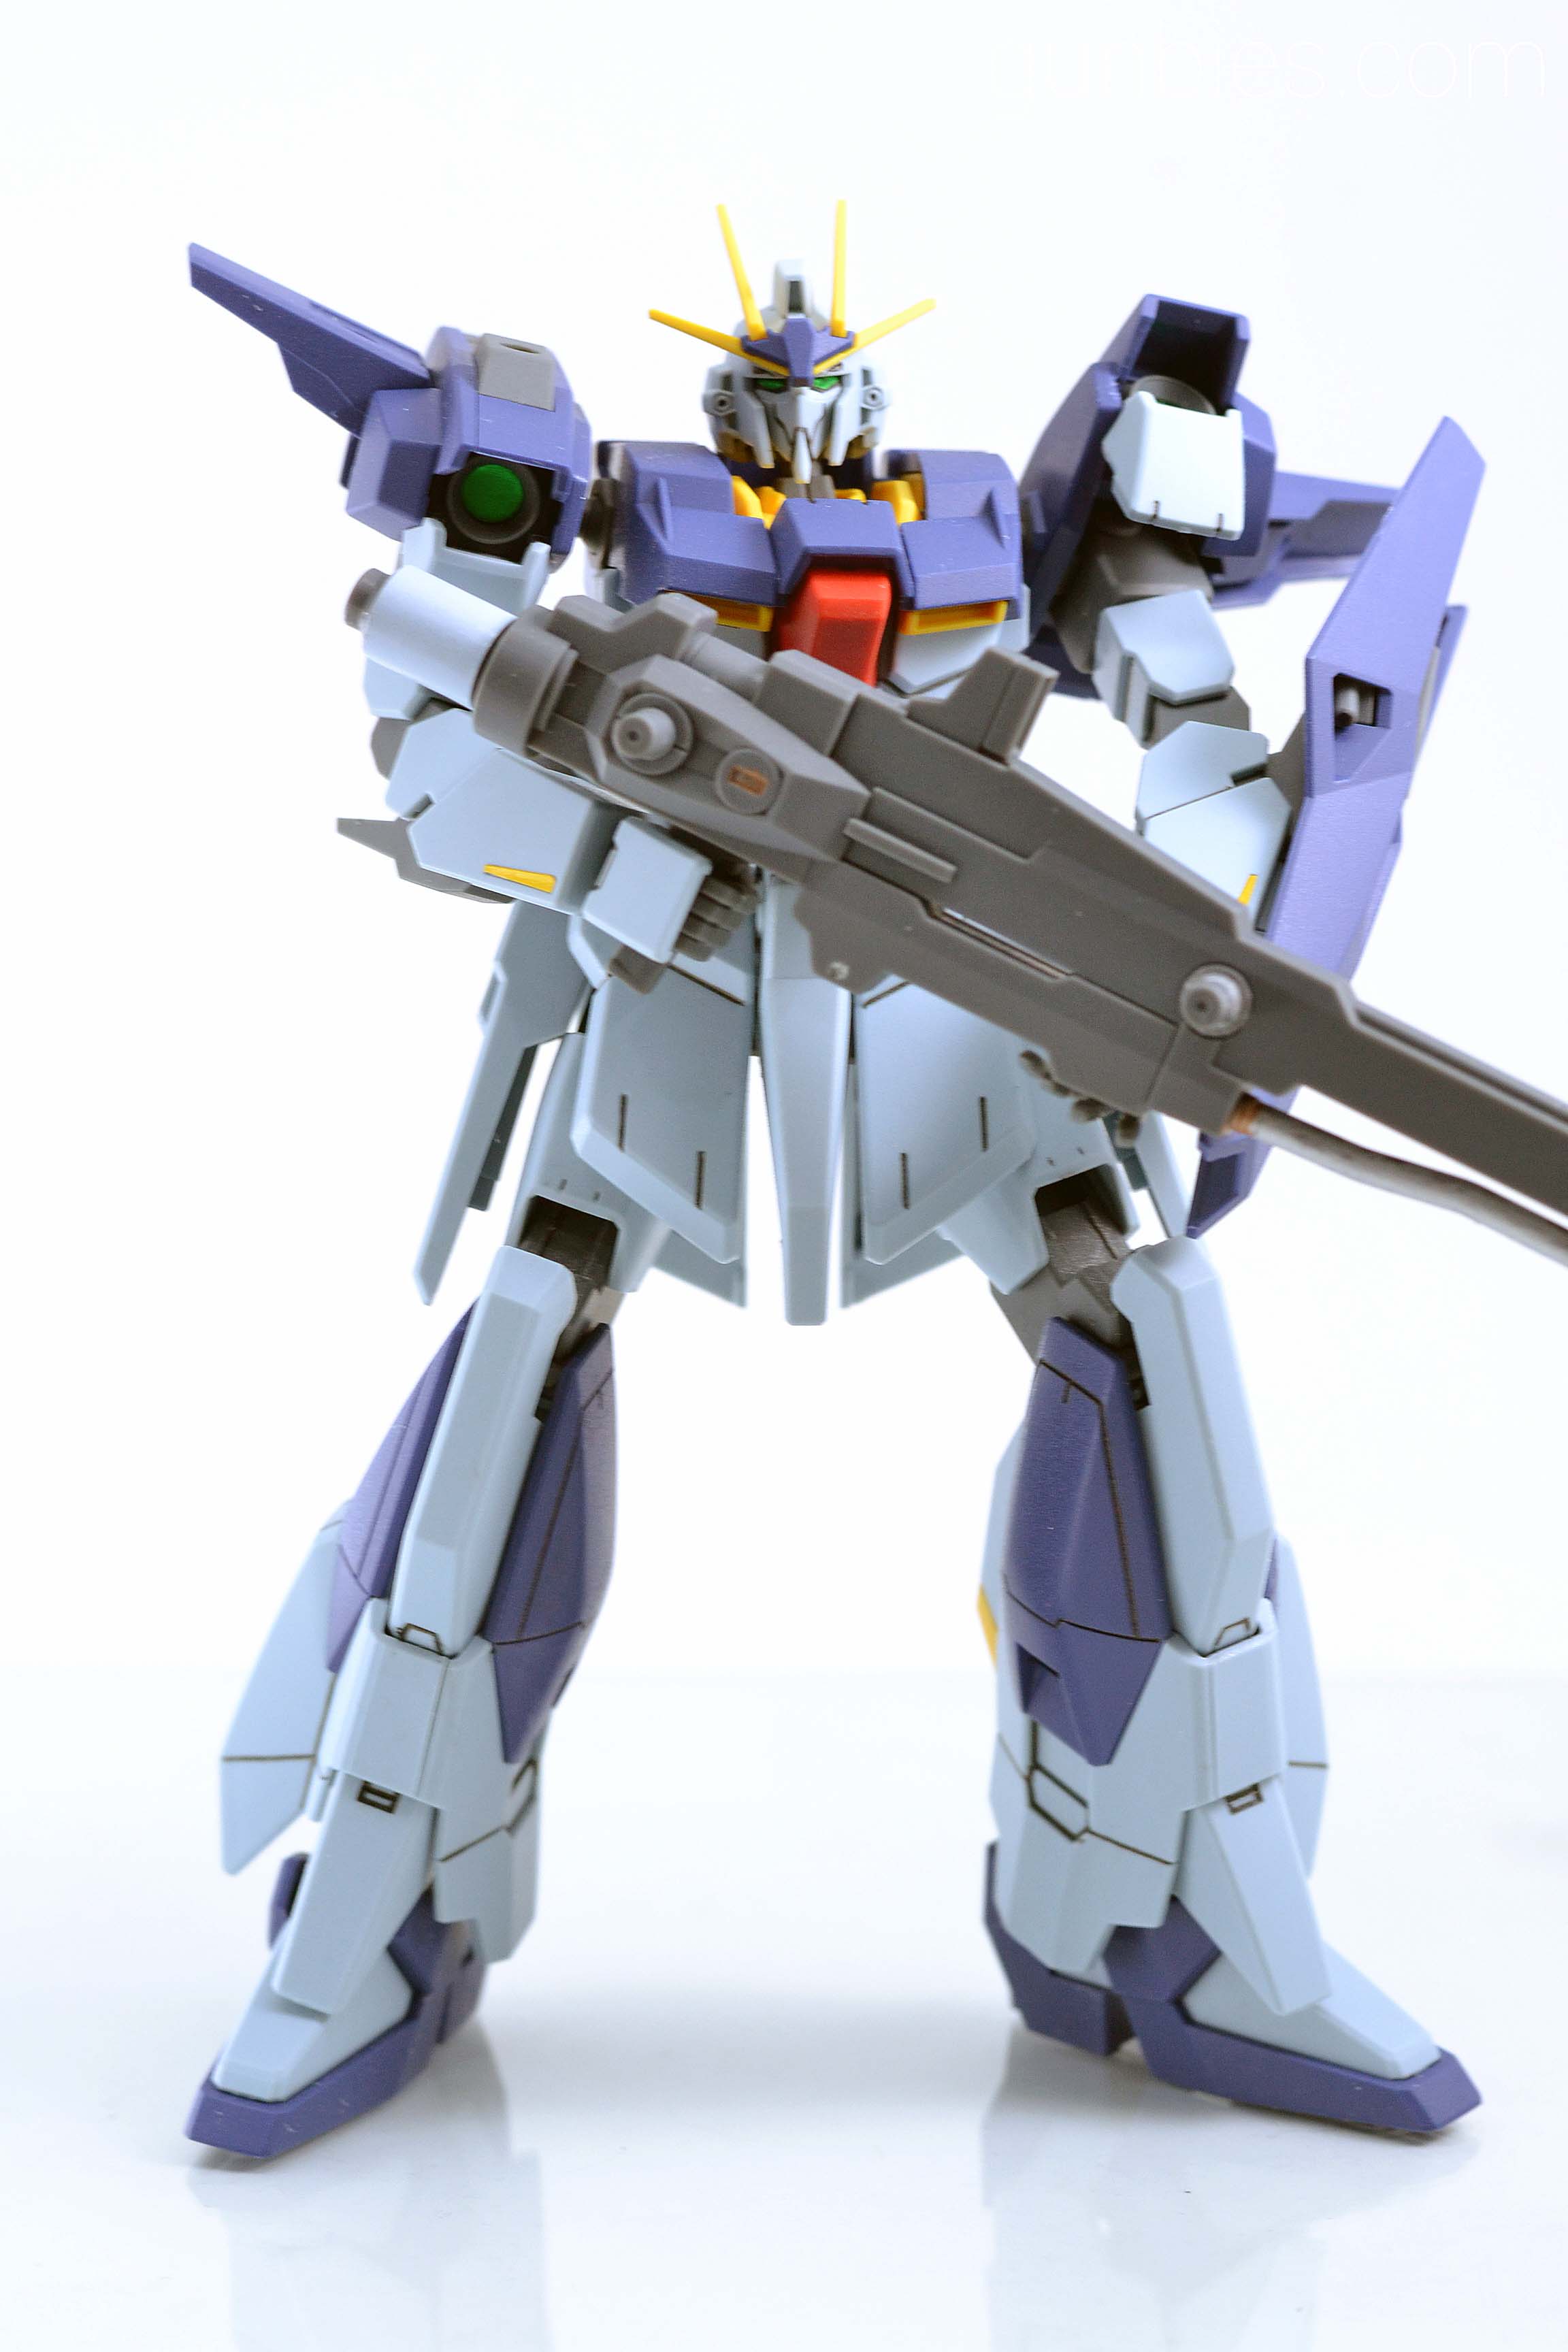


Things I liked about this kit:
1. Long range sniper included
2. Nice default panel lines
3. Includes two beam sabers
4. Articulation is getting better in newer HGs these days
Things I don’t like about this kit:
1. Can’t transform into mobile unit
That’s it! Till next build!
P.S. Sorry, I know the photos are a little muddy, Its because I took them while I was a bit under the weather. I’m actually not satisfied with the photos, I’ll do better next time! 😀
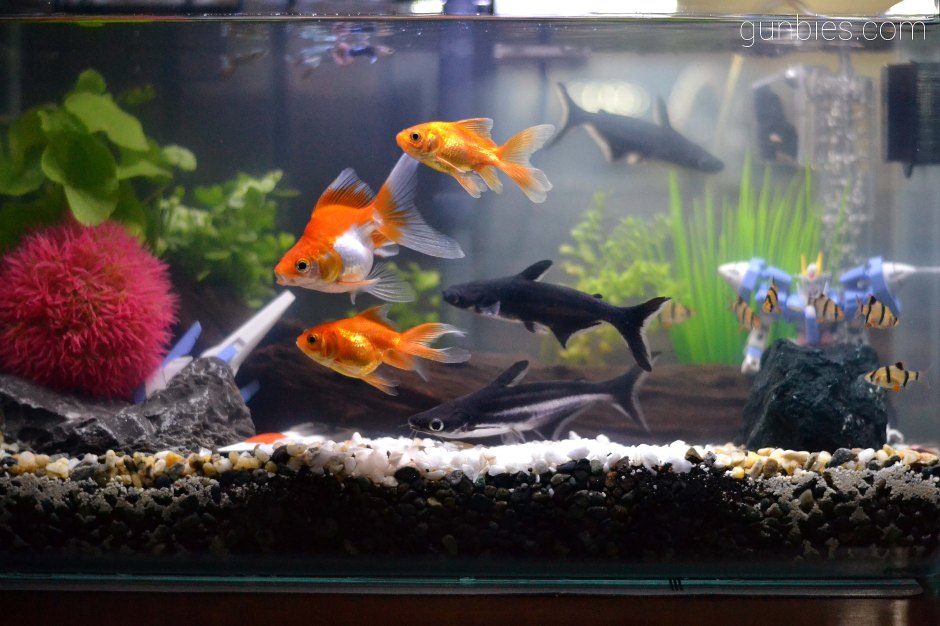
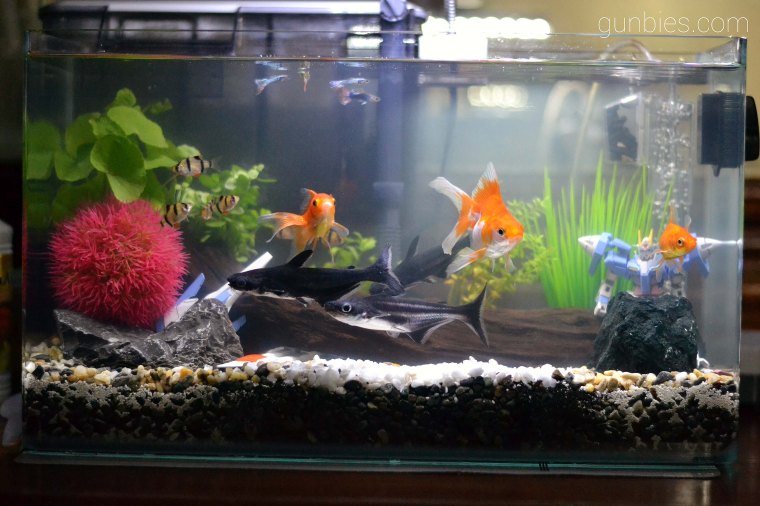
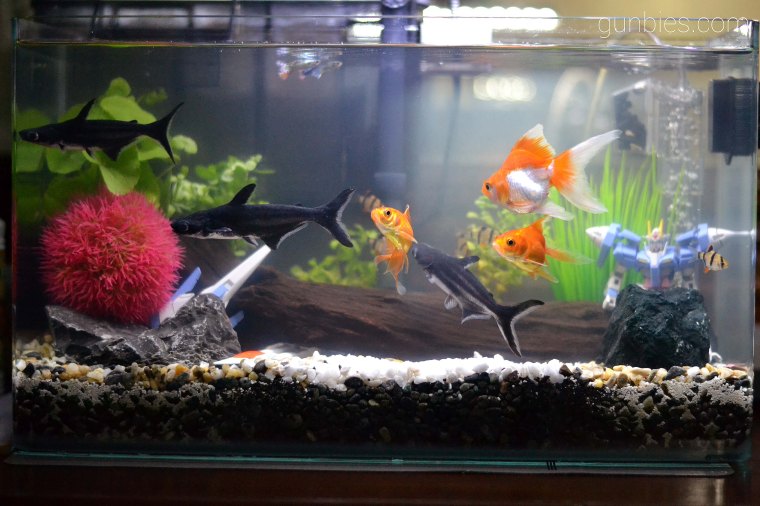
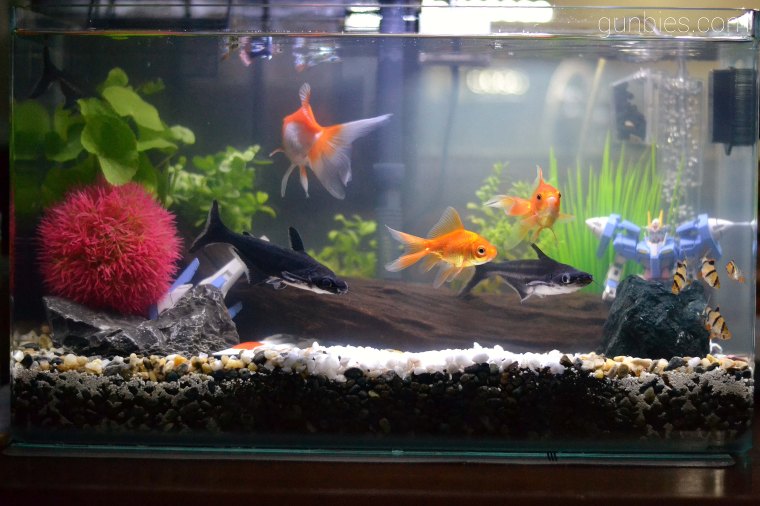
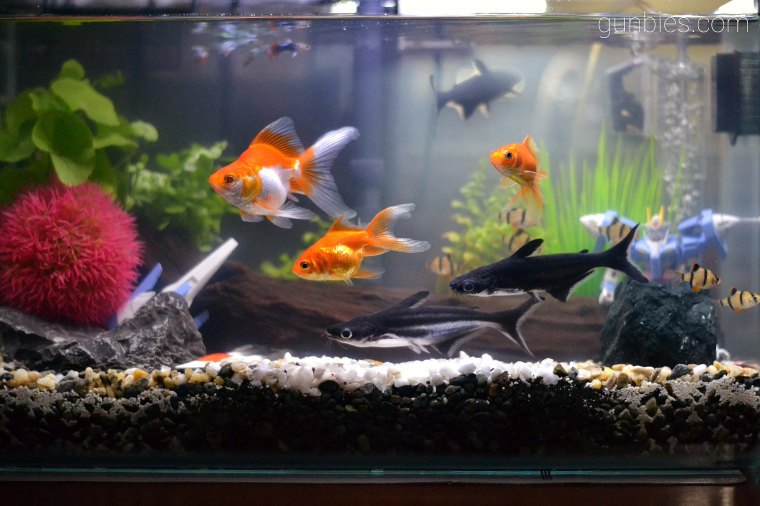
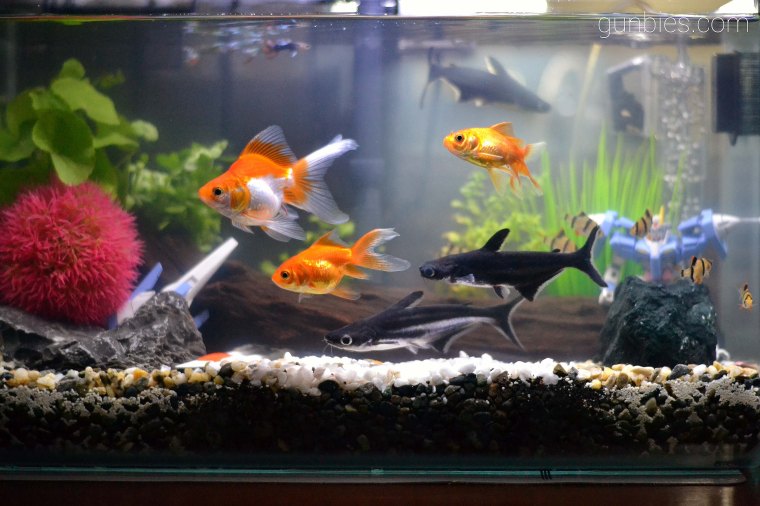
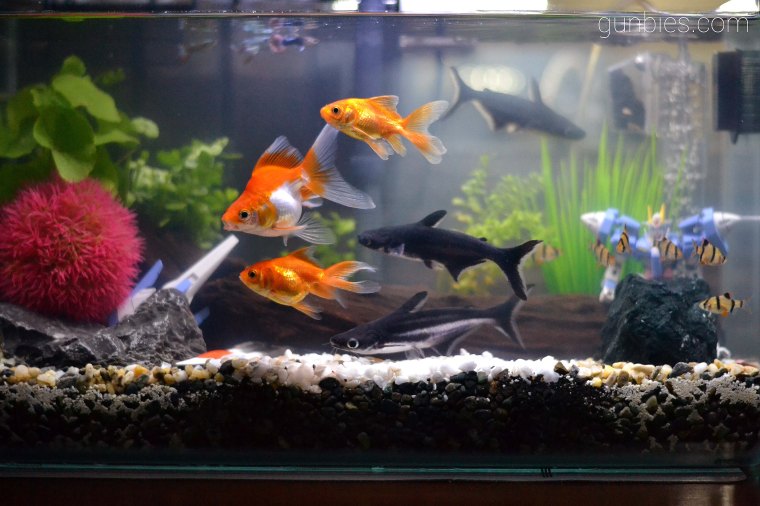
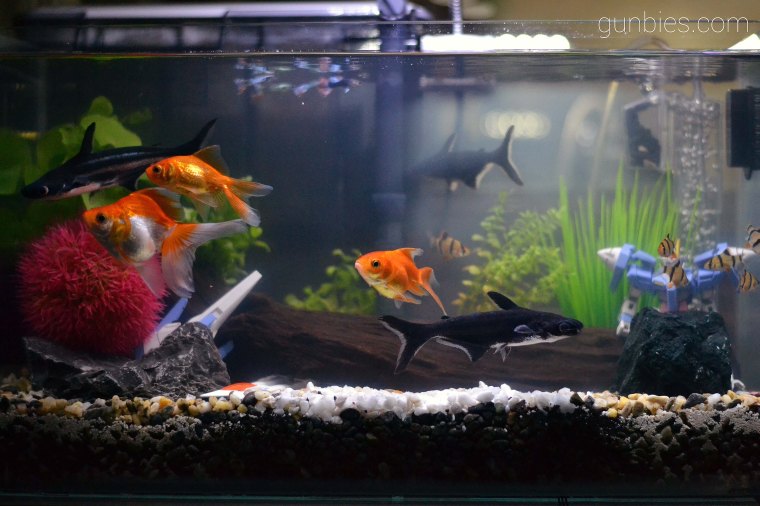
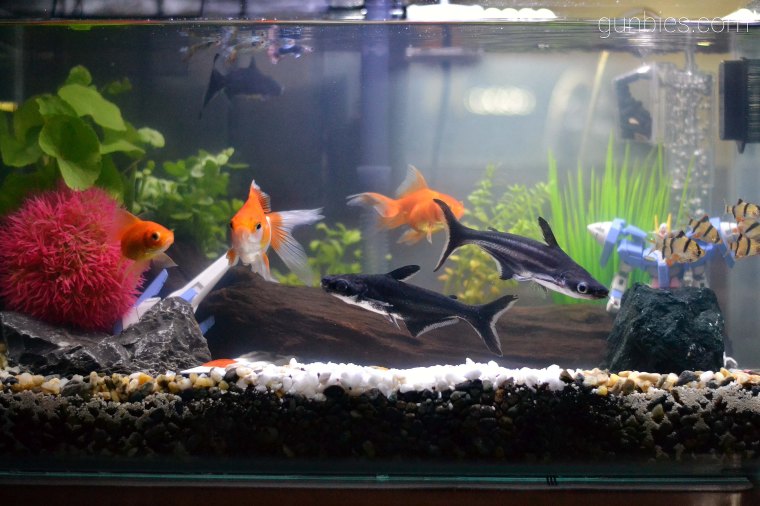
Hello everyone! Just wanted to show you guys my new aquarium set! I call it AquaZen! Design and landscaping are handmade by yours truly. I plan to change stuff from time to time, maybe every year I change the layout if possible, or just add new plants. Of-course AquaZen won’t be complete without a submerged Gunpla yes? Couldn’t help it but I submerged my HG 00 Raiser. Enjoy the photos and video!


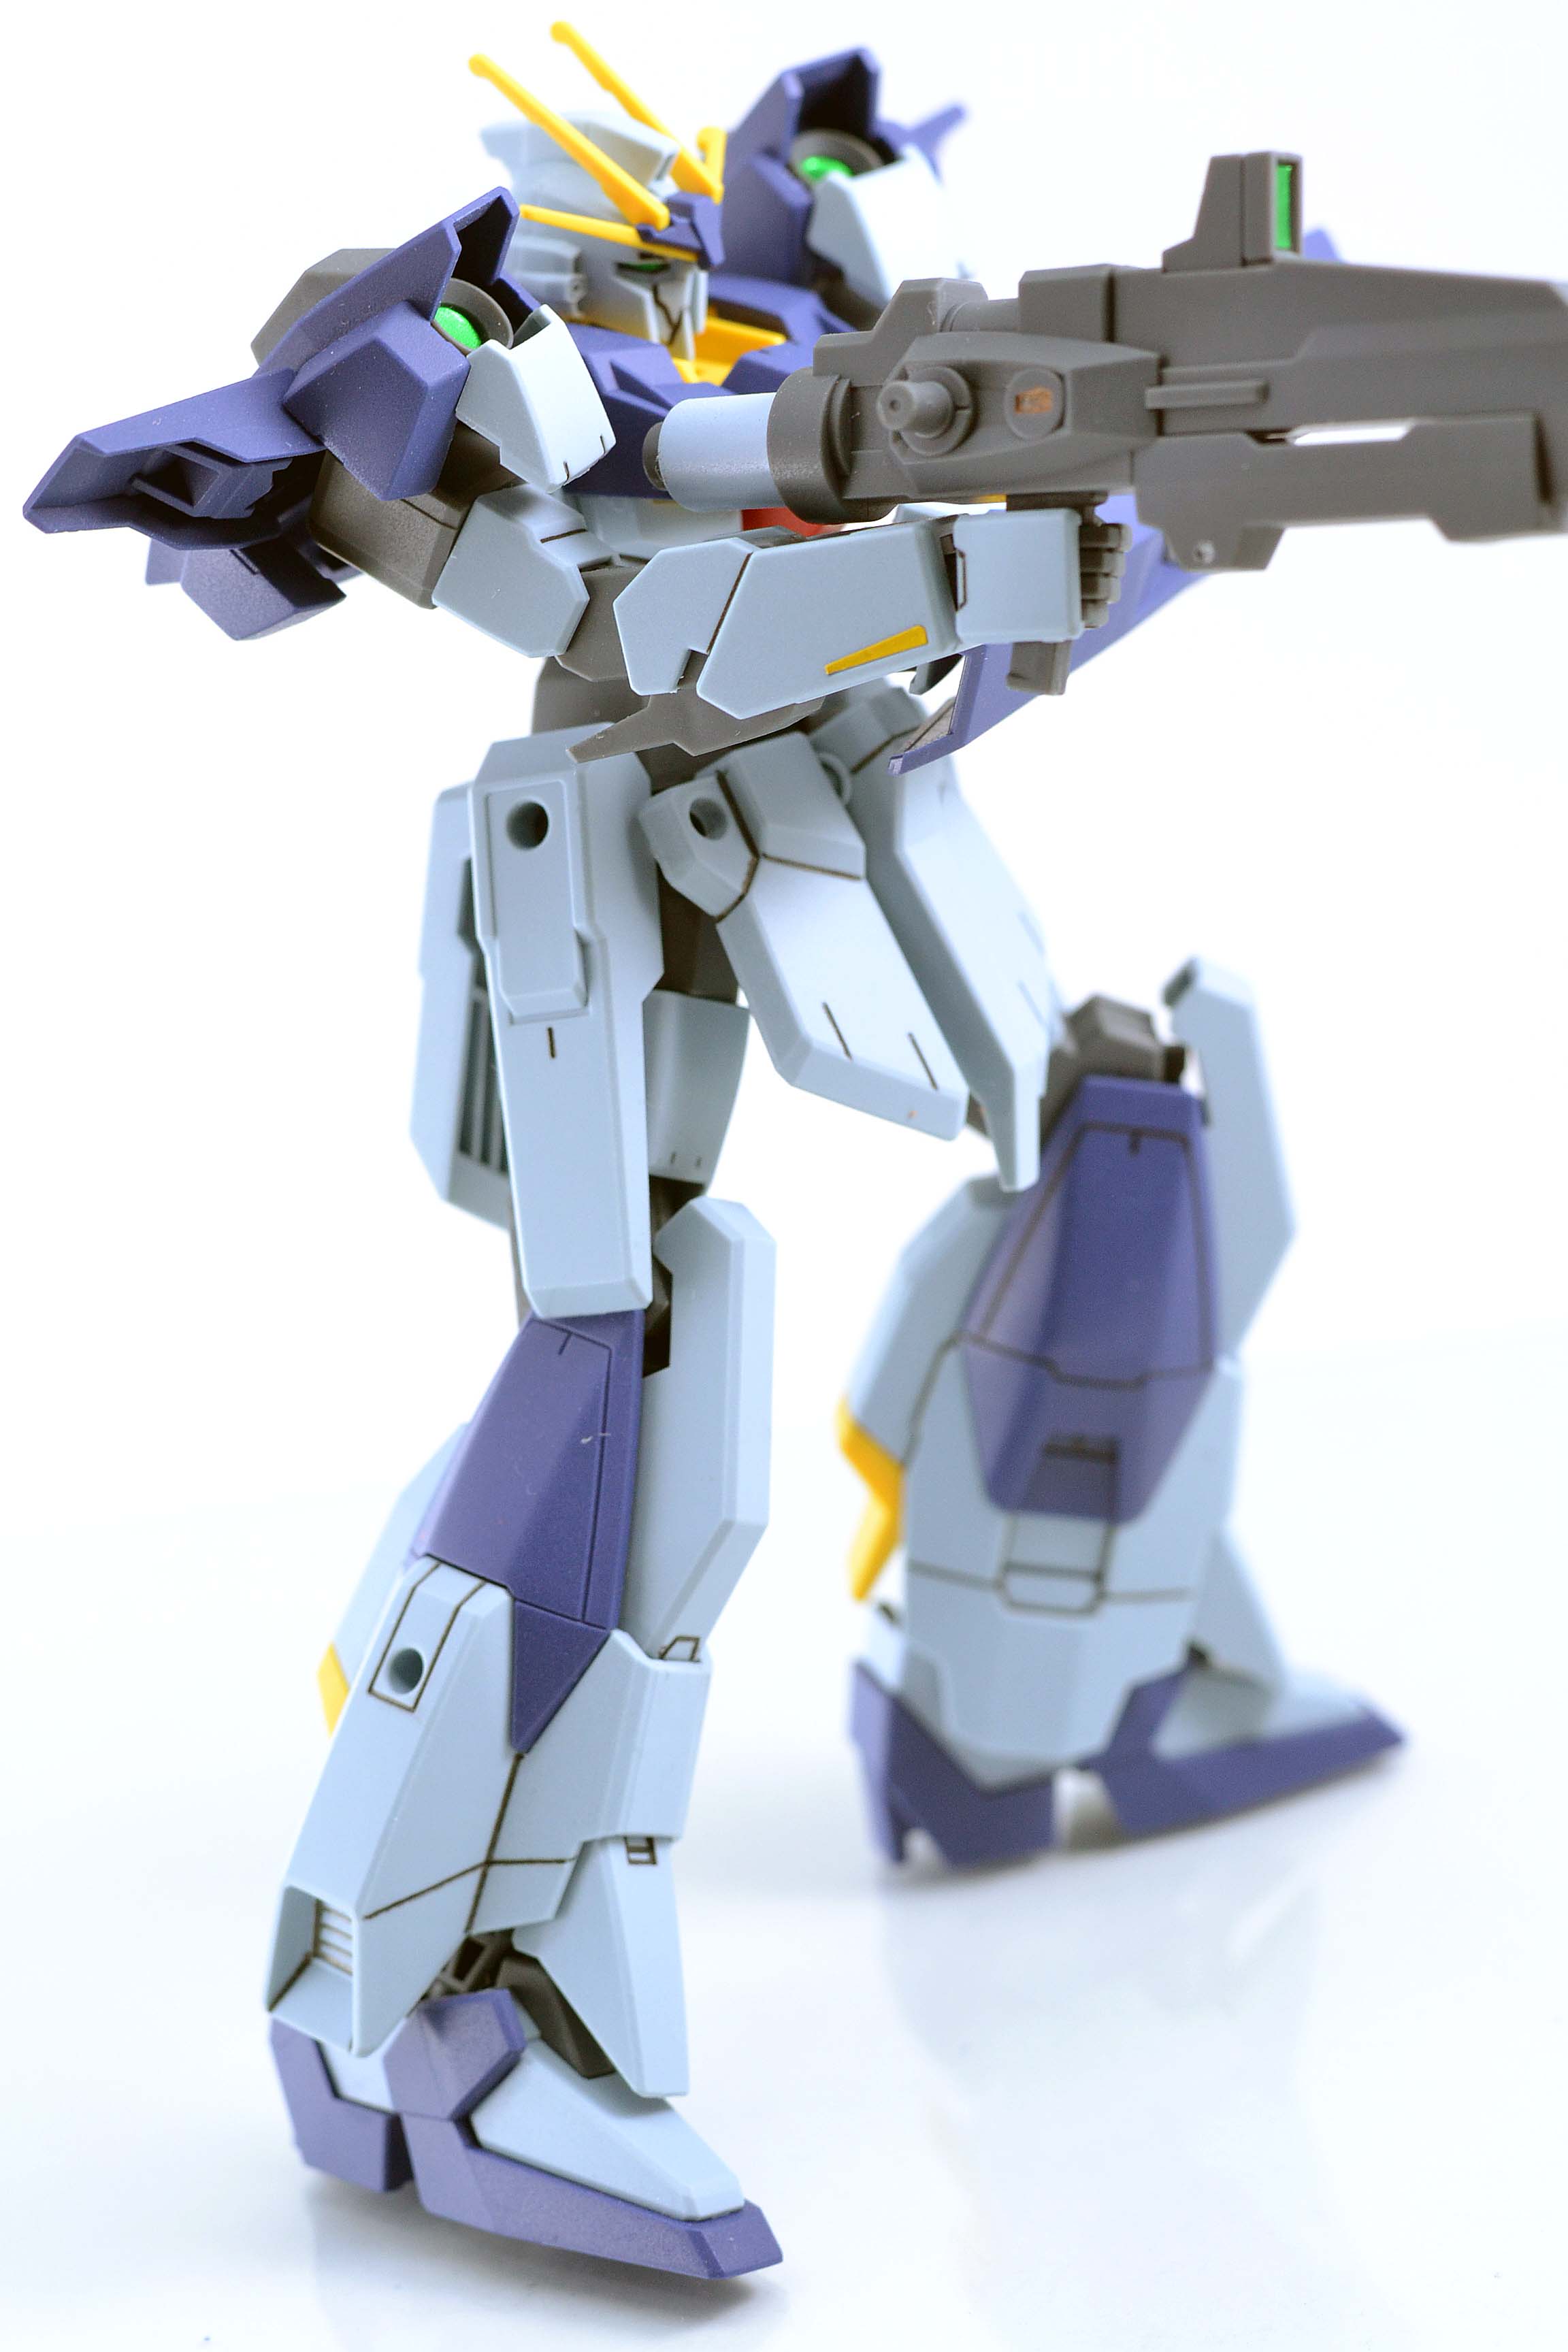
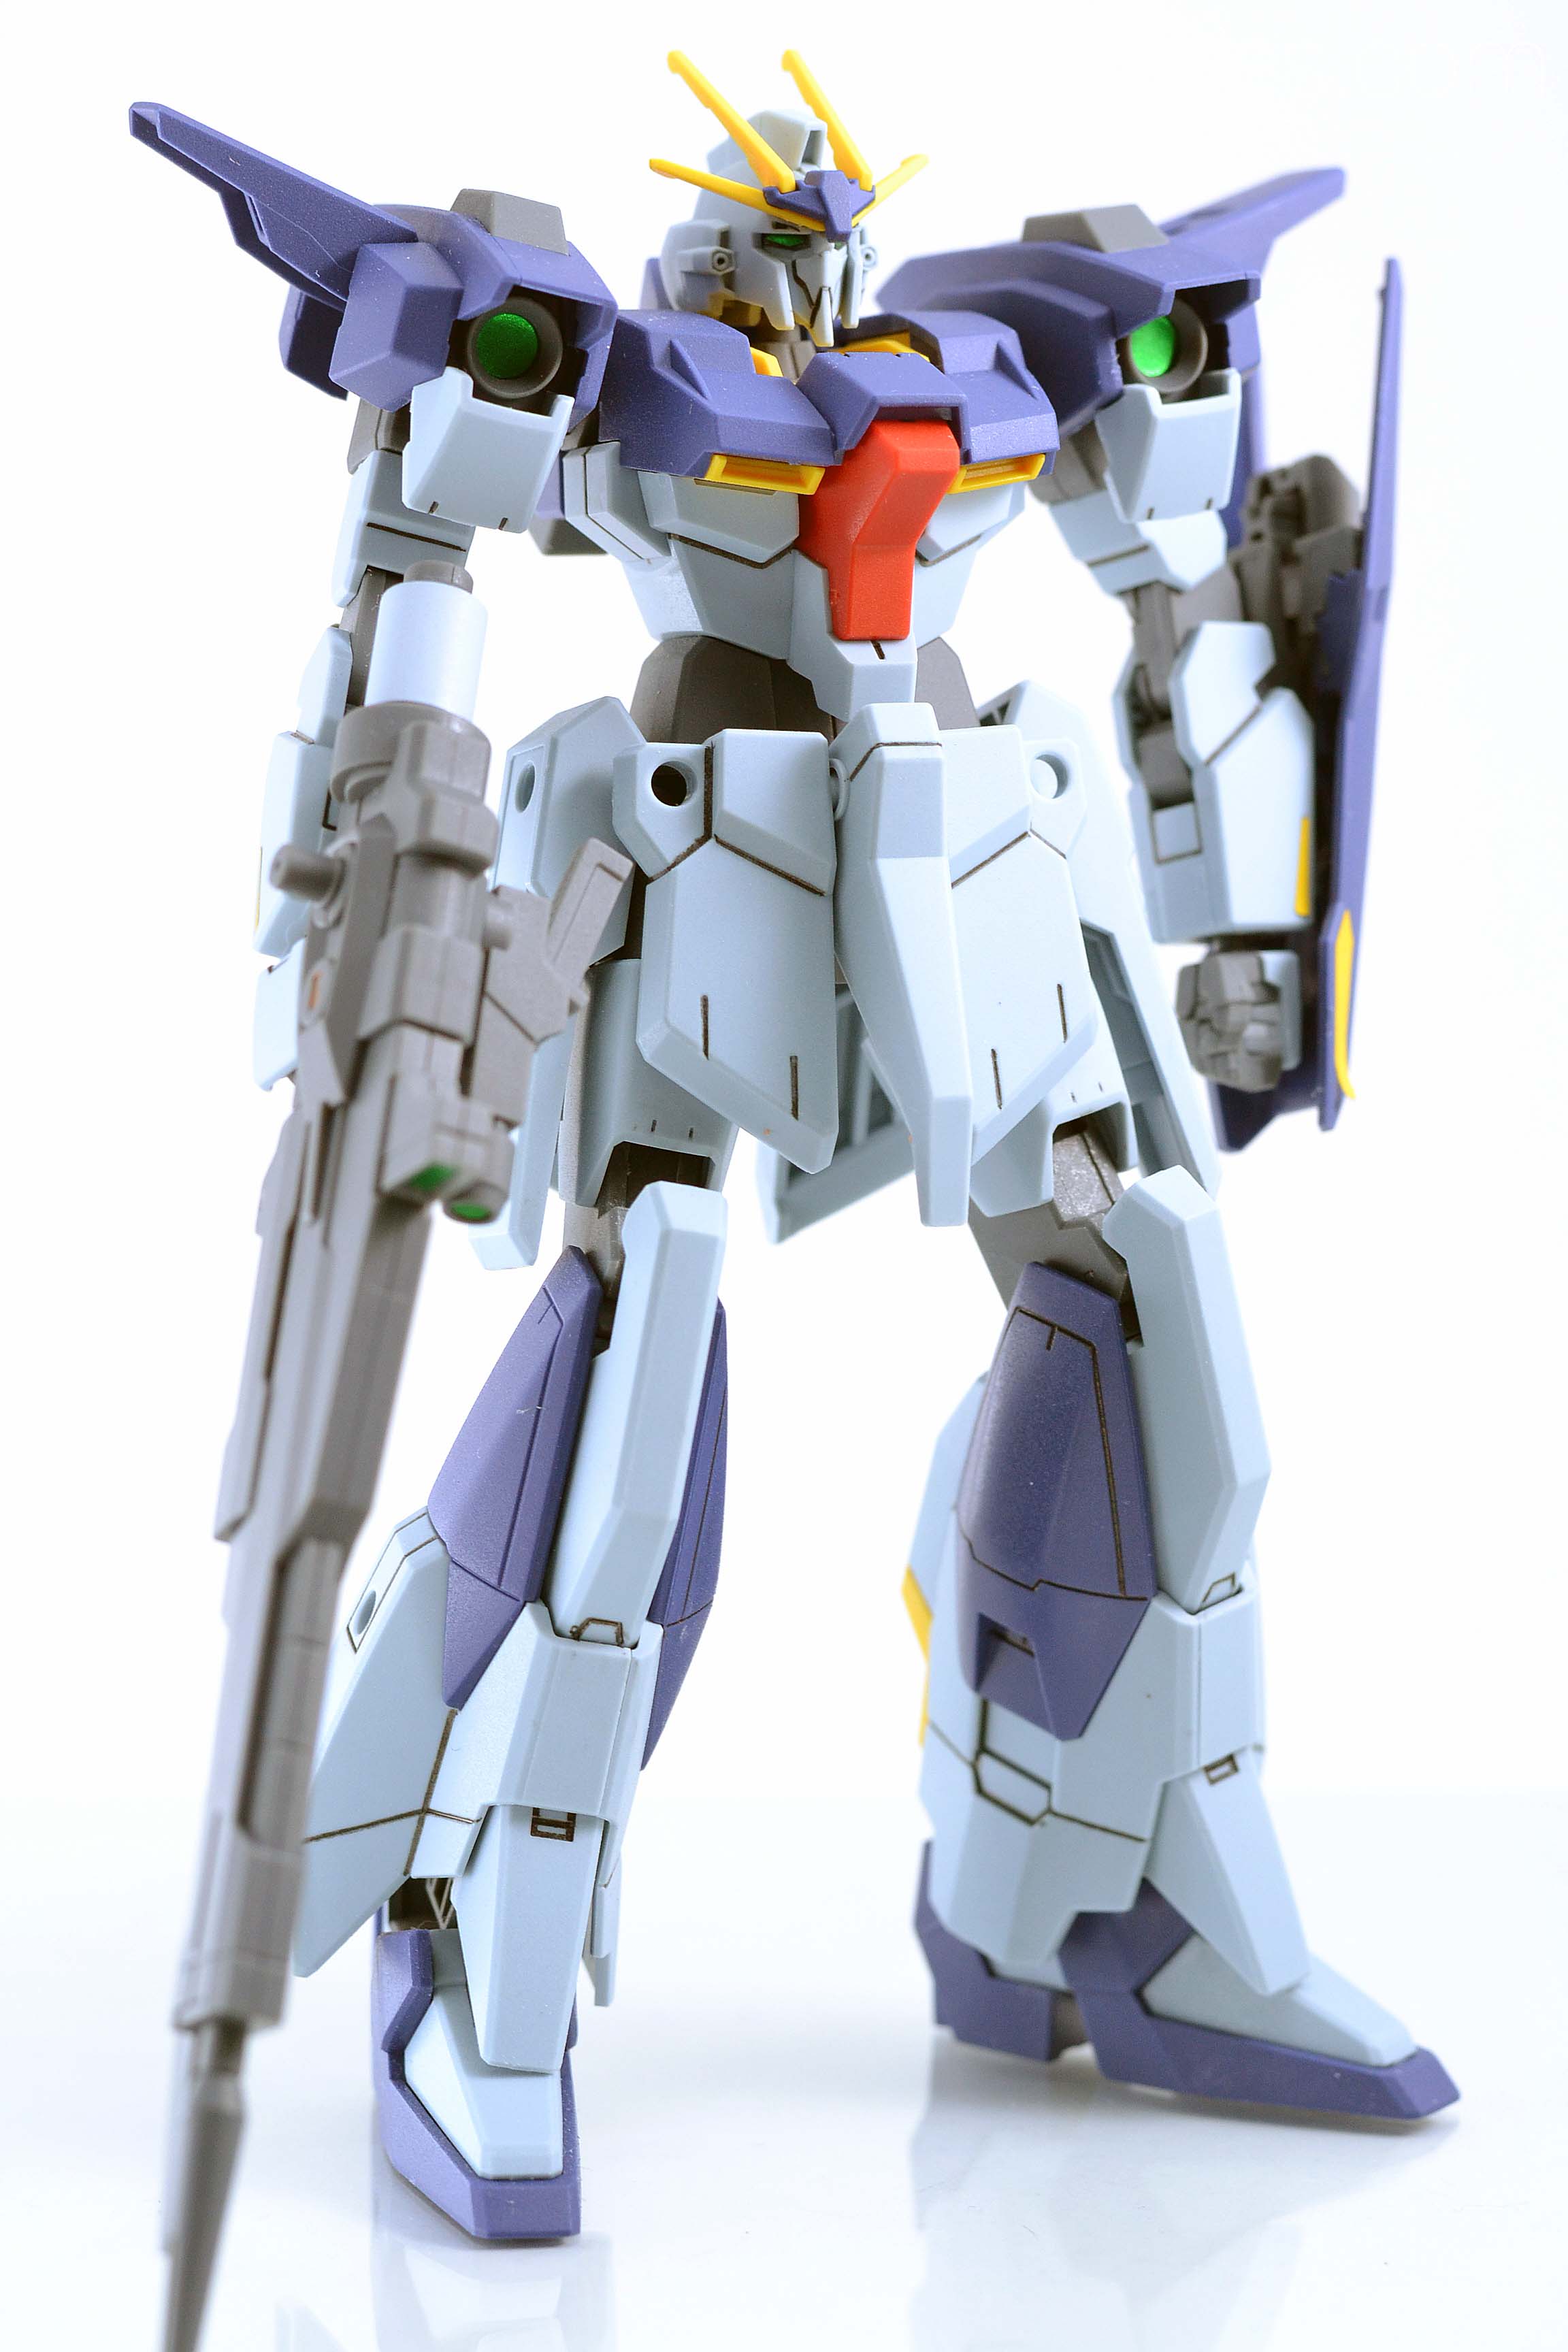
Hi guys! I present to you HG 1/144 RX-93-V2 Hi-V Gundam! This was in my backlog for ages! Glad I have accomplished him.
Things I did in this kit:
1. In this kit, I have not done any sanding and just relied on my X-Acto hobby knife to clean out the nib-marks. I decided to do this method to see the difference between a sanded kit versus an un-sanded (just using the hobby knife to clean nib-marks) kit. Sanding parts require a lot of time and effort whilst just using the hobby knife consumes less time and also less effort. The results are acceptable if you want to clean nib-marks faster, but if you want a more flawless work, it’s got to be sanding.
2. I hated the default blue color of the plastic material so I airbrushed the blue parts using Tamiya Sky Blue. Ofcourse I primed the blue parts first using a light grey primer.
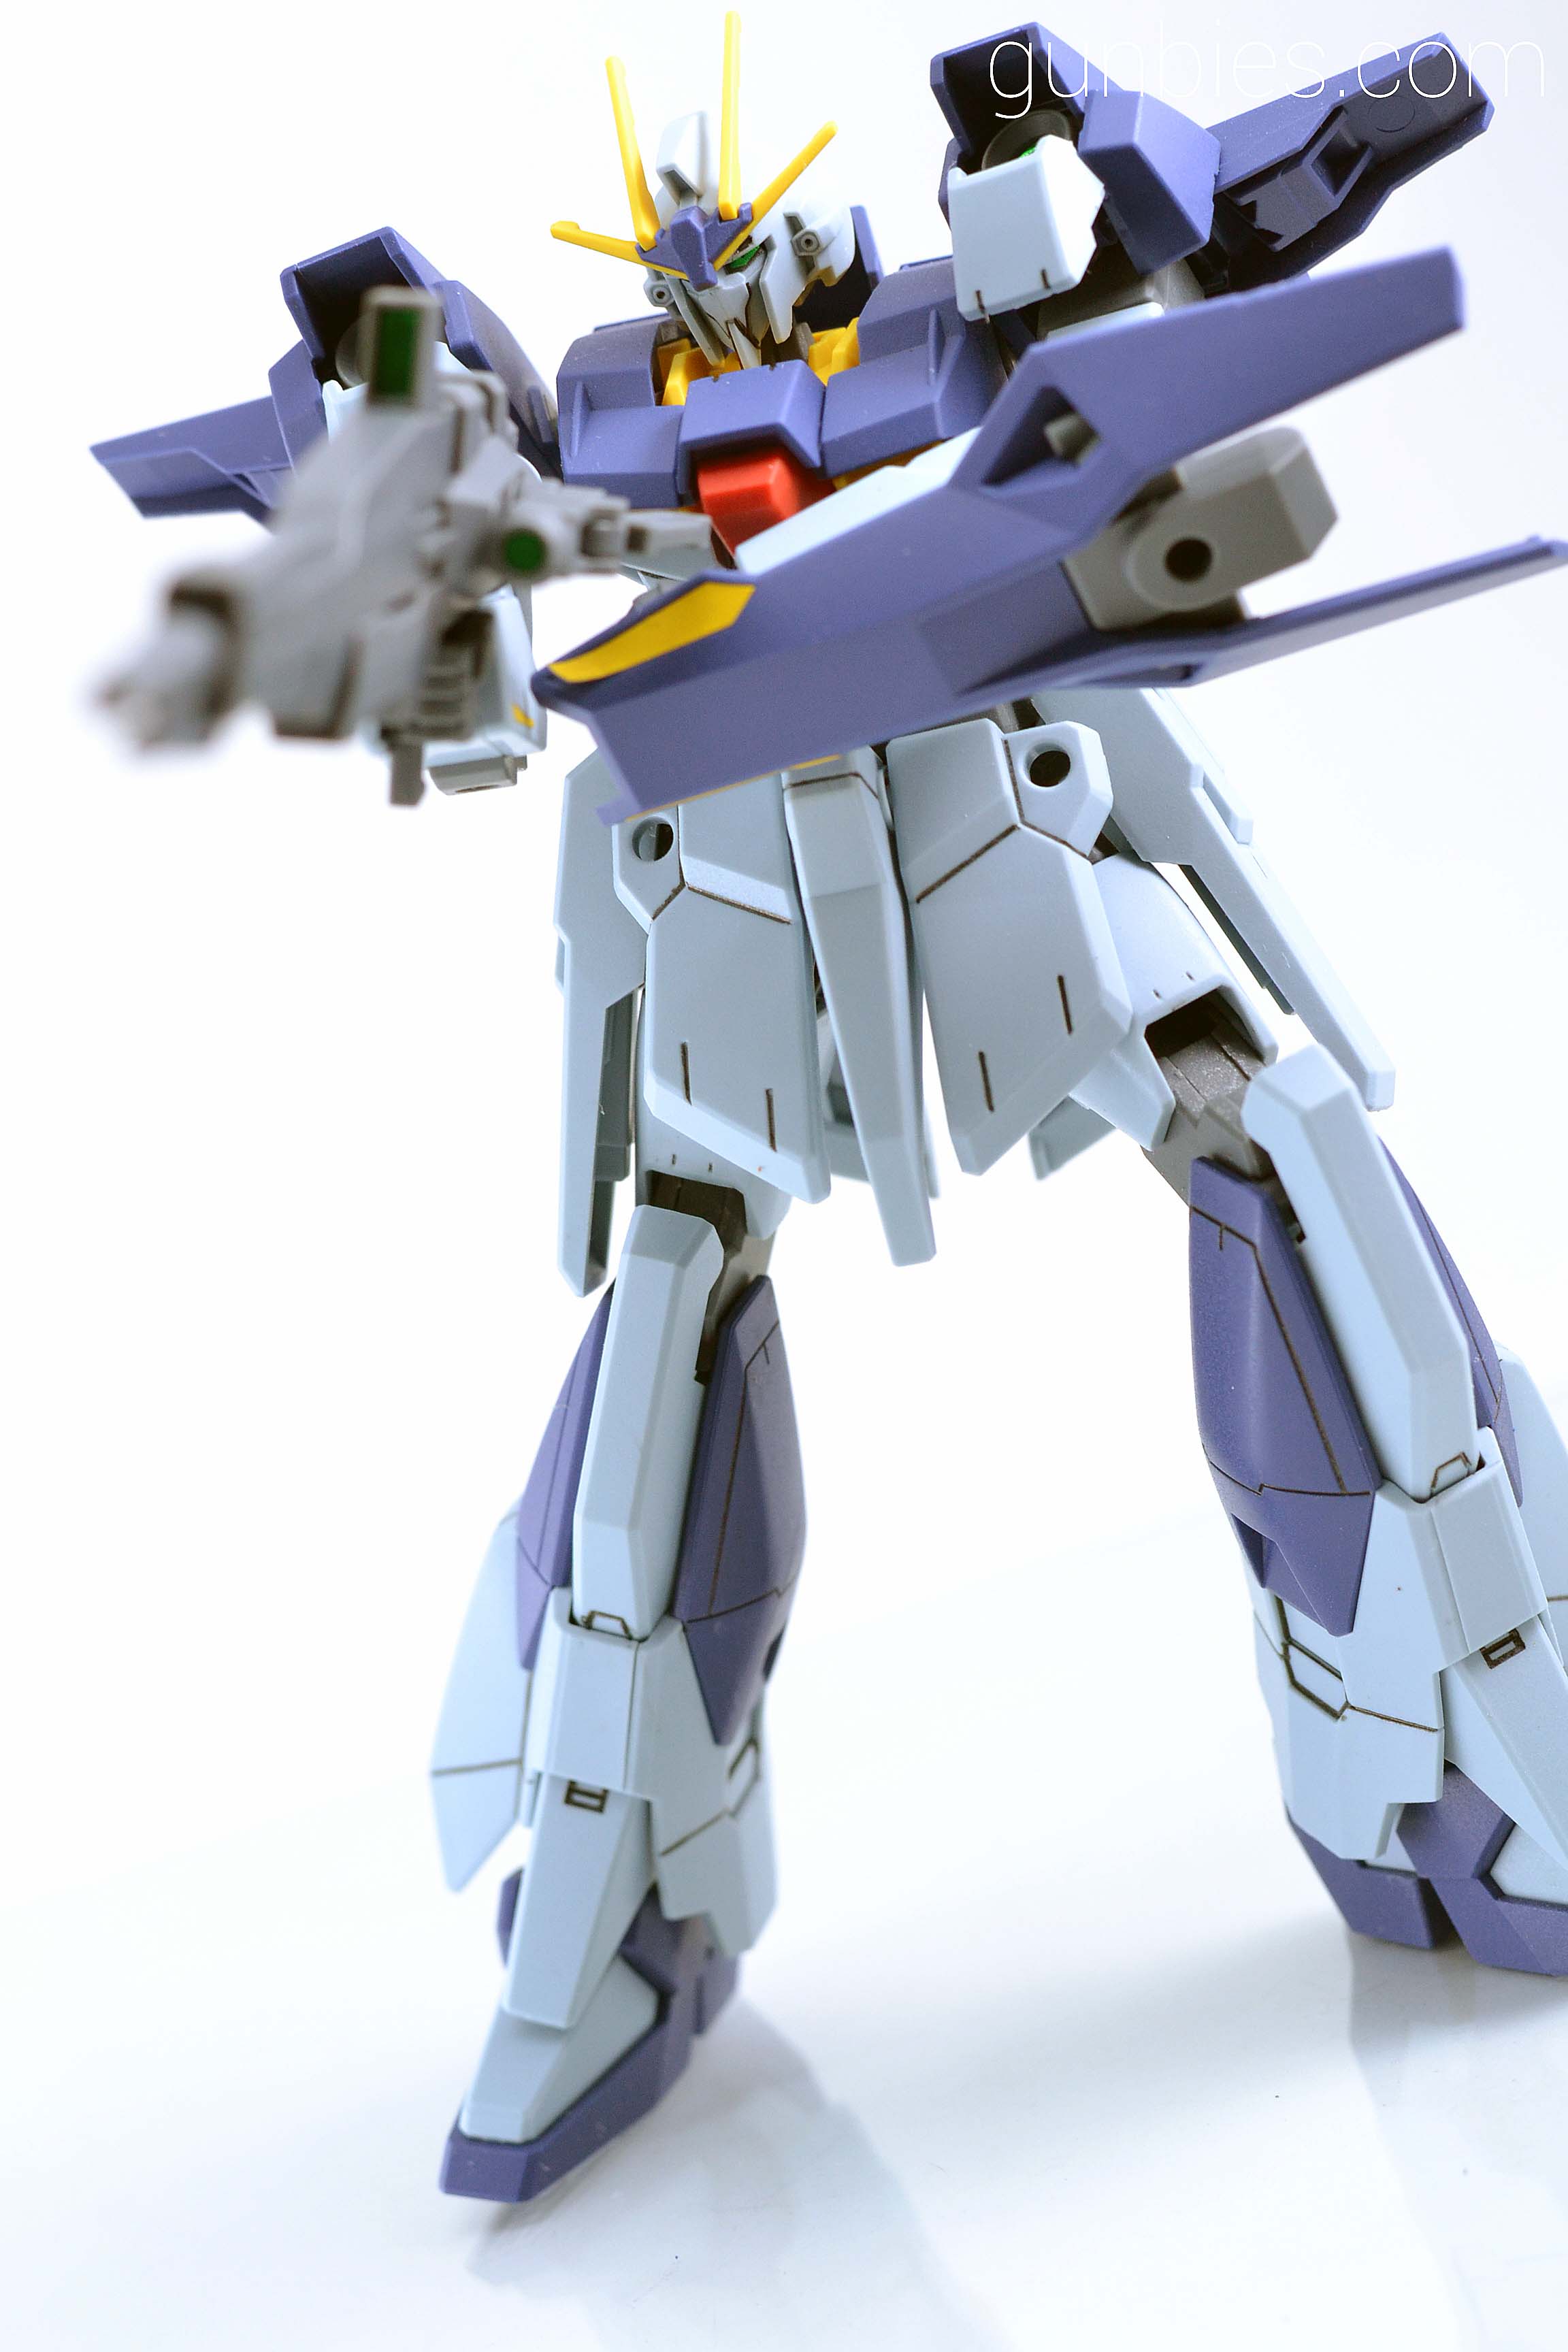
3. Basic panel lining and matte coat.
And that’s it! Enjoy the photos! Oh! And I included a gift from my best friend: Mini Danbo (that included a feature where his eyes light up!) in some the photos, Just click one of the images below to open the gallery:


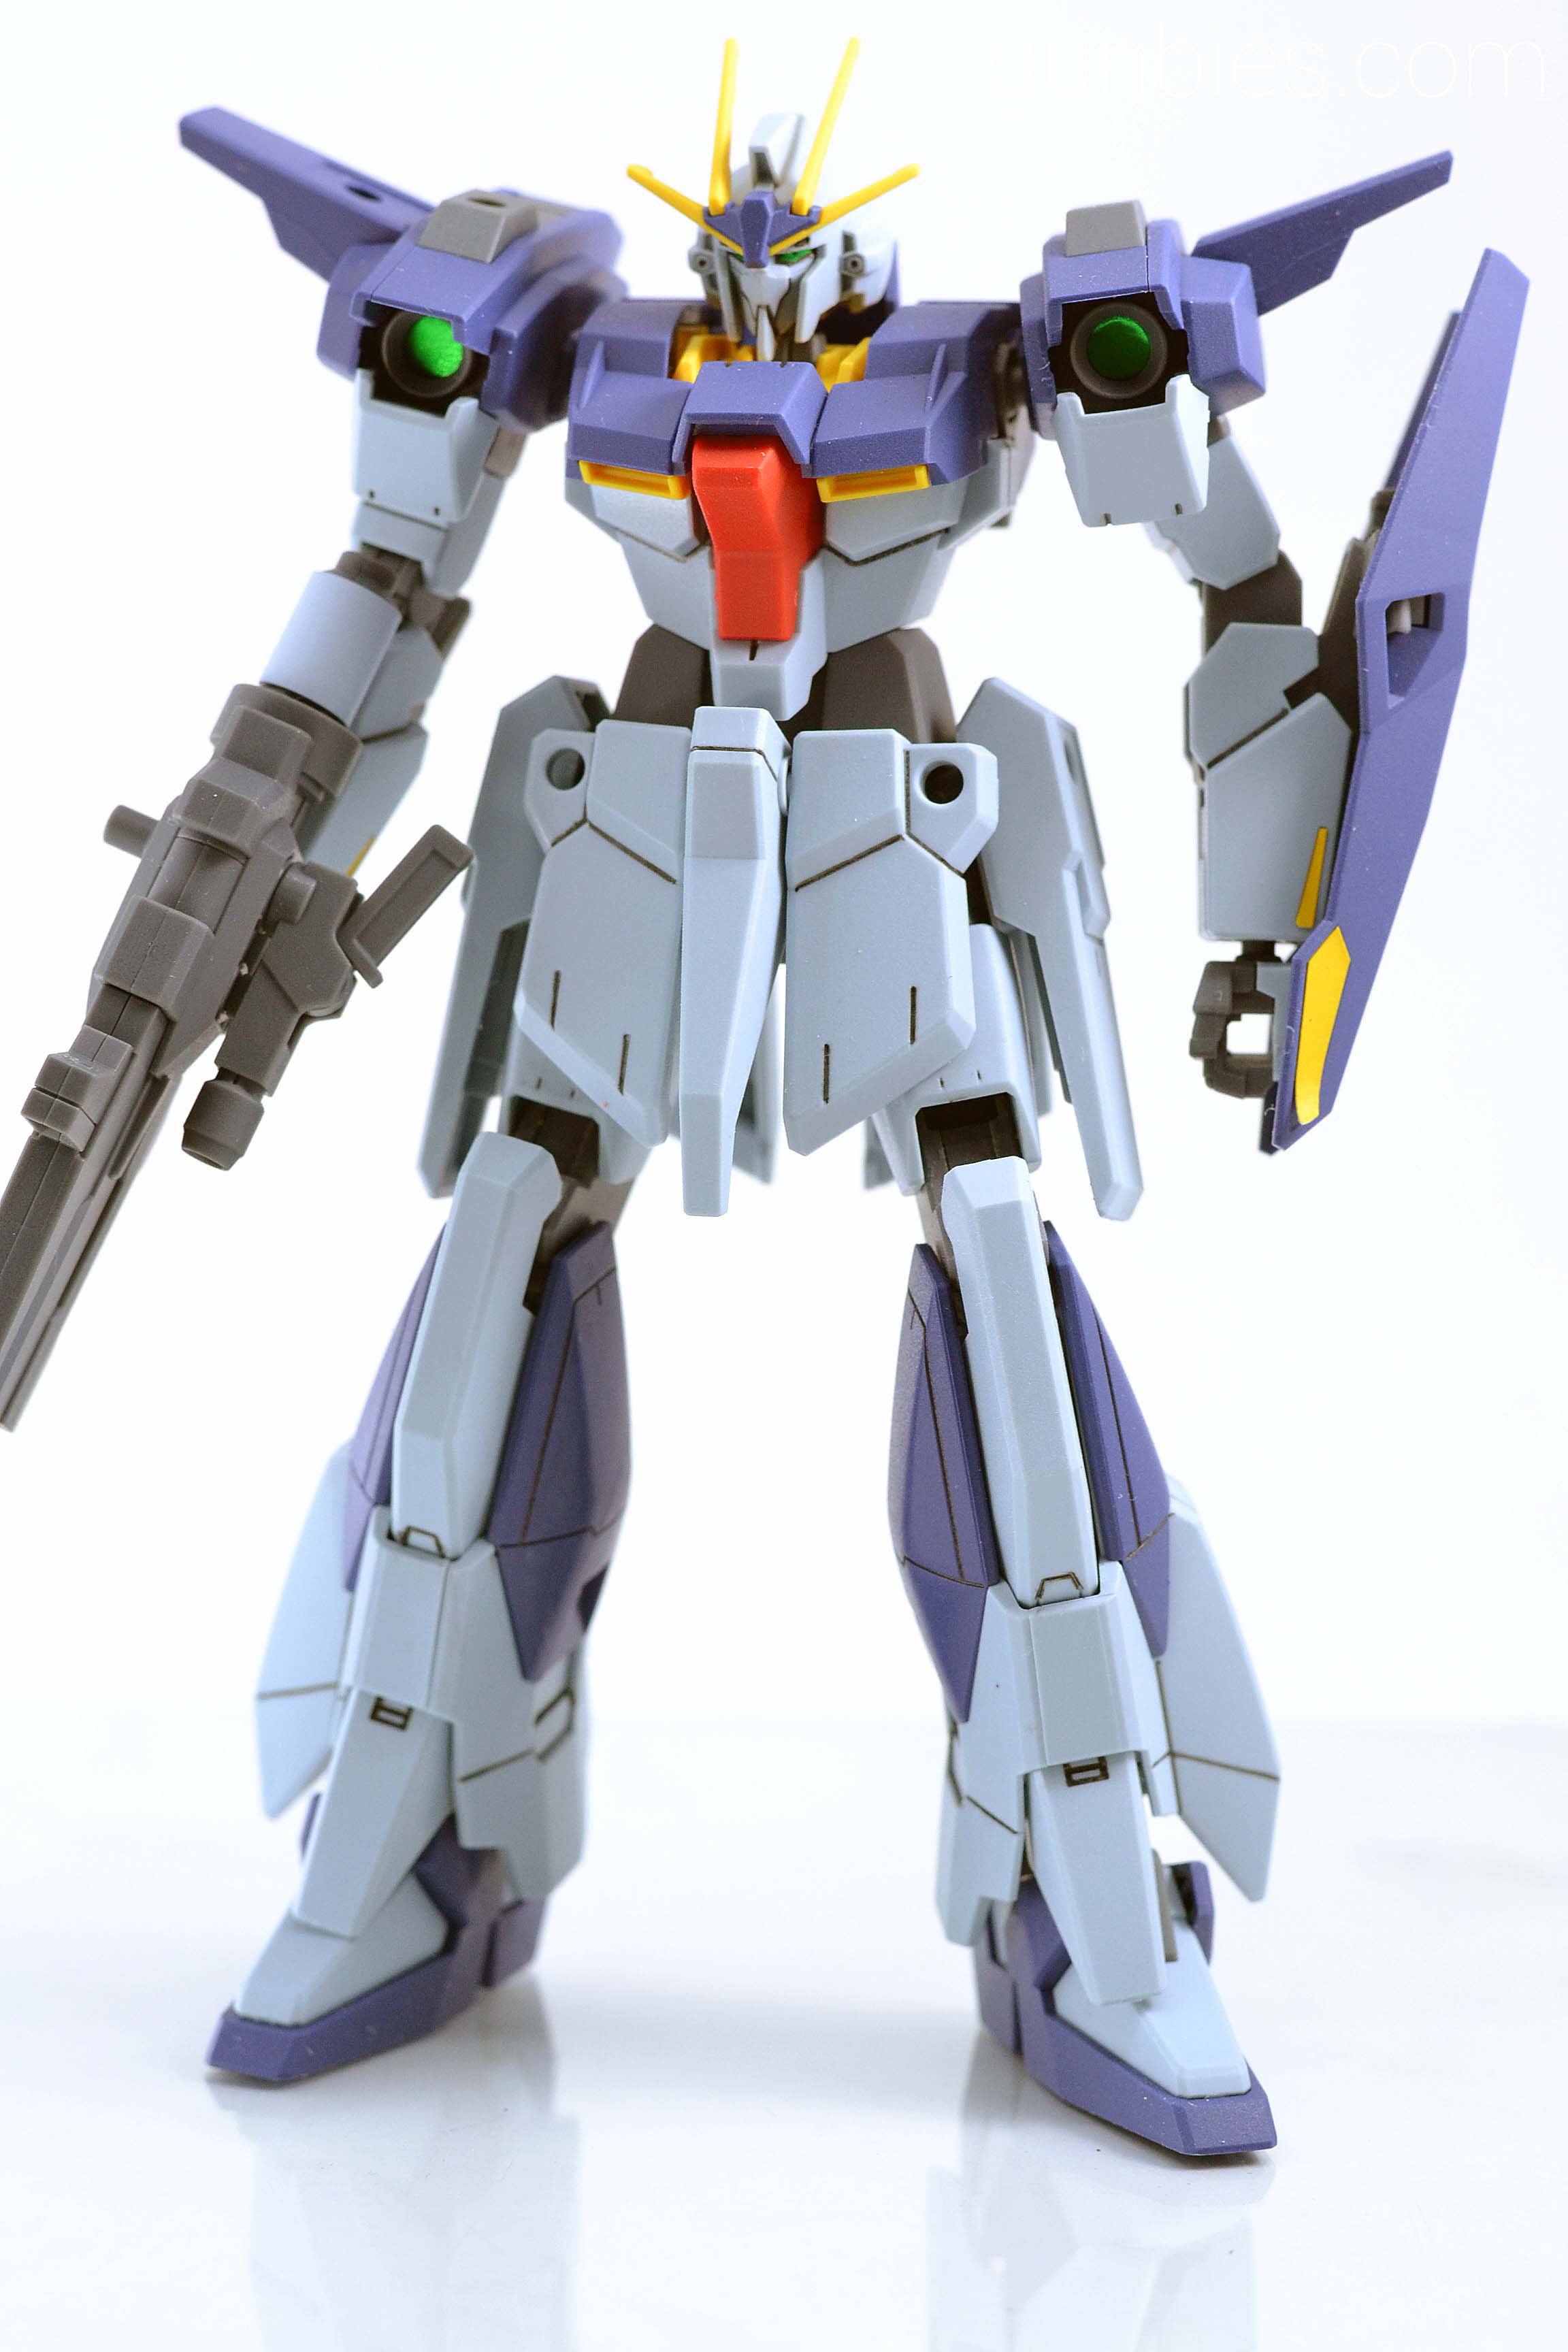
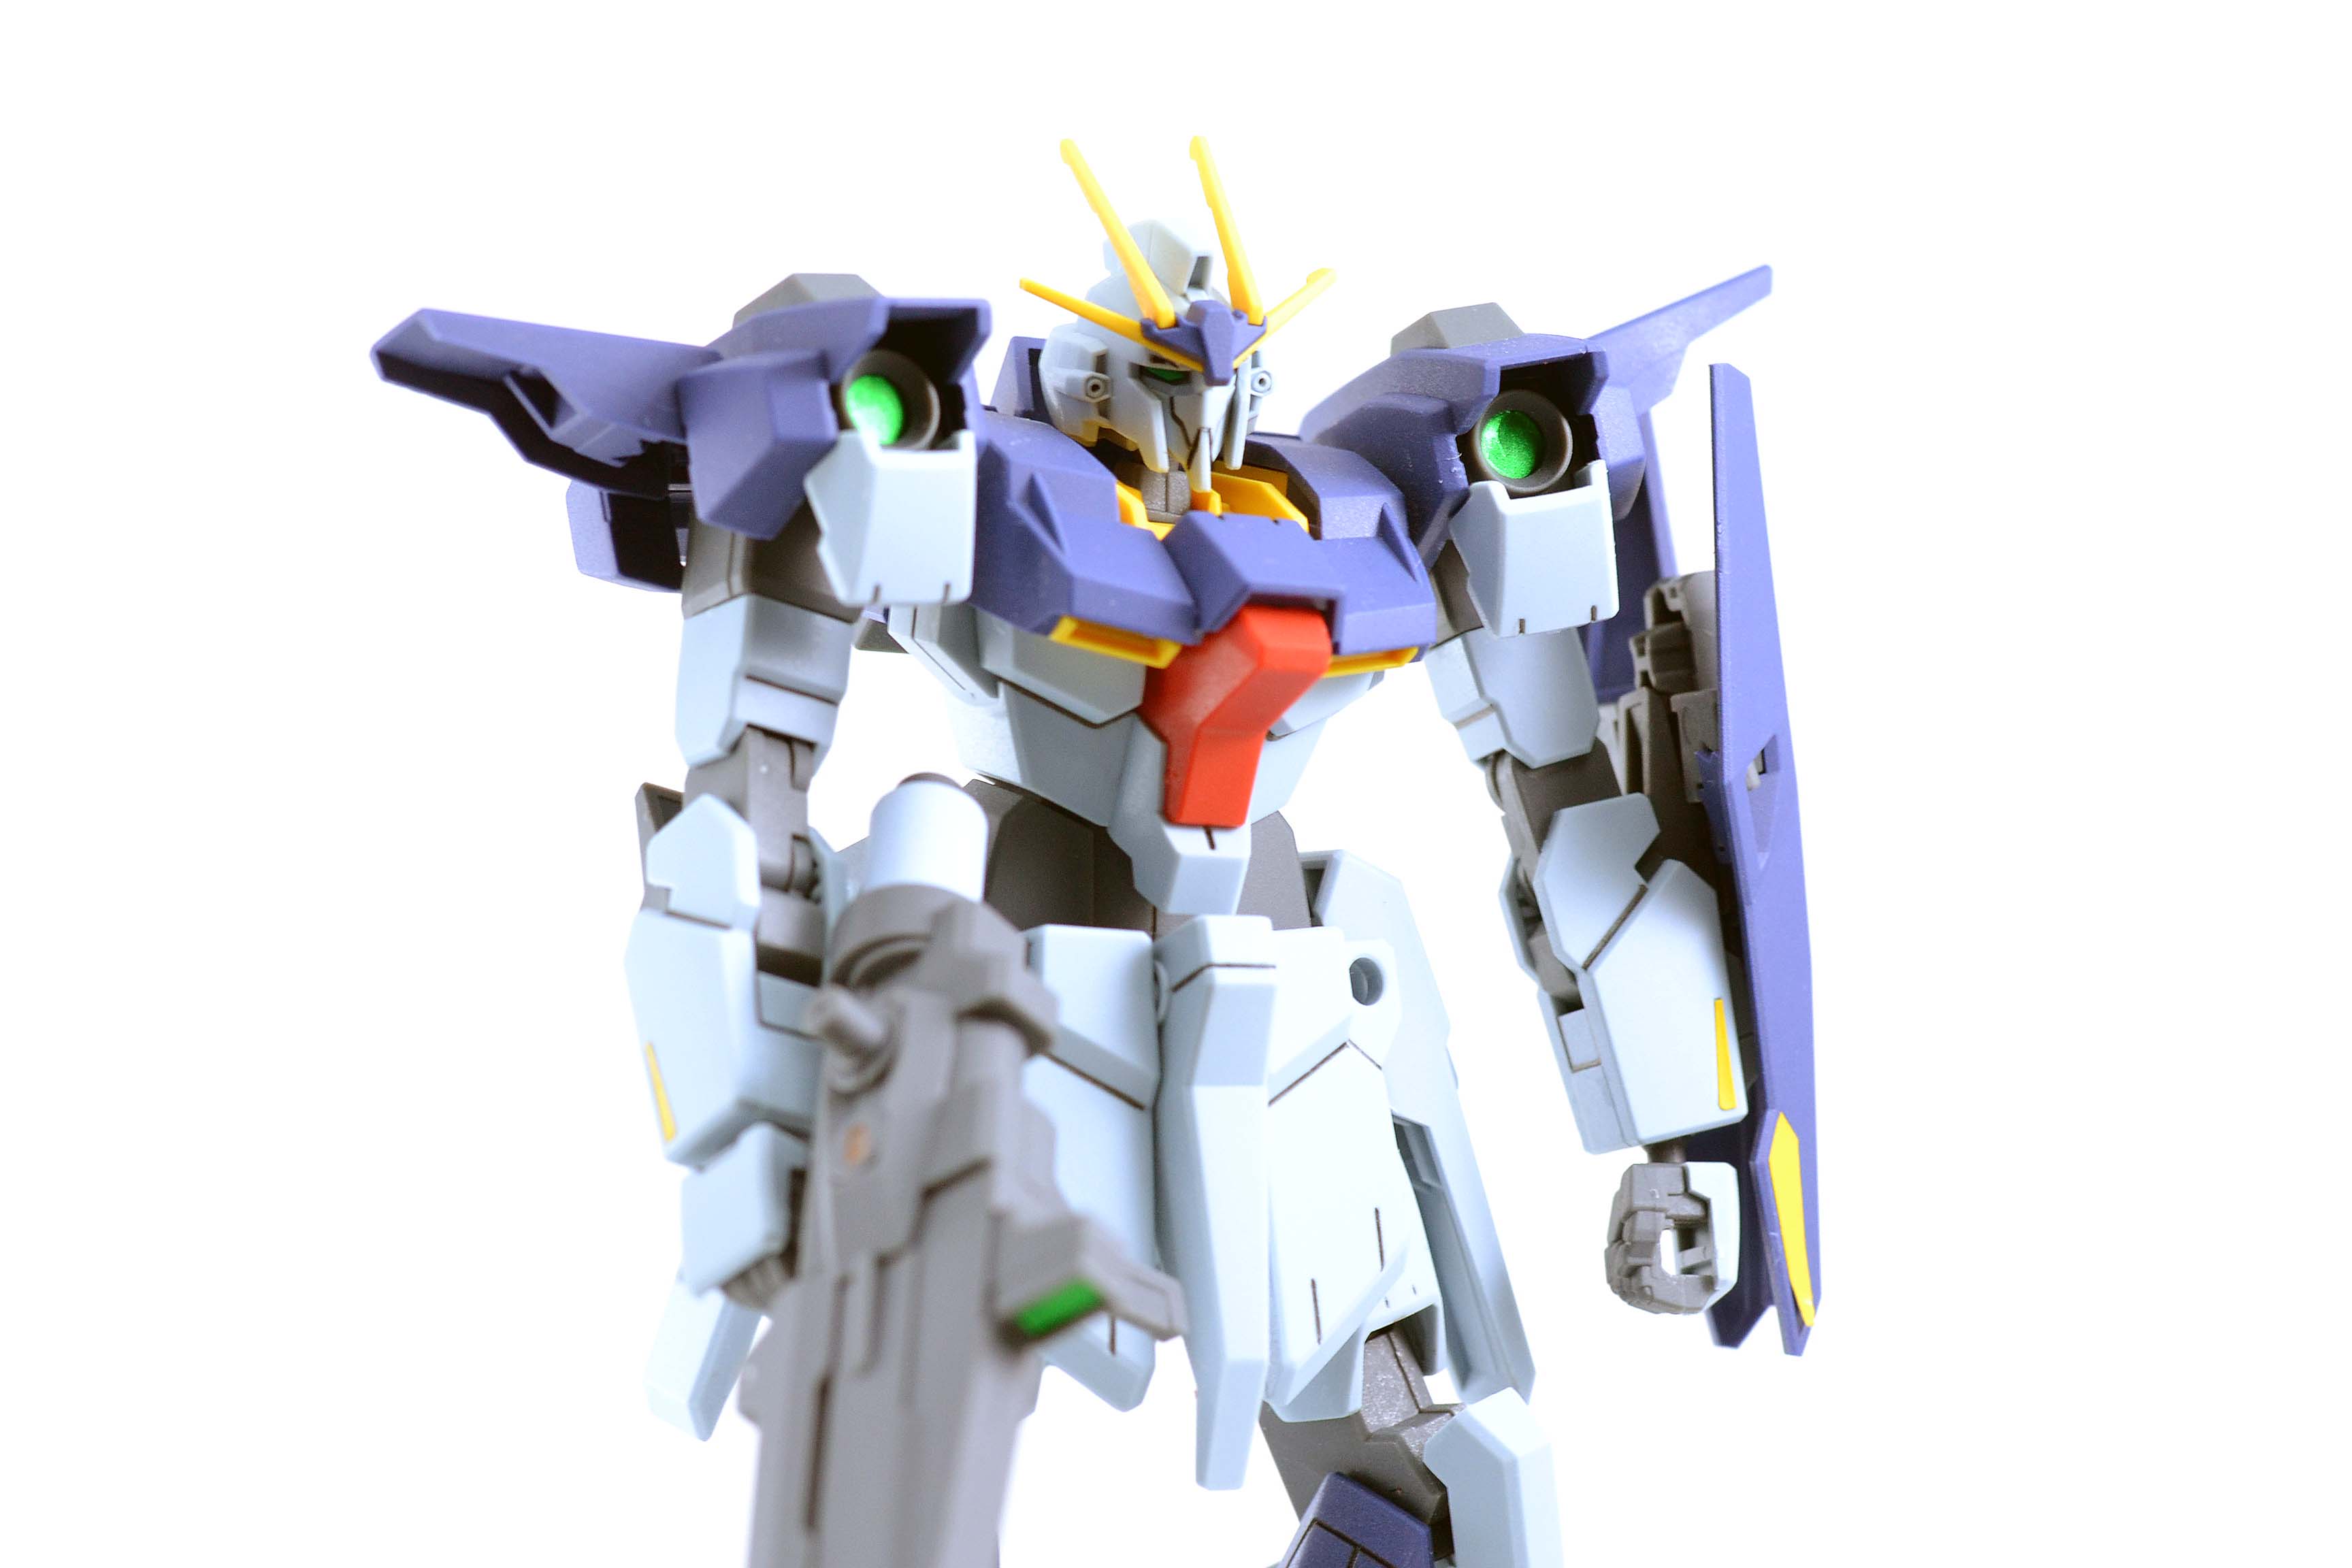
Things I like about this kit:
1. Lots of lines to mark for an HG kit.
2. Articulation is good for an HG kit.
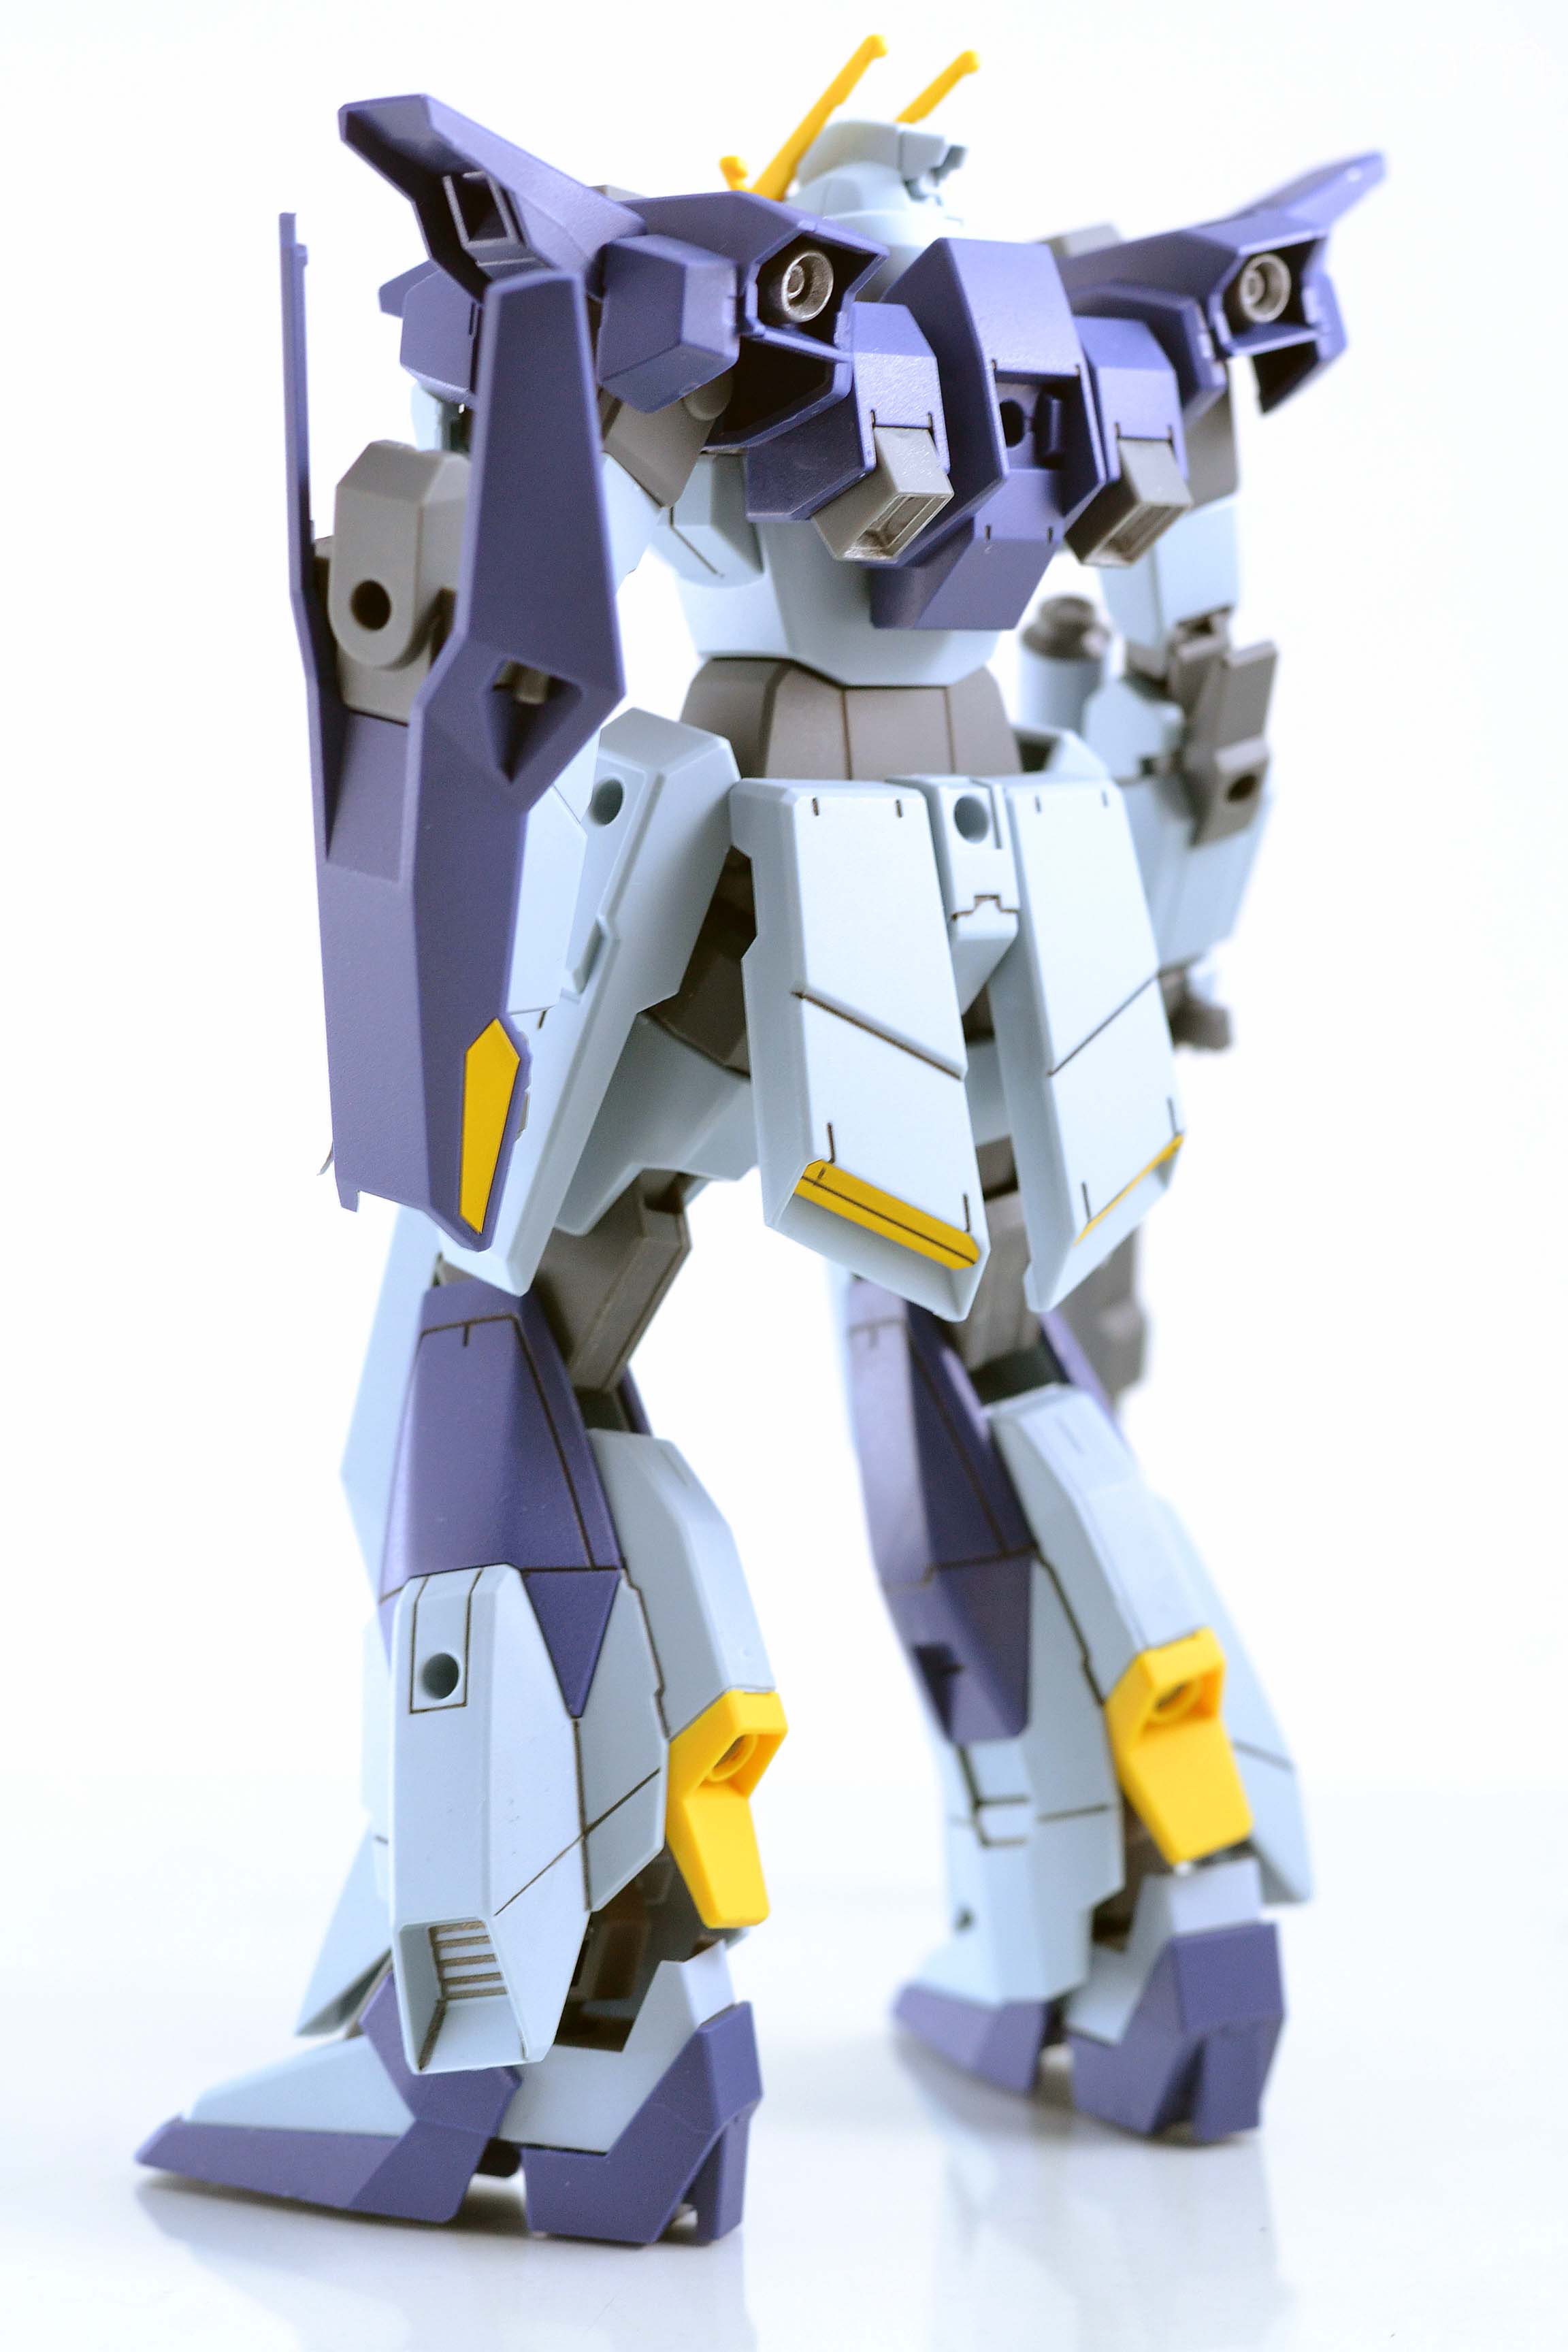
3. The funnels on his back.
4. Shield design.
Things I don’t like about this kit:
1. The default blue color of the blue parts.
2. Weapons are kind of meh.
3. Back heavy, hard to pose.
4. Clear stickers.. we all know why.. But I still put them on the kit anyway.
Till next post! Thanks!

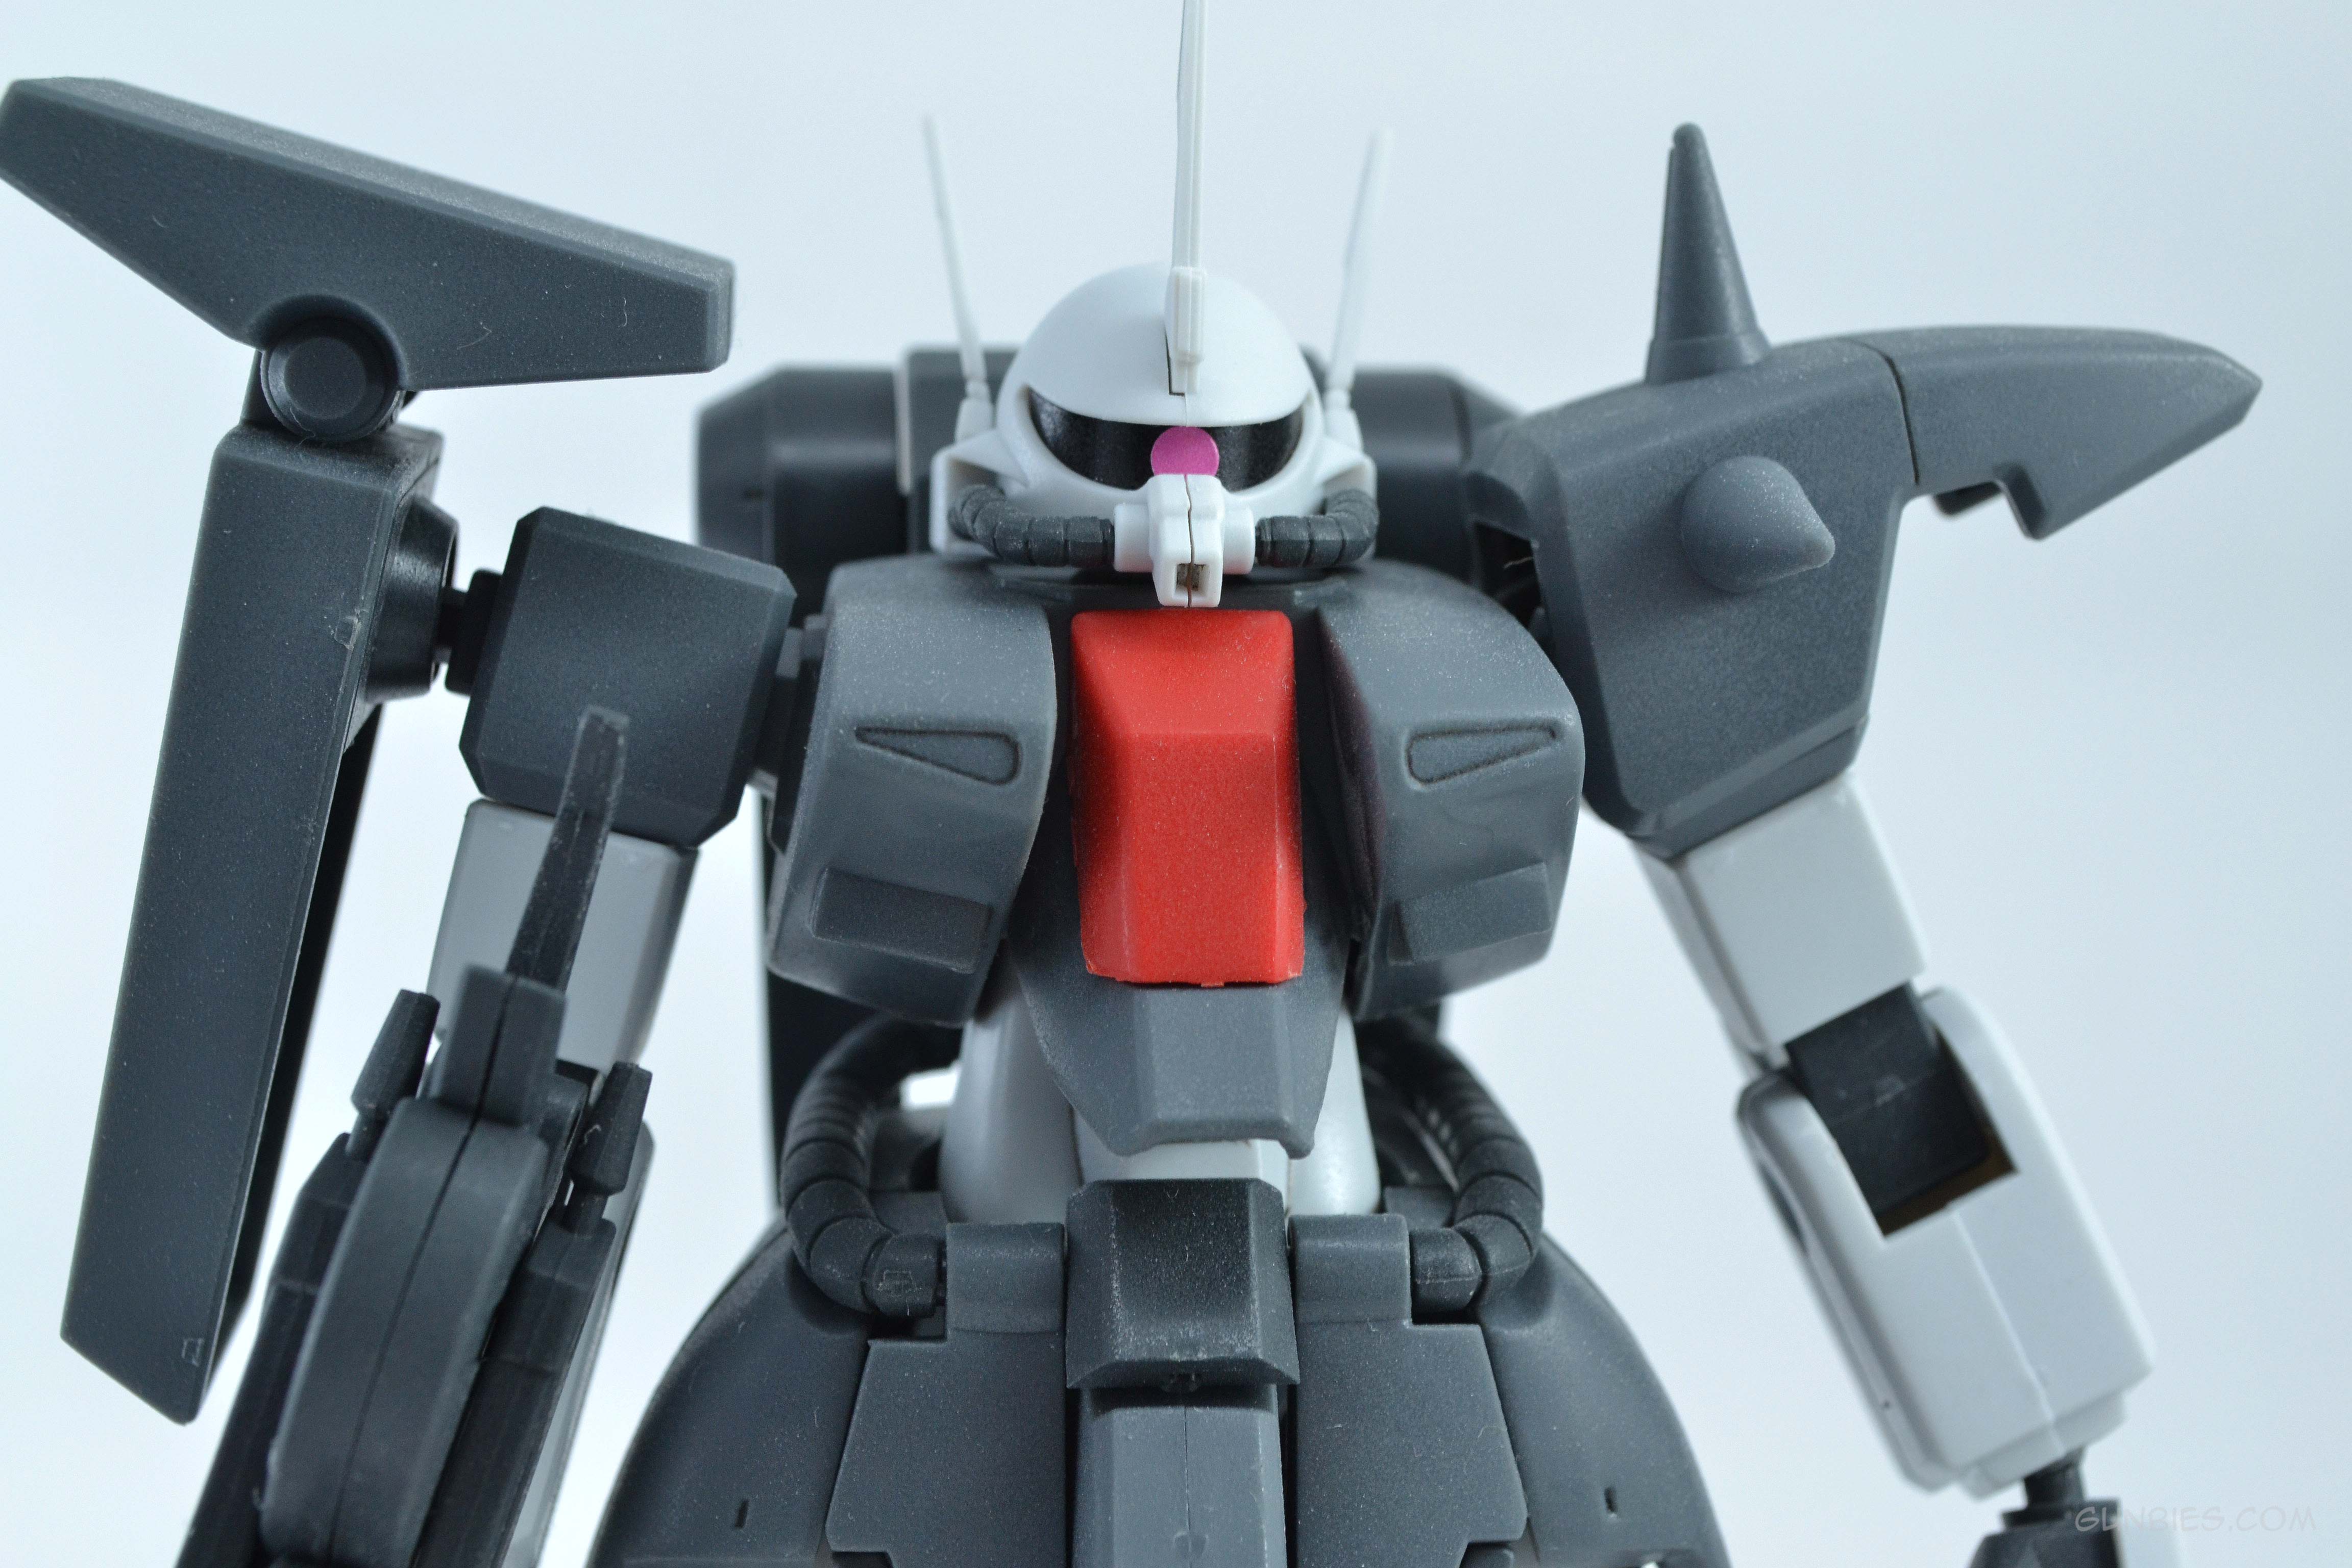
Hi guys! It’s been a while, I’ve been busy with a small business that I have put up. Anyway, here I present HG 1/144 Zaku III! Nothing fancy, it’s an old kit I’ve picked up a long time ago, it was produced year 1999 same as my MG Rick Dom. Its just a straight build and some simple panel lining, nothing more.


Hi guys! This is the first kit that I have accomplished using my airbrush. Still a noob work and needs a lot more improvement.
This is also the first time that I used water-slide decals.
Paints used:
Tamiya Acrylic:
Medium Gray
J.N. Gray
Light Blue
Chrome Silver
Gold Leaf
Gun Metal
Copper
Nato Black
Panel Line Accent Color (Black)
Bosny Spray Paint:
Primer Gray
Clear Gloss
Clear Matte
What I did:
First I snap-fit build the kit and decide the color scheme. After I have decided and planned my color scheme, I took everything apart, sanded and cleaned the nib marks then primed it using Bosny gray primer. Once everything has been primed and dried I started airbrushing everything using my planned color theme, I hand-painted some of the details. After that I sprayed Bosny Clear Gloss over everything to prepare for panel lining using enamel wash. After using the Panel Line Accent Color, I cleaned the excess using enamel thinner then applied some water–slide decals that I have acquired in a recent haul. Lastly I sprayed matte coat to seal everything.
Enjoy the photos:


Using my newly bought Tamiya Spray-work kit was easy and convenient, worth an investment rather than using all those spray cans.
