

 Hello guys! At last, after hours of struggling and battling with low levels of enthusiasm, I have accomplished my first knock-off gunpla kit!I have a LOT of things to say about this project! First, let’s talk about things before building the kit:
I have been curious about knock-off kits for the longest time, I have pondered if they were worth my money to spend on, or if the quality will be satisfying for my tastes.
Why curious? Because the price of knock-off kits can be as low as only 25% of the original selling price of original Bandai kits. That’s a lot of savings! But the question is, is it worth it? So I set of to a journey of research and of asking opinions of fellow modelers about these KO kits.
What did they say? I got a lot of positive response from fellow modelers and other people’s blogs who have experienced these KO kits. I only found minimal negative responses such as some loose parts or pegs that won’t fit the partner peg that can be easily fixed by a modeler with some modeling experience and with the right tools.
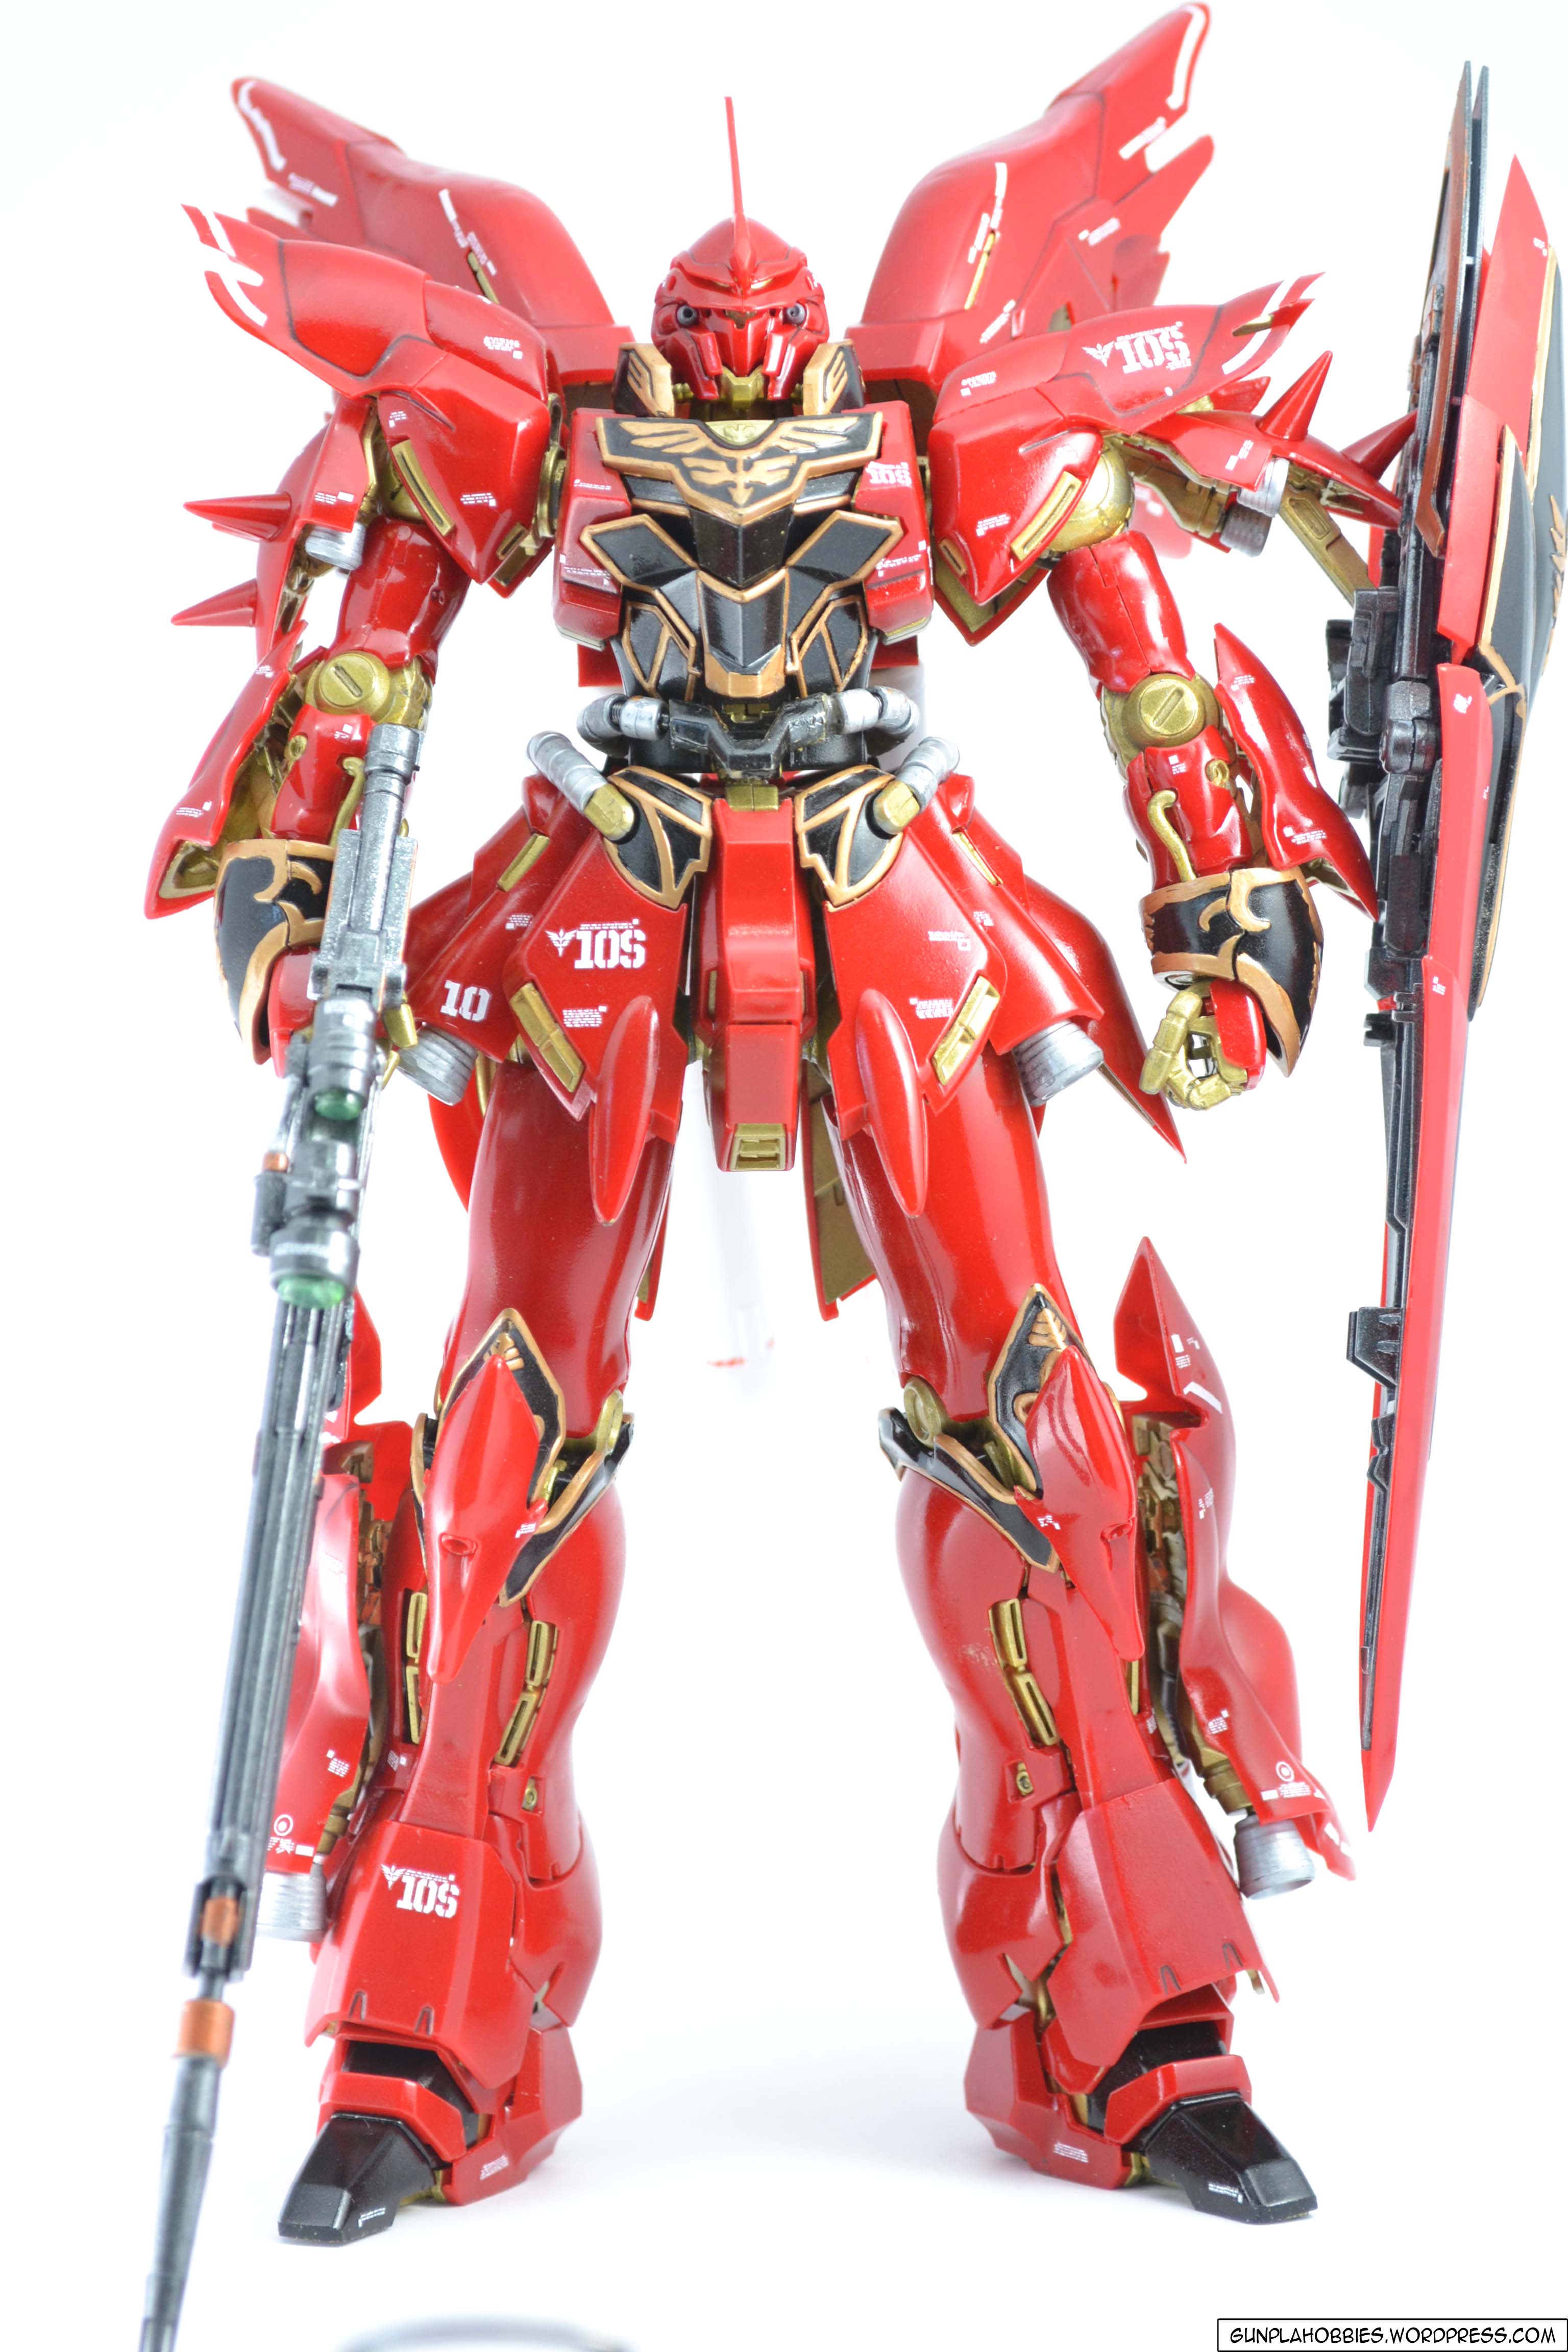
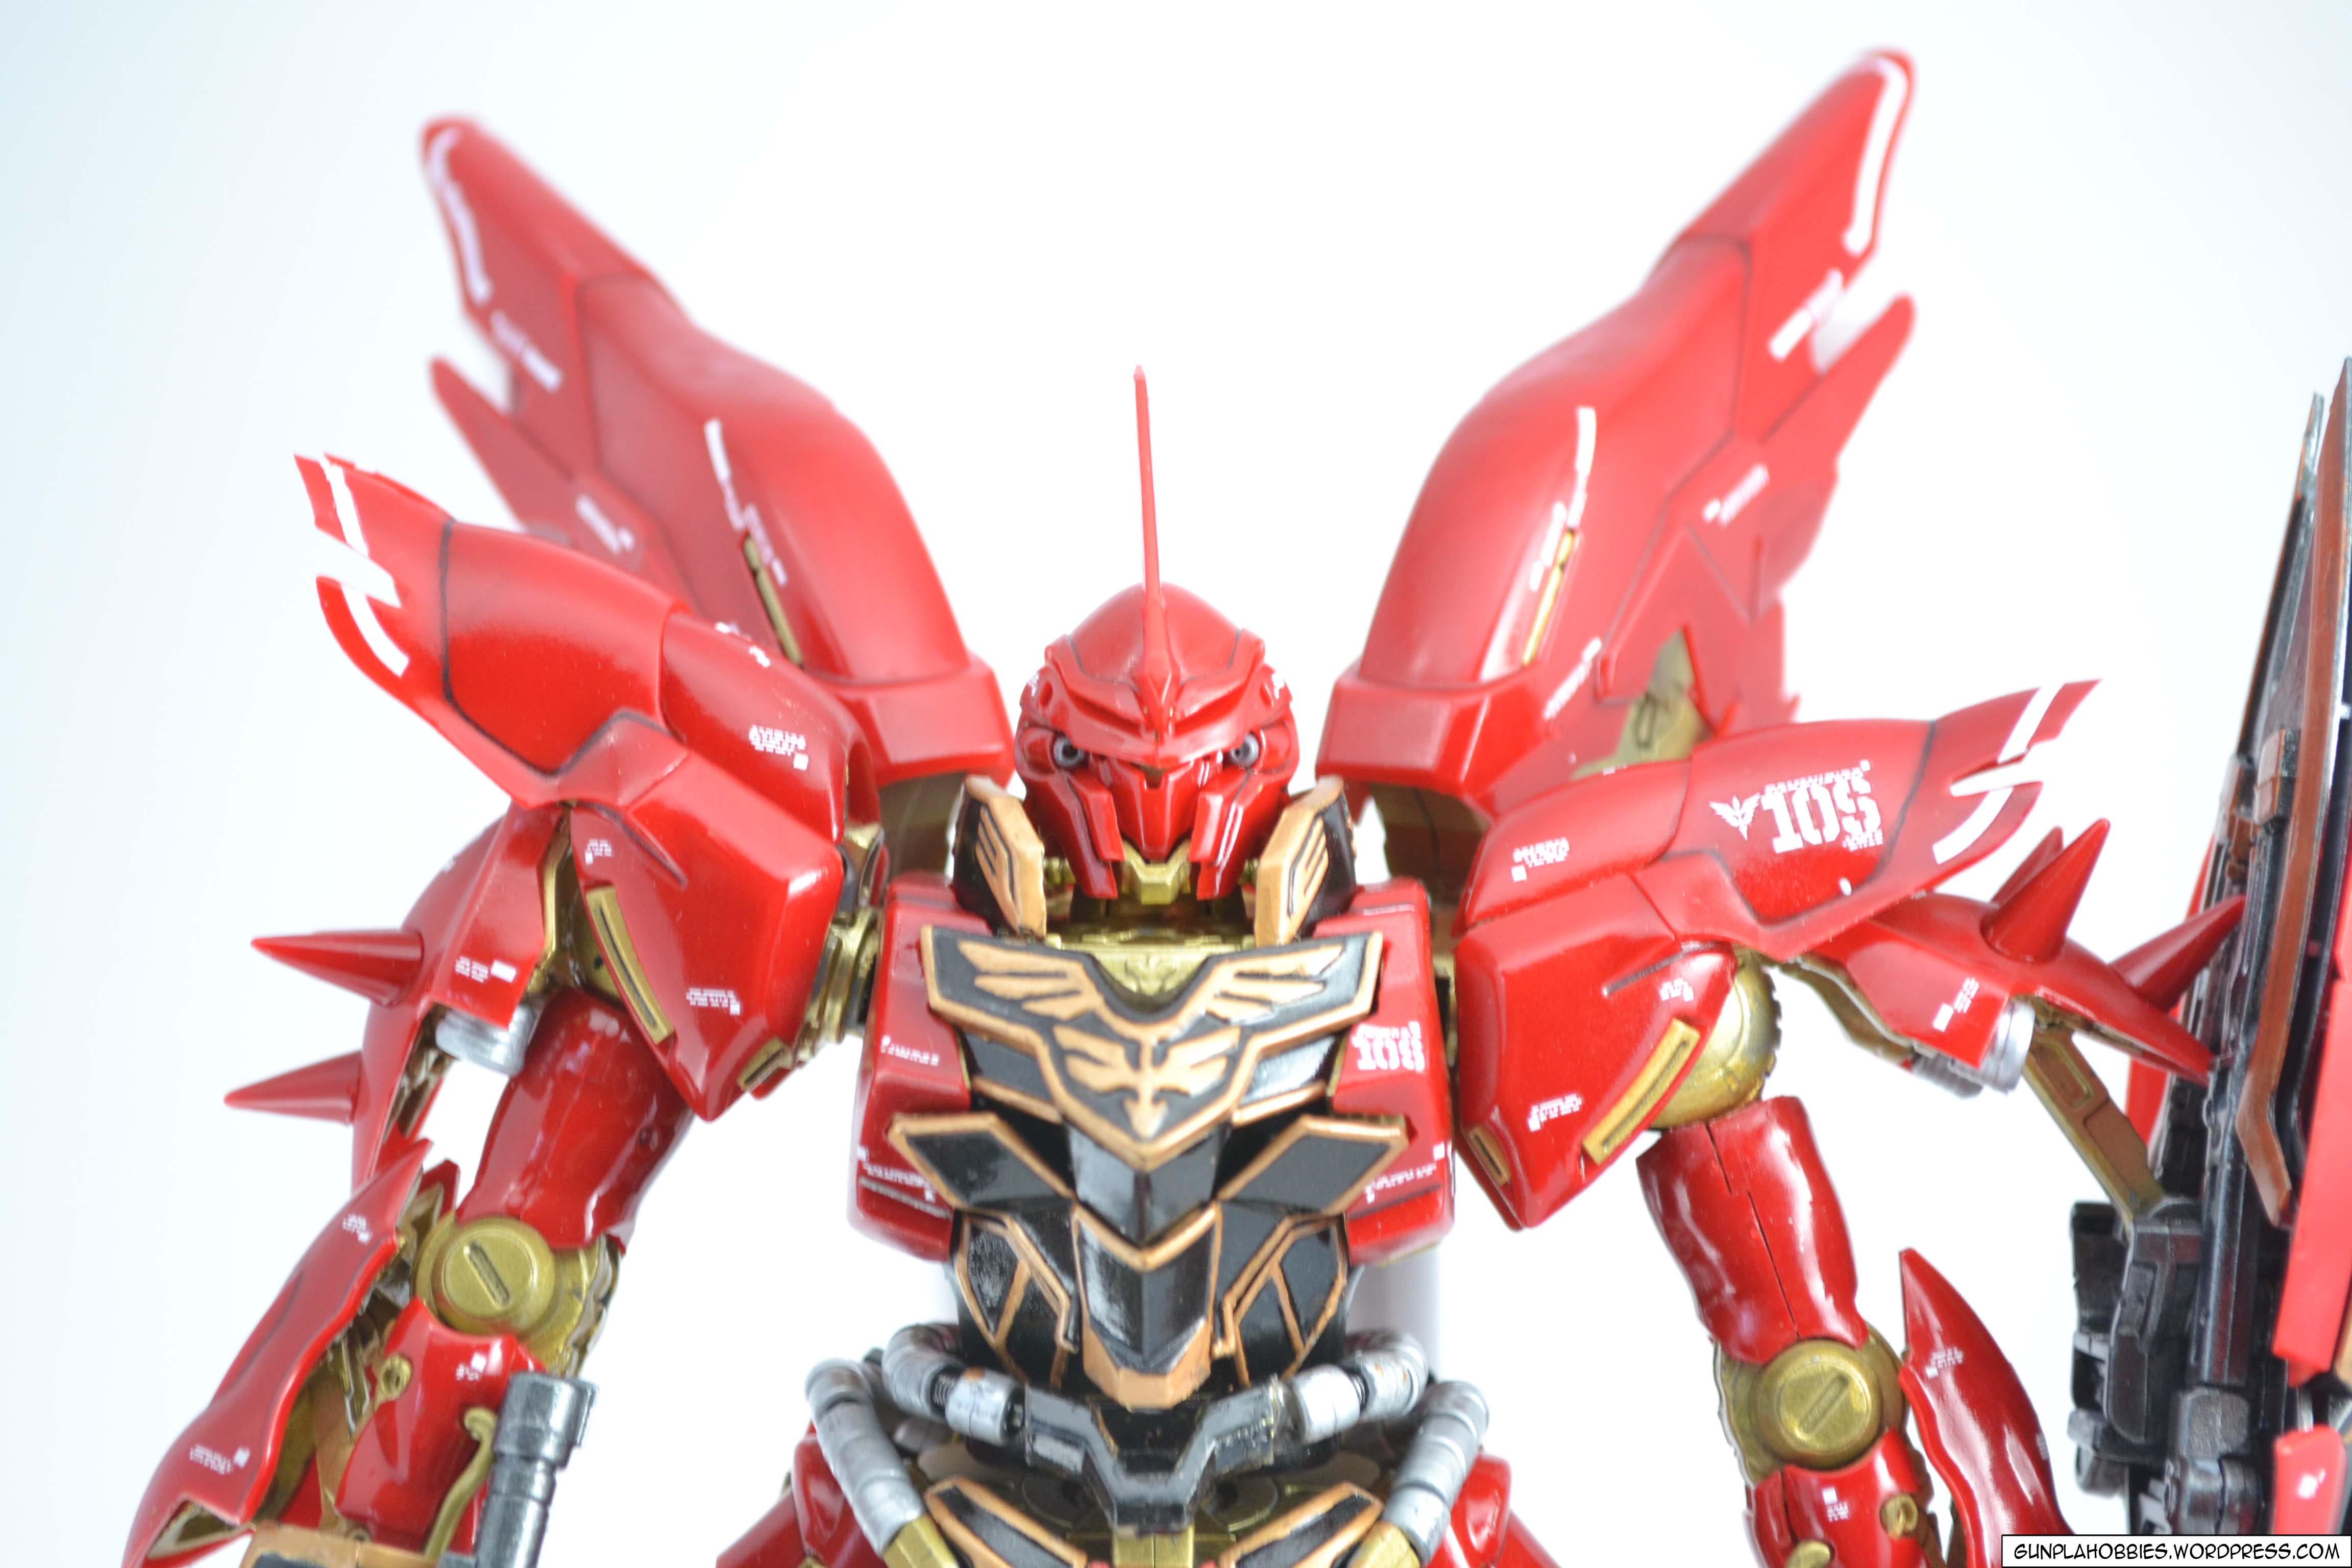
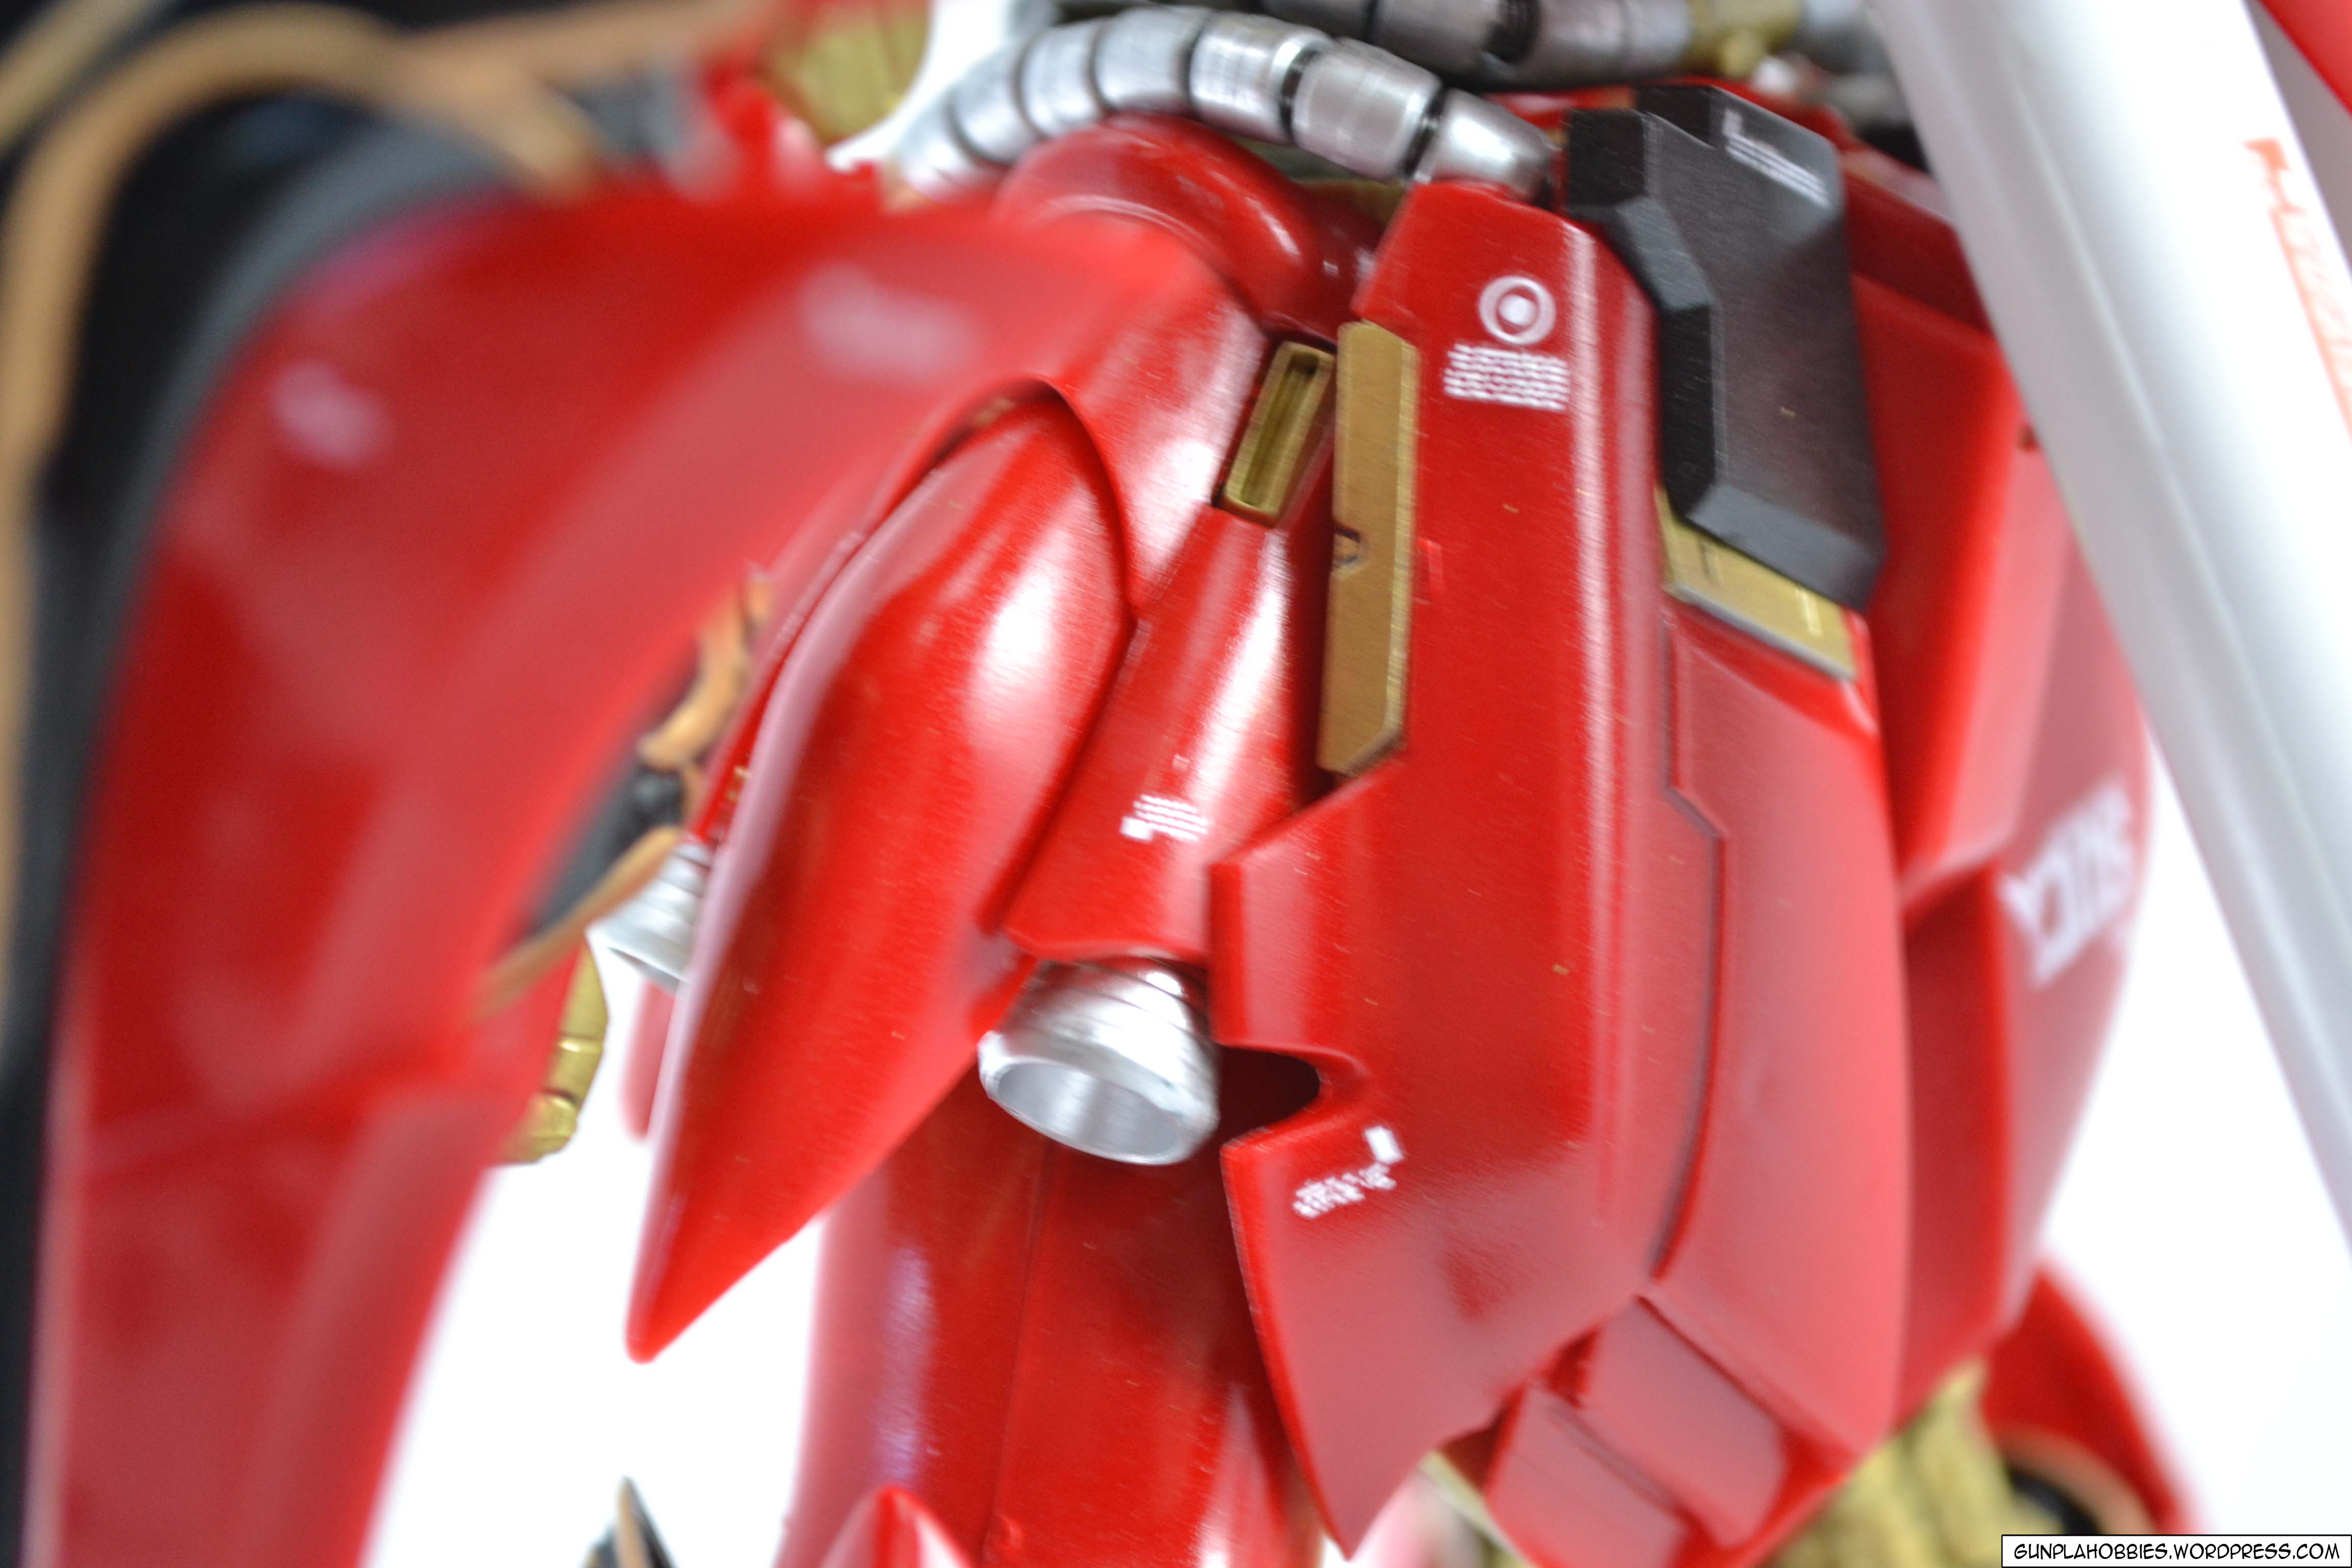
So I decided to go for it and experience building a KO kit for myself! And planned to paint the whole thing as well, it was easy to decide which KO kit I would buy! One of the most popular kits of course is the Sinanju!
When I first saw Sinanju back when I was an infant modeler (still am I think), I really wanted to have the kit! I find that he has one of the best MS designs out there! And a nice red MS too! But he really costs a lot! (the original Bandai kit of course), and I haven’t got the budget to buy him yet, so until the time comes that I have the resources to spend on an original Sinanju kit, I will first hone my building and painting skills on a KO kit.
Hence I bought him. My excitement and enthusiasm was sky high before building the kit! I was already brainstorming in my head how to paint and build him before I bought the kit.
Now let’s get into business! Let’s talk about things during building!:
What I did foremost was to remove all the parts from the runners, clean the nib marks, then paint them all together. Here’s the spray paints I used:
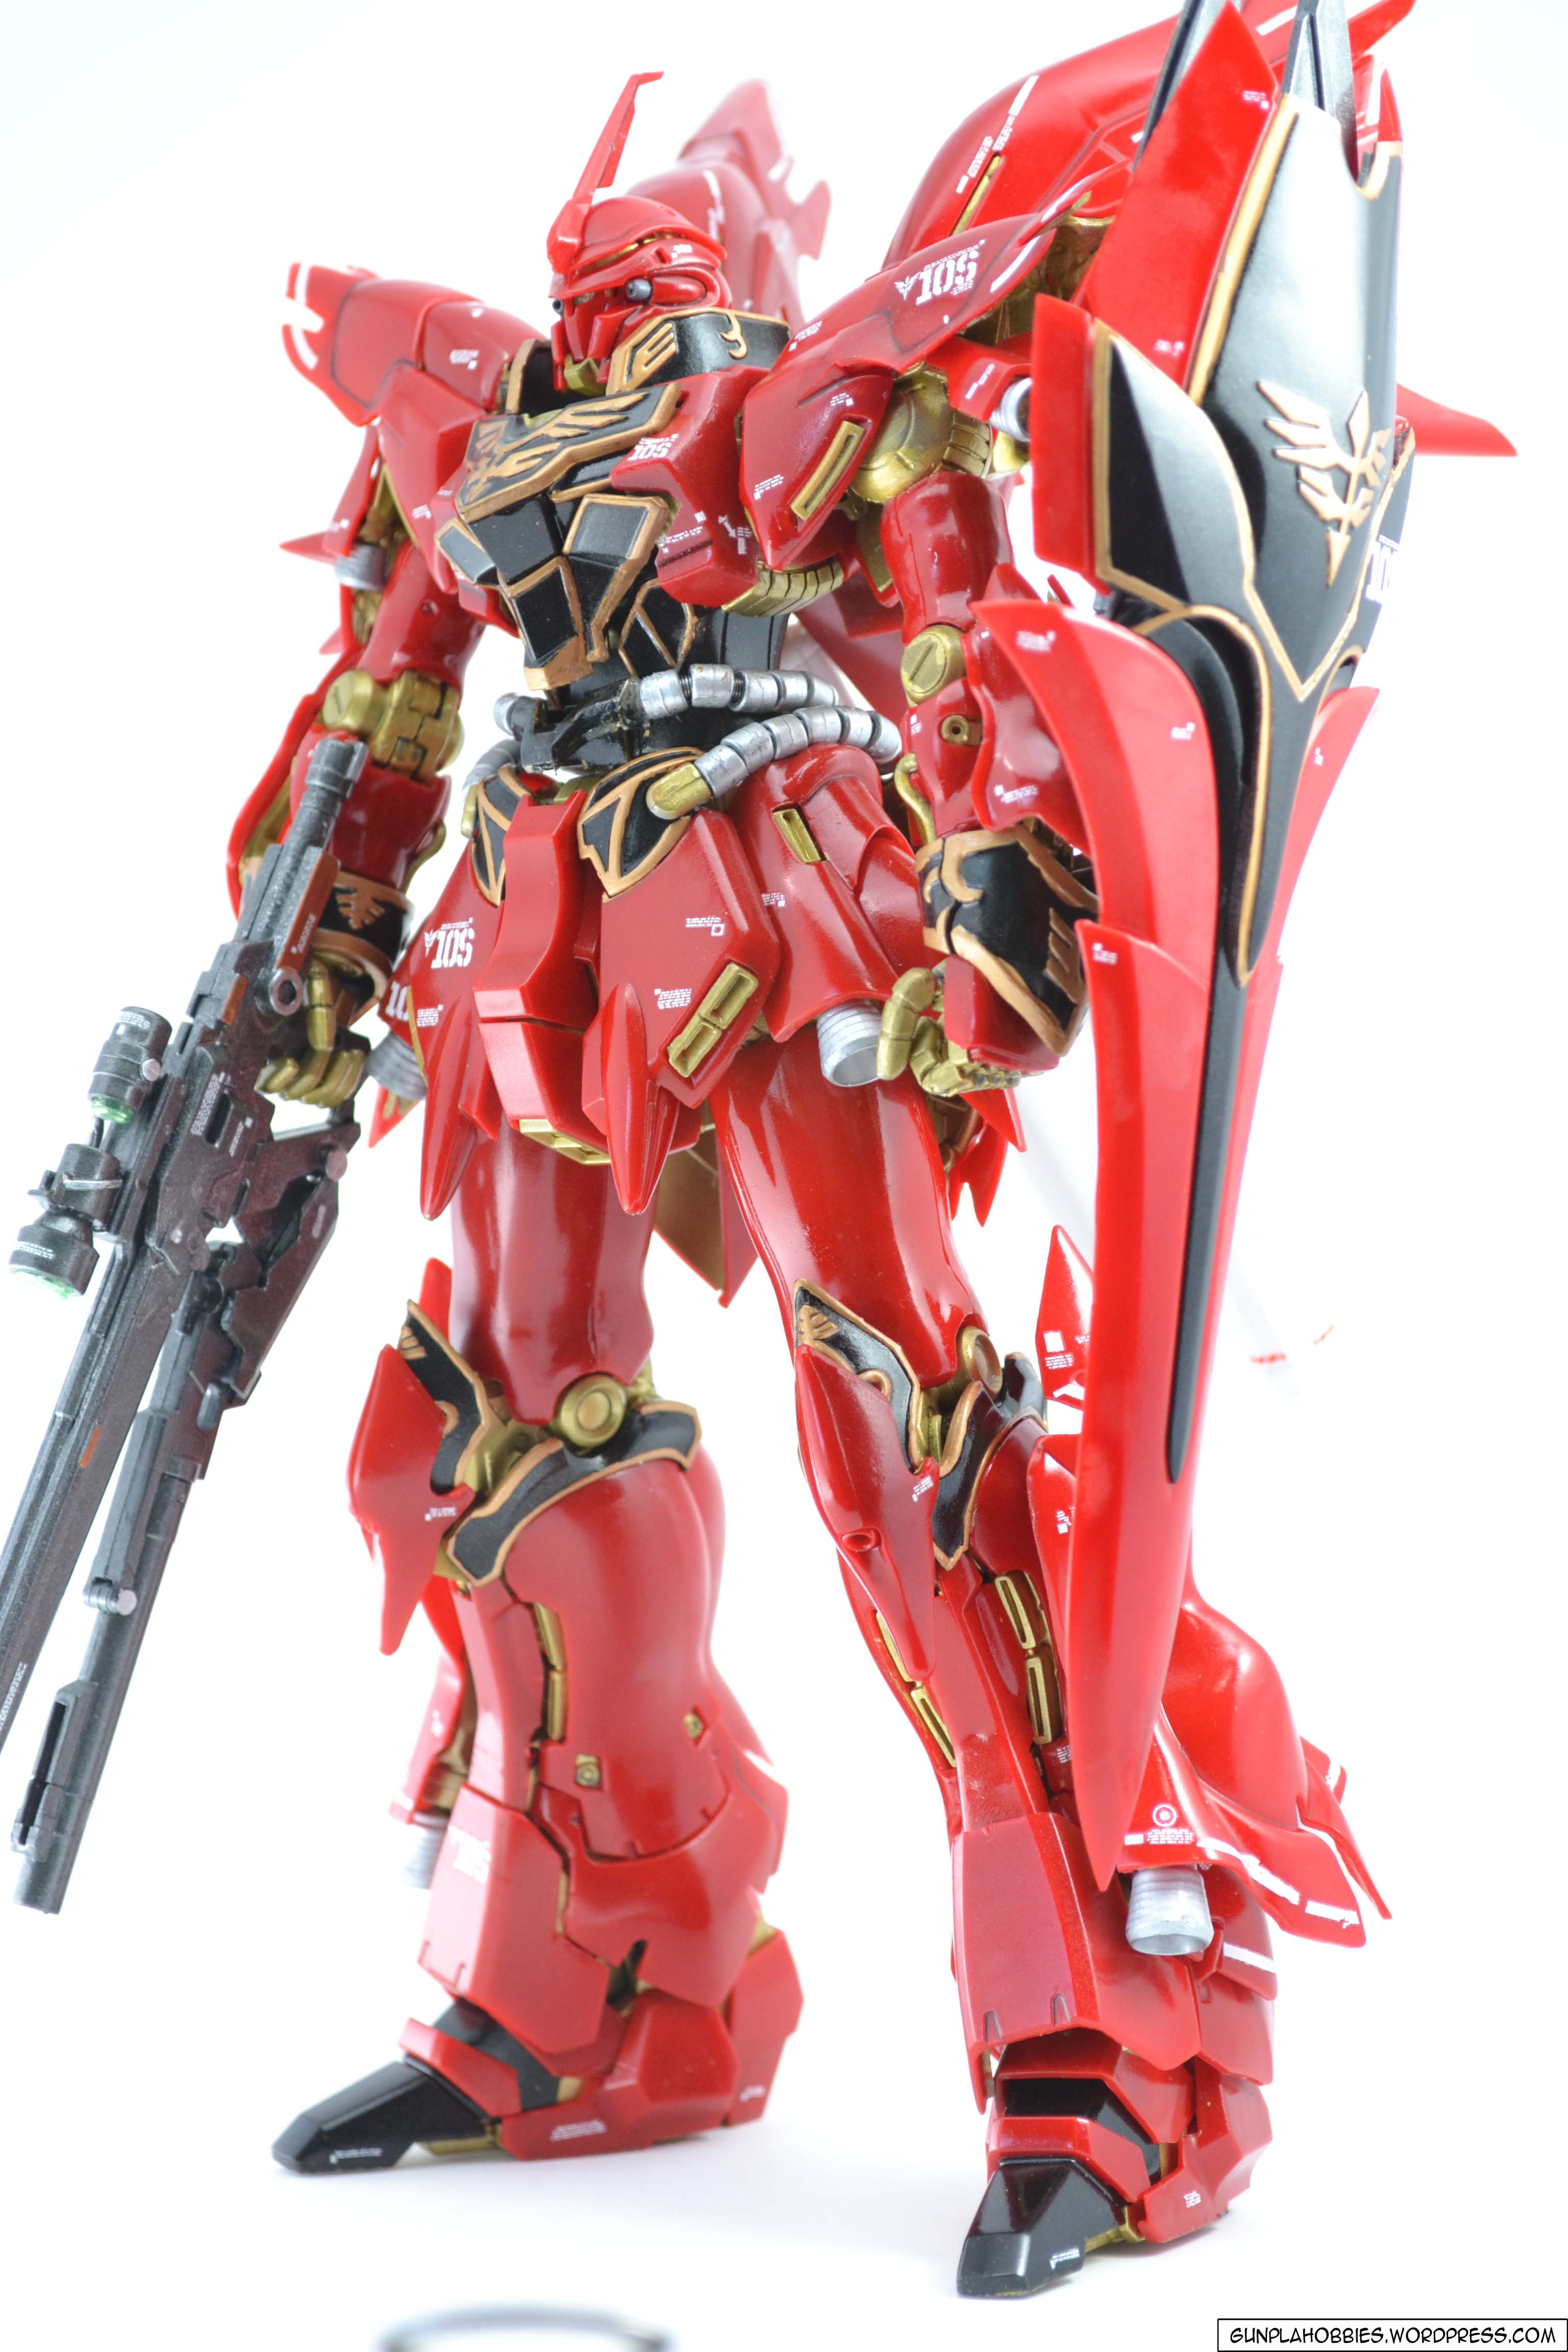
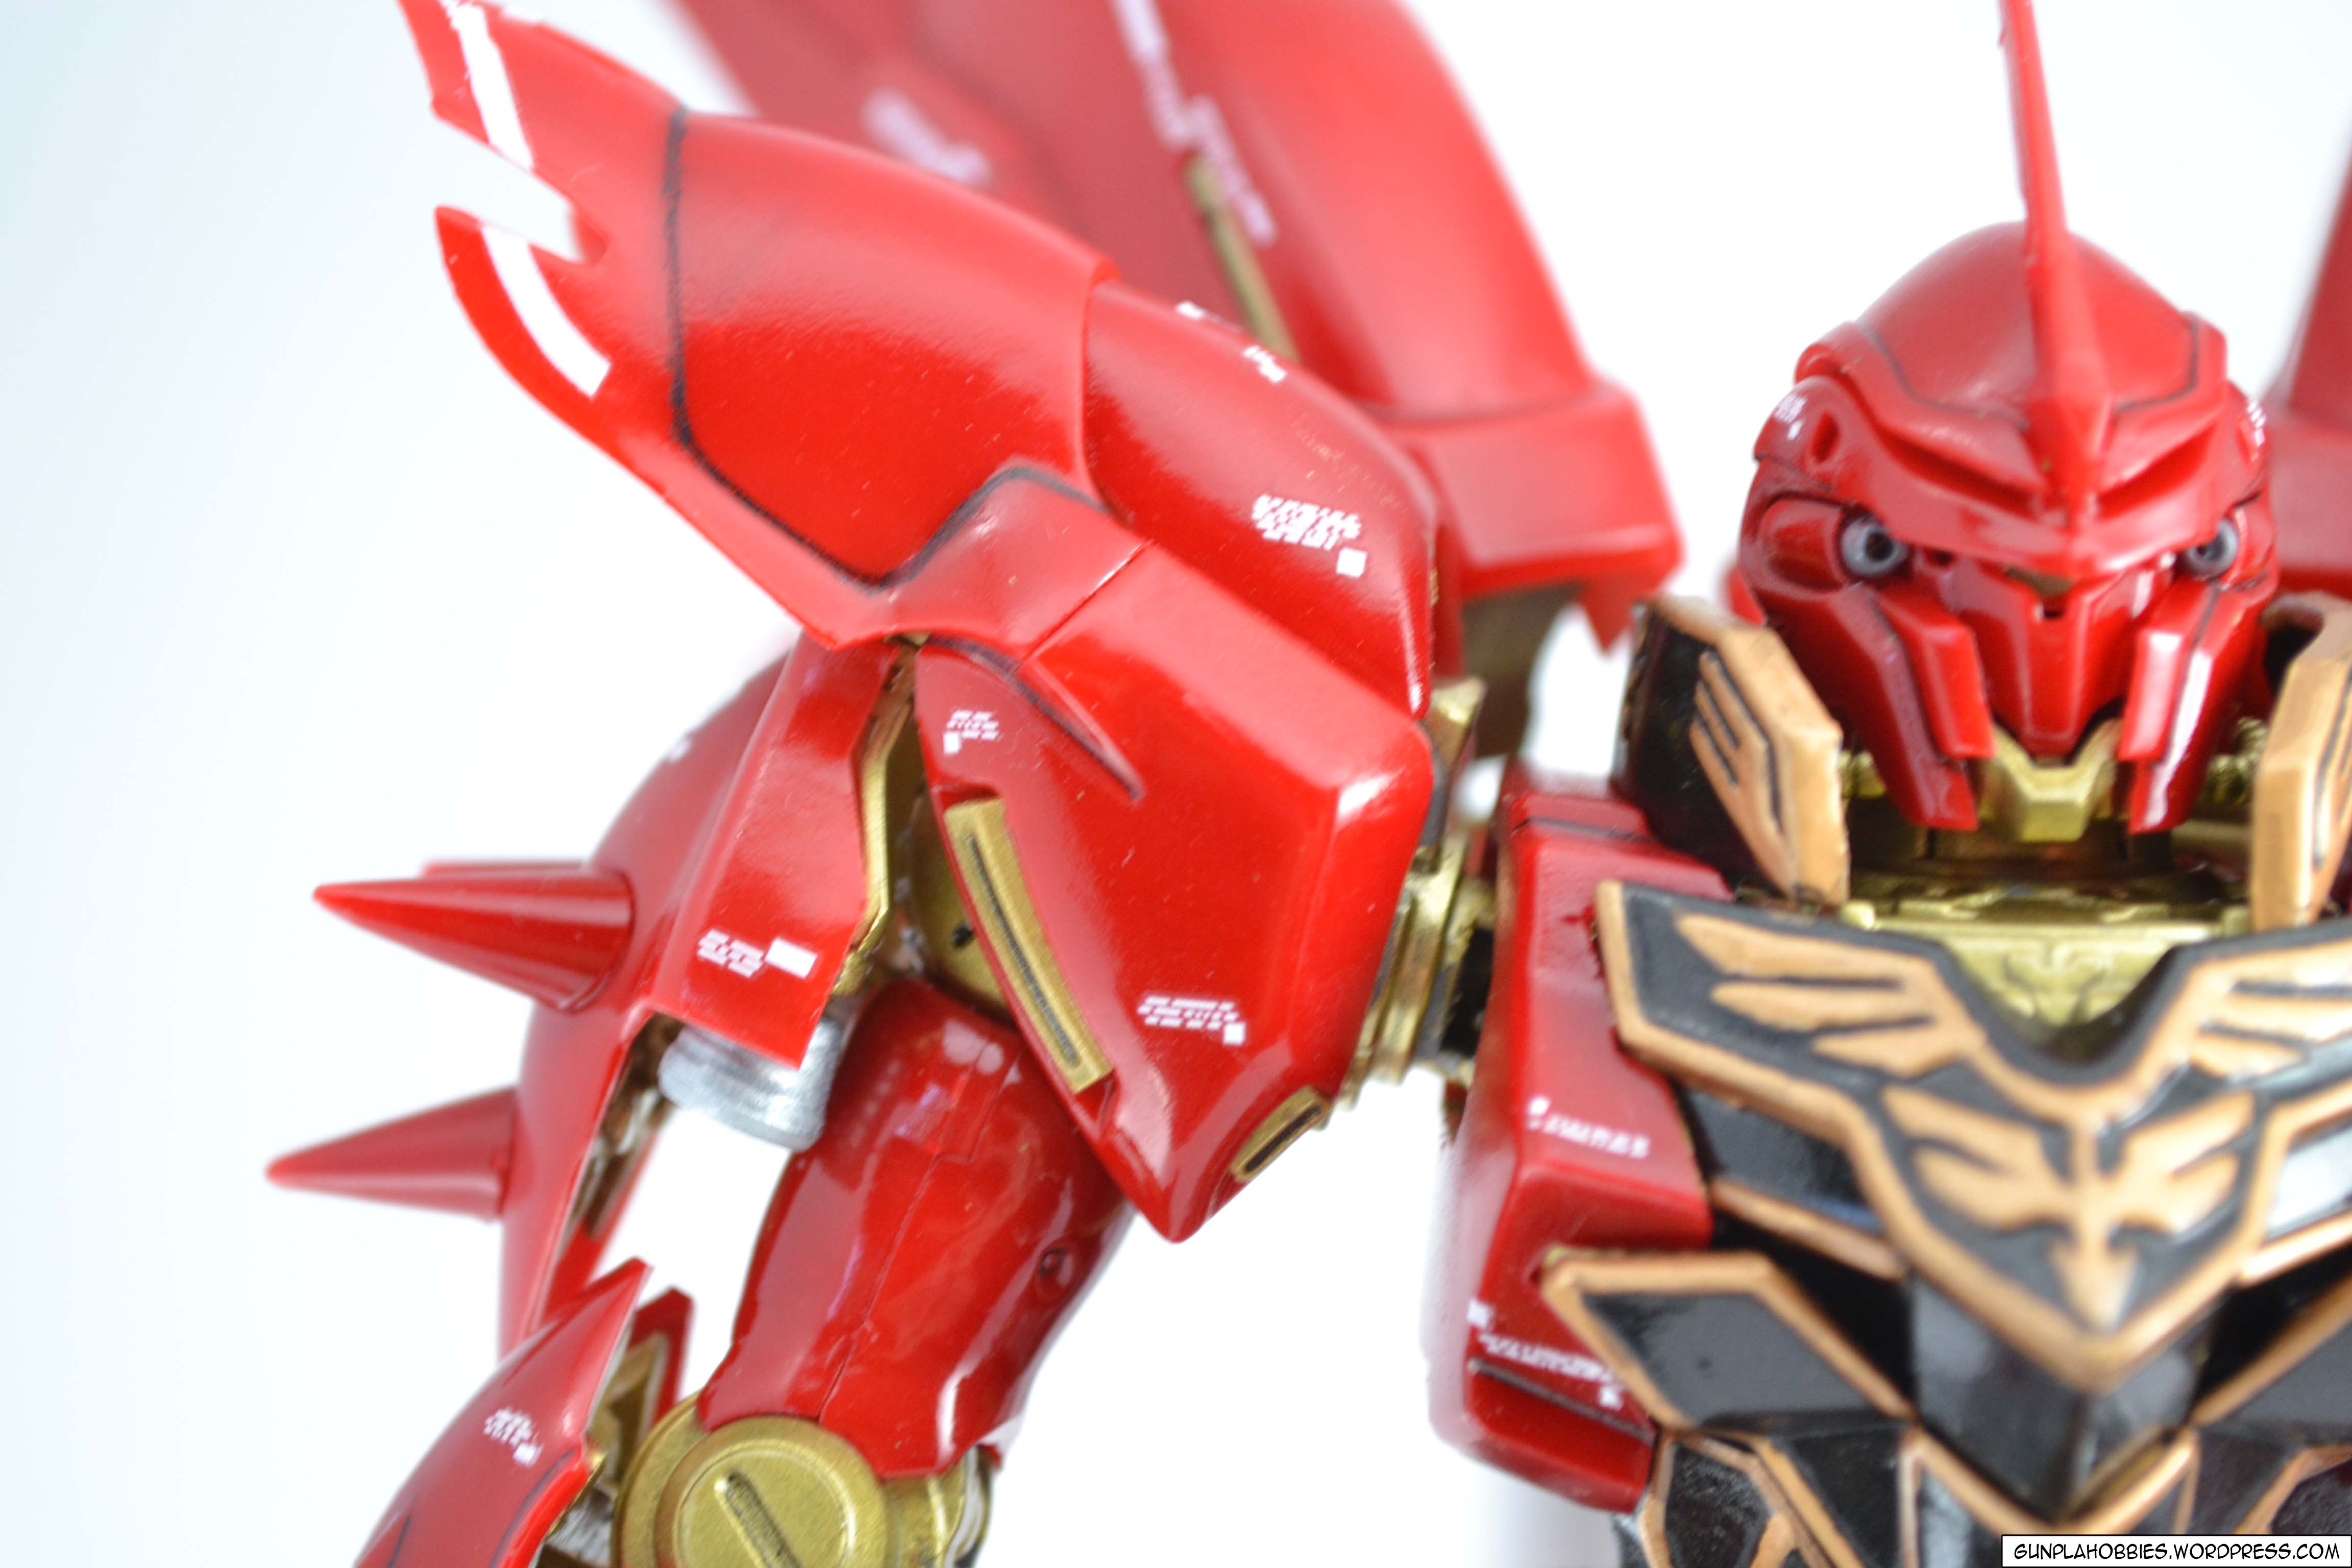
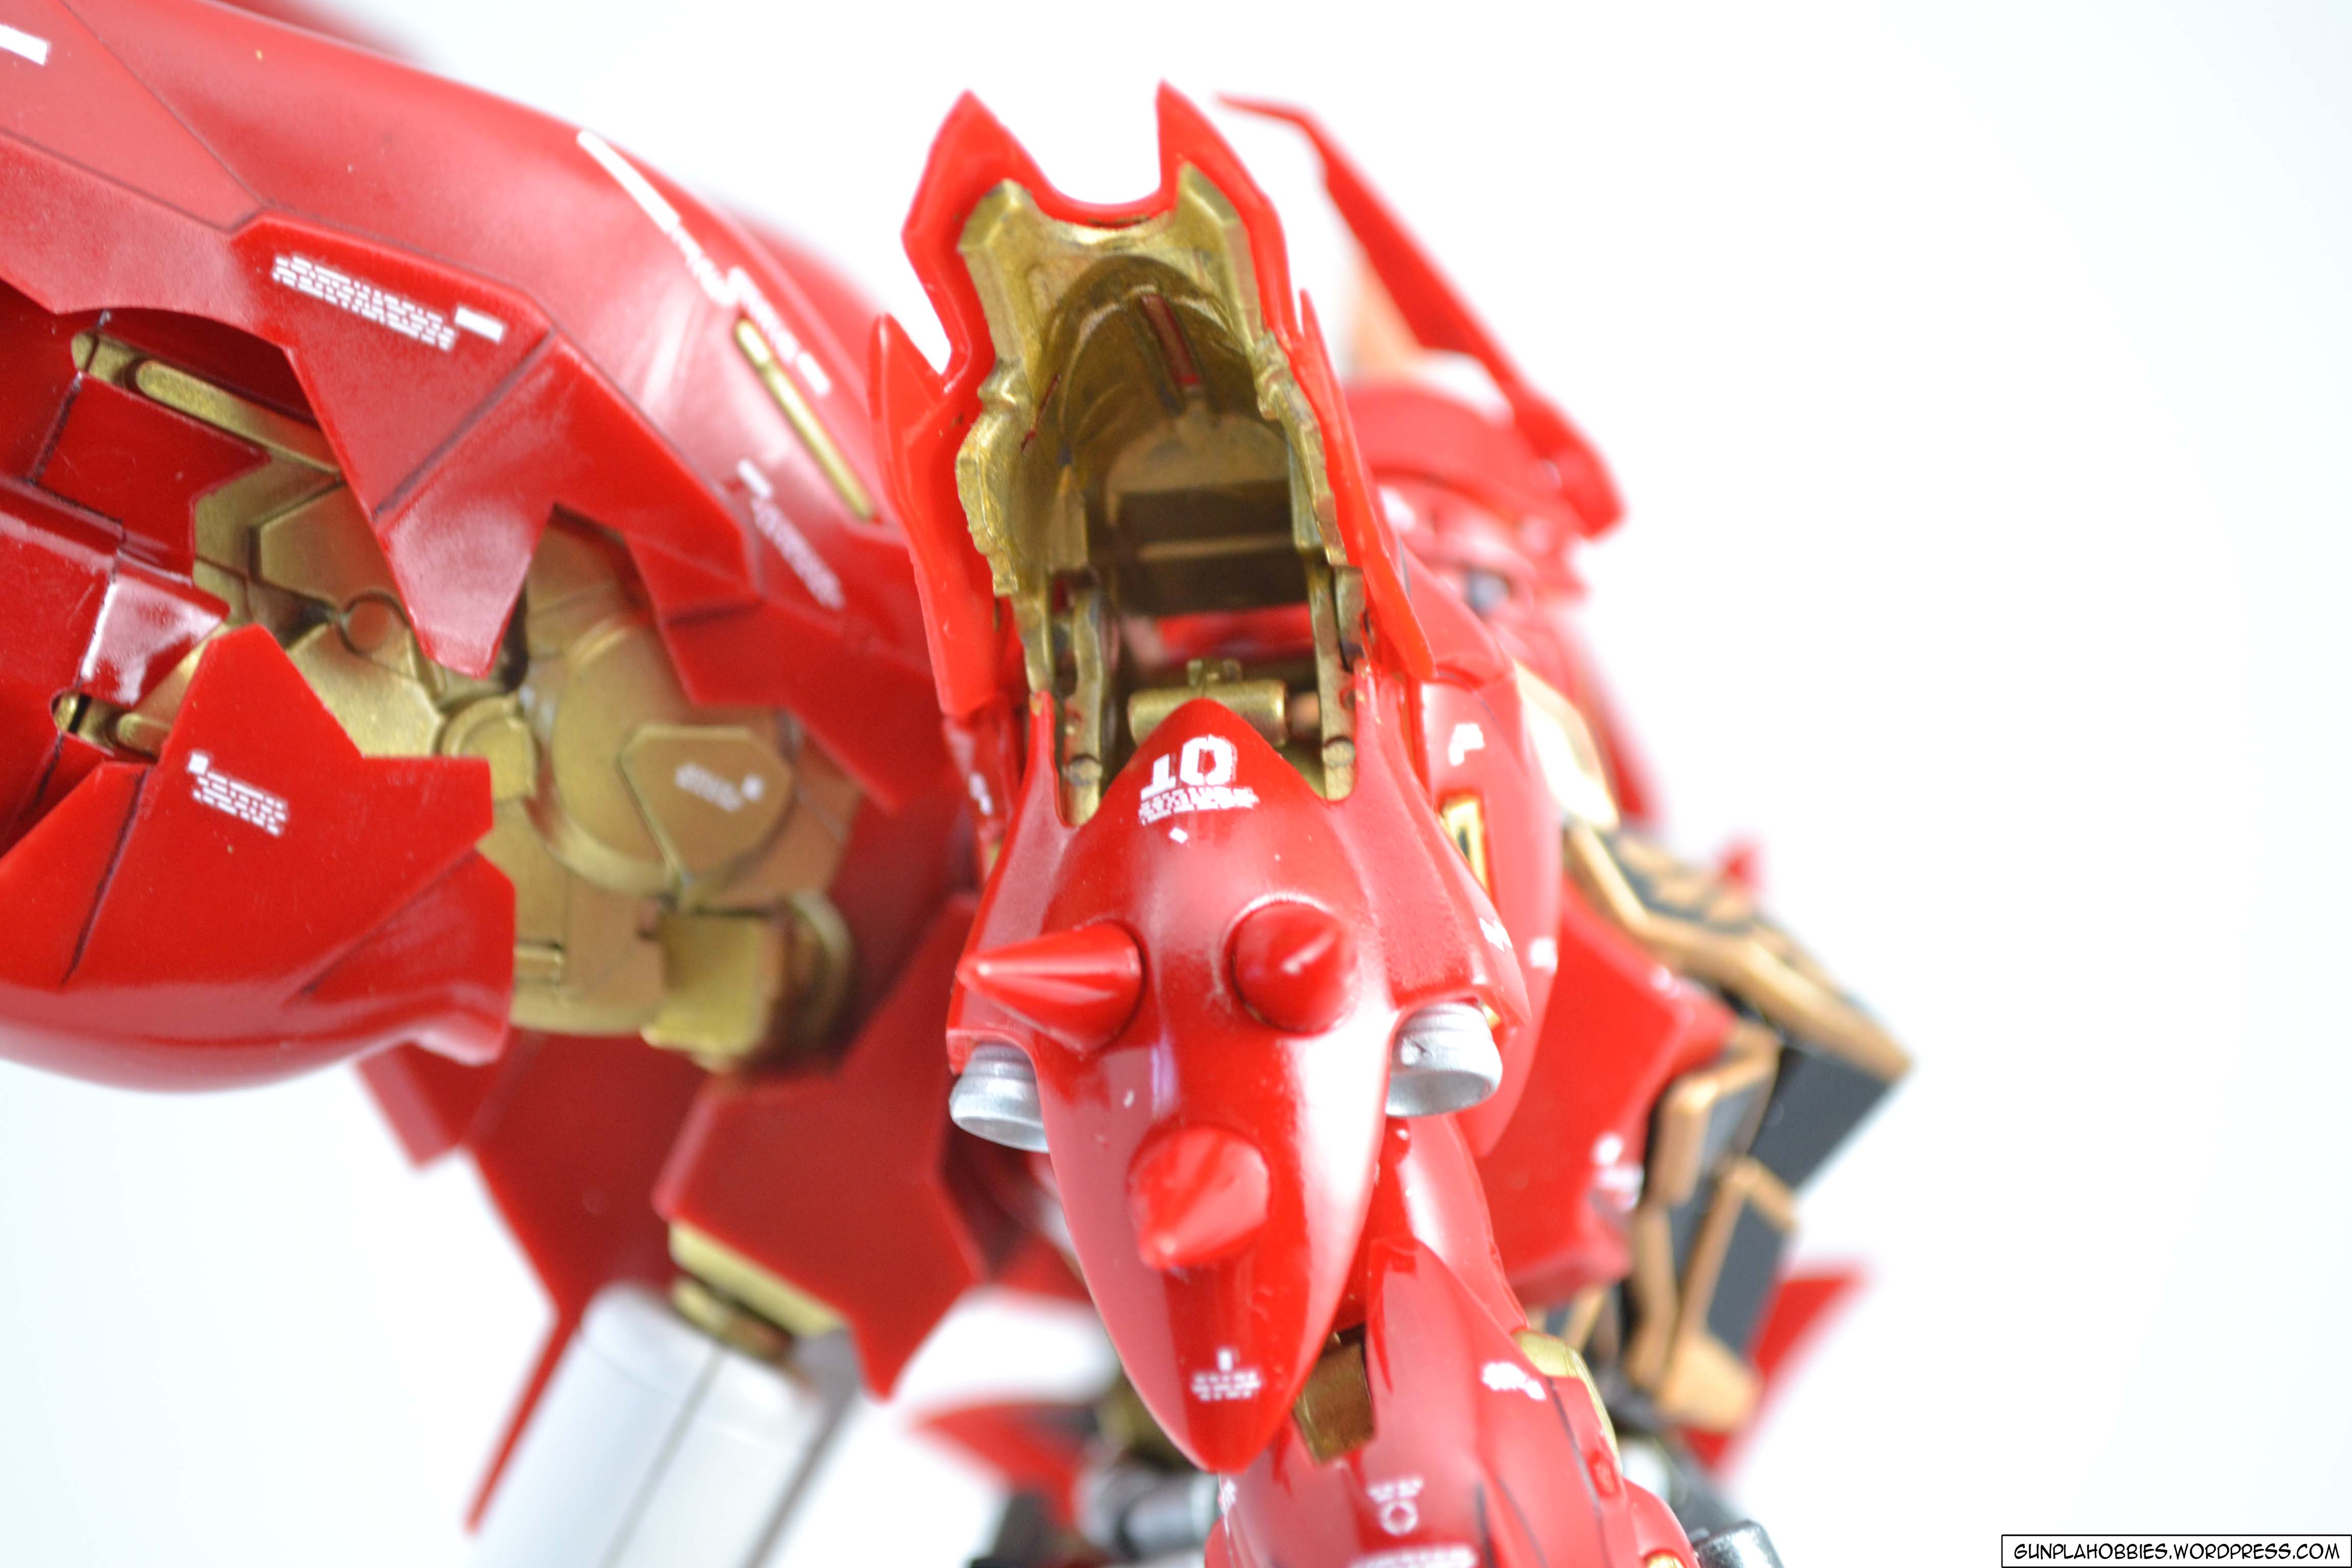
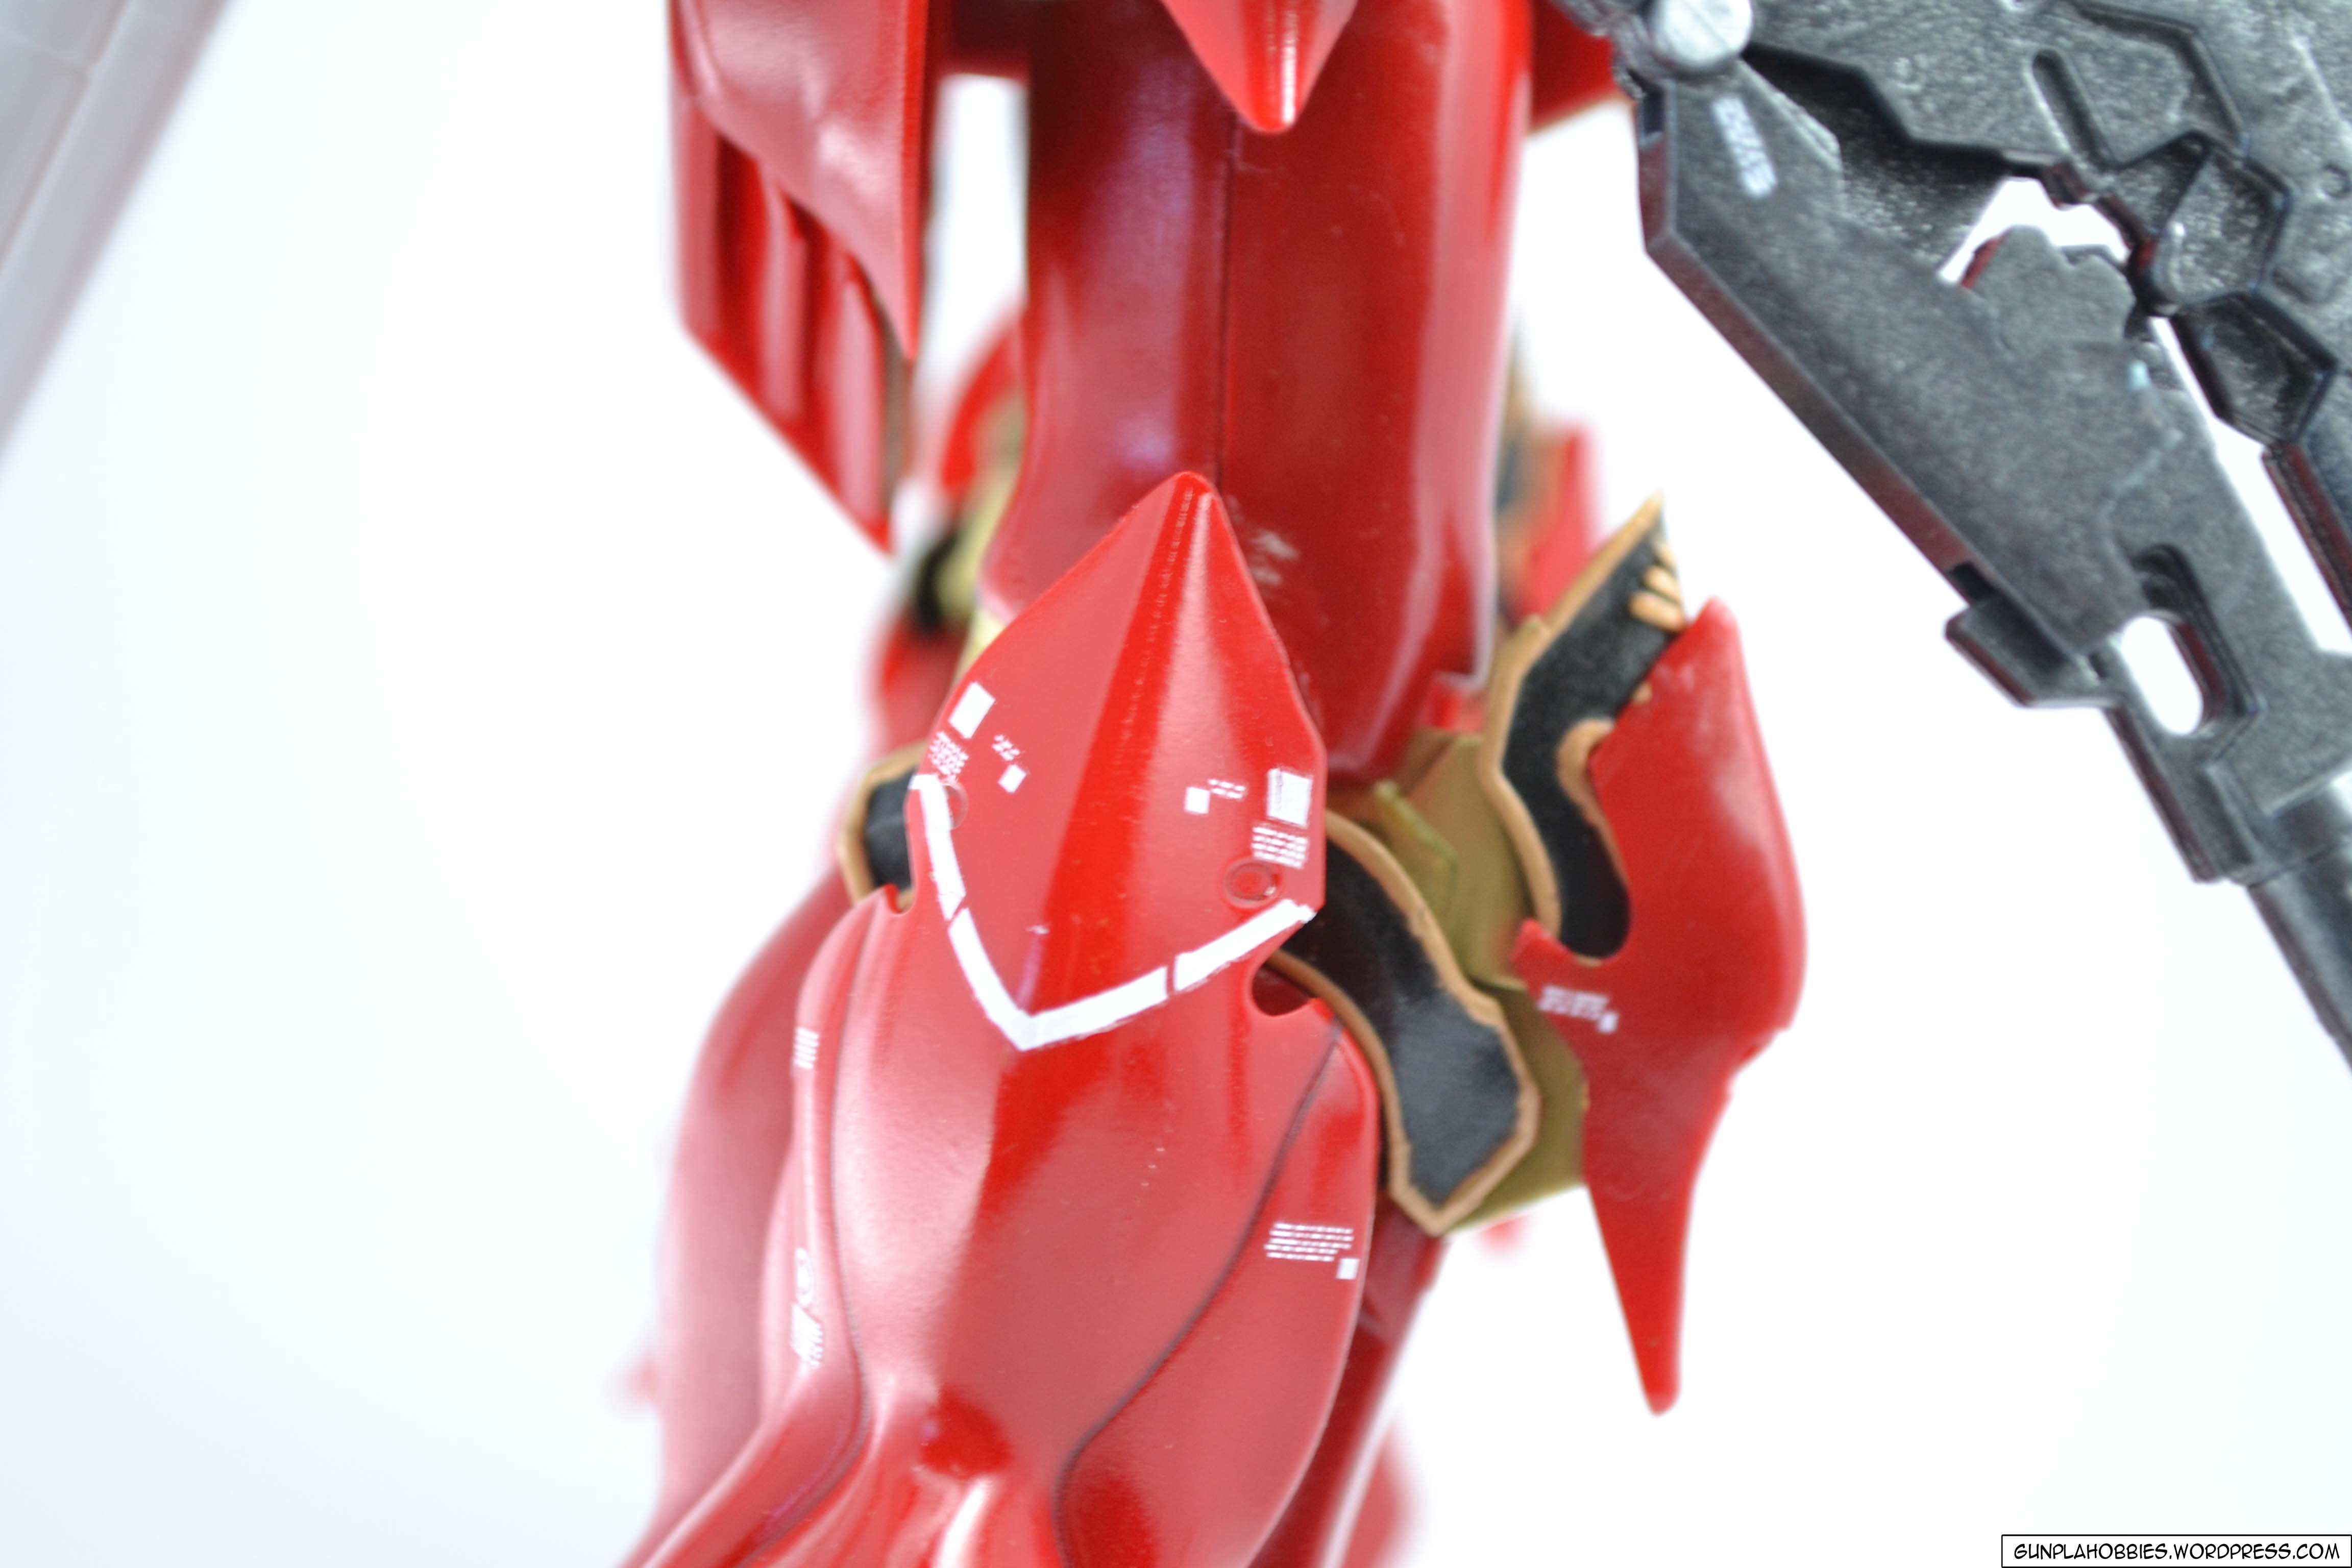
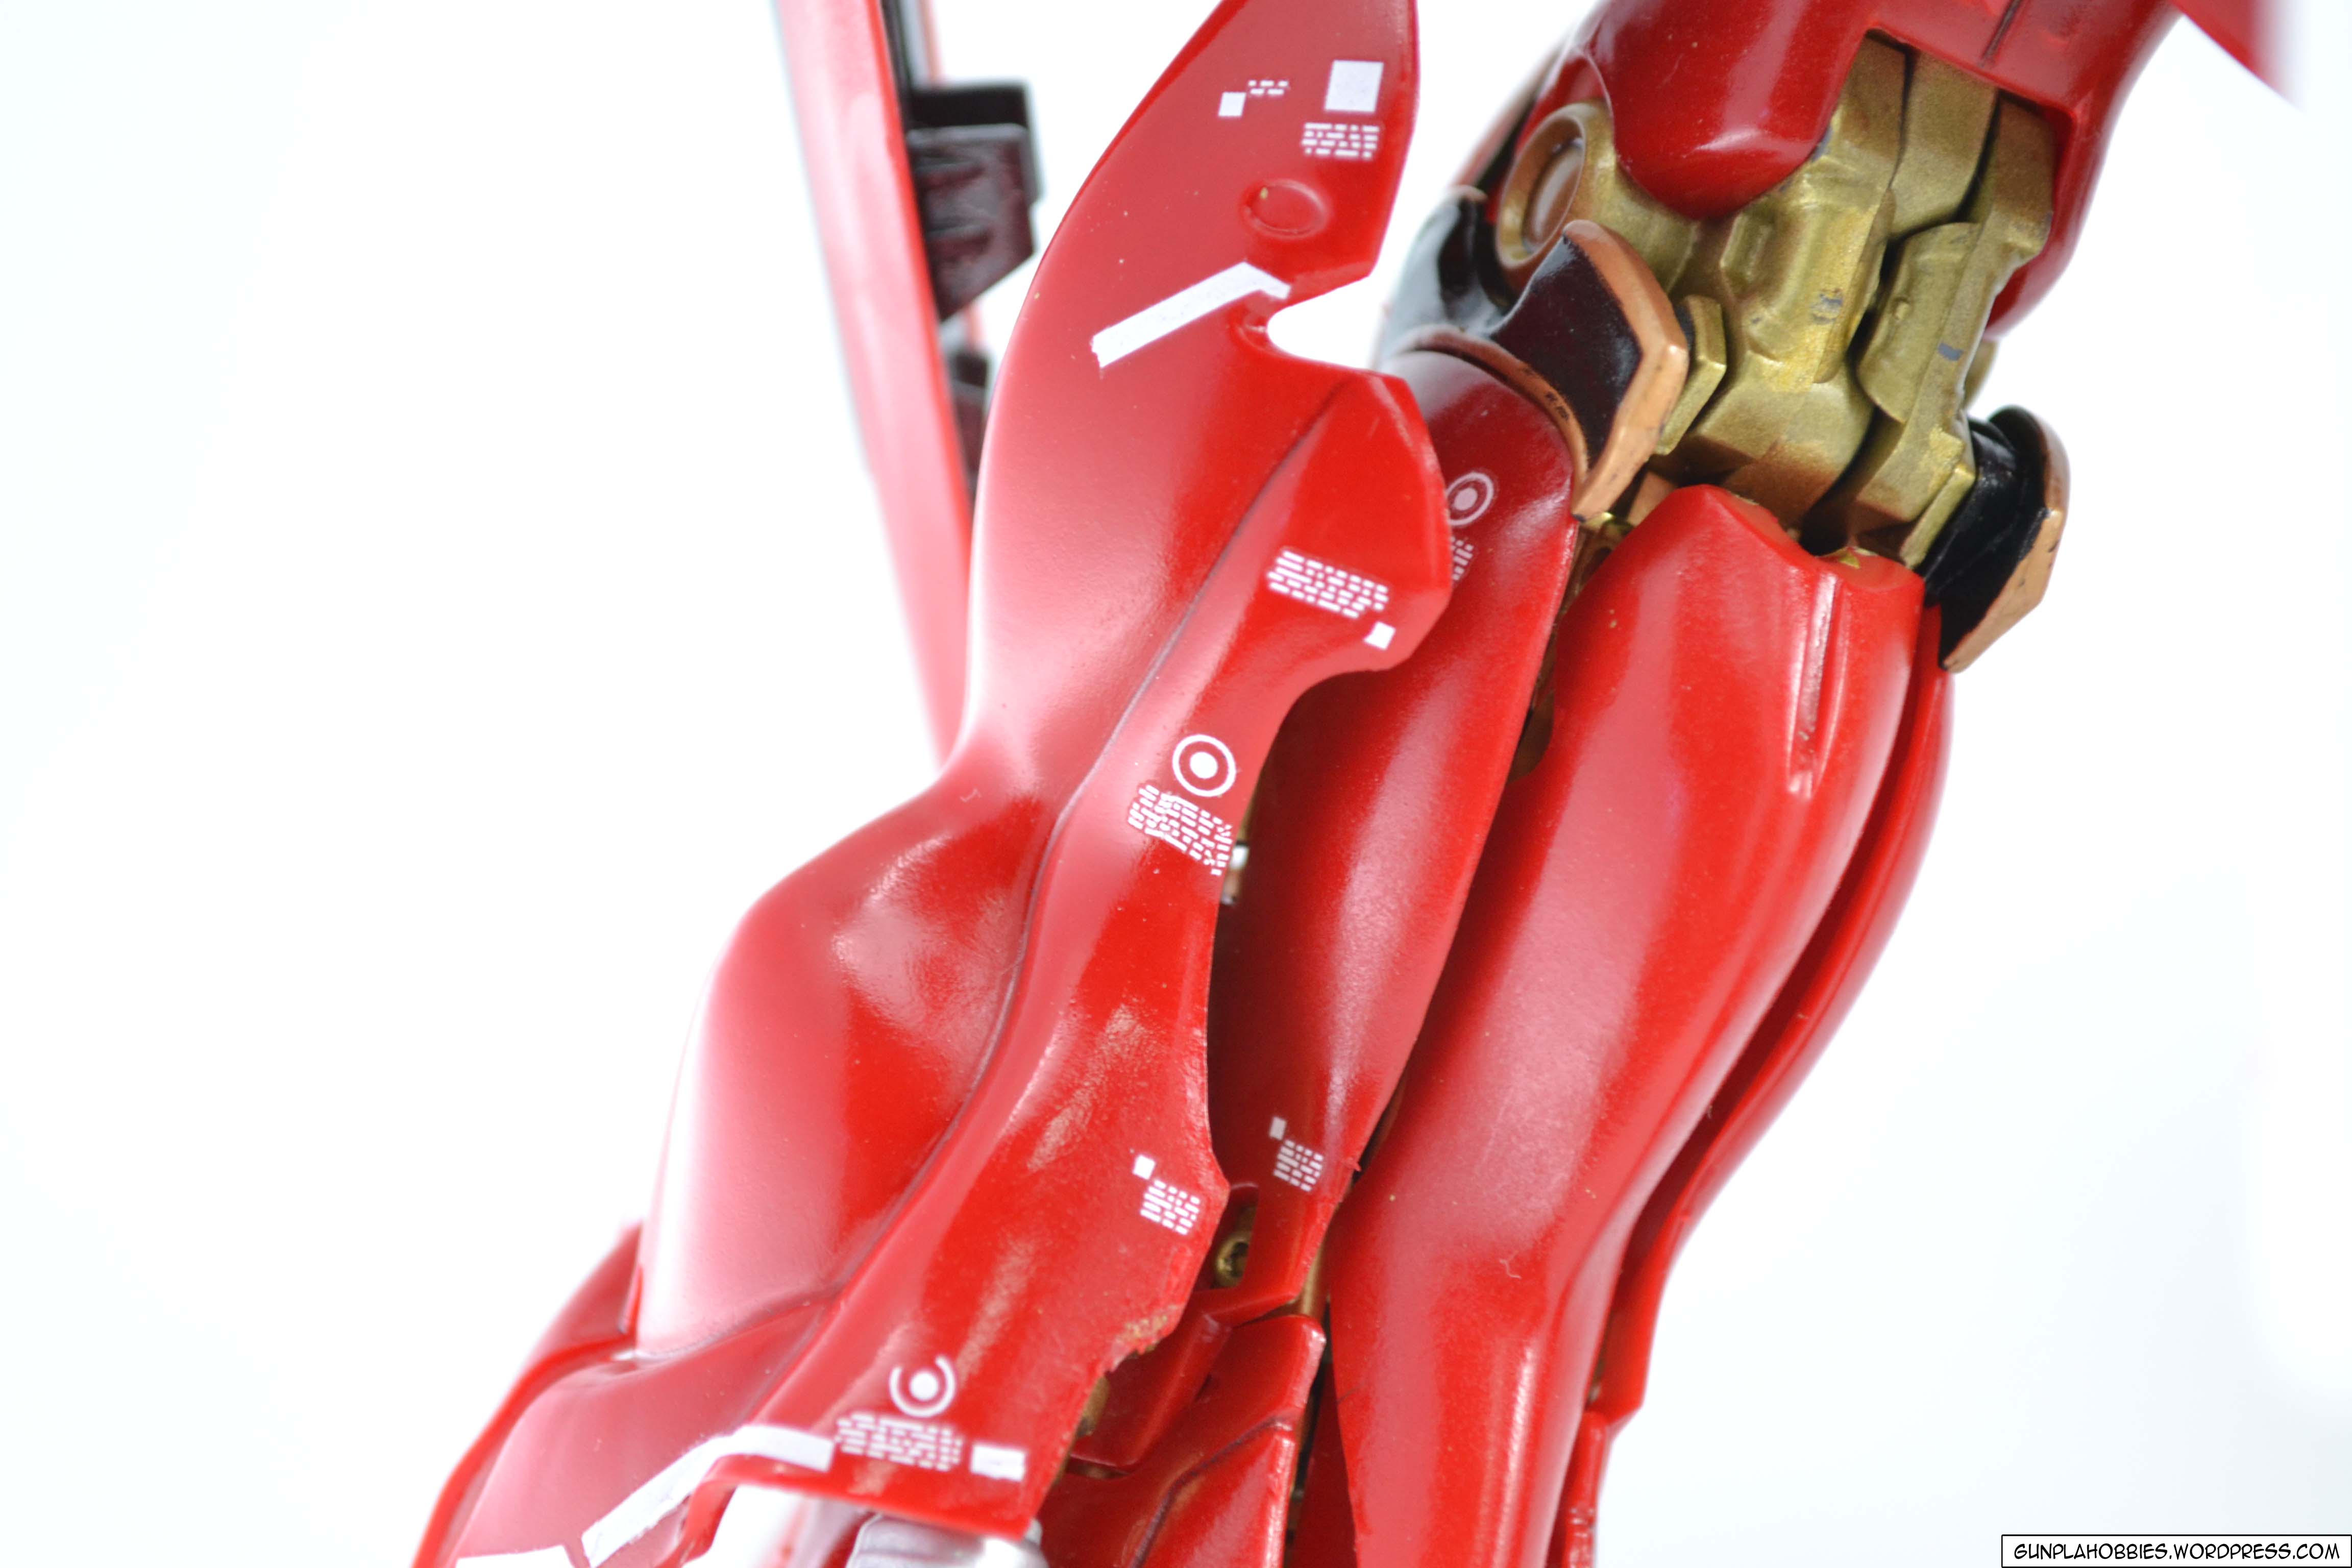
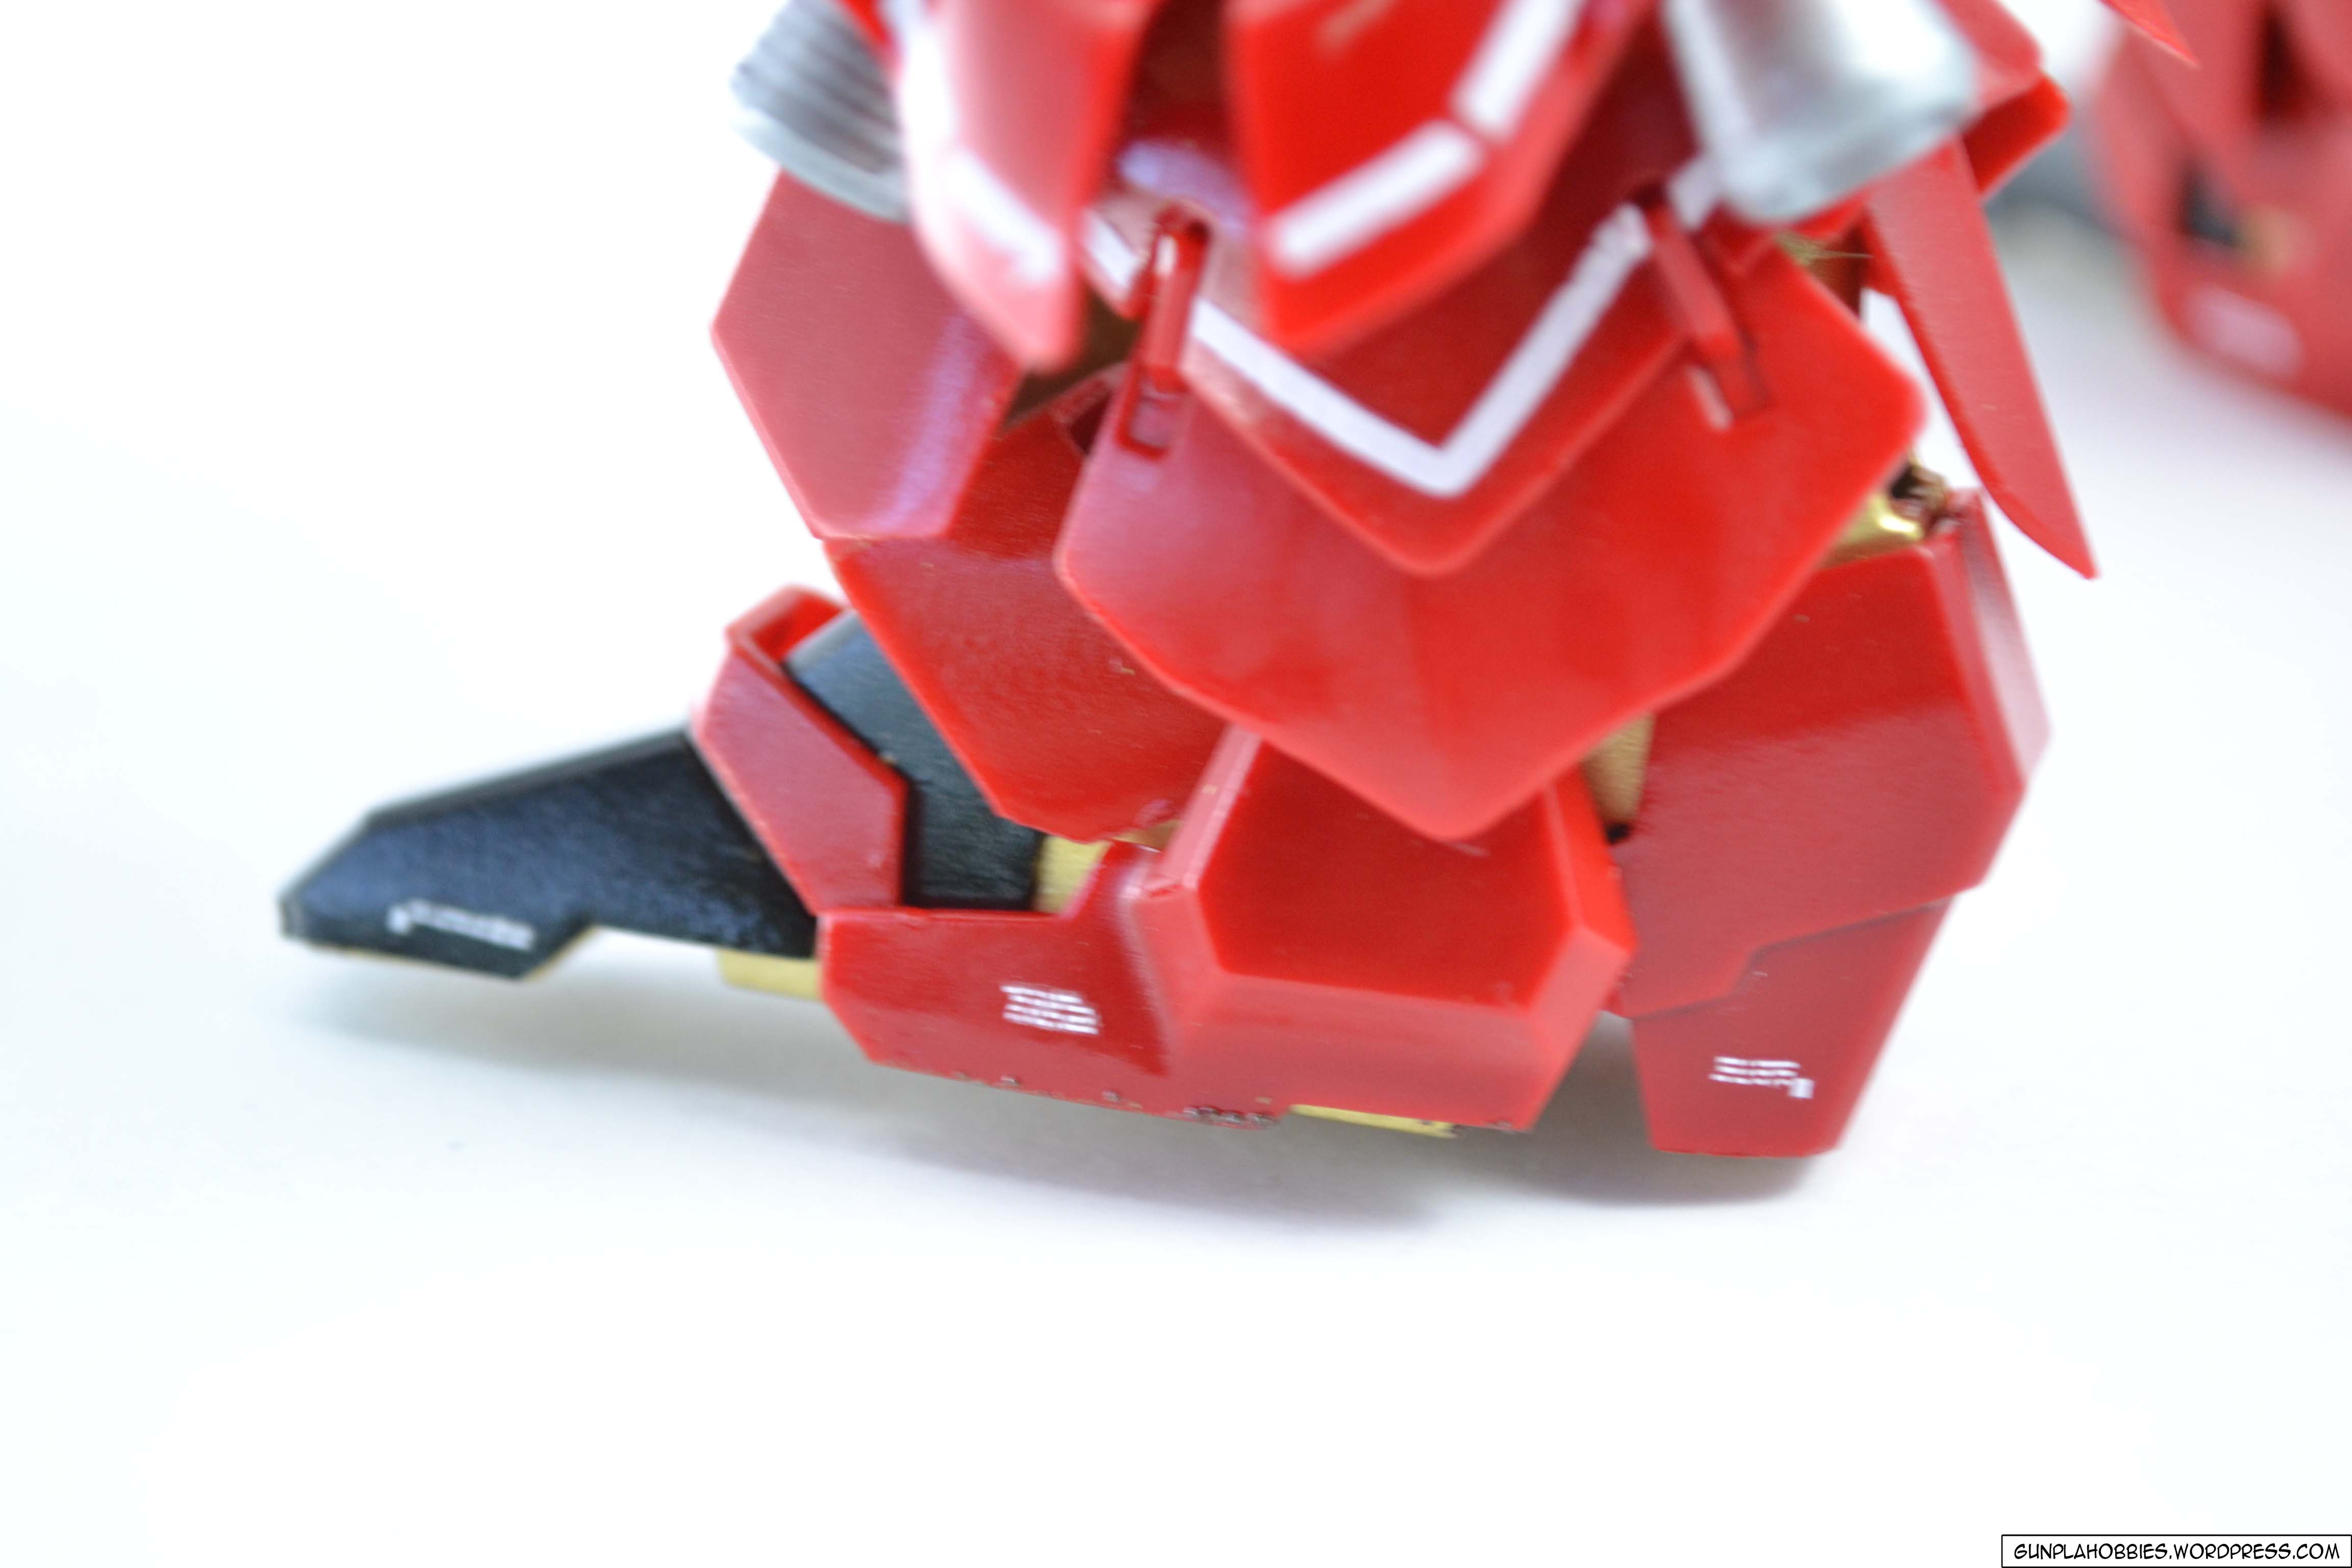
Bosny spray paint No. 67 Honda Red – red armor parts
Bosny KT Gold Effekt No. 192 Brass Gold – inner frame parts
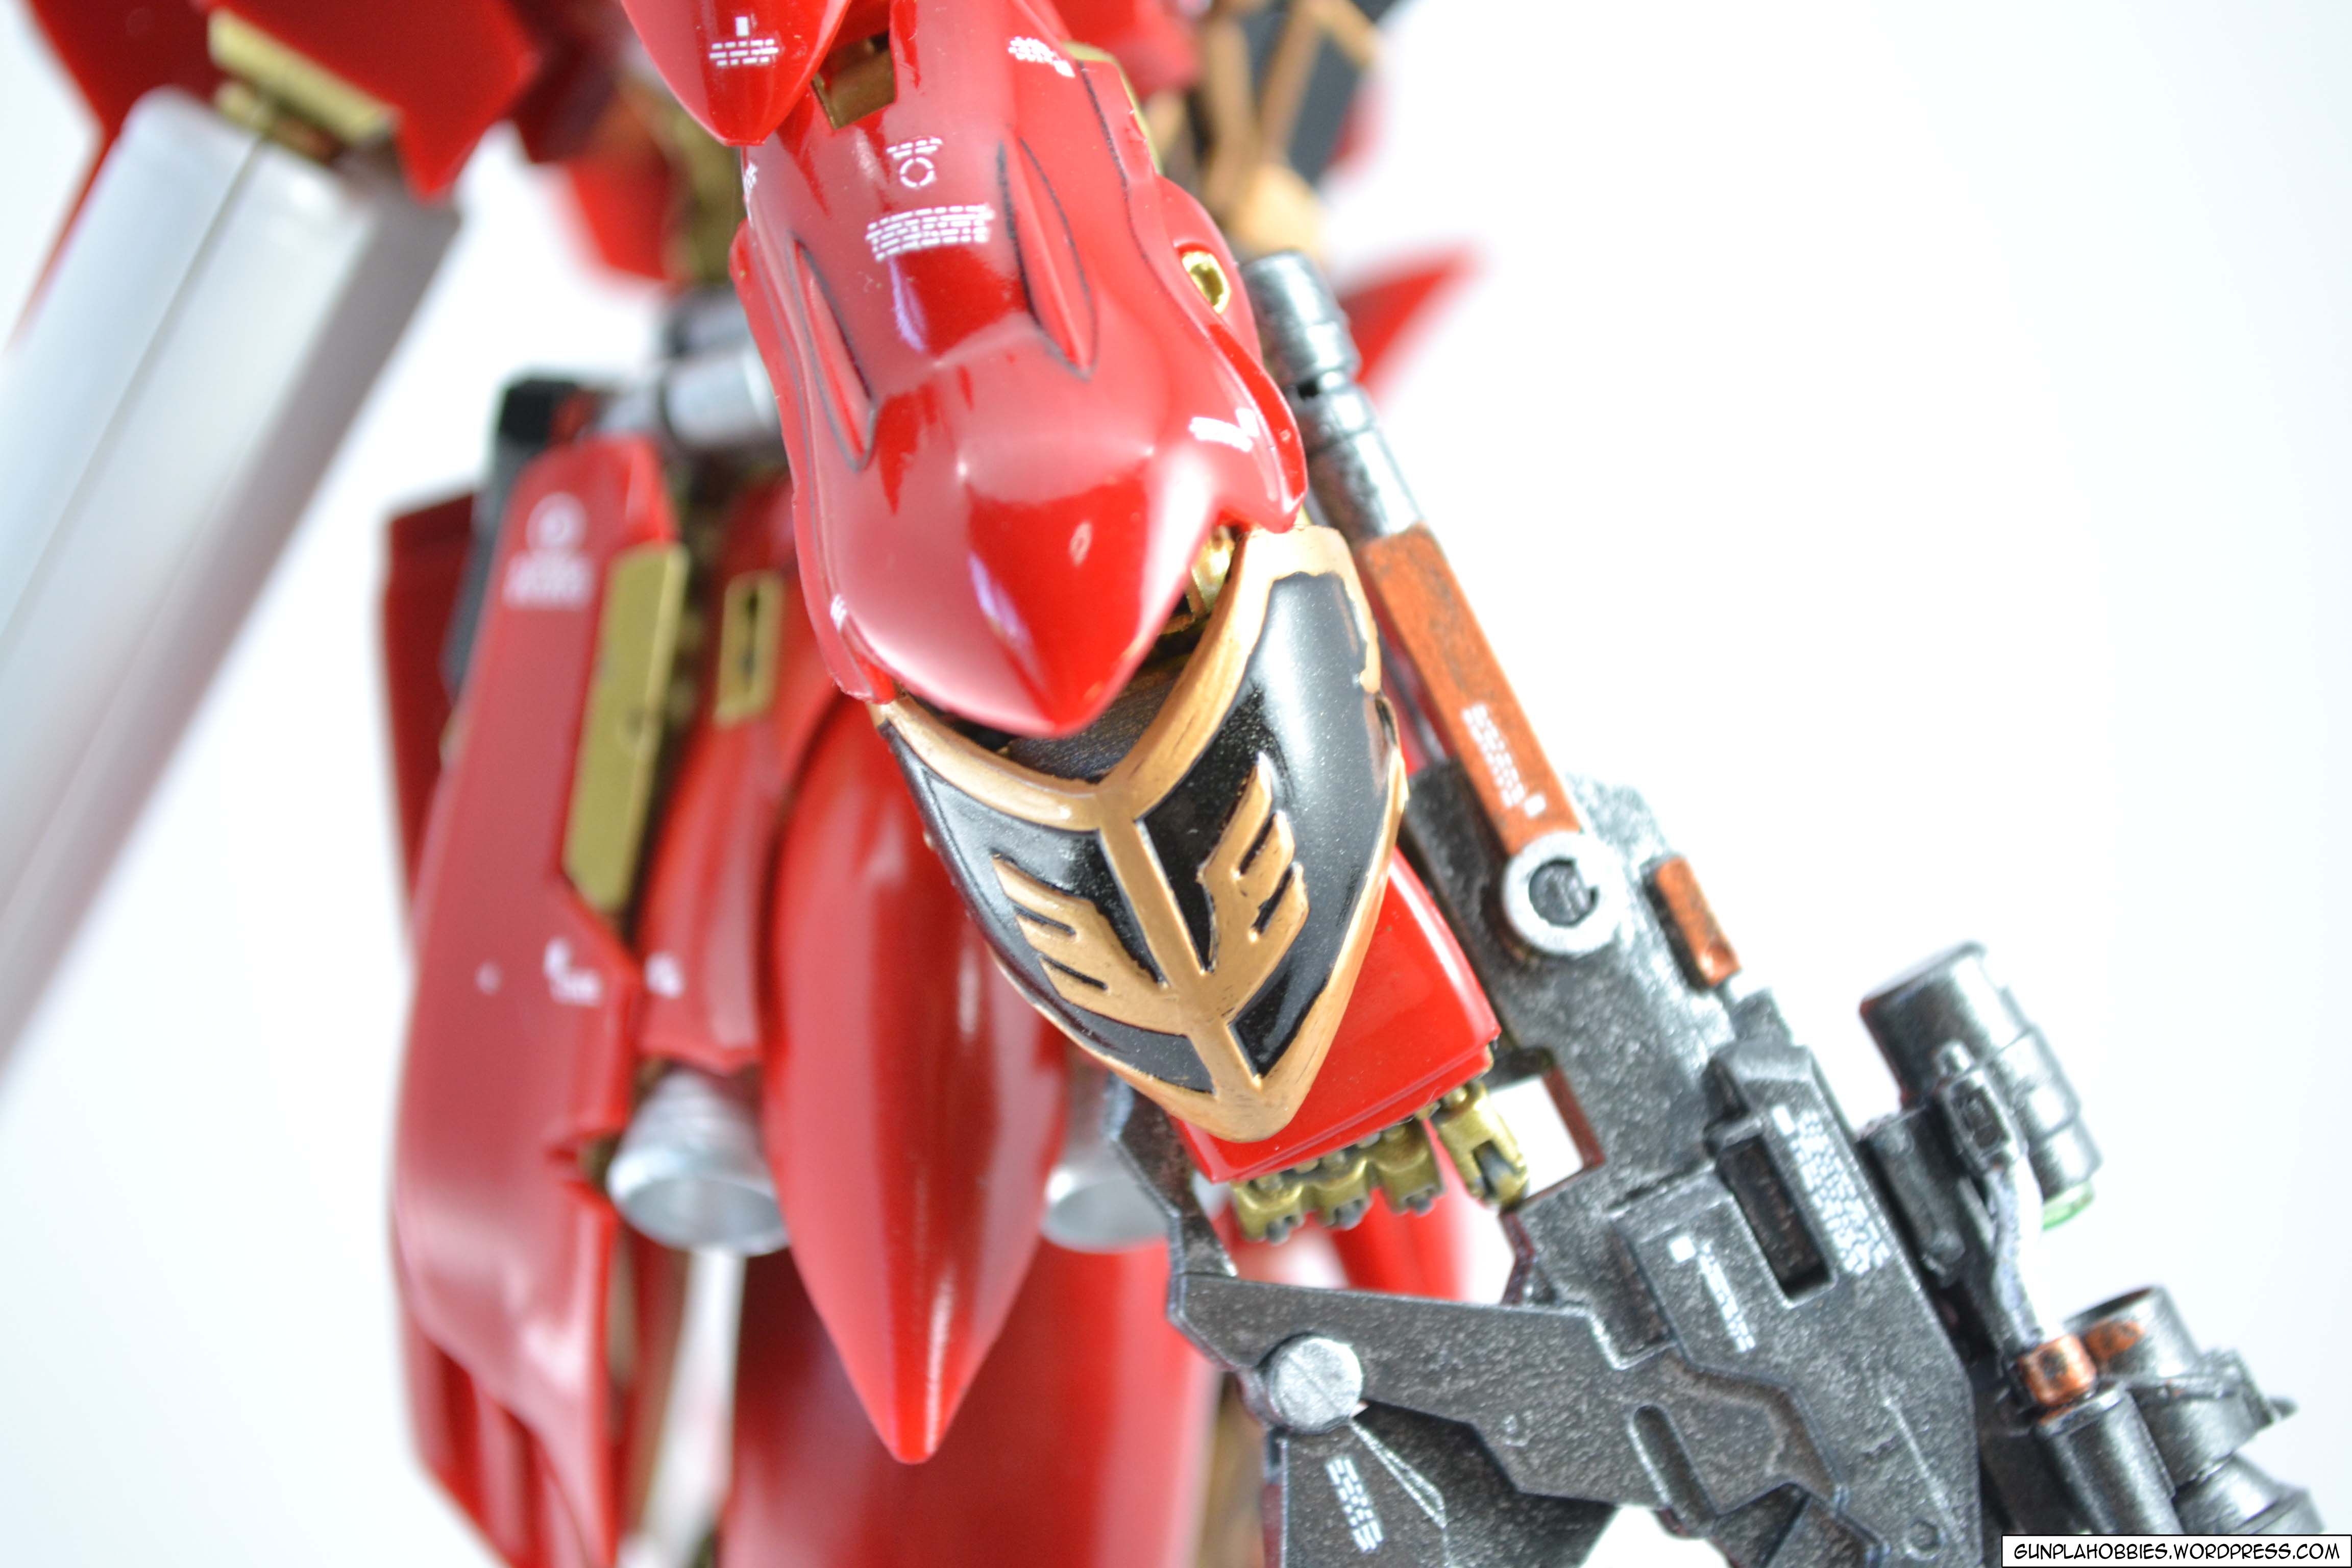
Bosny No. 1139 Metallic Black – for the black armor parts
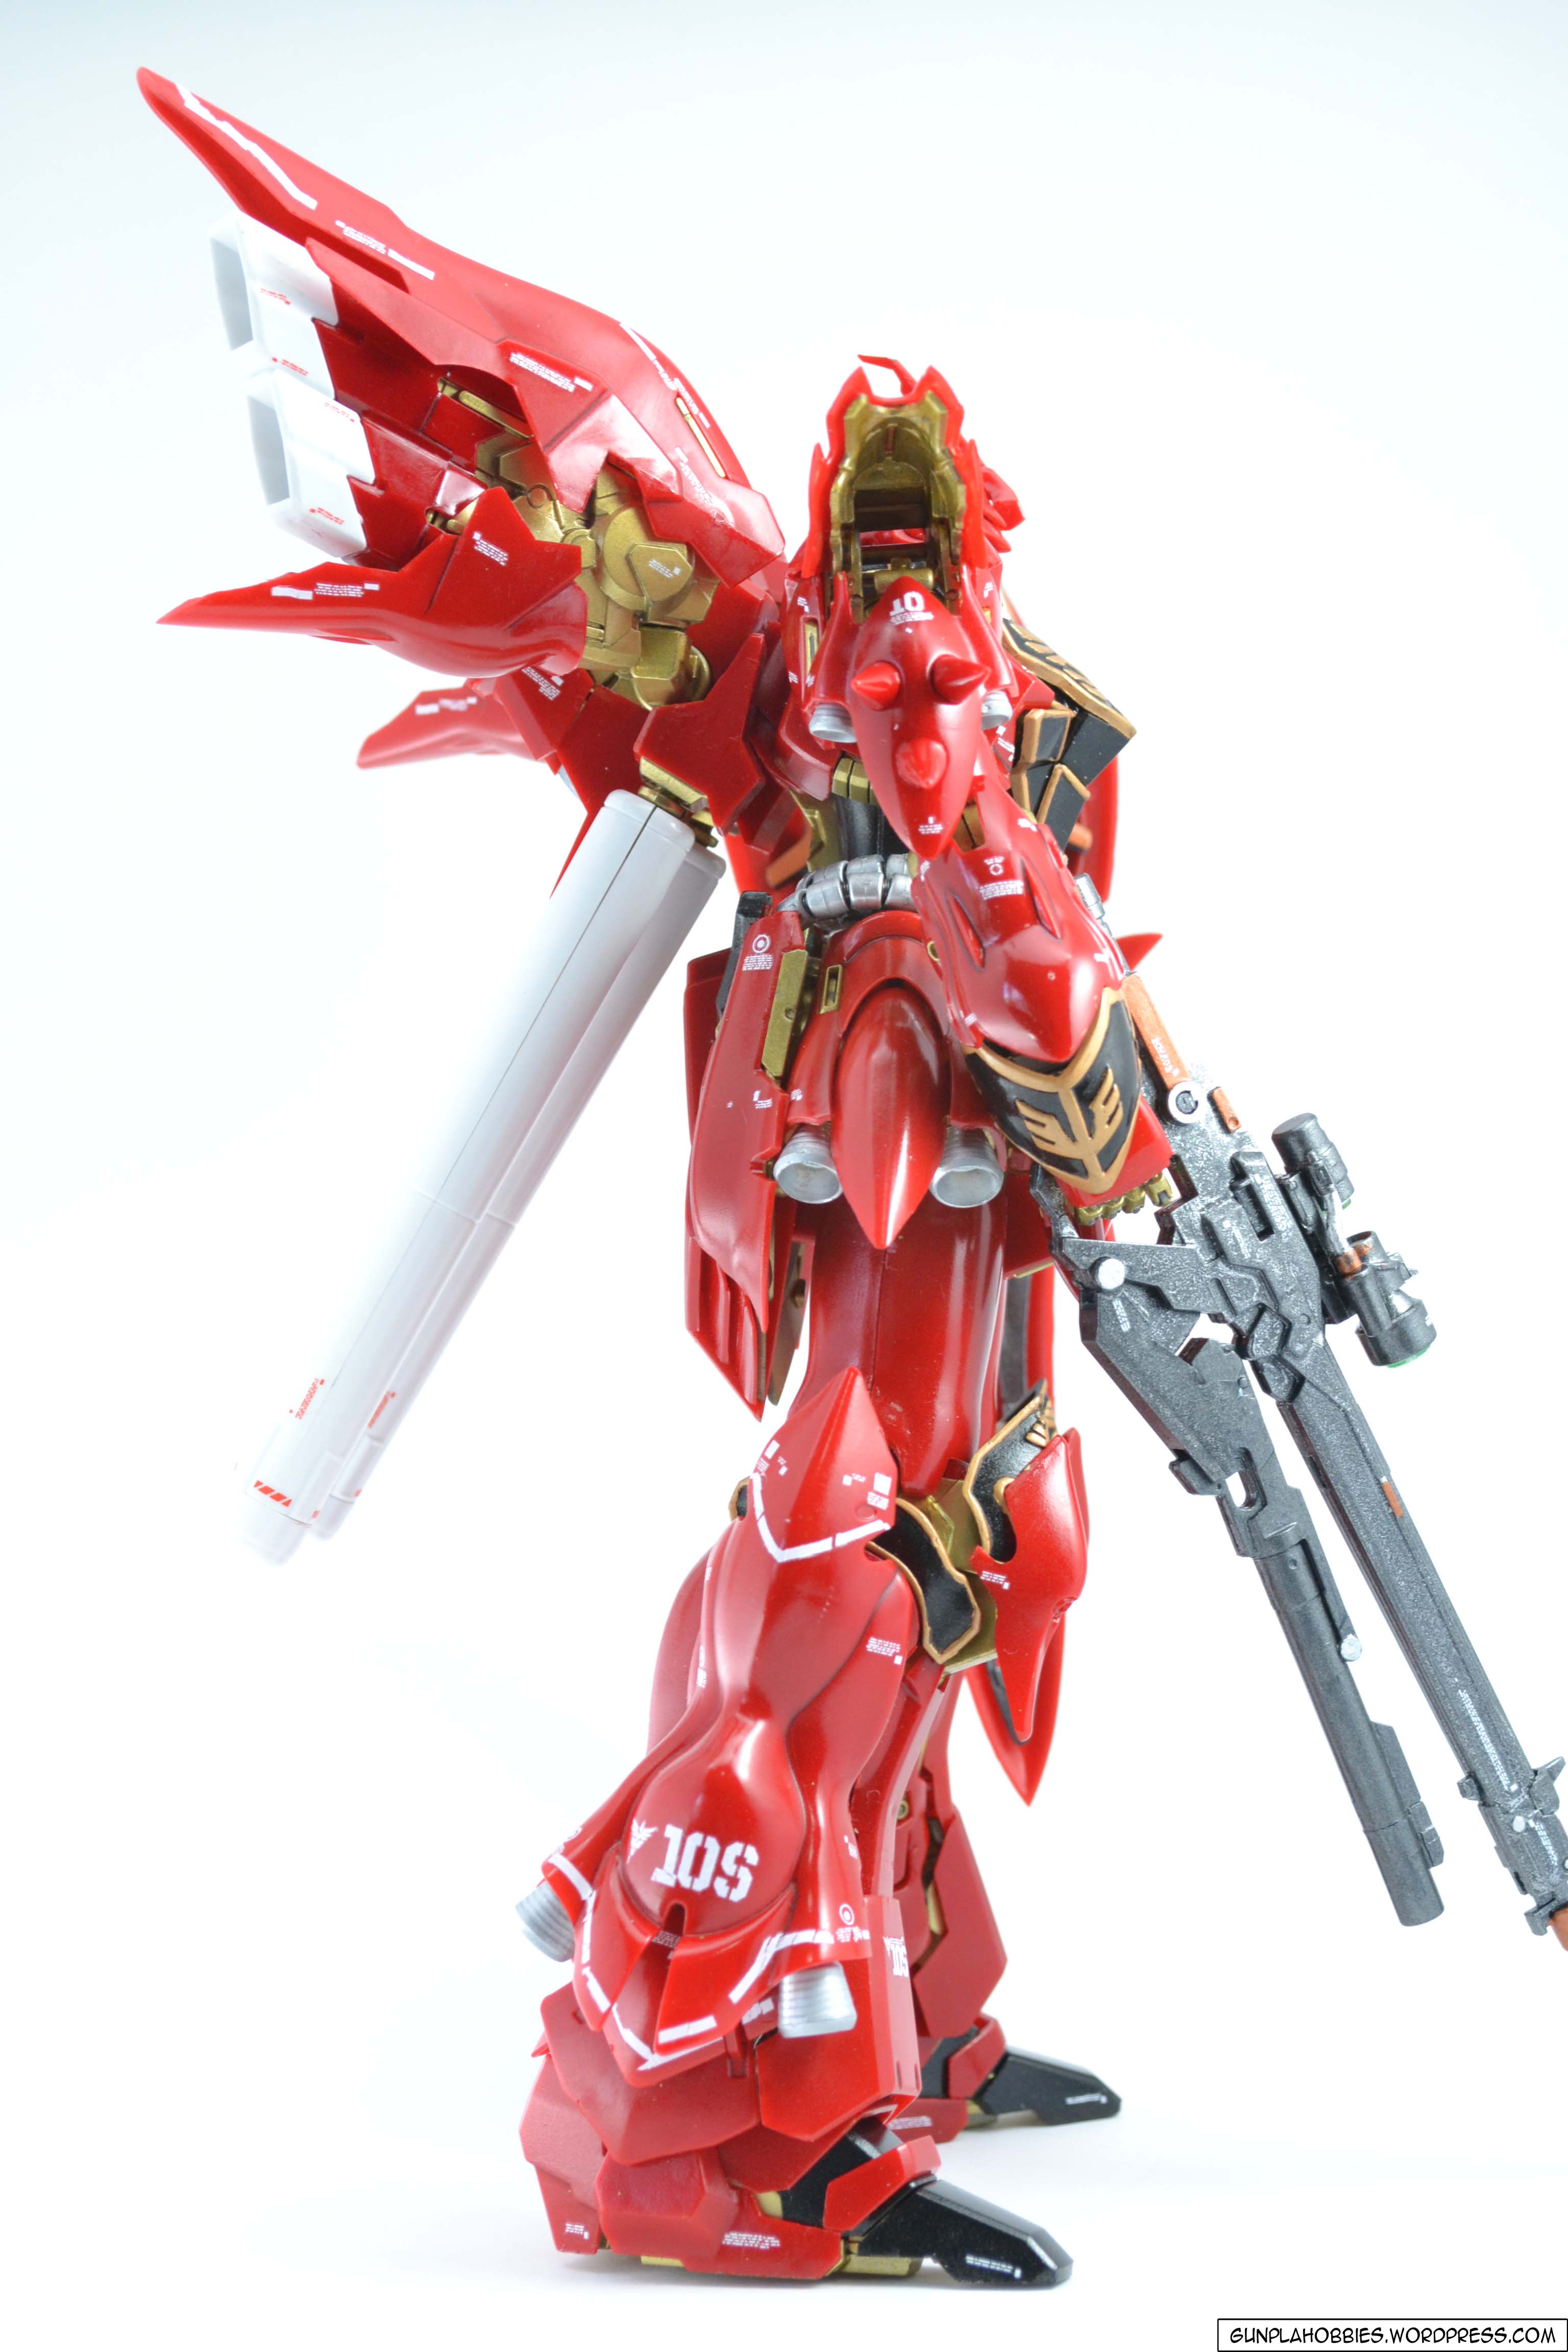
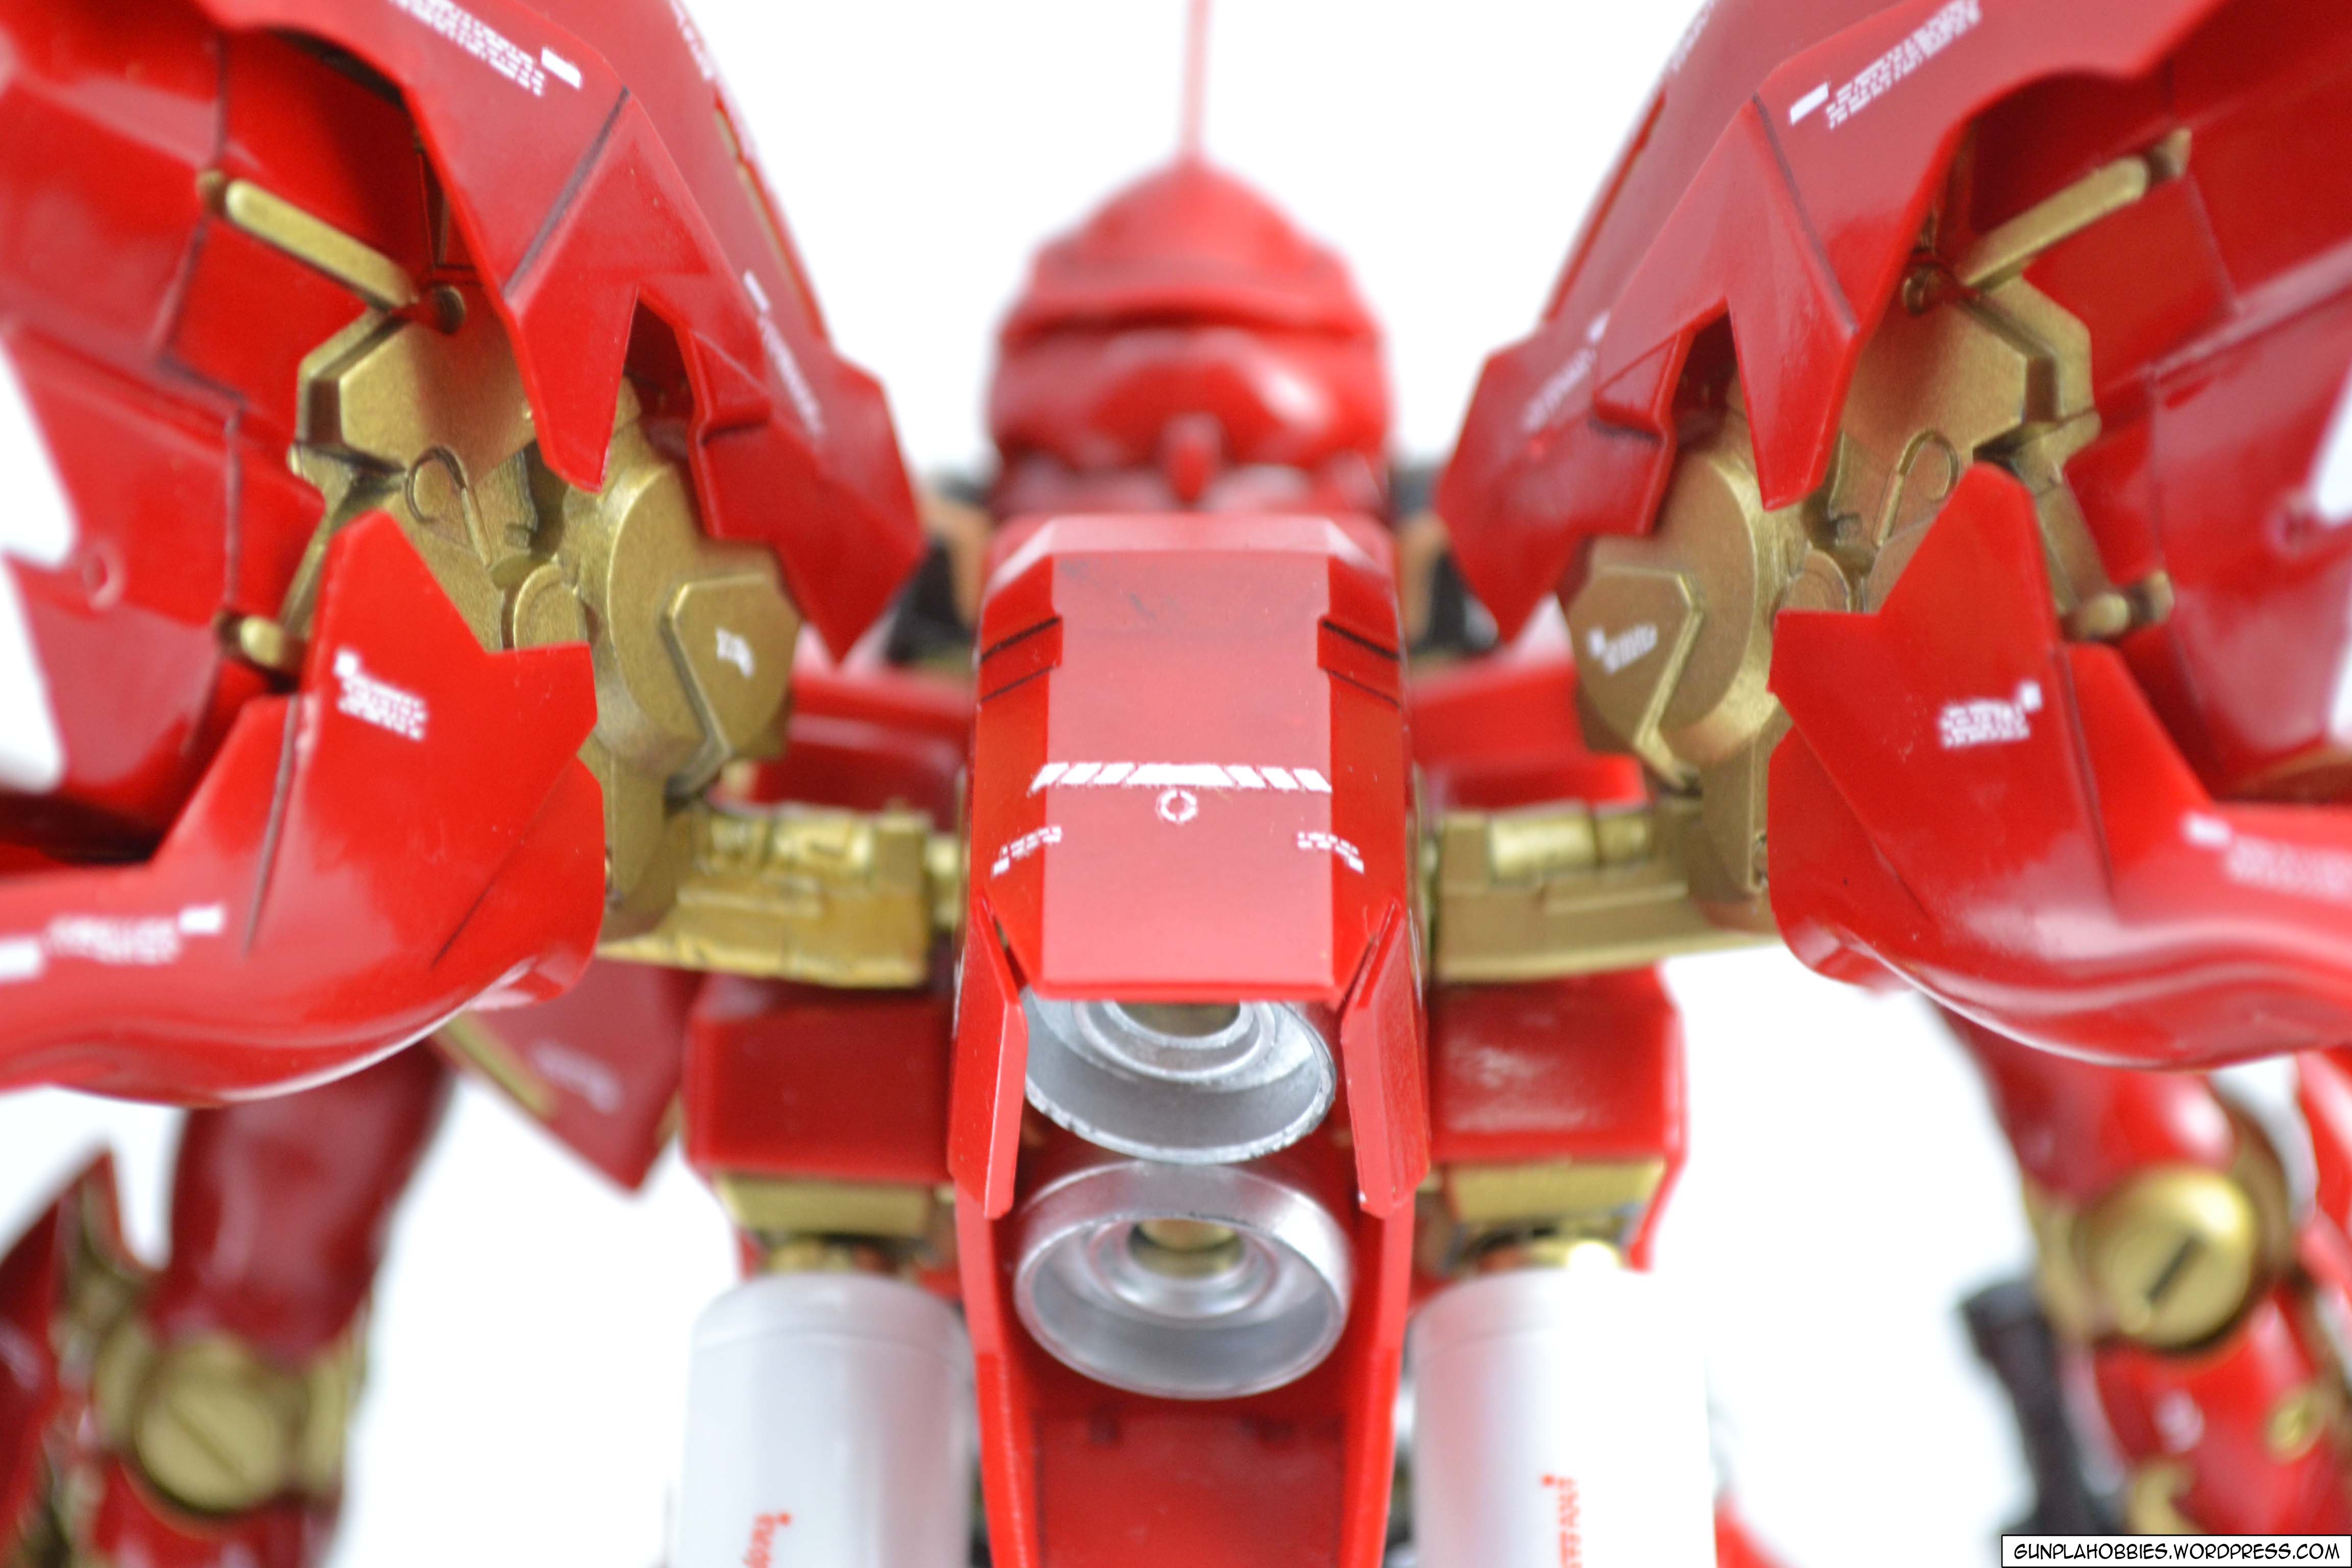
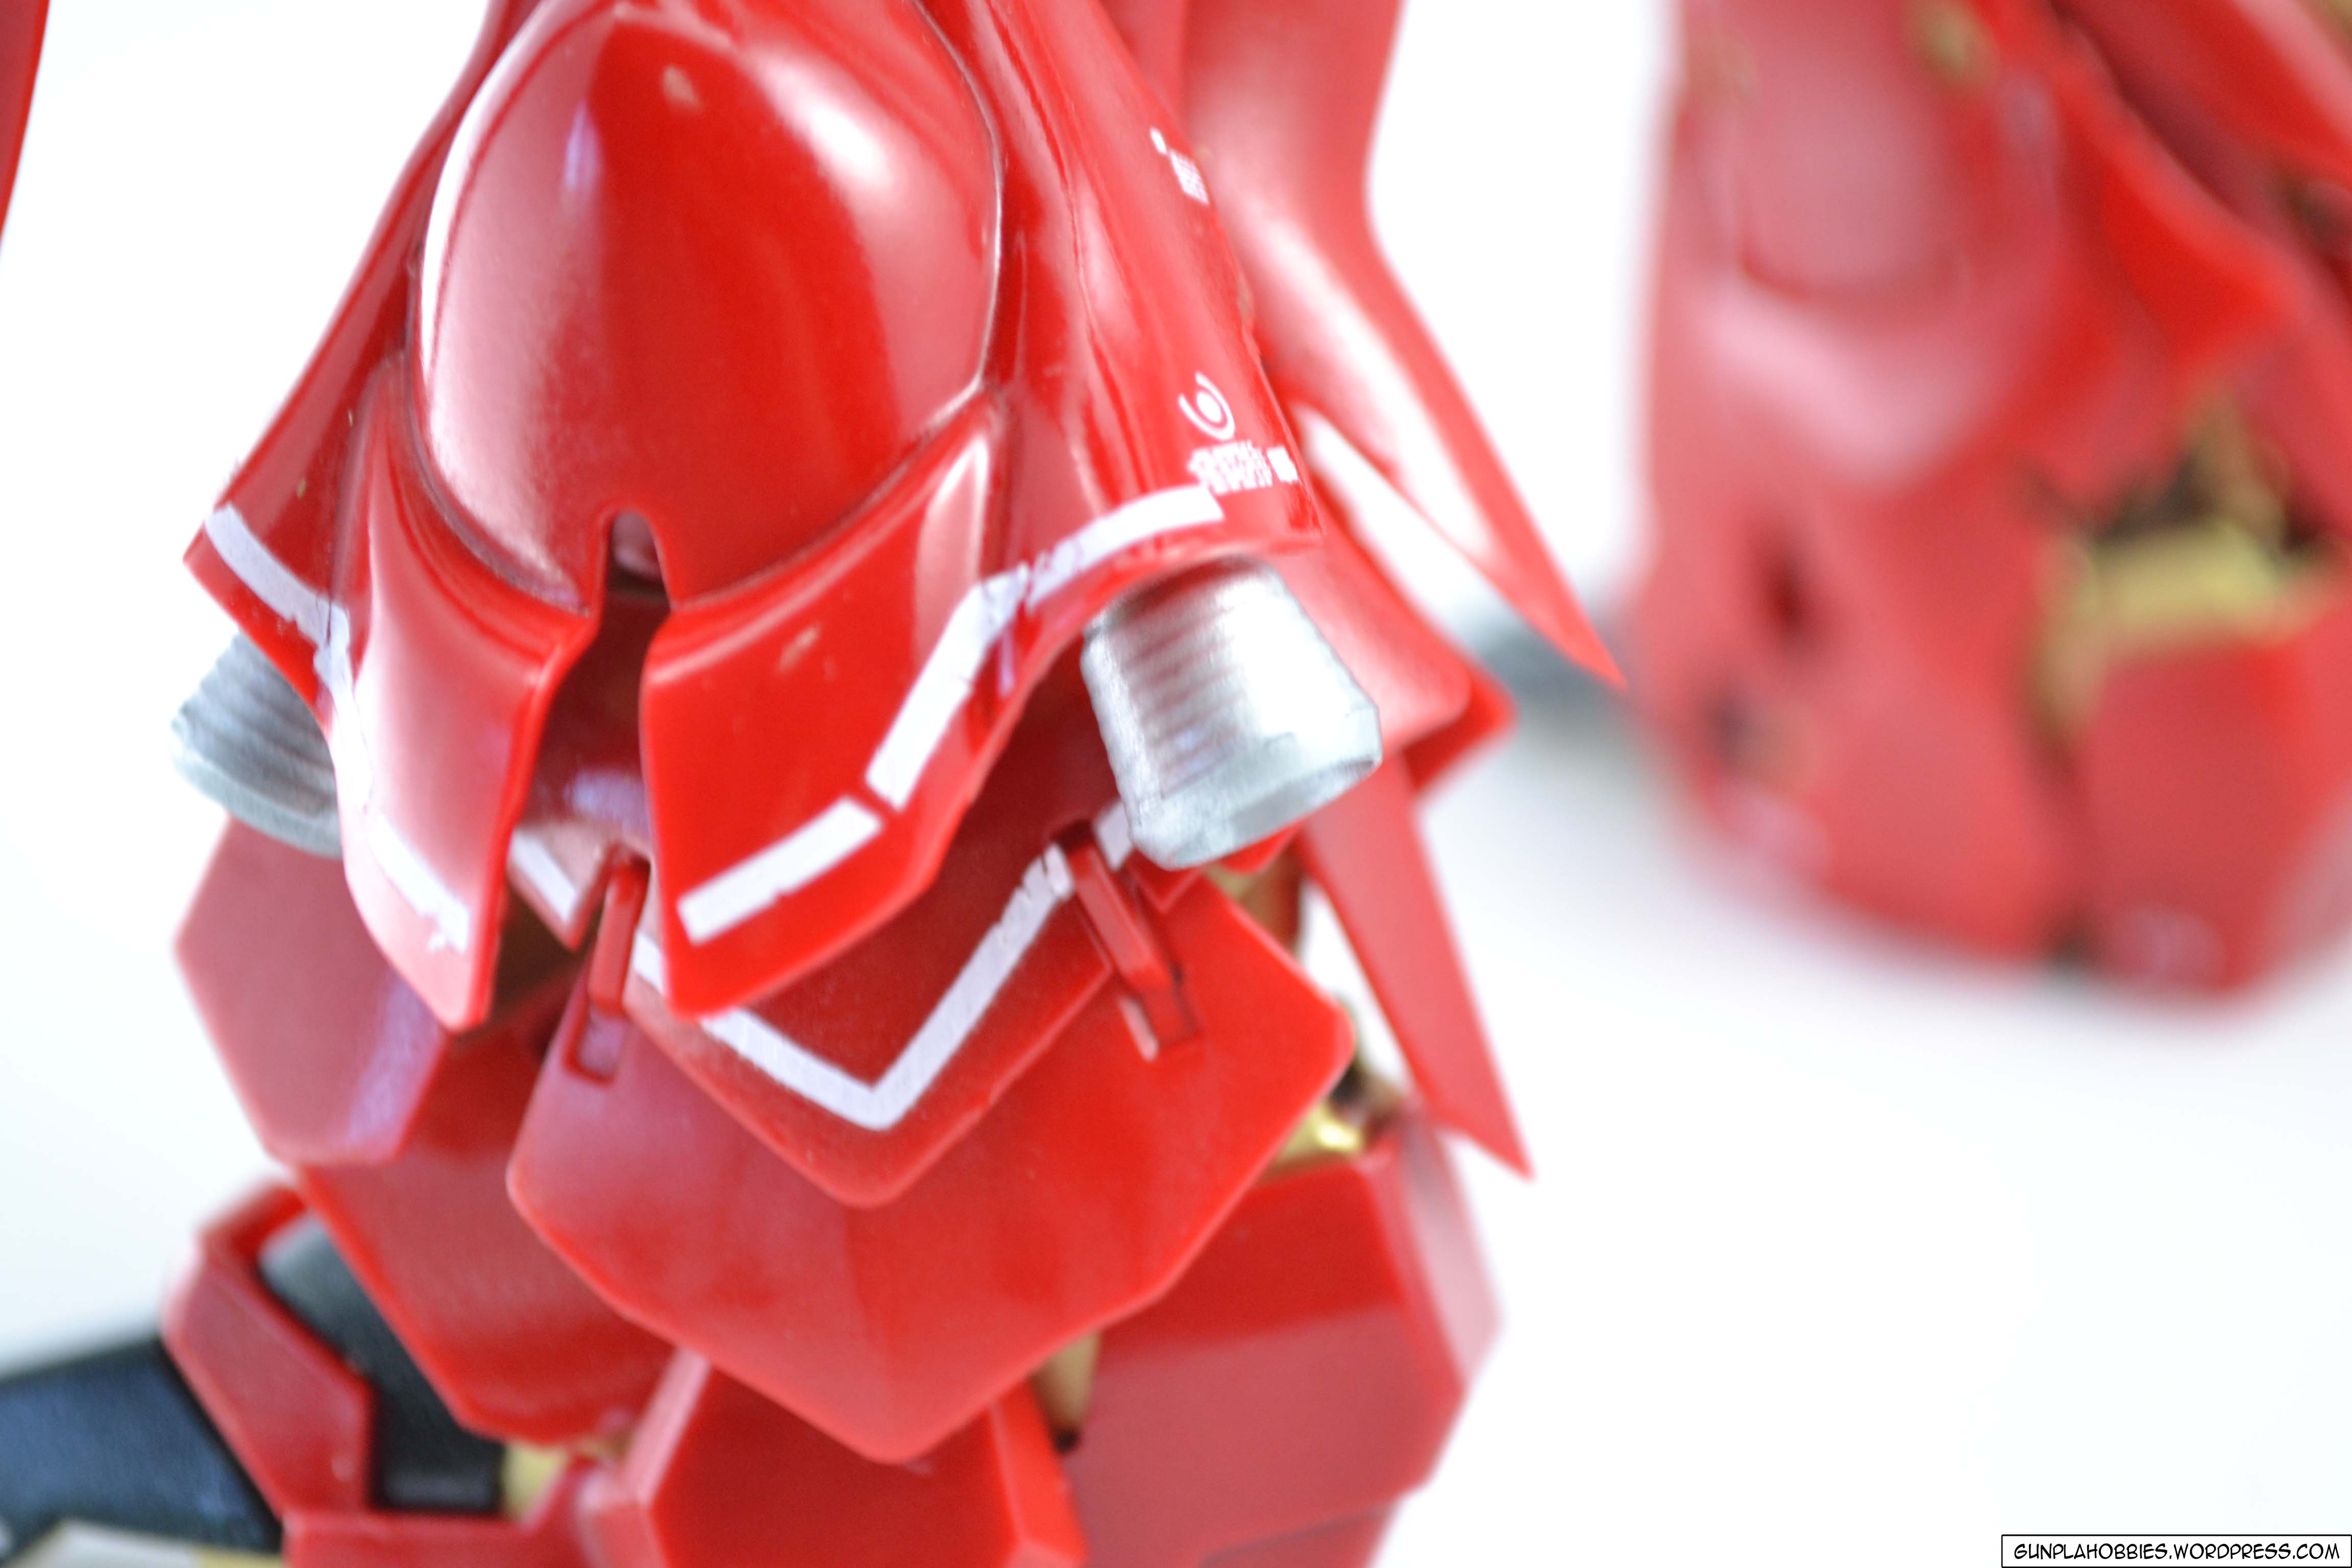
Pyloz Lazer No. 700 Bright Chrome – for the thrusters.
Bosny No. 190 Gloss Clear – for the top coat.
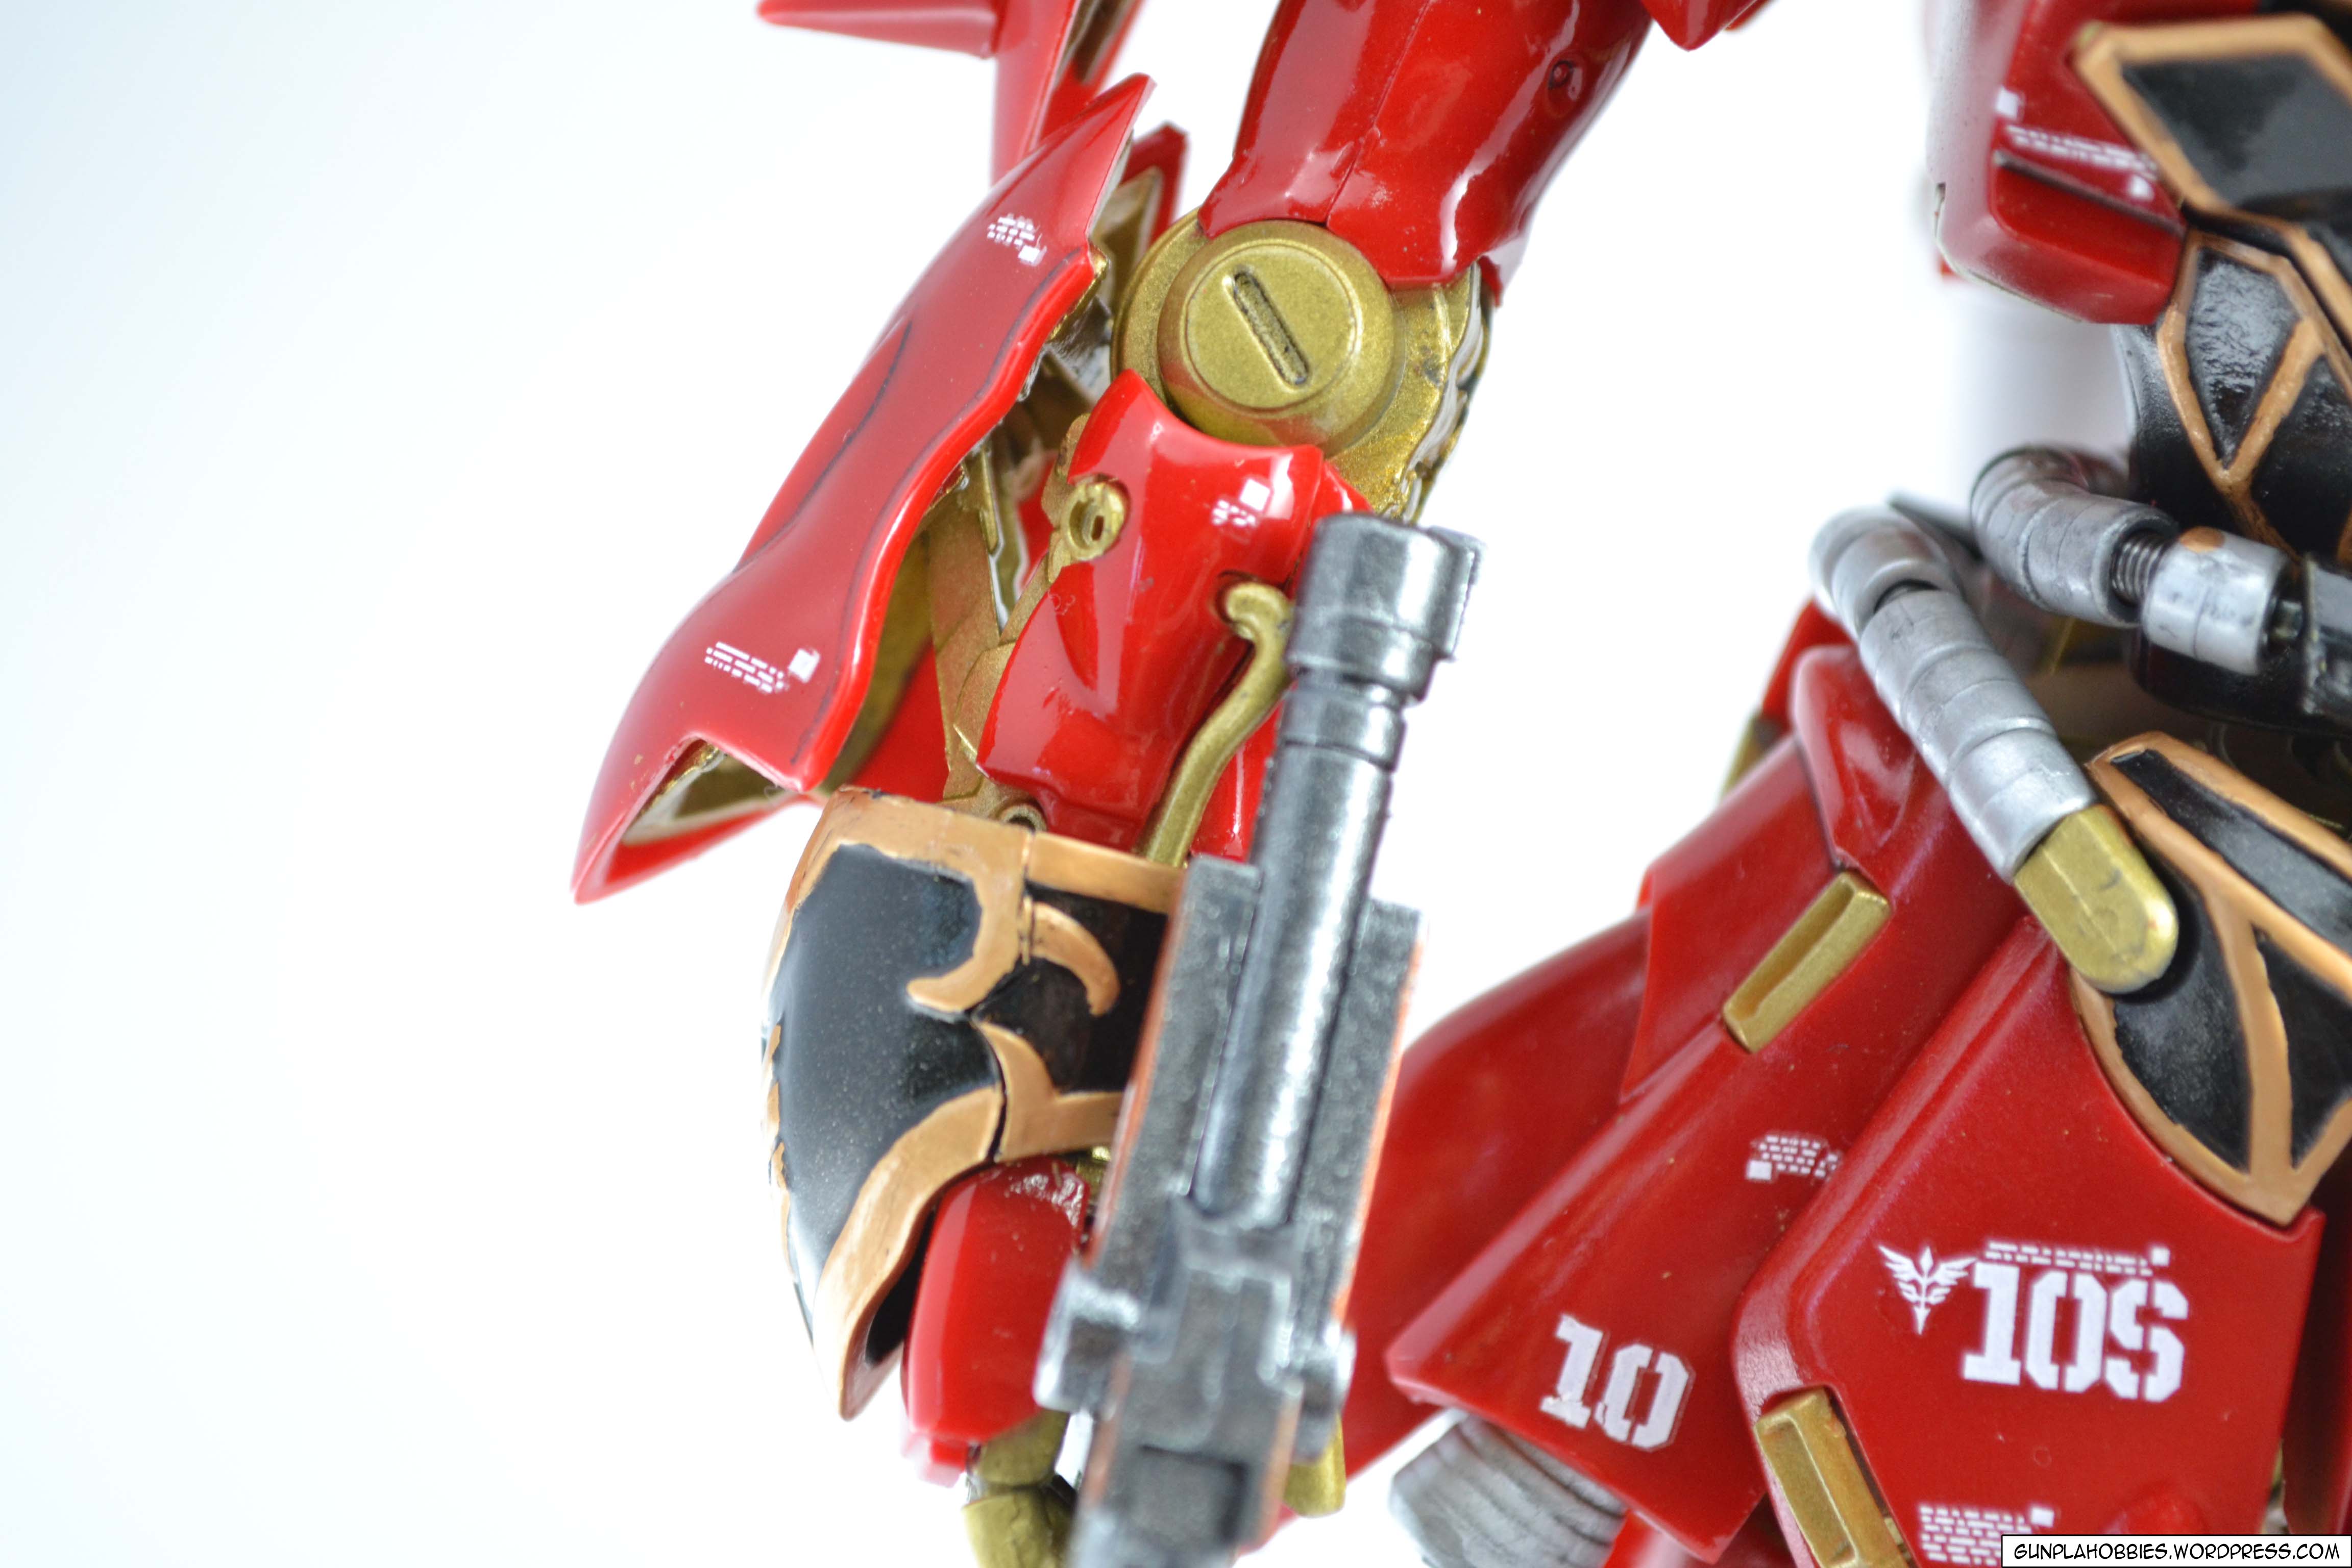
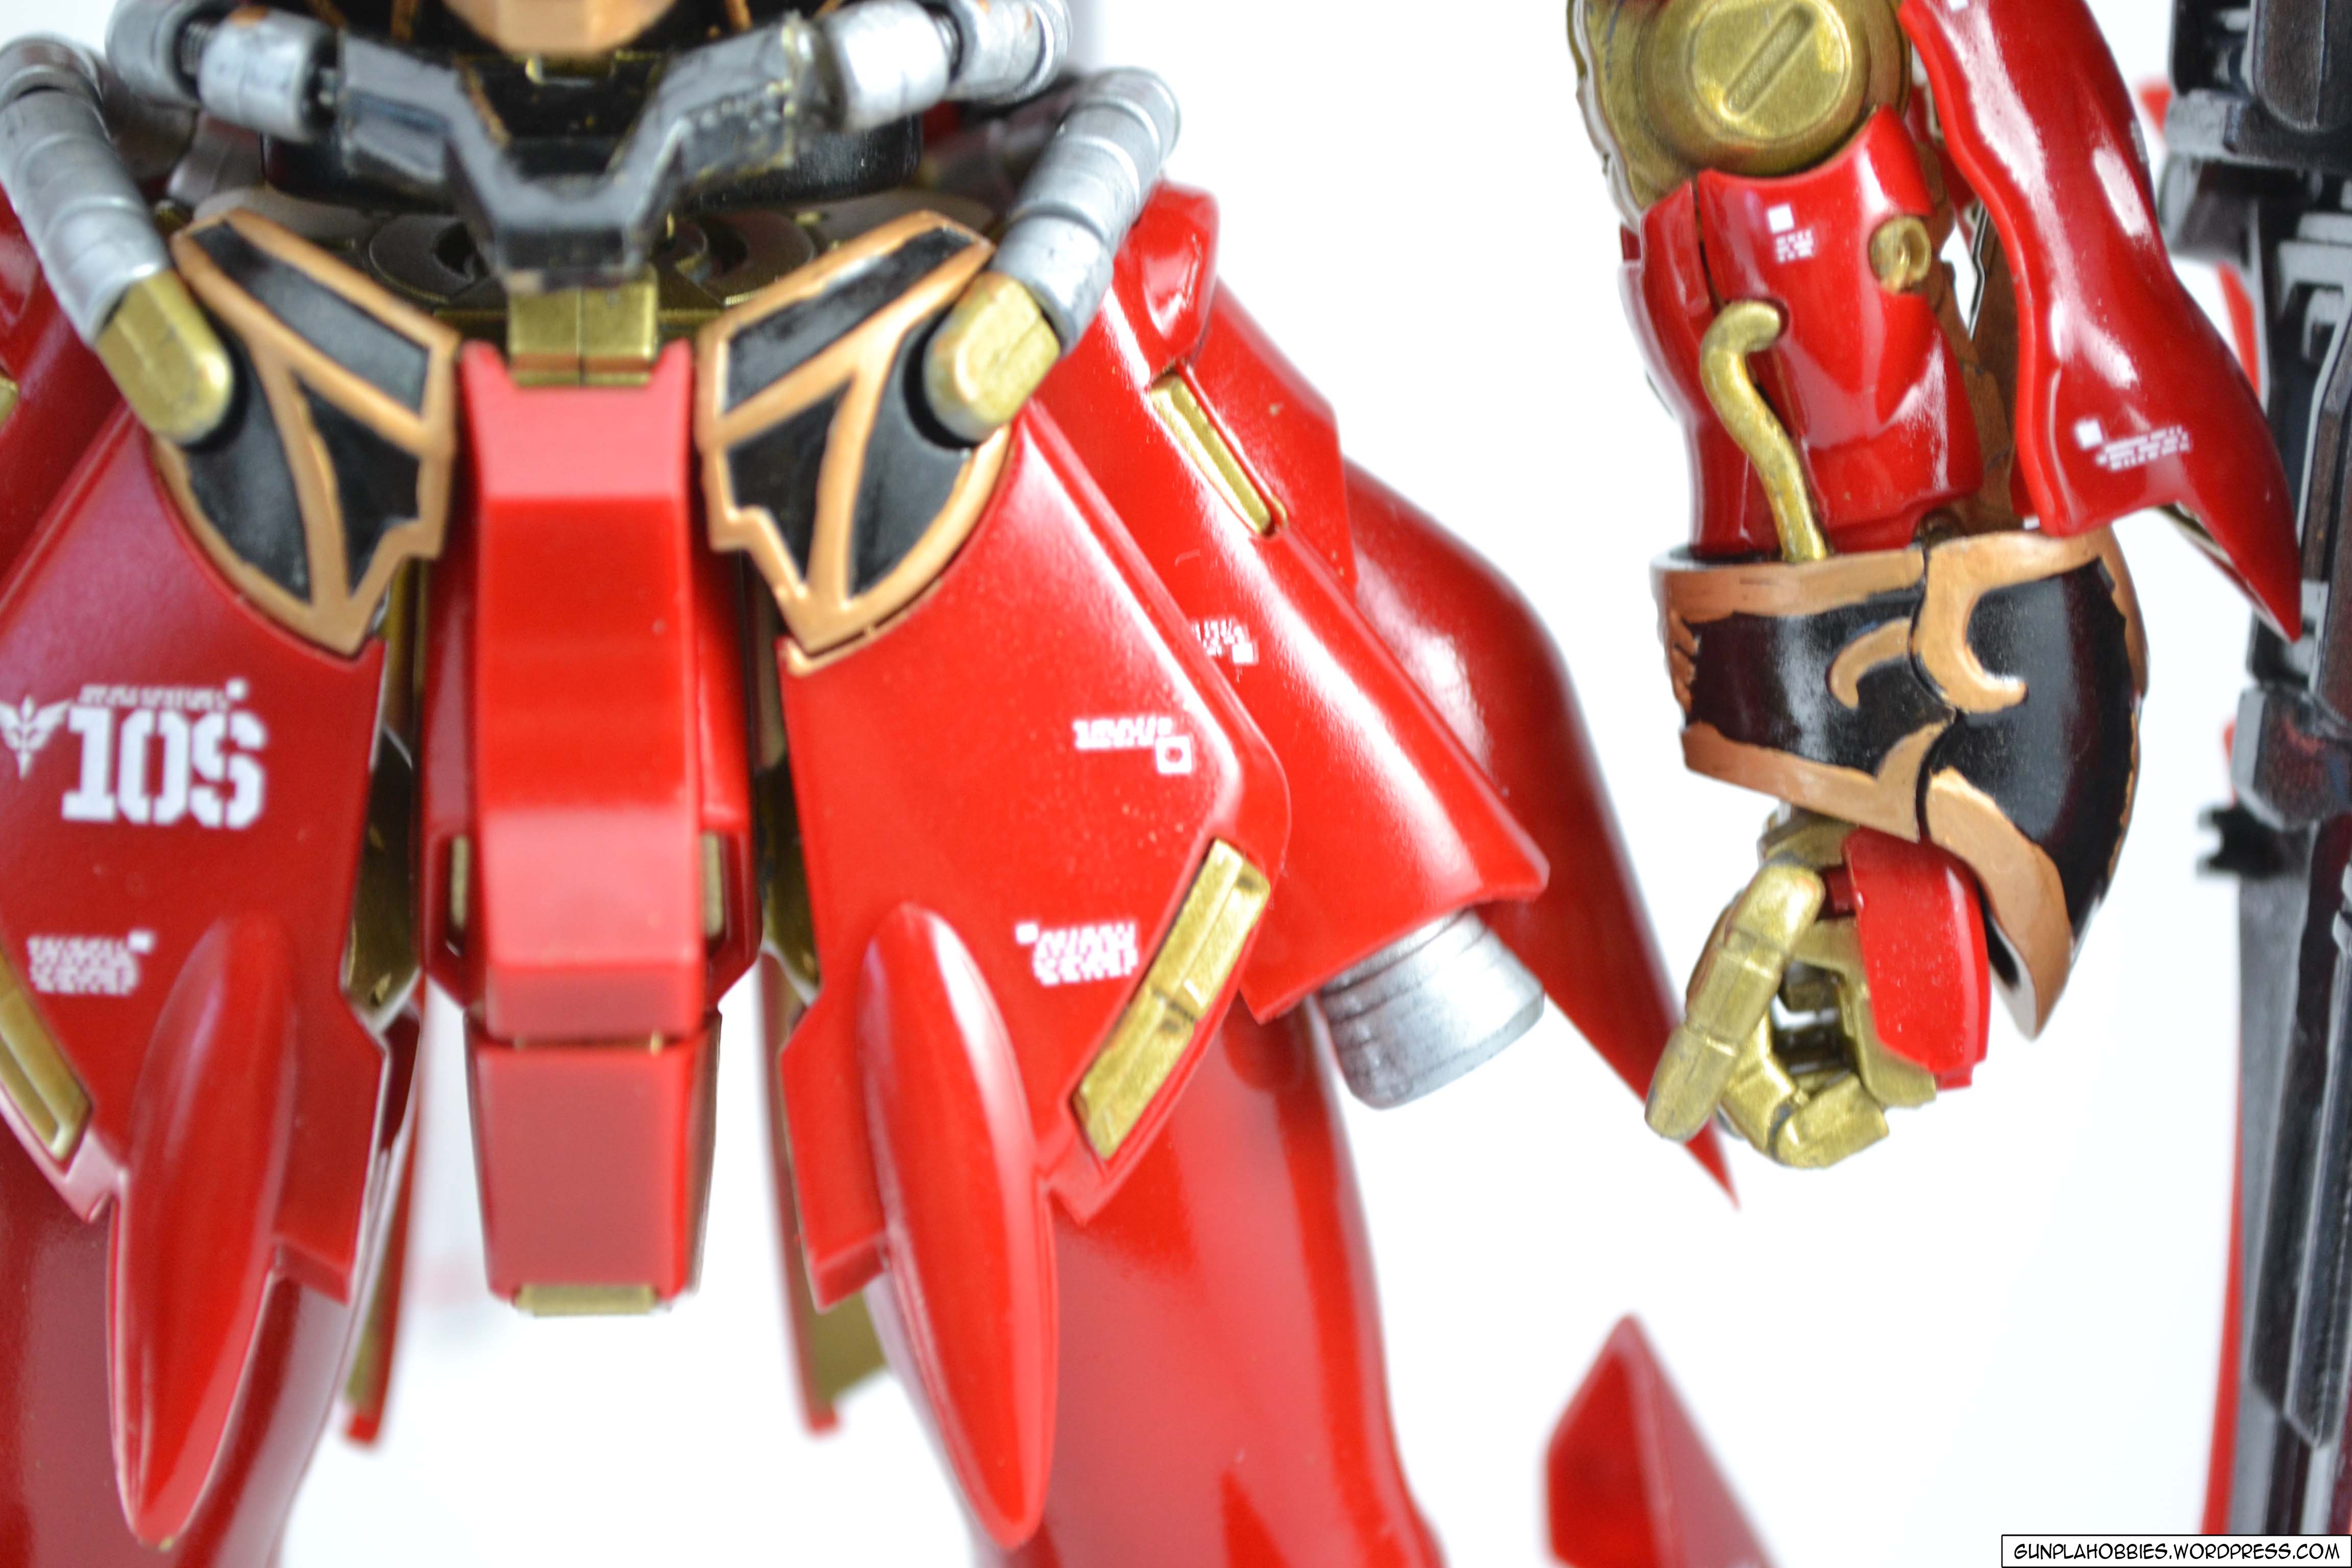
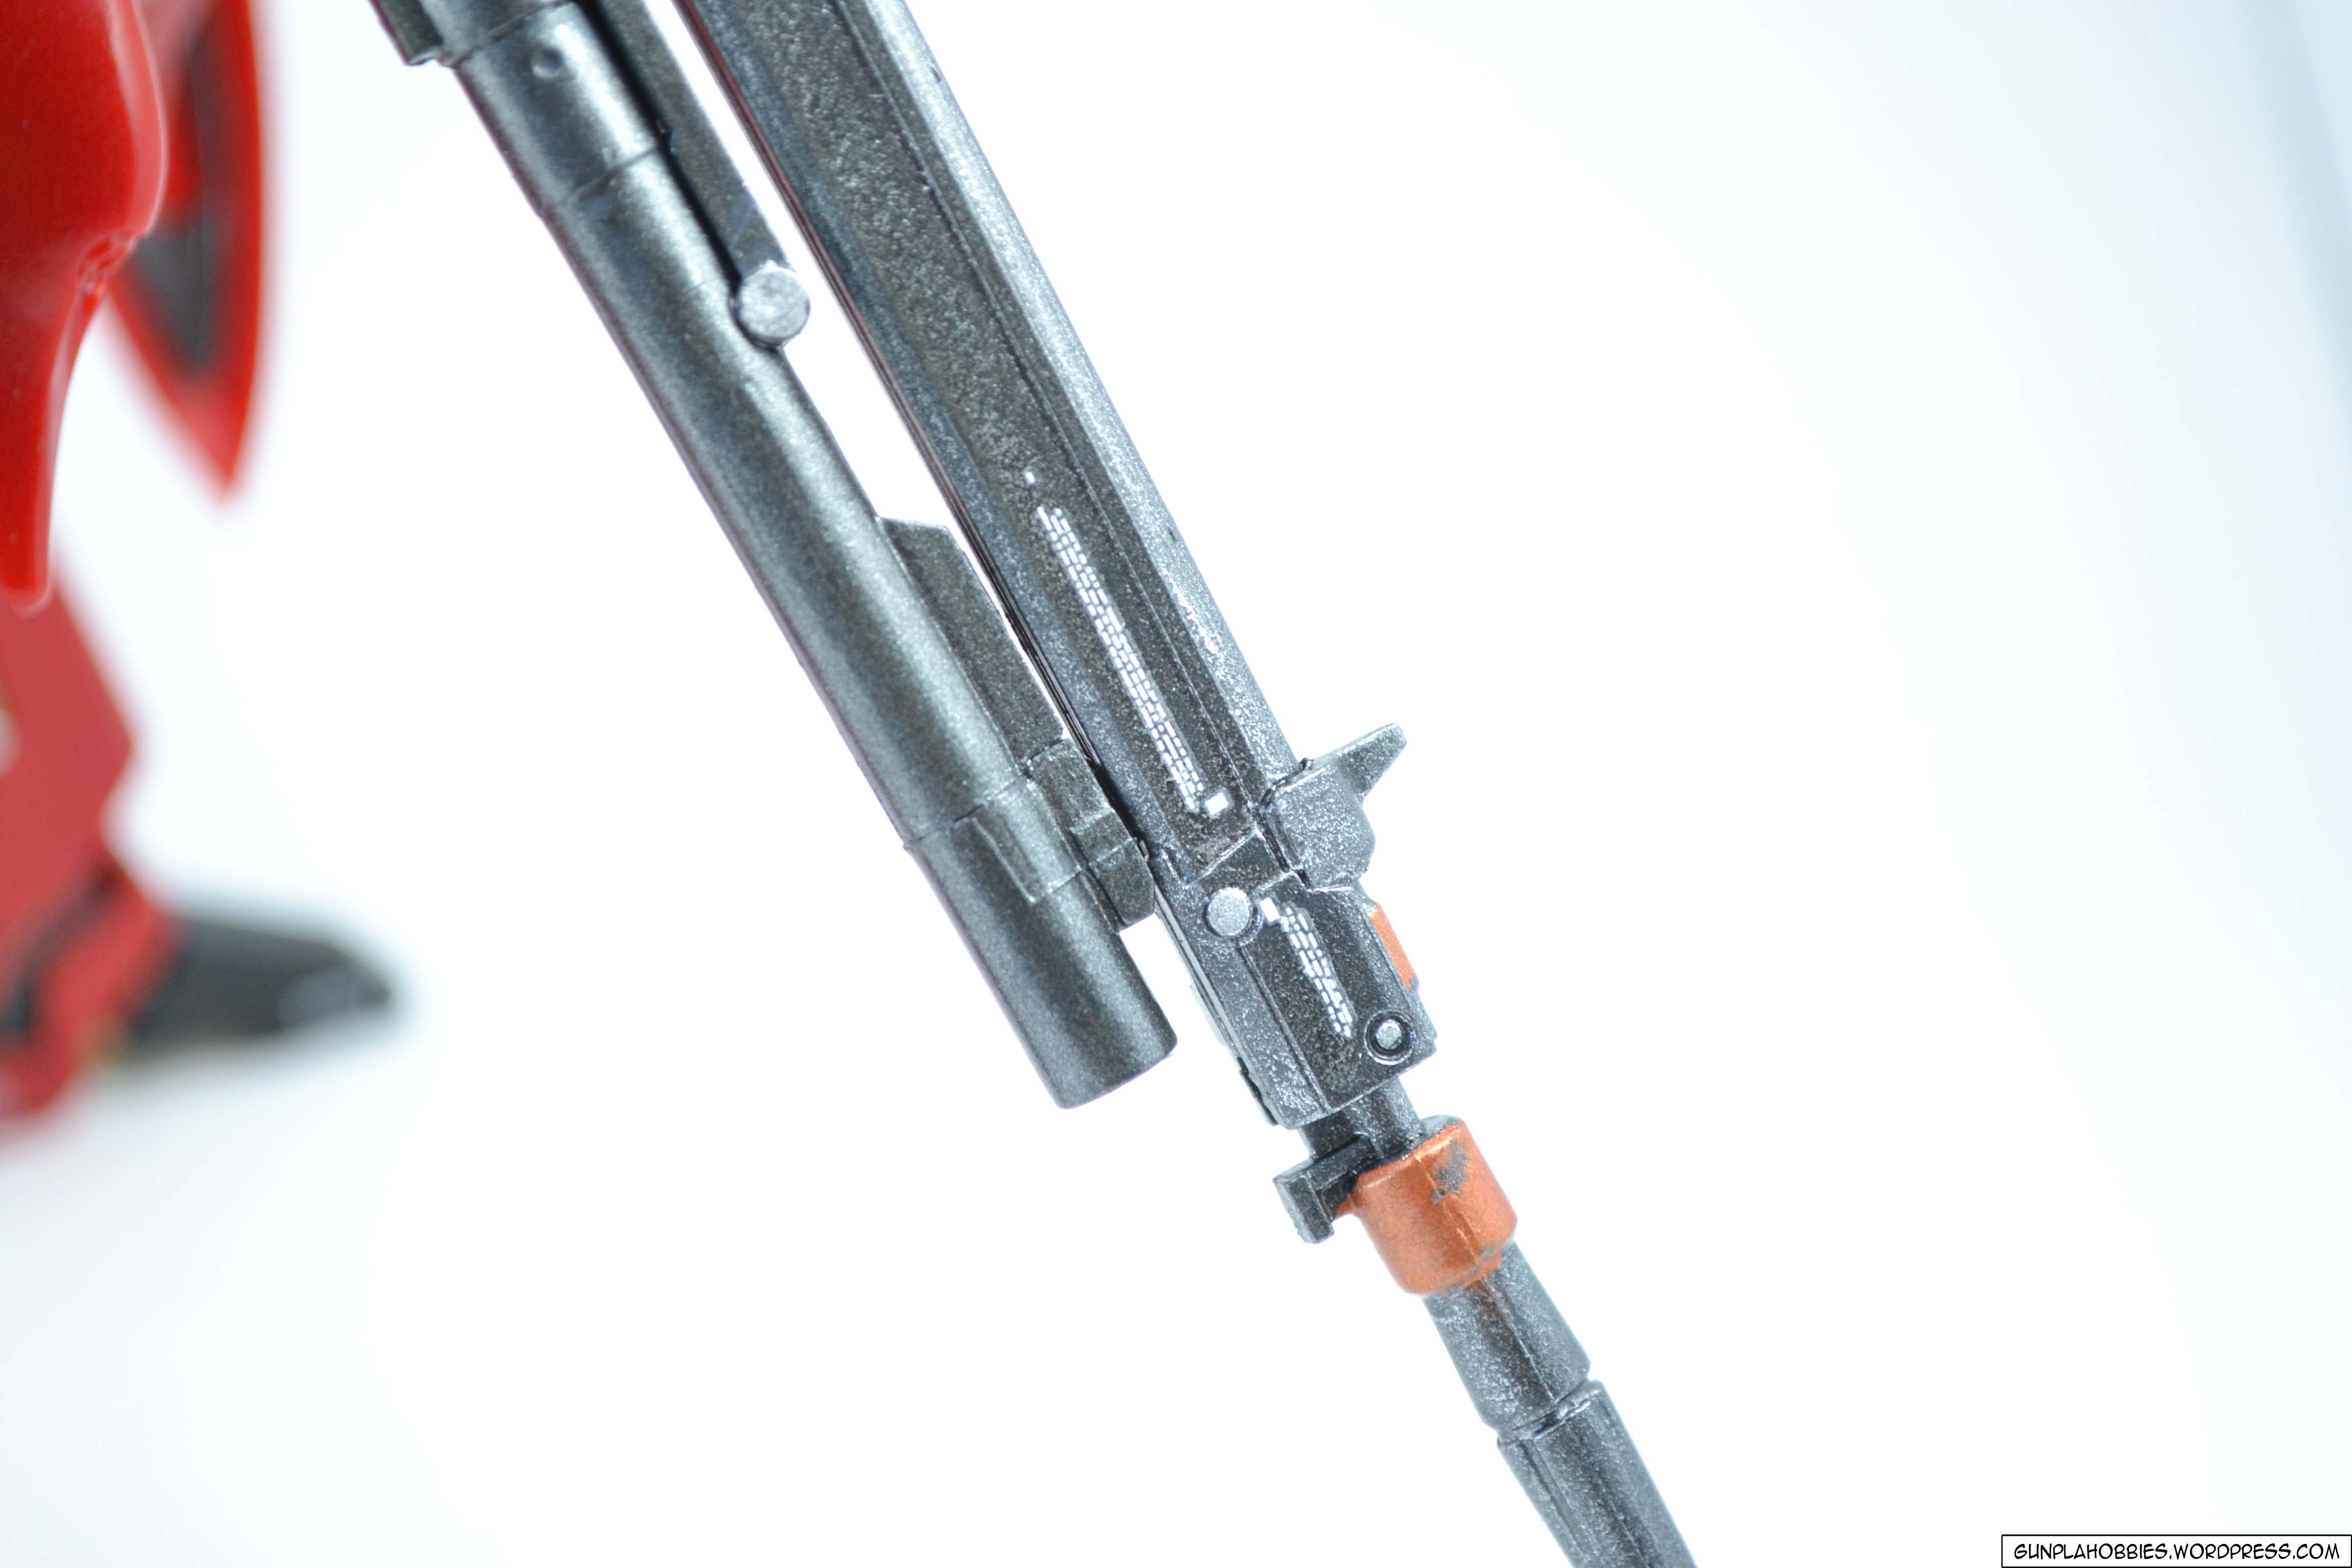
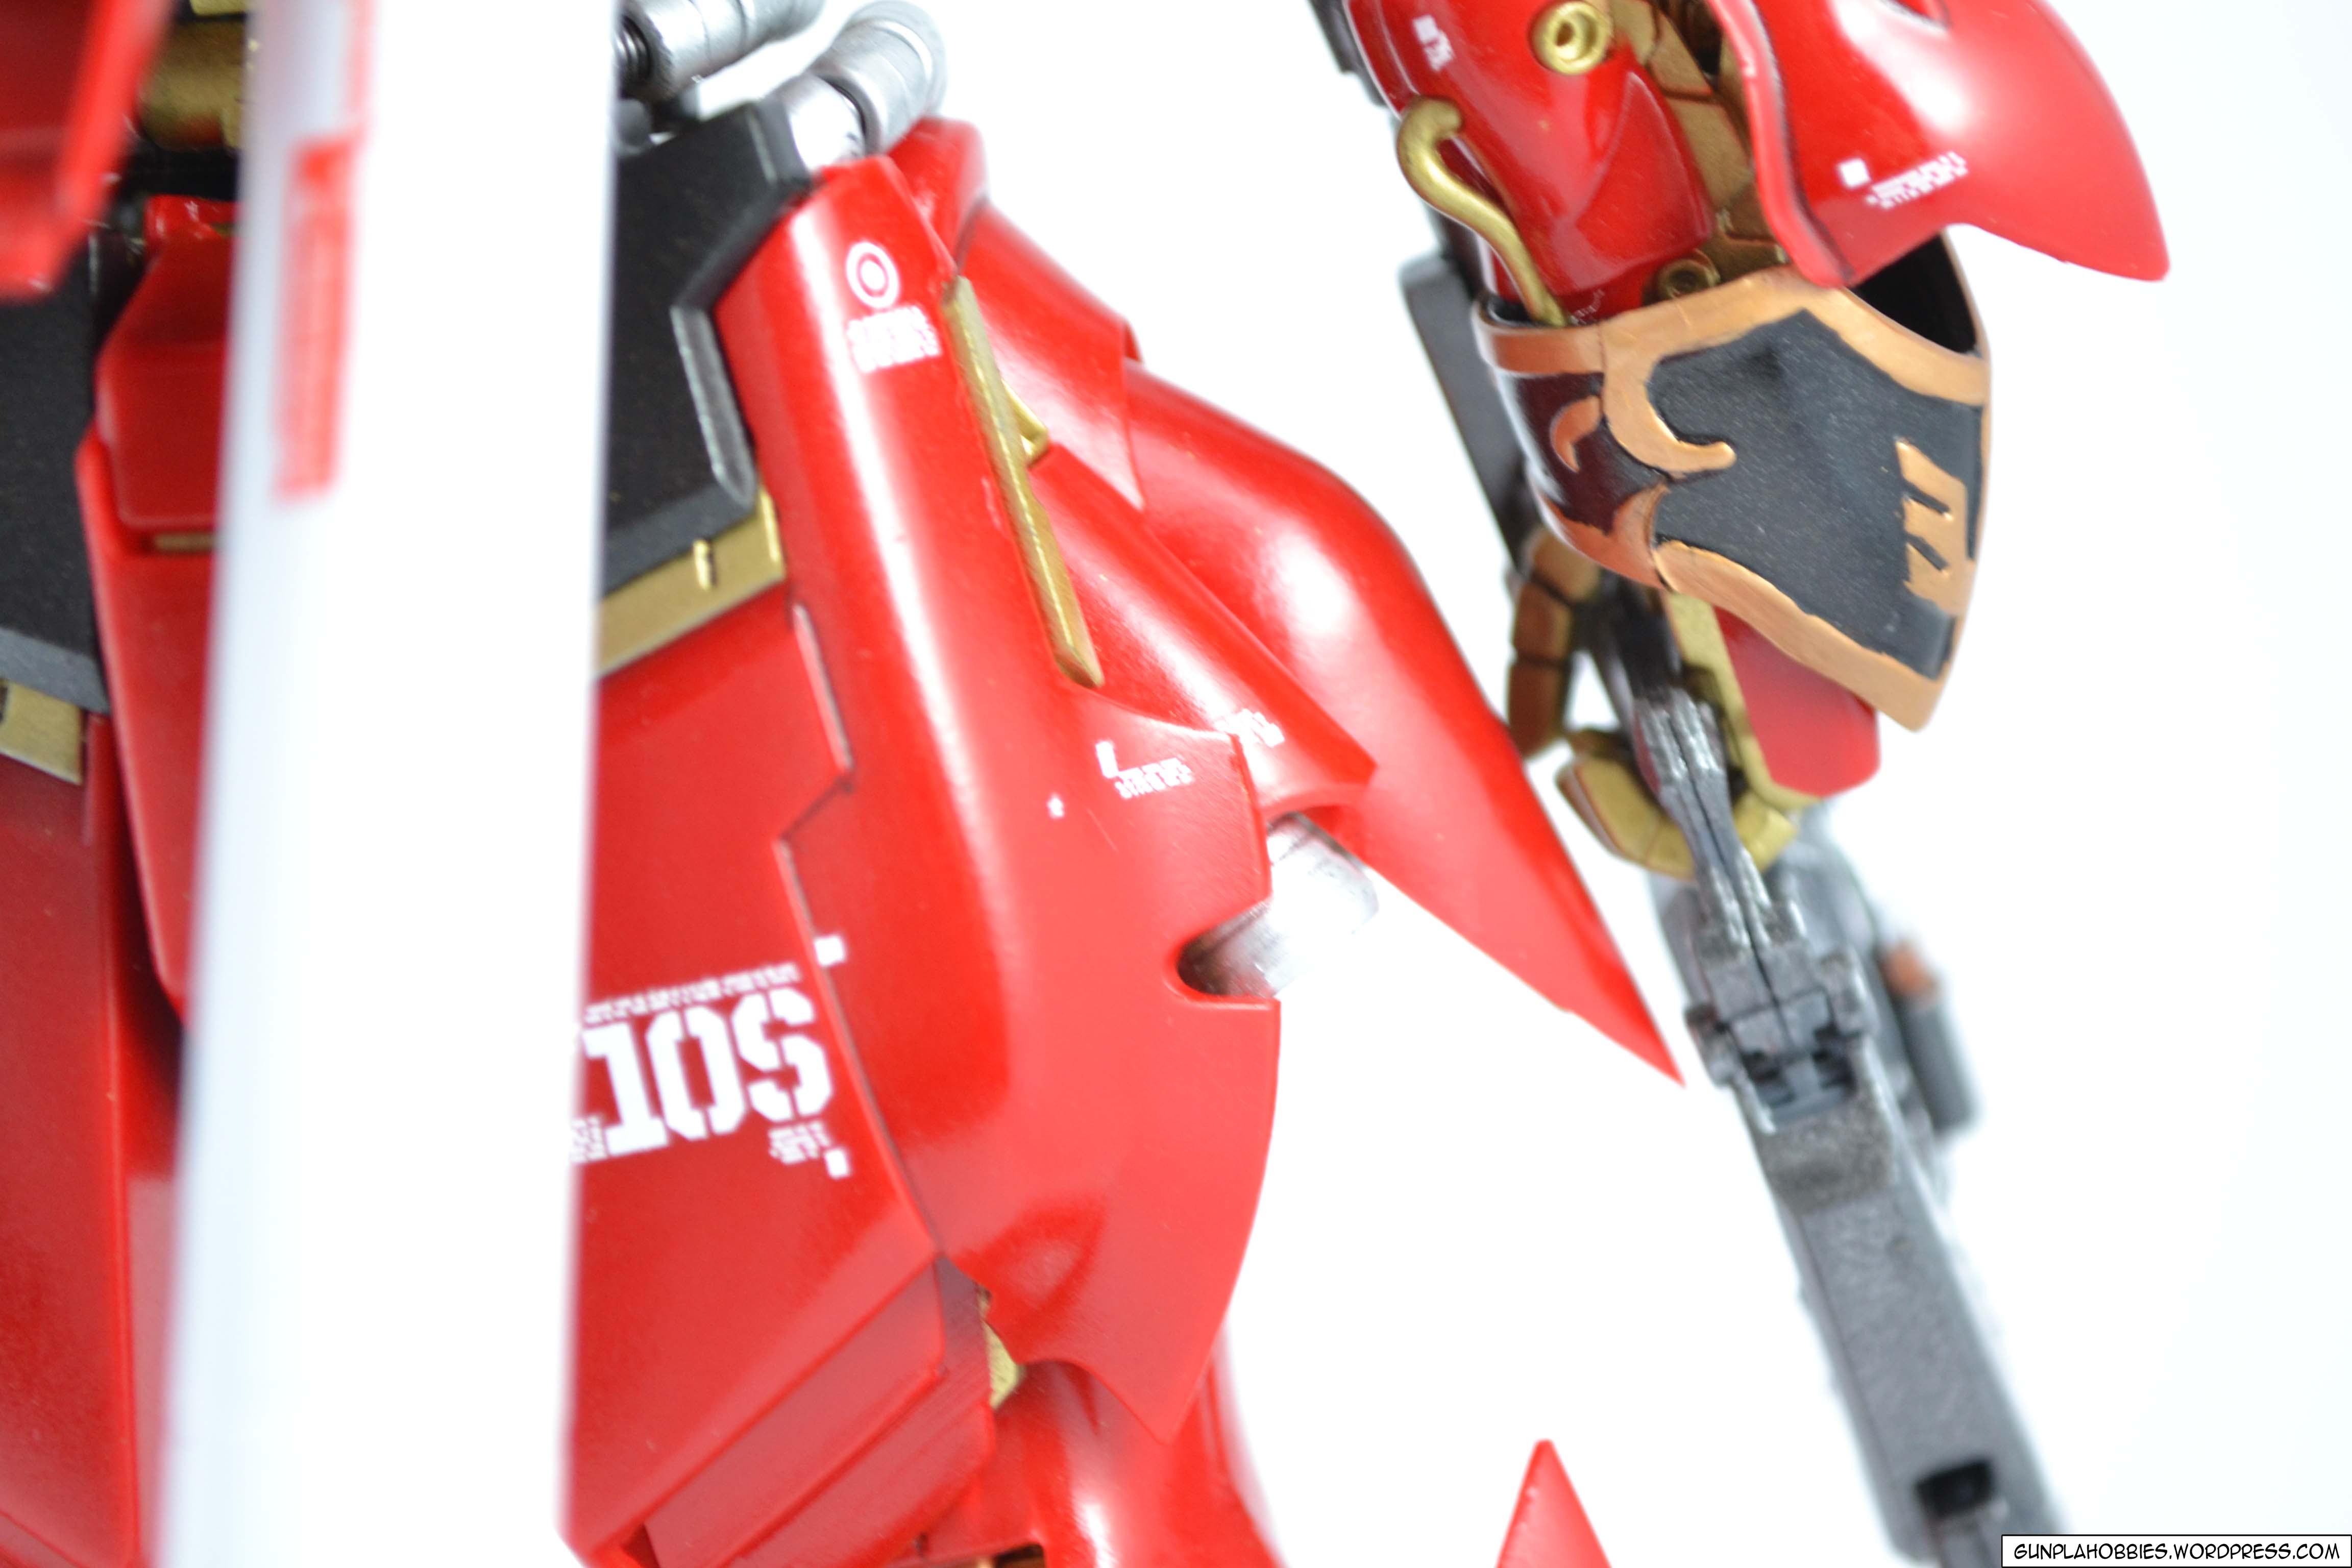
For the emblems, I hand painted them using Mr Metal Color No. 217 Gold and Gun Metal for the weapons.
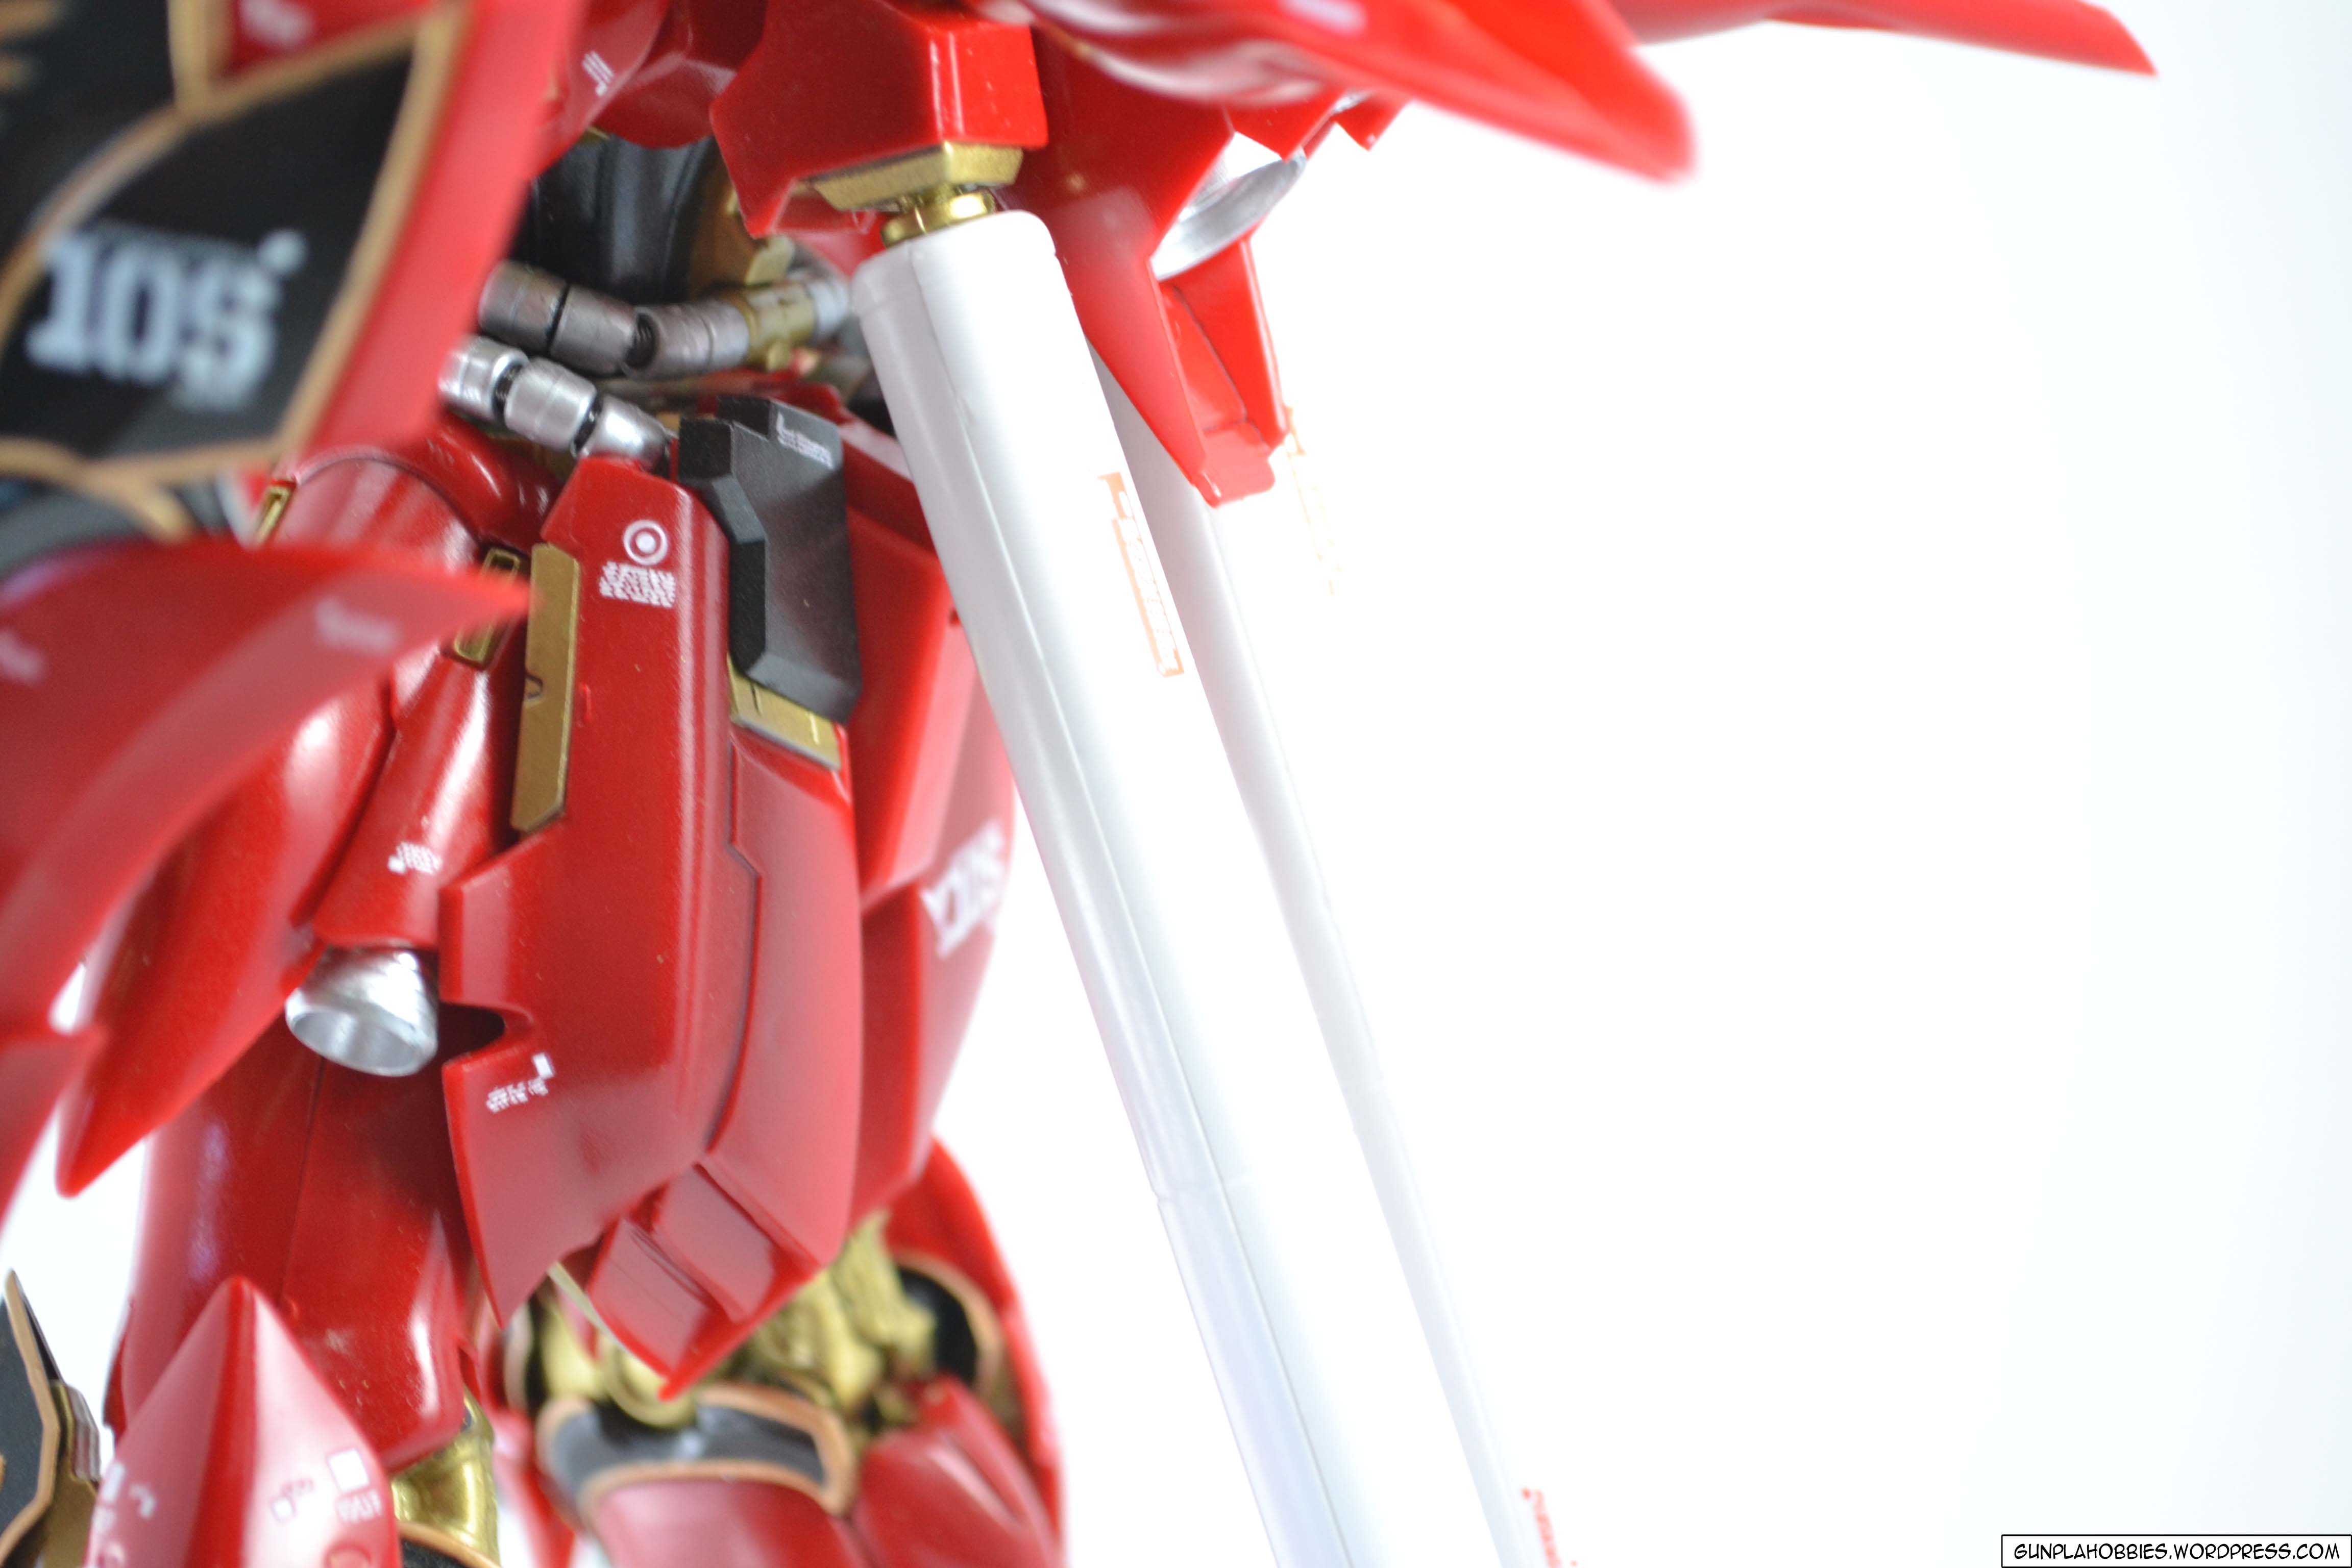
Here are some ‘backstage’ photos:


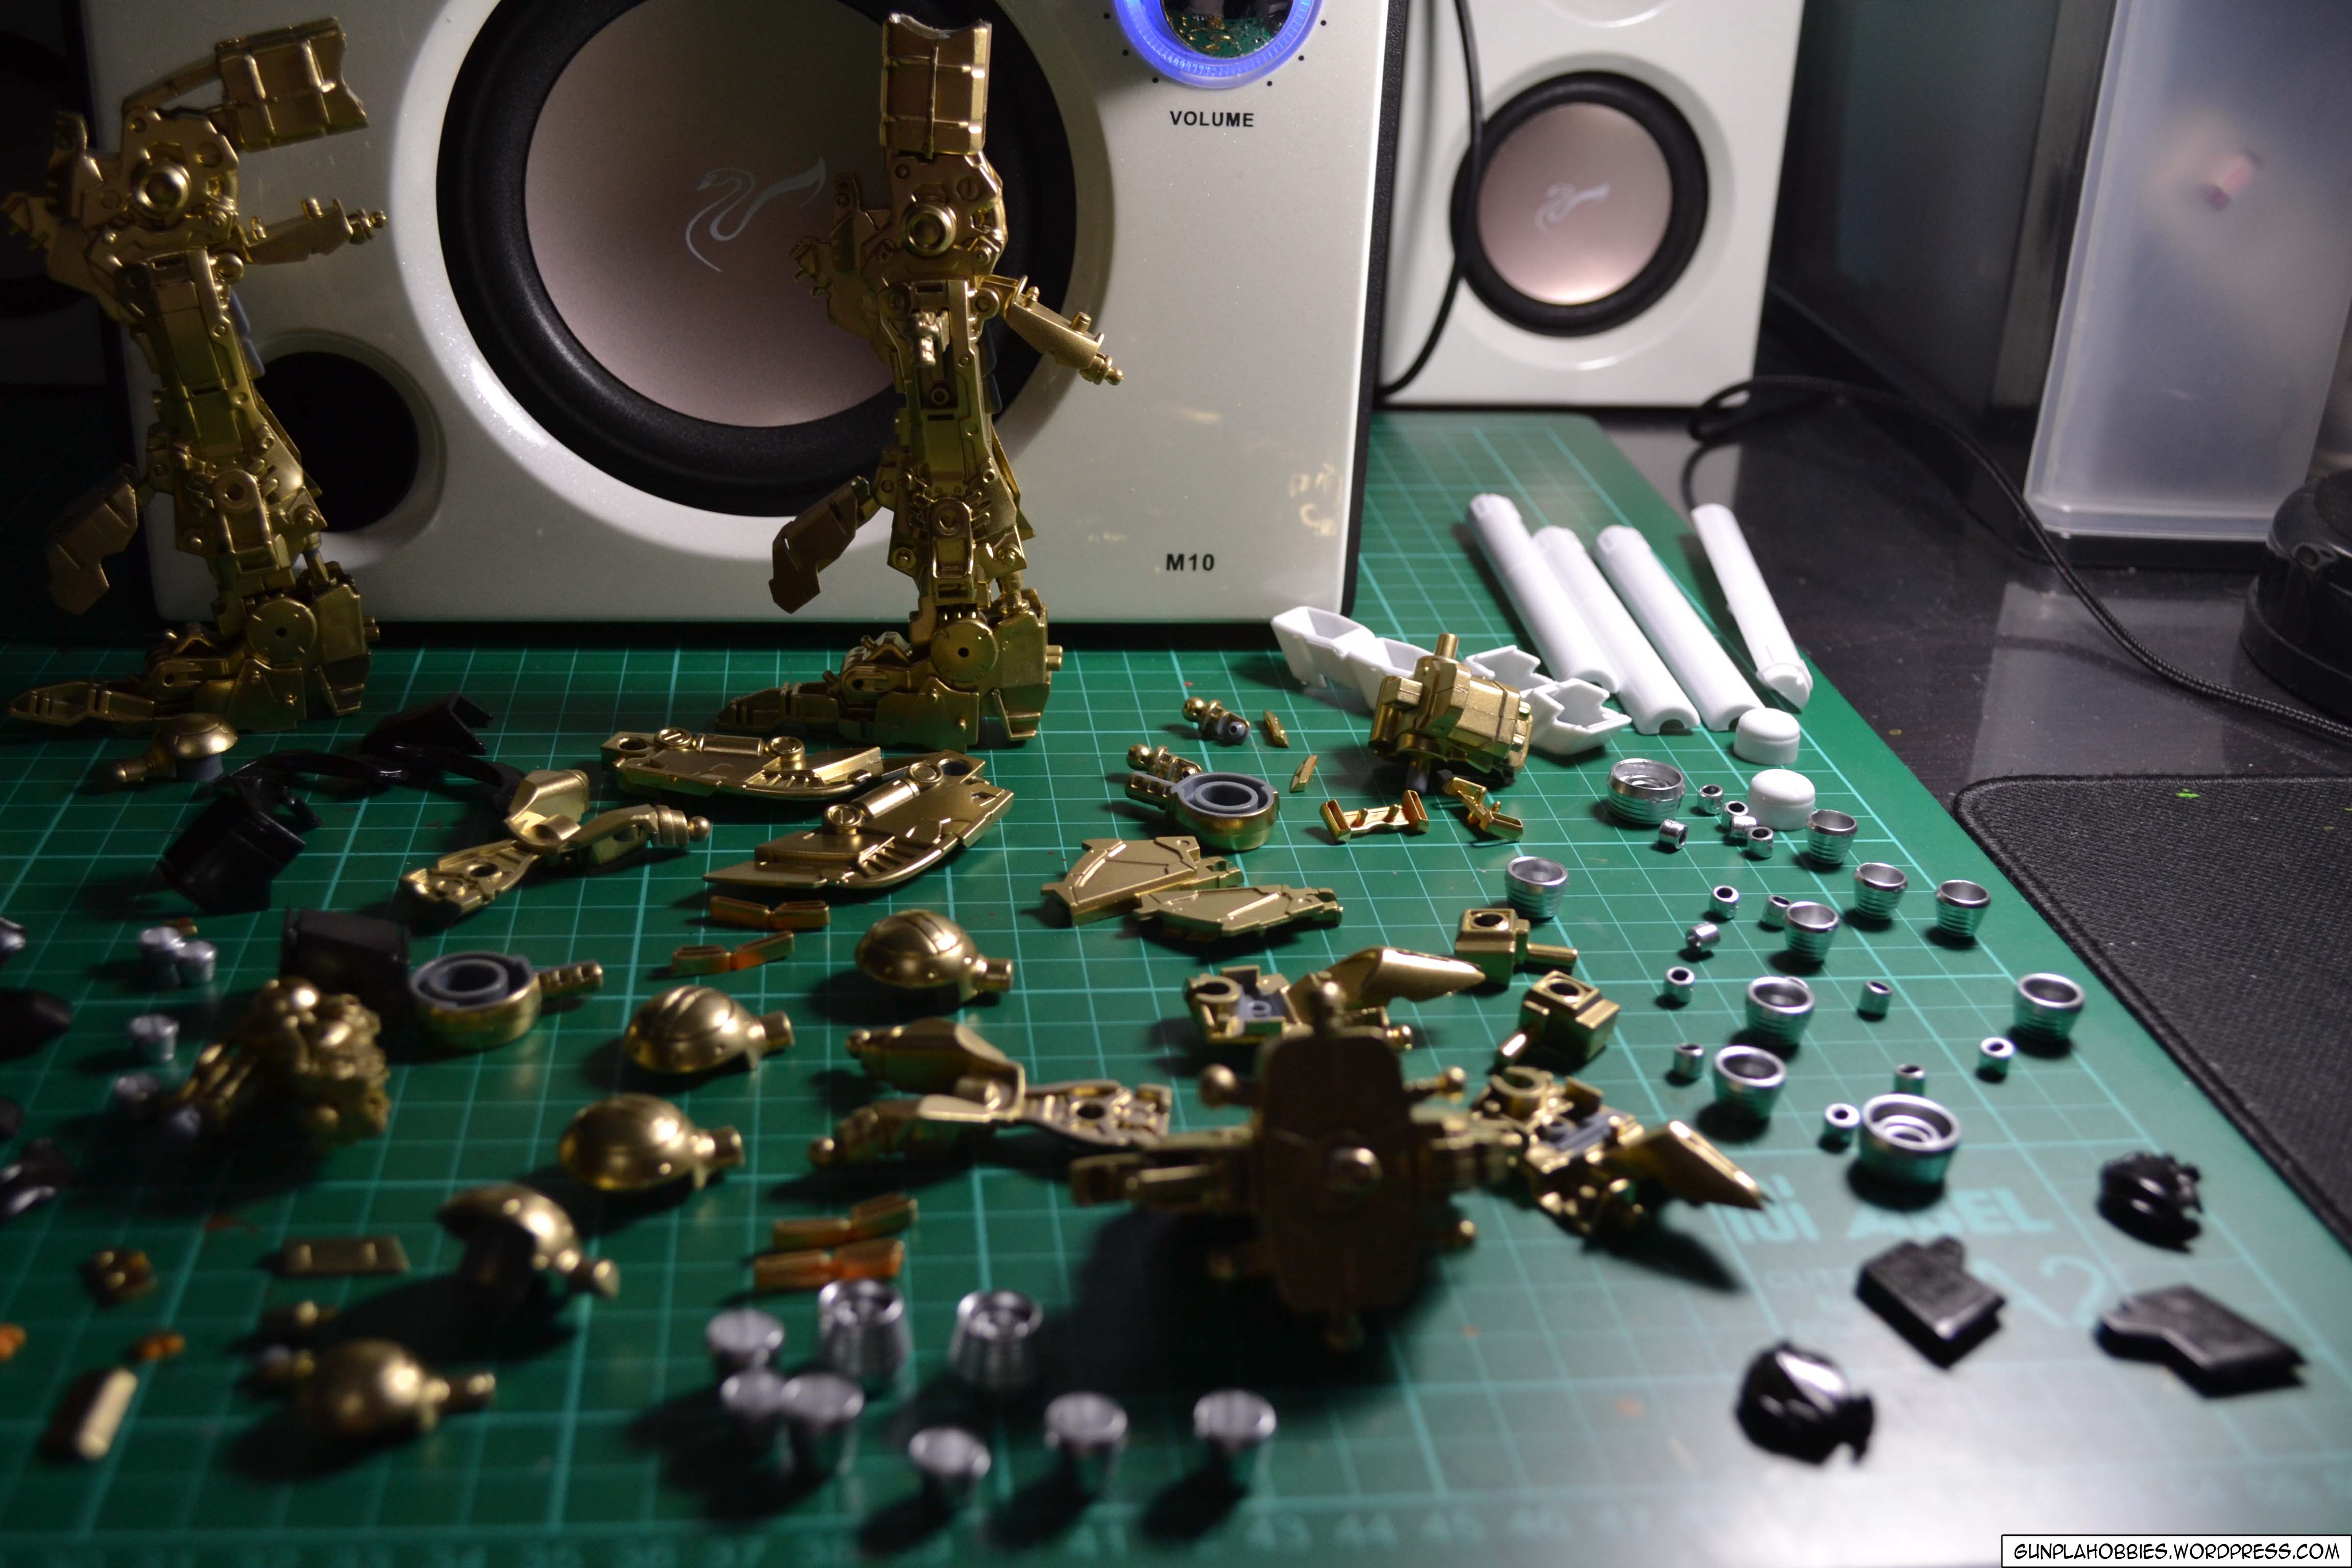
 This kit has a massive count part, it was excruciating to remove all of the parts and clean them all together. I can’t imagine building an FA Unicorn! God help us modelers! XD
Anyway, I have learned a lot in cutting, painting and building the parts. Let me enumerate my learnings for better comprehension:
1. YOU HAVE TO BE PATIENT!
I was so excited before hand that I couldn’t wait long enough for the paint to cure! Guess what happens to the paint when it has not fully cured and subject it to finger pressure during the attachment of the armor pieces. Ruined! So, it’s very crucial to be patient!
2. Paint in thin layers, not a big blast of thick paint
This is related to my impatience, without using a primer, spray painting a single coat won’t do, you have to gradually paint the parts layer by layer using a thin coat letting them dry after each coat so that it will have a nice even finish. But I didn’t do that, I blasted away the parts with a thick layer of spray paint since I couldn’t wait! What do you have? An uneven ugly coat of lacquer paint! And it takes longer to cure because of the thick coat!
3. Refrain from painting the joints!!
This KO kit is known for tight joints, so a really big mistake I made was painting the joints too! A very bad idea! This is one of the most unwise things that I did to a kit! Why?? This is the part where my enthusiasm came to a downfall. Since the joints are already tight, painting the joints adds to the tightness of the joints! I could have easily fixed this by scraping of the paint off the joints.. but due to my growing impatience during the build of this kit, it didn’t pass to mind to do that, so I forced the parts together! A very bad idea! A very tight joint = no movement, and when I tried to move the joint, *a small click sound*, I broke the joint! At this point, I still haven’t learned my lesson and did this to multiple joints resulting to a lot of joints broken by myself! I broke the left shoulder joint, left hand joint and the left wing joint! After breaking these parts then that I decided to scrape off the paint on the remaining joints before I break everything. XD
4. Do not expect too much from KO kits
I expected too much of the KO kit and ended up dissatisfied and unhappy with my kit, It’s not GaoGao’s fault though, it’s a very cheap KO kit for God’s sake! What do you expect? I was too excited.. much too excited.. XD Setting my feelings aside, this KO kit would be above any normal modelers’ expectations for its very low price, perfect for doing experiments or honing modeling skills! Here are my observations for this KO kit:
Positives:
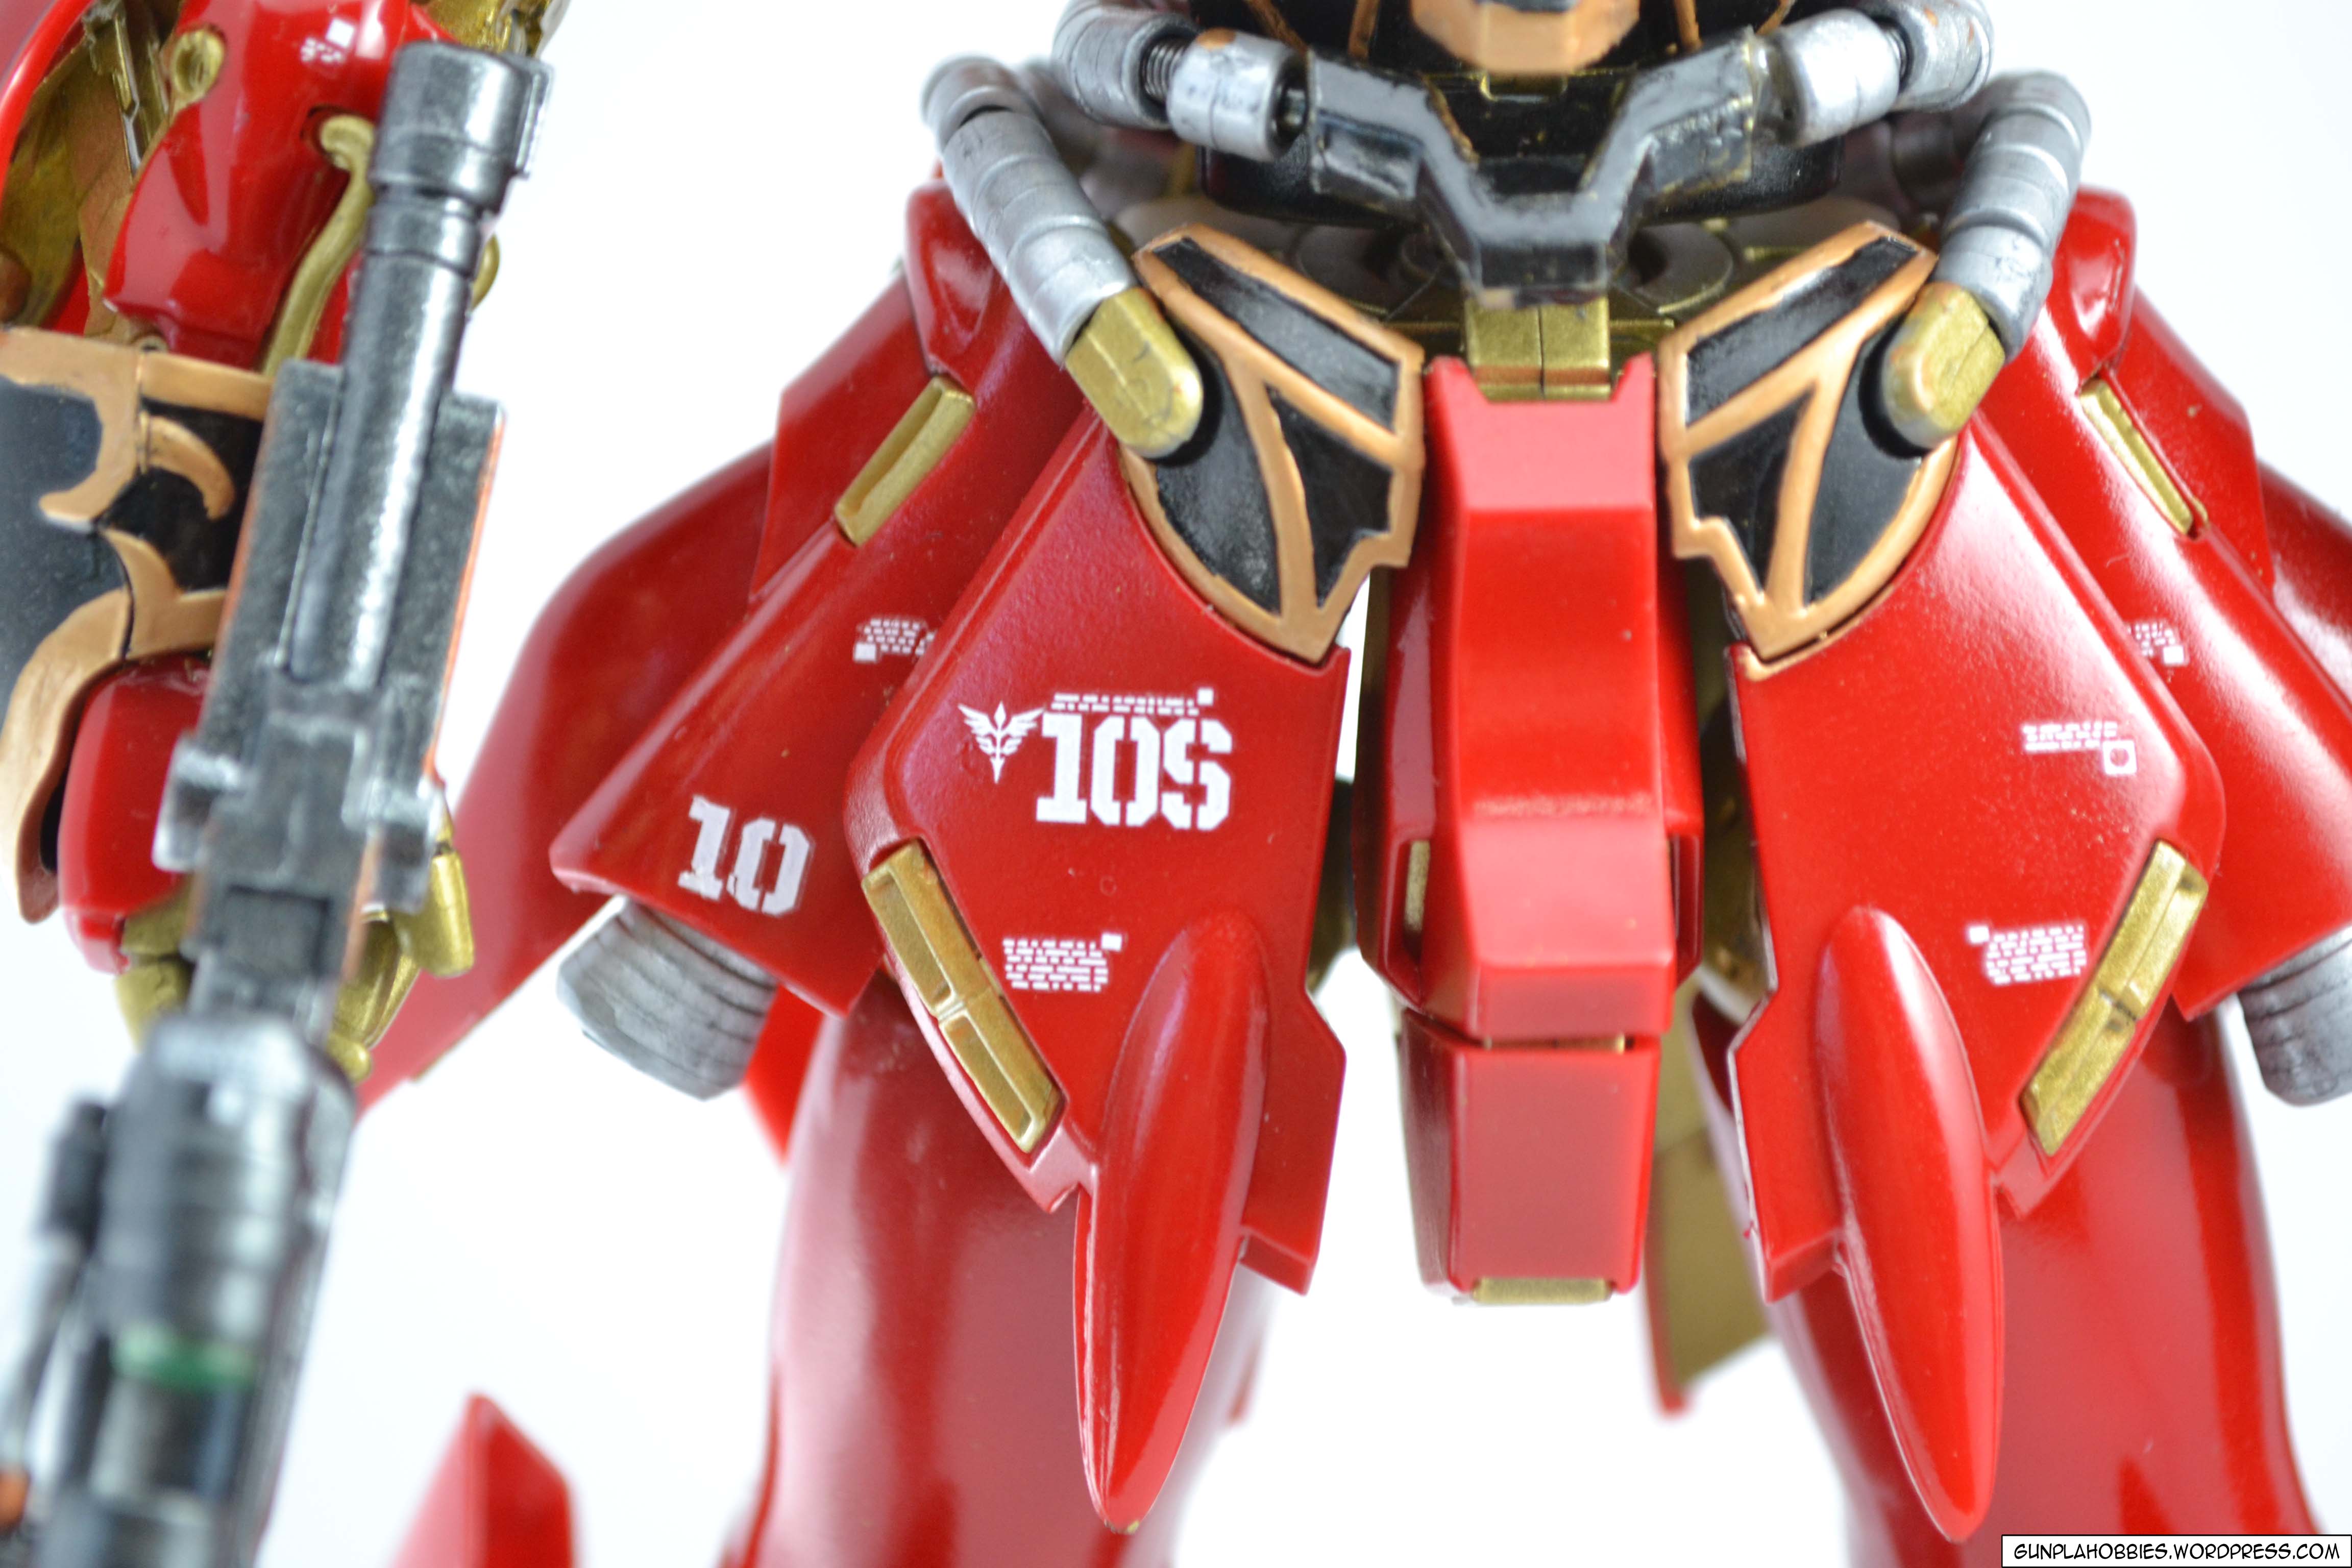
1. Comes with complete dry transfer decal set, water slide gold decals for emblems and foil stickers for if you don’t want the water slide ones. And the springs for the power connectors too!
2. An estimated percentage of 85% of the parts are accurate and fits well or are molded properly, the other 15% have some defects such as pegs that don’t fit, loose pegs, deformed parts, bubbling surface.
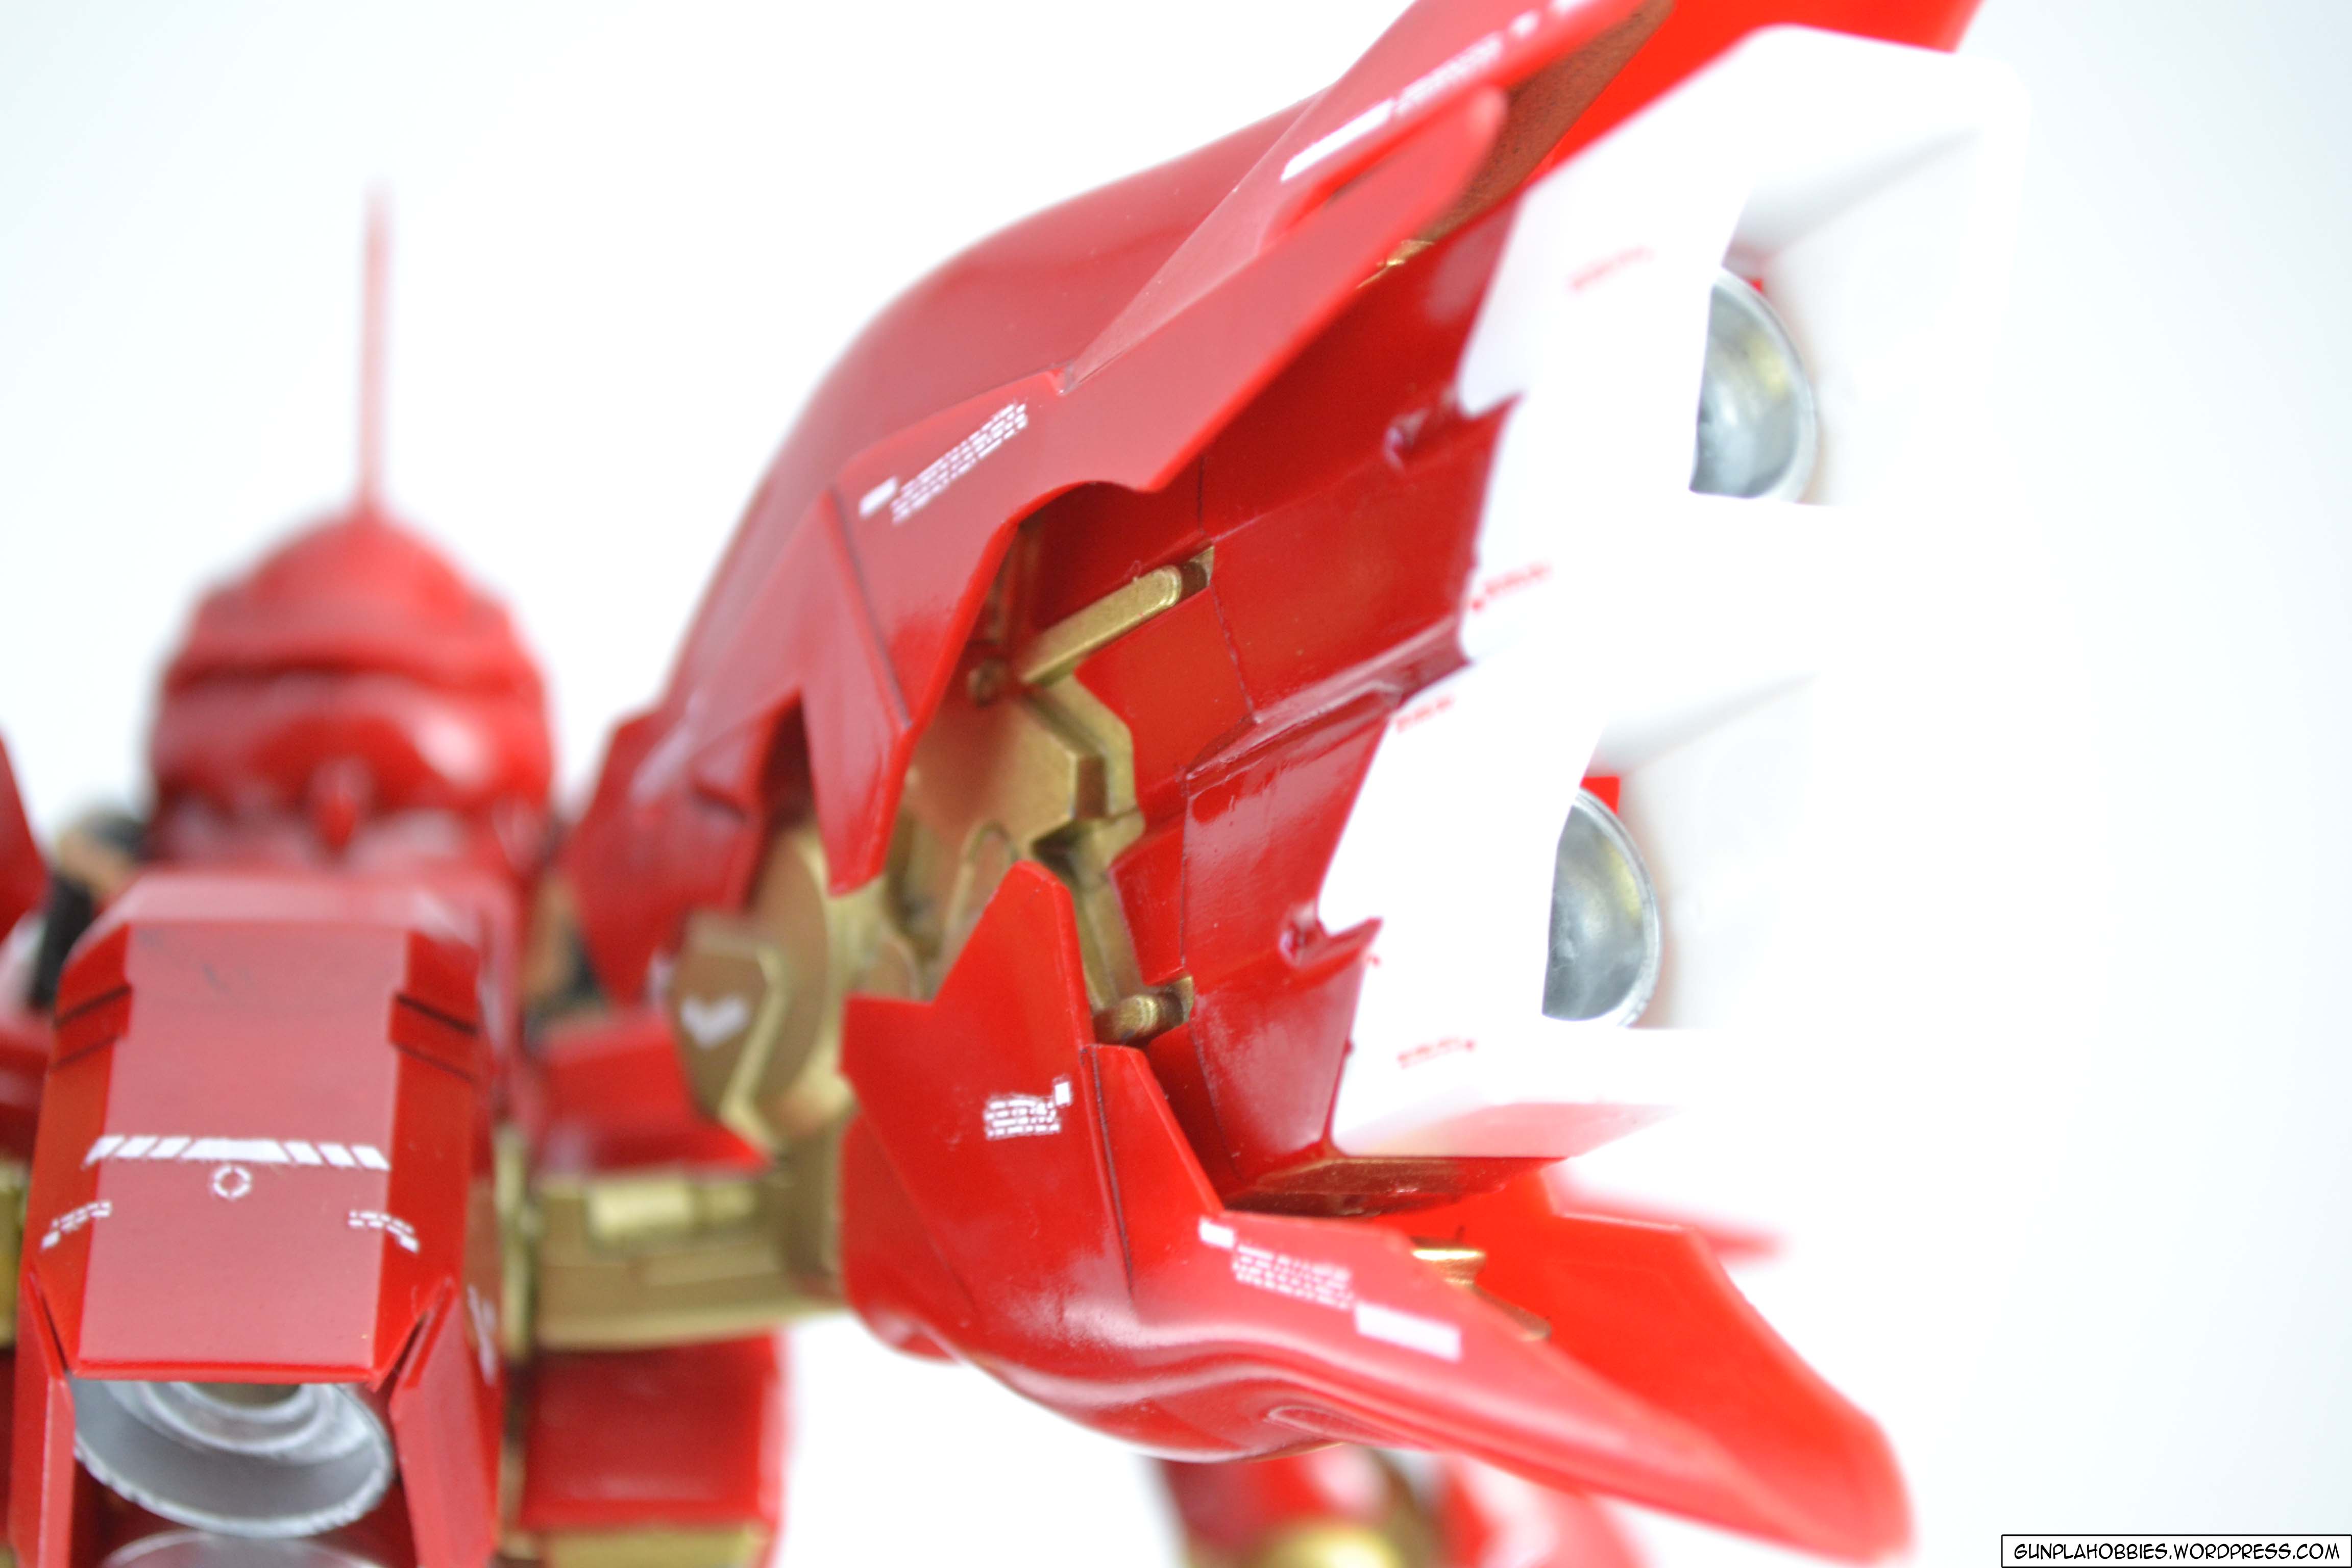
3. The armor parts are normally matte in finish (unlike normal bandai kits that are semi glossy), a positive for those who want their Sinanju to be matte.
4. The plastic material is different from Bandai’s that it doesn’t produce a lot of nib marks compared to Bandai’s plastic material. Sometimes when I clean the parts, nib marks don’t appear when I cut off excess material saving me time from sanding them.
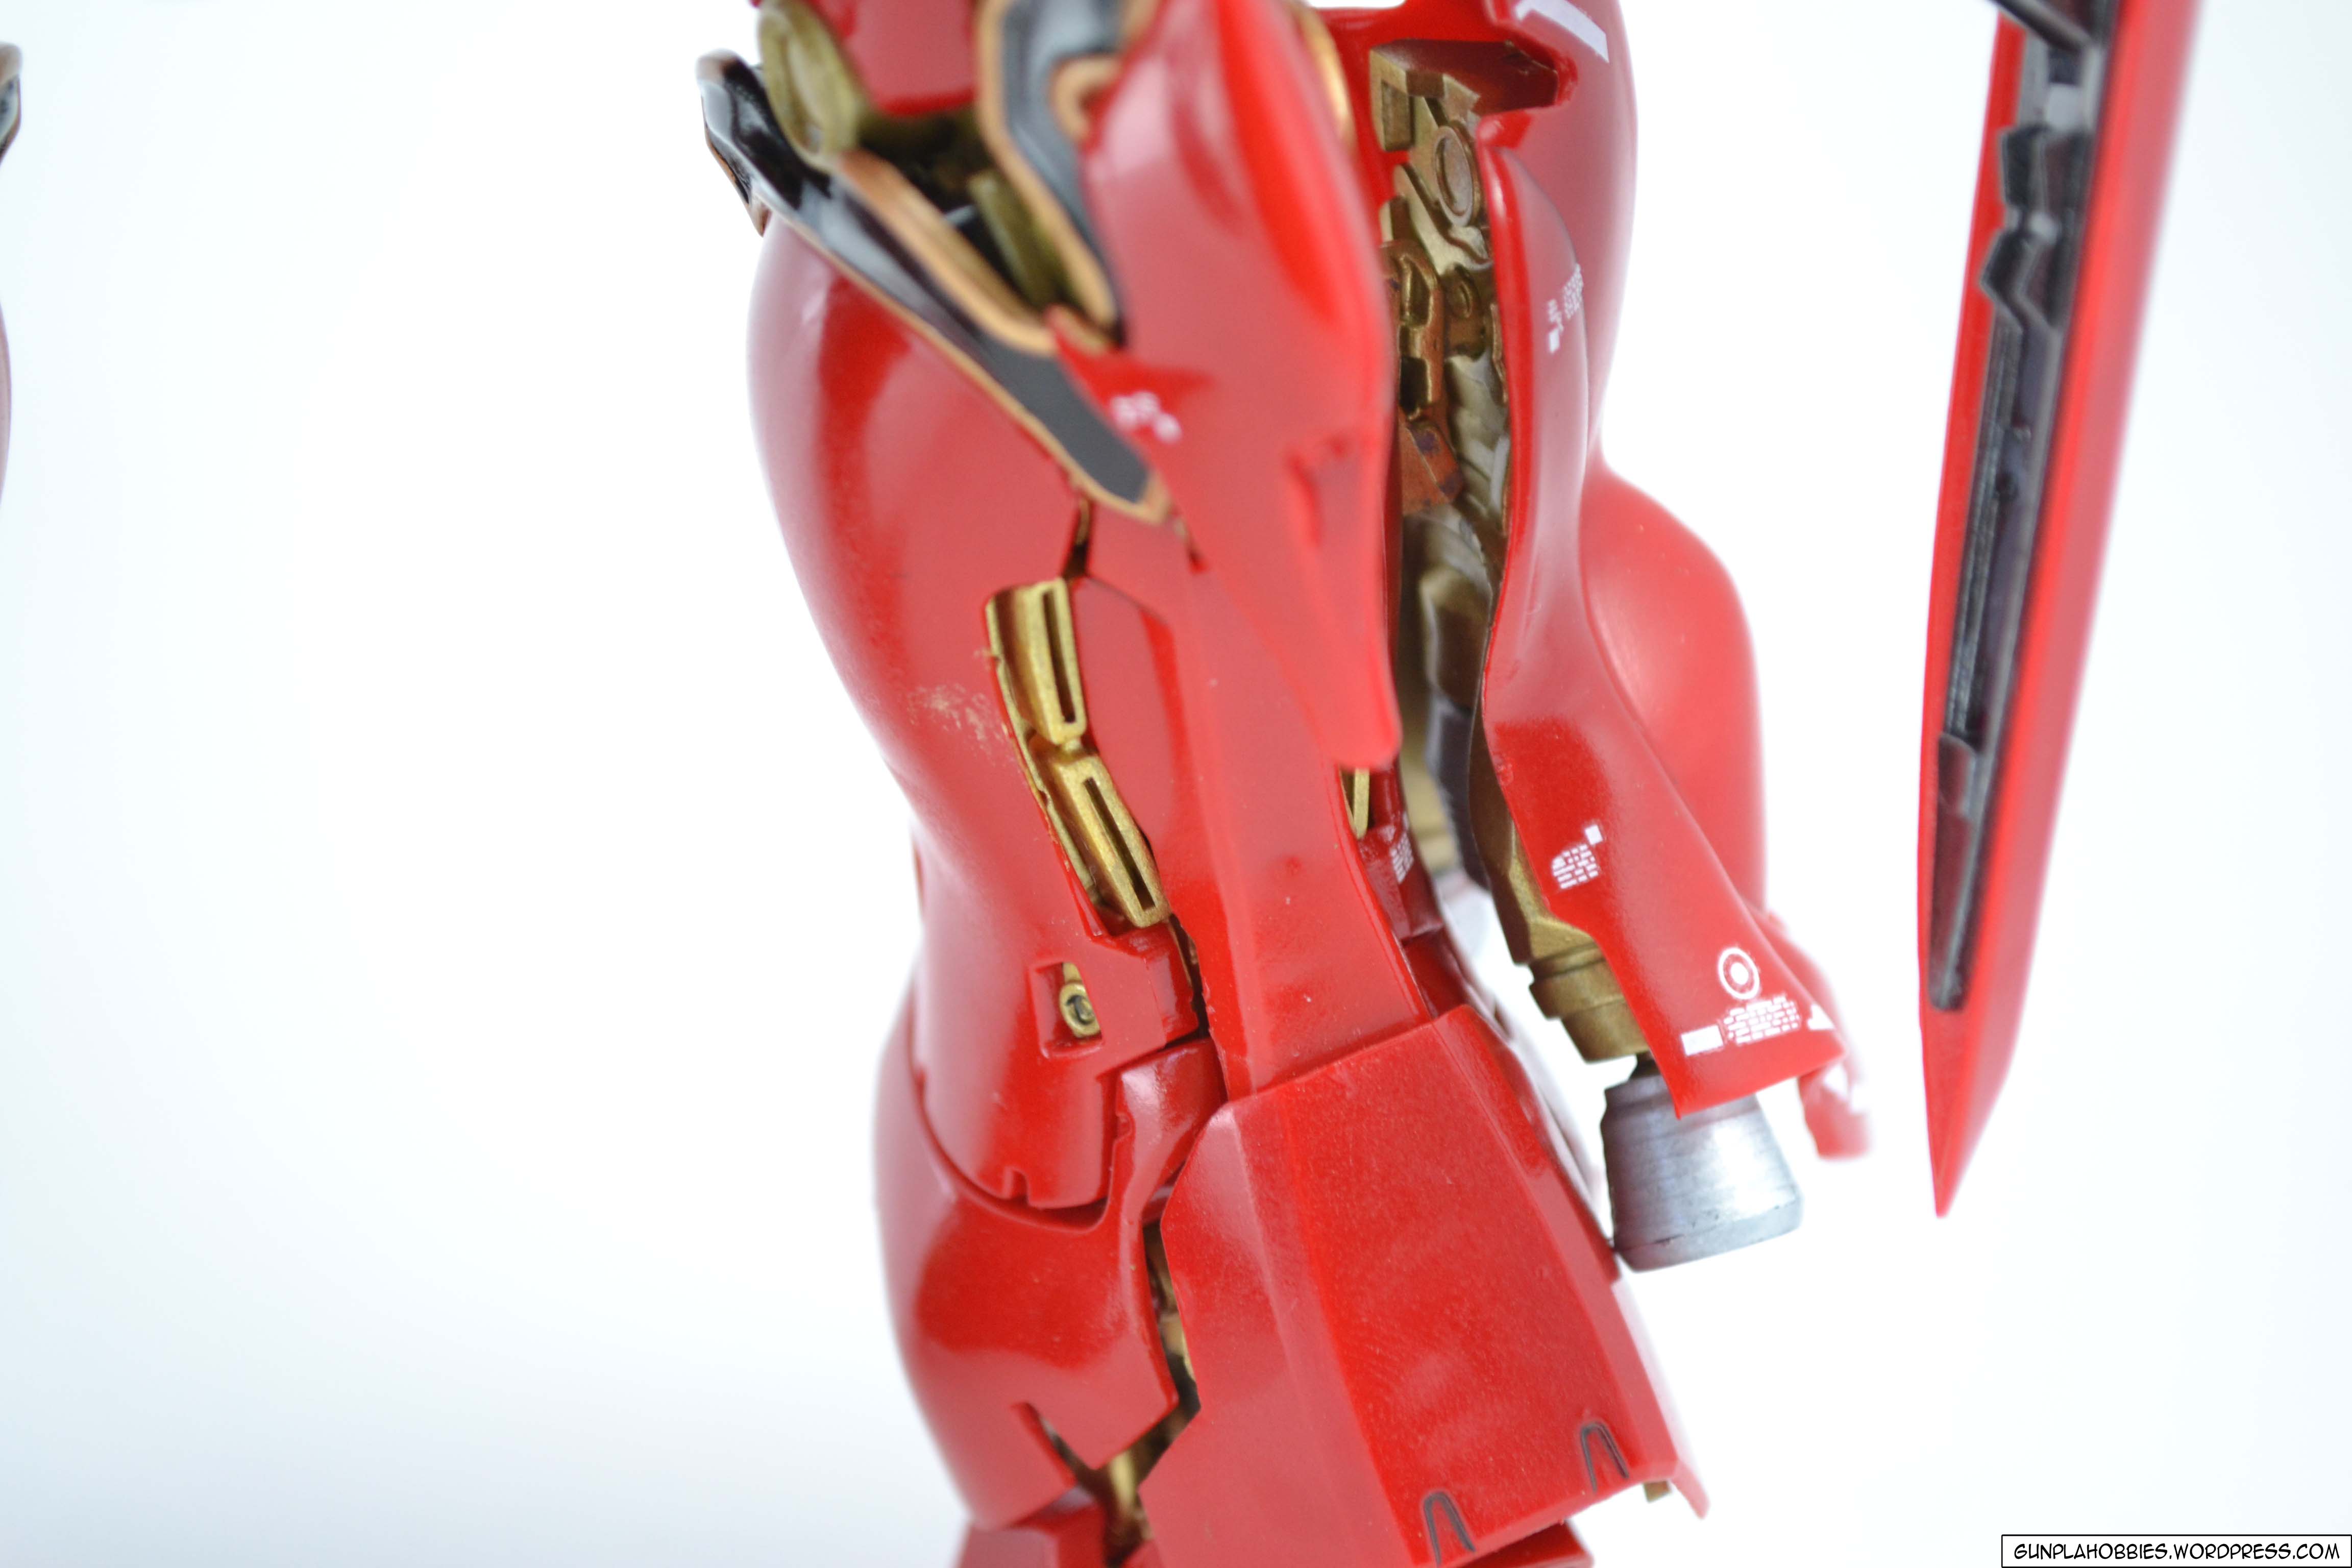
5. If it were not for my stupidity and breaking of joints, the inner frame has an amazing articulation!
Negatives:
1. Some of the plastic material is brittle compared to Bandai’s plastic material, it can easily break if you’re not careful or if you have a pair of heavy hands.
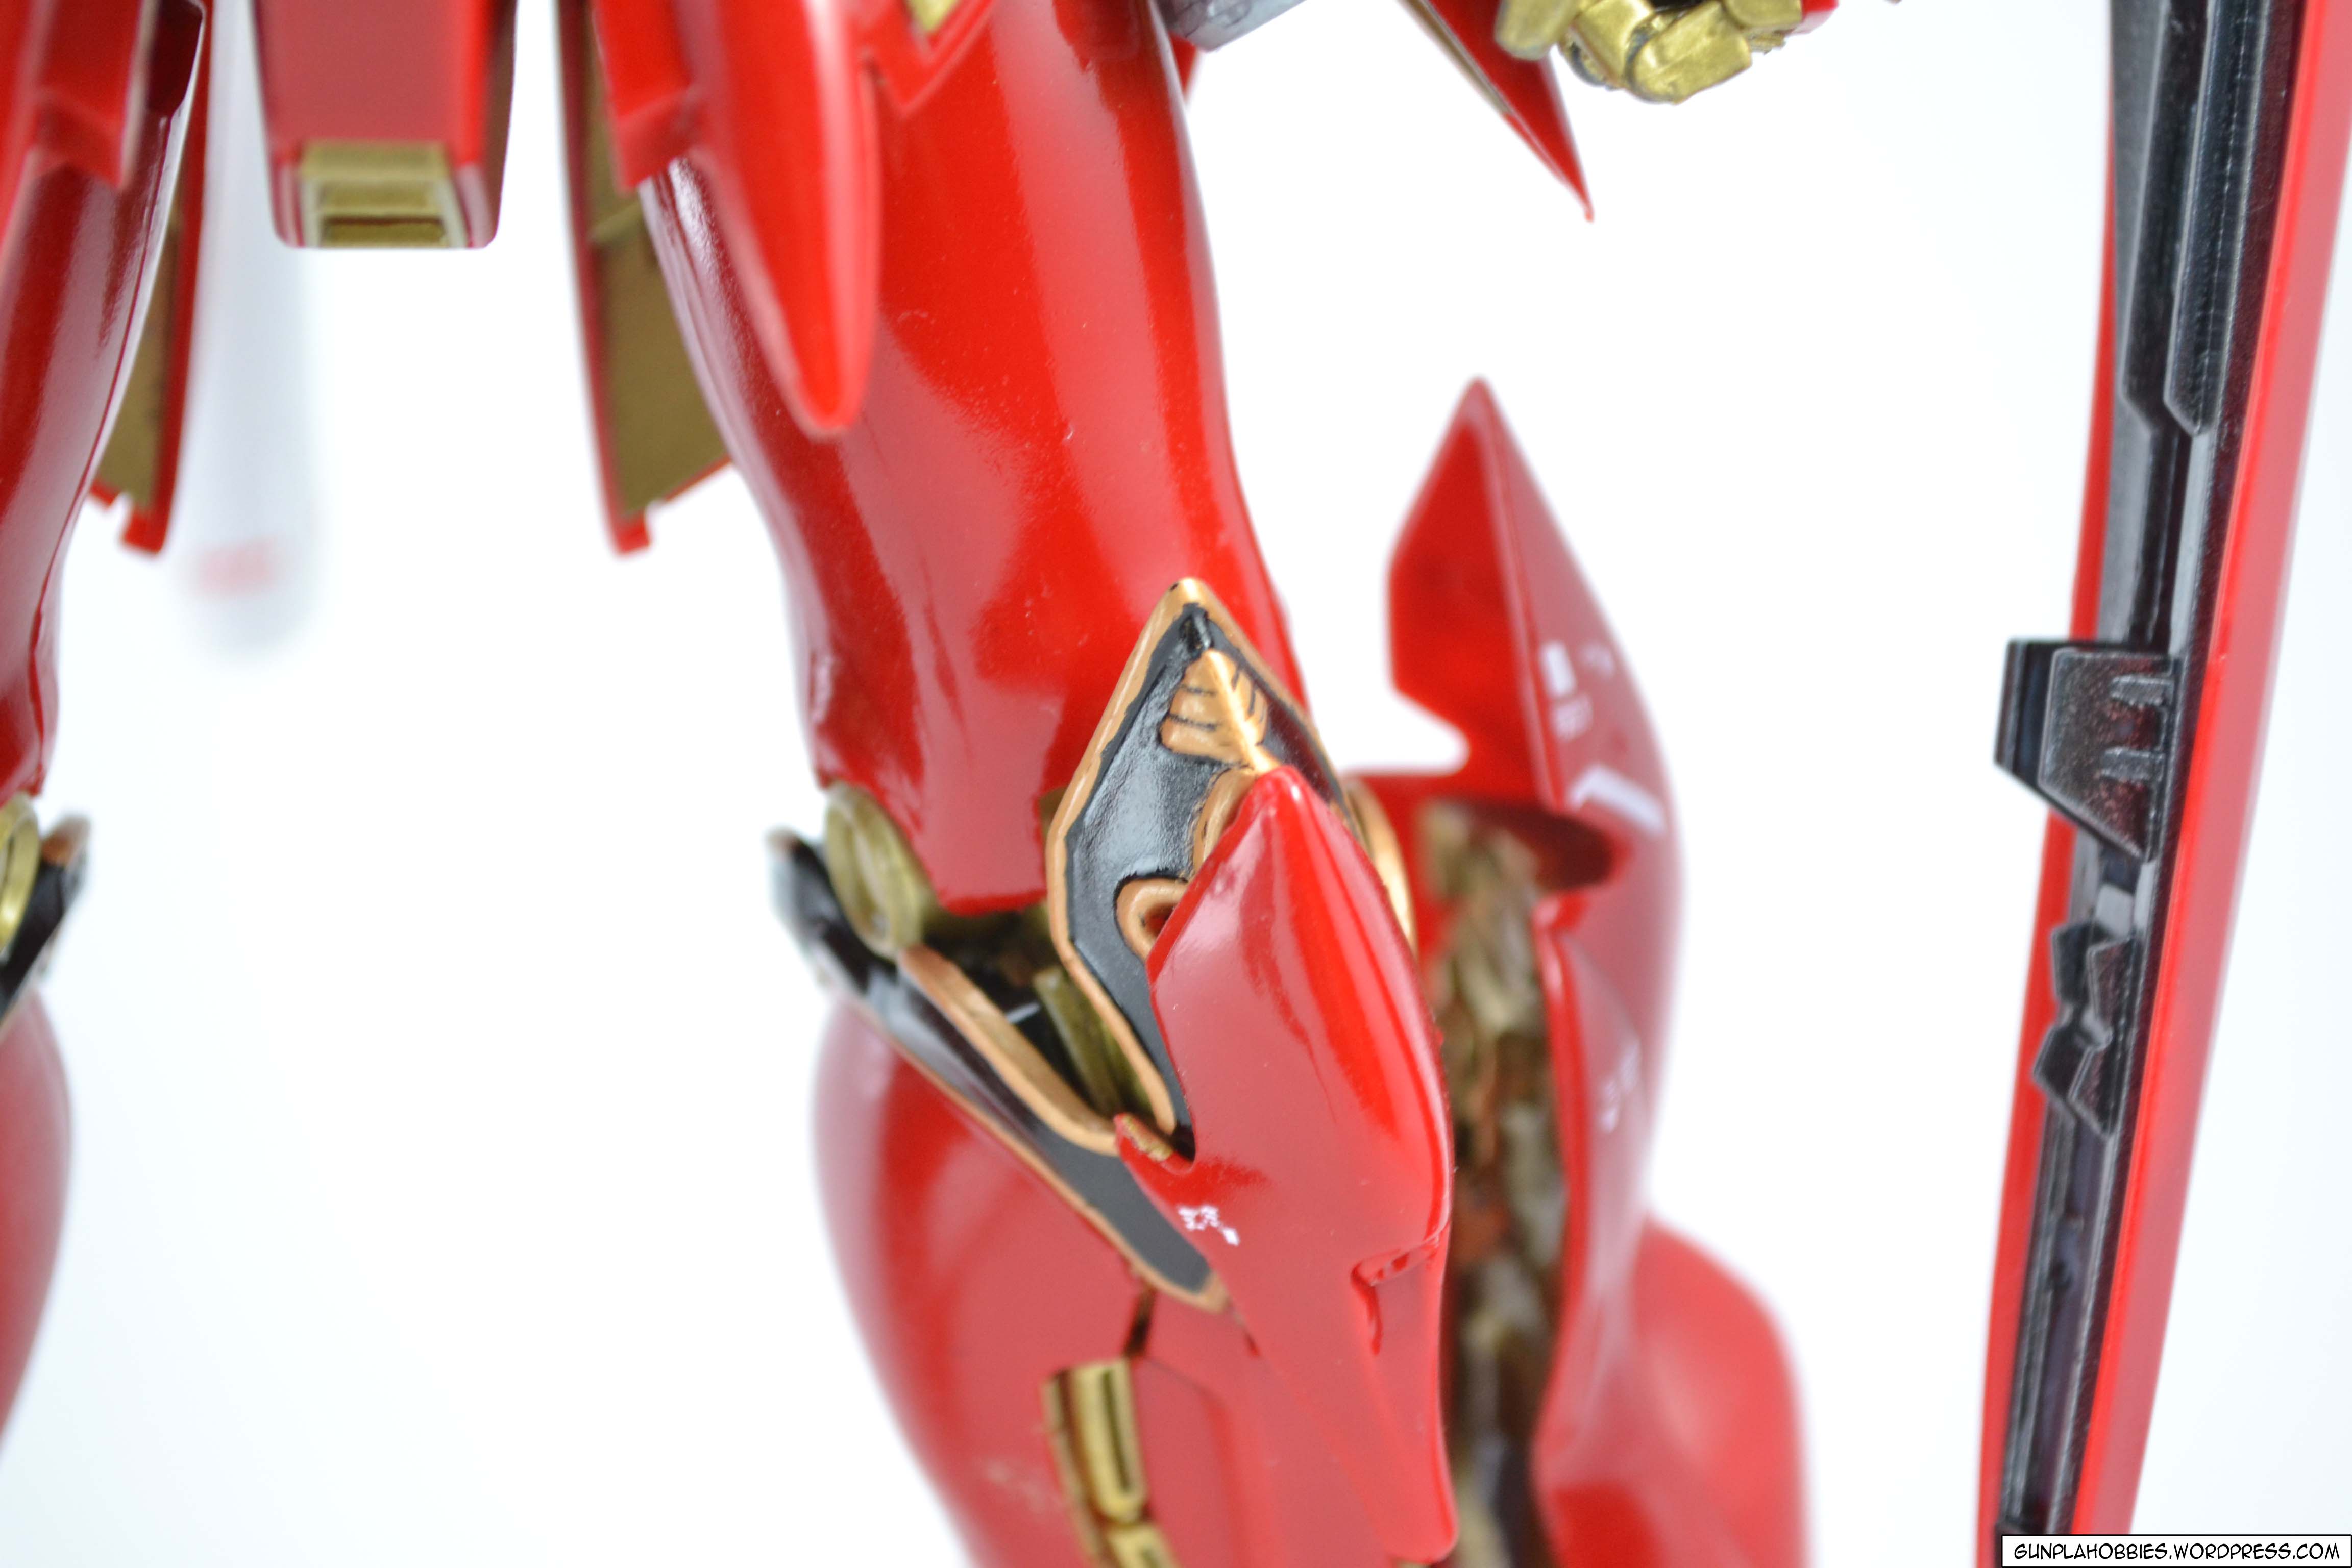
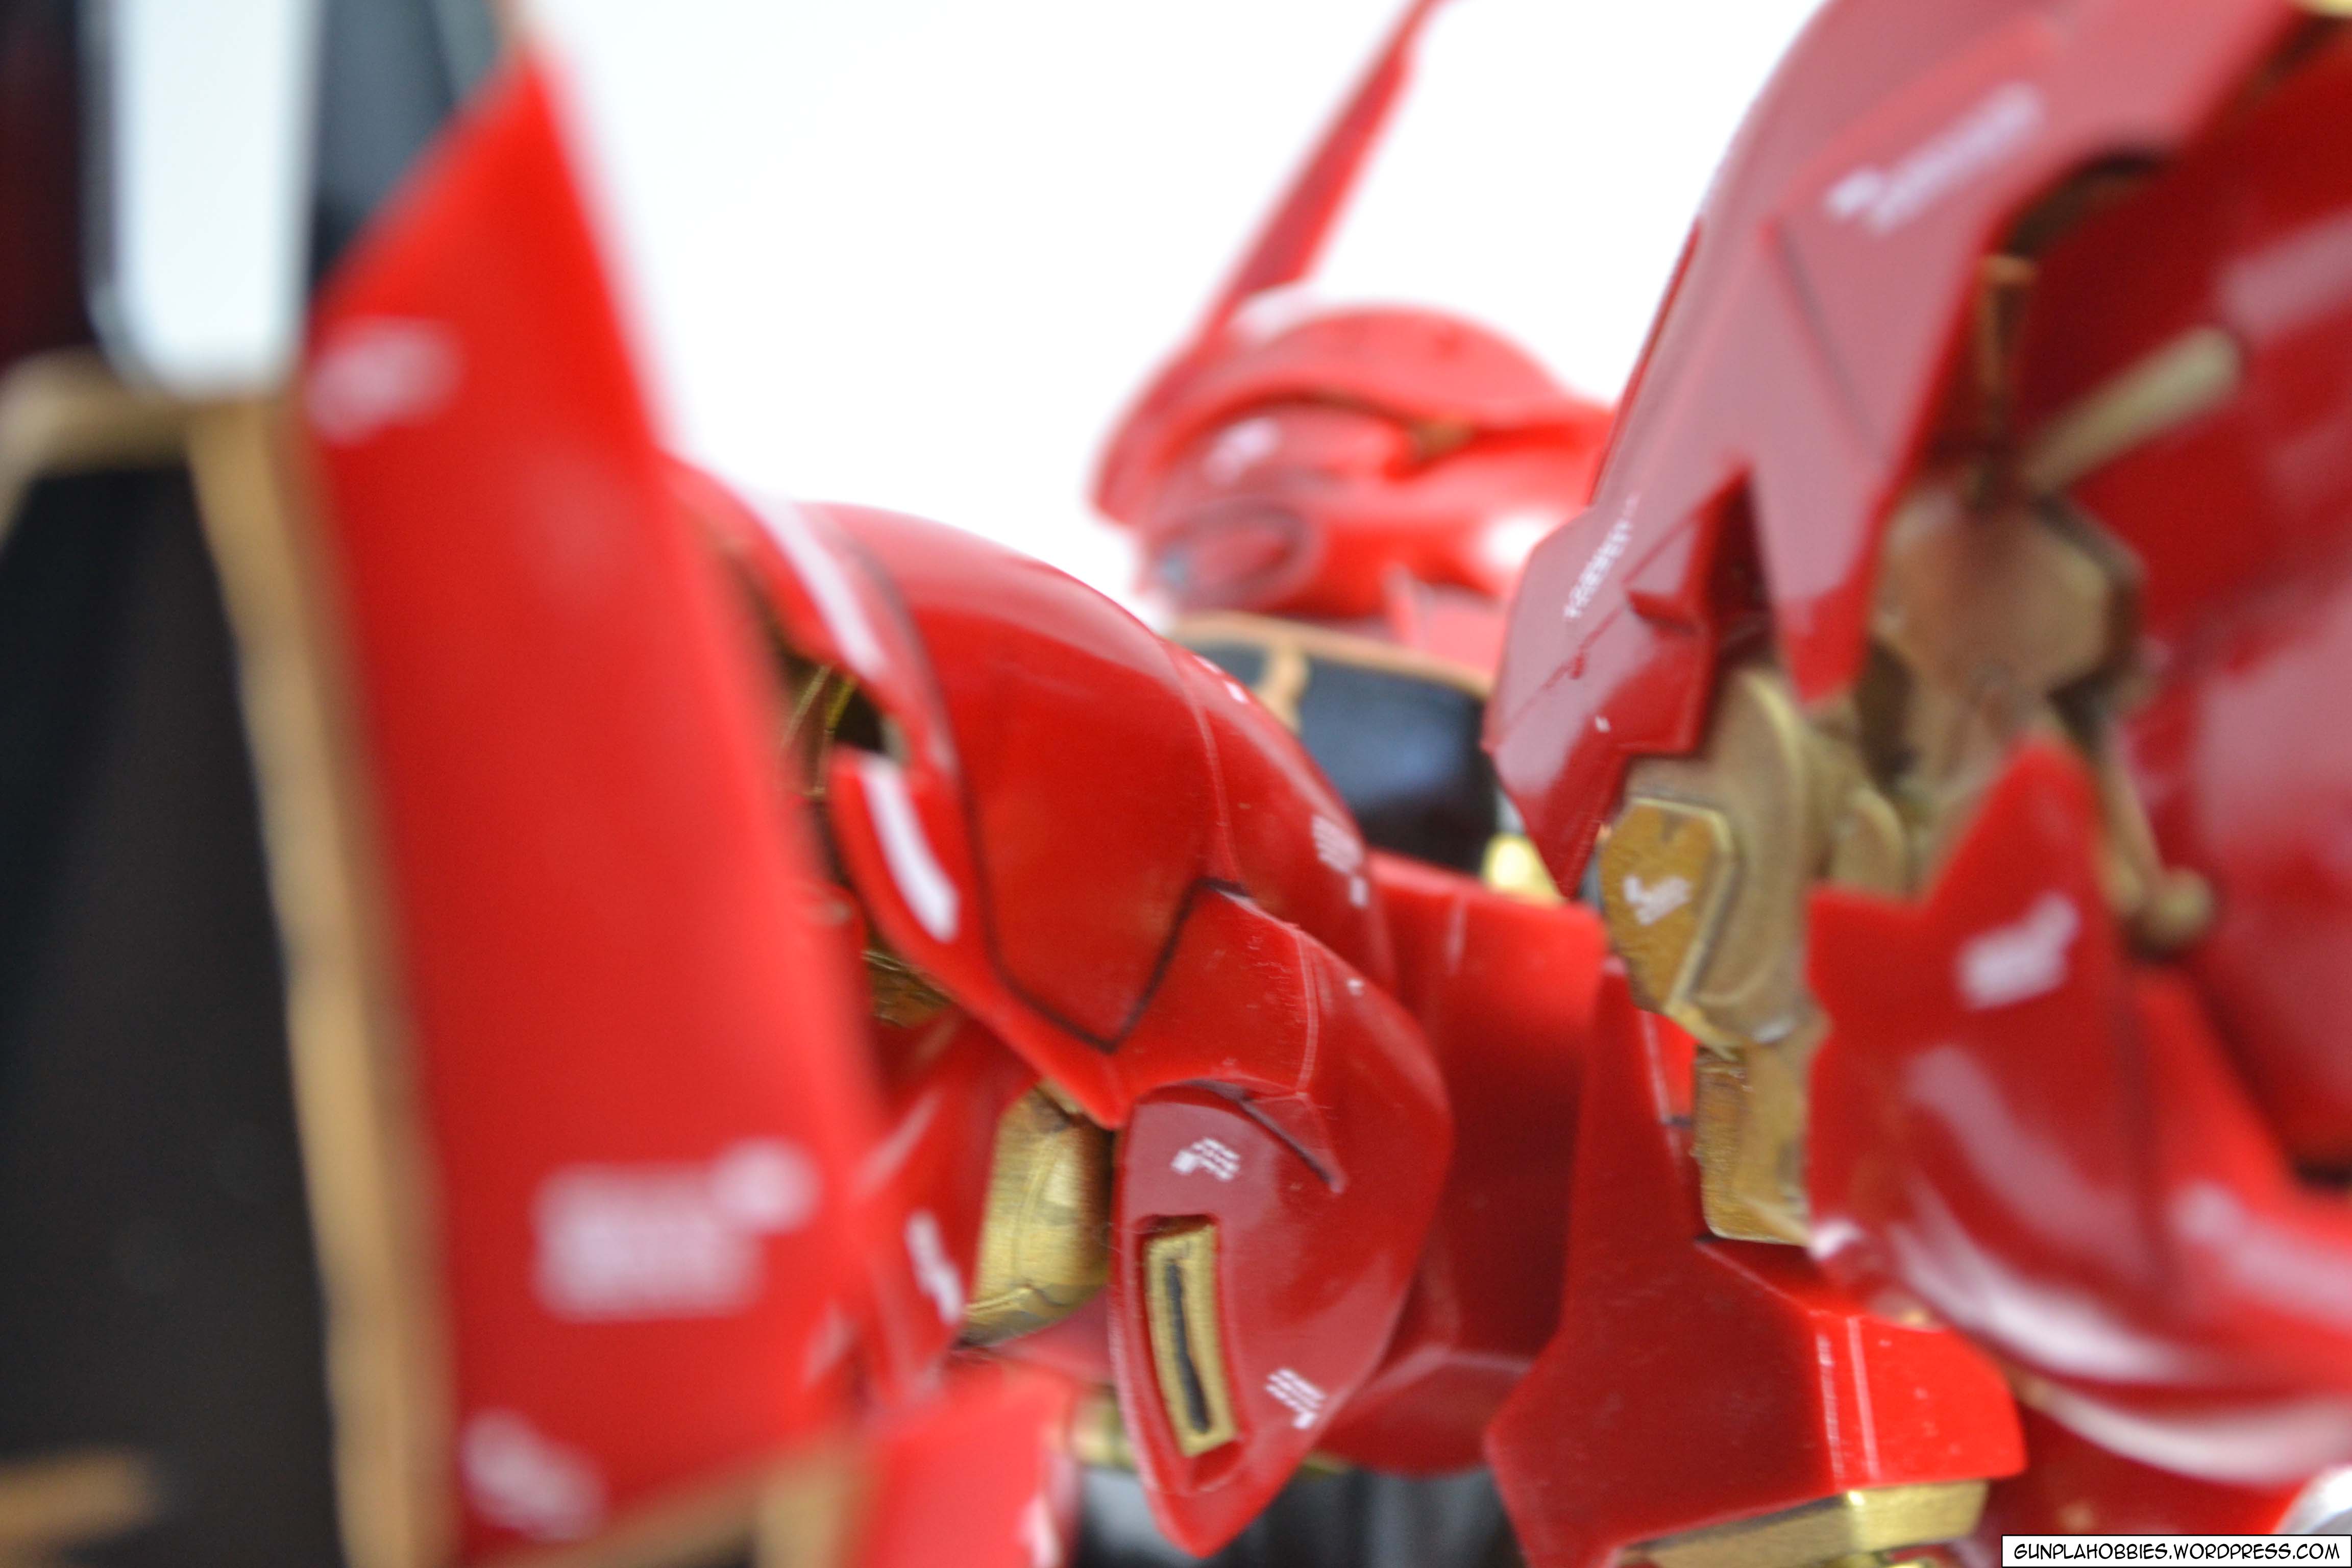
2. Some of the red armor parts are too thin that it becomes translucent when shone in a bright light.
3. The white parts have a very rough uneven surface.
That’s about it for my observations on this KO kit.
5. Bosny lacquer spray No. 190 gloss clear as top coat melts dry transfer decals, melts some Mr Metallic Gold and erases some panel lining.
After all you have been though in hand painting emblems and carefully rubbing the dry transfer decals and carefully panel lining.. it all gets messed up with a spray of top coat! So sad.. at this point of the project, my motivation really pummeled down and decided not to fix the mess that much.
6. Go for waterslide decals!
Put simply, waterslide decals are heaven for modelers compared to dry transfer ones, dry transfer ones are hell! especially on curved surfaces!
7. Plastic cement melts acrylic and lacquer paint. (LOL! I laughed at myself for not realizing this earlier!)
8. Bosny lacquer spray No. 190 gloss clear on Pyloz Lazer No. 700 Bright Chrome makes the chrome dull, the paint itself has a very nice bright chrome finish, but upon spraying the top coat, it became a dull silver.
9. Hand painting the emblems is hell!
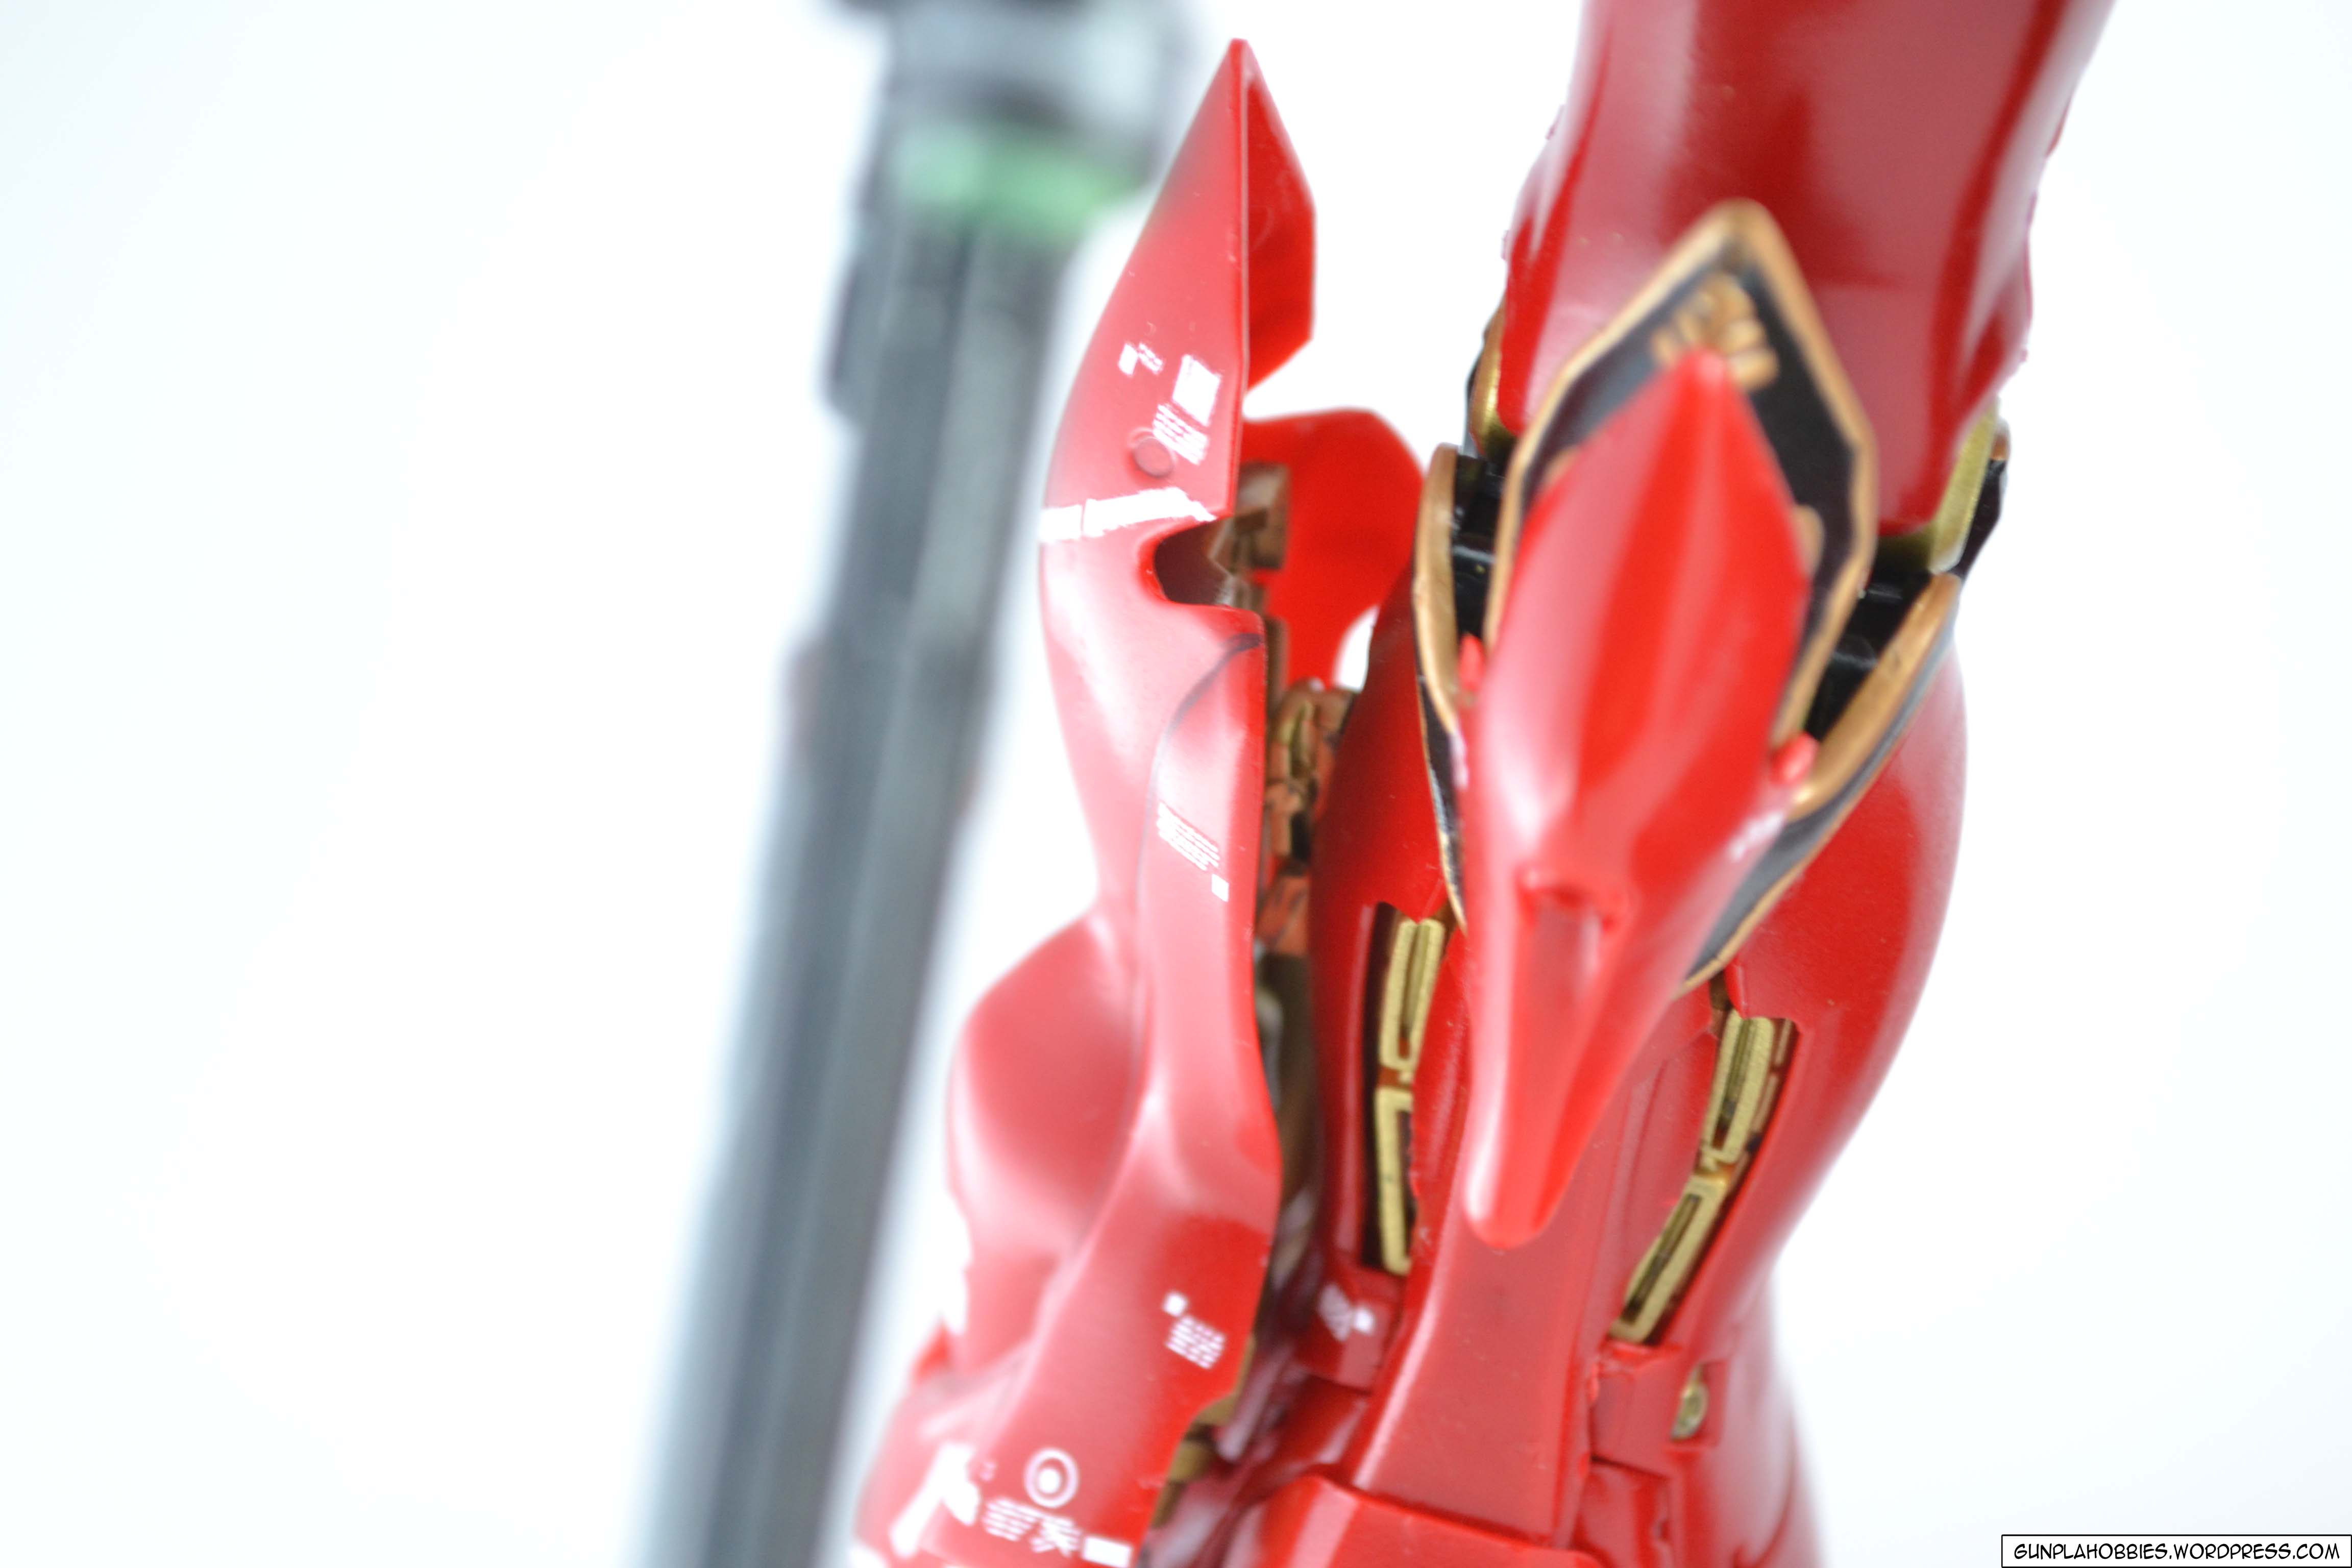
Well that’s all that I can think of about this project, I am unhappy with my work, it’s not even 50% of what I think I can do, I could have done much much better, I just lost too much enthusiasm and motivation in ‘beautifying’ him. So here are my unmotivated photos! XD


 I will definitely do better next time! But nonetheless, this was a great project! I have learned multiple lessons in developing this kit and had some practice in hand painting and spray painting, though I want to experience air-brushing sometime, the equipment is expensive!
In summary, buying KO kits for the purpose of practice and experimentation is a good choice rather than messing up a very expensive original Bandai kit, I definitely recommend this KO kit to modelers who want to practice or have a cheap alternative for an MG Sinanju kit. buy they cannot absolutely replace original Bandai kits of course! Nothing matches the quality of Bandai in terms of KO quality, and PATIENCE is very important in painting! =3 Till next time! 😀

that is still an incredible kit! 🙂 excellent work!
LikeLike
thanks! 😀
LikeLike
Awesome job you did there, especially with the gold emblems, even with those small hiccups along the way, it still turned out great! Thumbs up! 😀
LikeLike
Thank you so much! 😀
LikeLike
Nice work! Don’t worry about the breaking joints – it happens to Bandai kits too to some extent. Worse is when the parts are the polycap-less ABS kind like the Sinanju. That’s why Bandai released the “OVA version” which it is proud to proclaim that the inner frame uses a different material. ABS doesn’t take too well to paint and on certain Bandai kits the ABS parts are somehow weaker and might crumble! Haha happened to my Unicorn. That’s why I hate ABS parts on my kits. I also have a really old HG V2 Gundam where the ABS parts for the transformation have turned yellow and crumbled due to UV damage… 😛
LikeLike
Thanks! Yes that’s the problem with Sinanju, its all ABS! XD I might be buying the OVA version sometime.
LikeLike
Gold Frame Sinanju!! *woot*
I have the same feeling. I’m really curious about KO kits, exact copy of Bandai’s that is.
I love the effect on the gun ❤
YAY! Gold trims FTW!
LikeLike
I will do better once I get a hold of an original Sinanju kit, maybe I’ll get the OVA version. 😀
Thanks! 😀
LikeLike
Great job on the Sinanju mate. Love how you made the KO look wonderful.
LikeLike
Thanks! 😀
LikeLike
How do you remove the white decals from their sheet, the instructions are in Japanese and have no clue how xD
LikeLike
They are dry transfer decals, so you just have to rub them on the plastic surface for them to be transferred. 🙂
LikeLike