Lego Shell V-Power Miniature Vehicle Collection

Hello everyone! Who doesn’t love Lego? I’ve always loved building blocks! This is the second time the Shell sold Lego vehicle models as the V-Power promotion. You can buy one model for Php150.00 when you gas up Shell V-Power Nitro+ Racing worth Php1500.00. I hope I can complete every model since I did not get to collect them all on the last promotion. If I remember correctly, the promotion will only last until January 31, 2014. Enjoy the models!

Shell Tanker:

DSC_4453

DSC_4454

DSC_4455

DSC_4456

DSC_4457

DSC_4459

Yellow Ferrari:DSC_4460

DSC_4461

DSC_4462

DSC_4463

DSC_4464

DSC_4465

DSC_4466

Blue Ferrari:DSC_4467

DSC_4469

DSC_4470

DSC_4471

DSC_4472

DSC_4473

DSC_4474

DSC_4476

Red Ferrari:DSC_4477

DSC_4478

DSC_4483

DSC_4484

DSC_4485

DSC_4486

DSC_4487

DSC_4488

Models left to collect:

– Red F1 Ferrari

– Shell Station

– Racing Station

And since gas prices are going down, it’s harder to collect them! Is it a good or a bad thing? I barely reached Php1500.00 to gas up full tank from empty tank in today’s gas prices.

Takara Tomy Initial D AE86 Trueno

Hello everyone! I’ve always wanted to collect Takara Tomy miniature model vehicles but I never gotten around to it since my priority is Gunpla. Anyway, this would be my first Tomica miniature vehicle and the details are quite nice. Enjoy the photos!DSC_4489

DSC_4490

DSC_4491

DSC_4492

DSC_4493

DSC_4494

DSC_4495

DSC_4496

DSC_4497

Gunpla Panel Lining Tutorial

Introduction

Panel lining is an easy way to make your Gunpla kit more detailed and awesome! Don’t be afraid that you’ll ruin your kit because it is easy to do and I will show you two easy methods that I personally use:

1st Method: Marker (of your choice) Panel Lining with Rubber Eraser

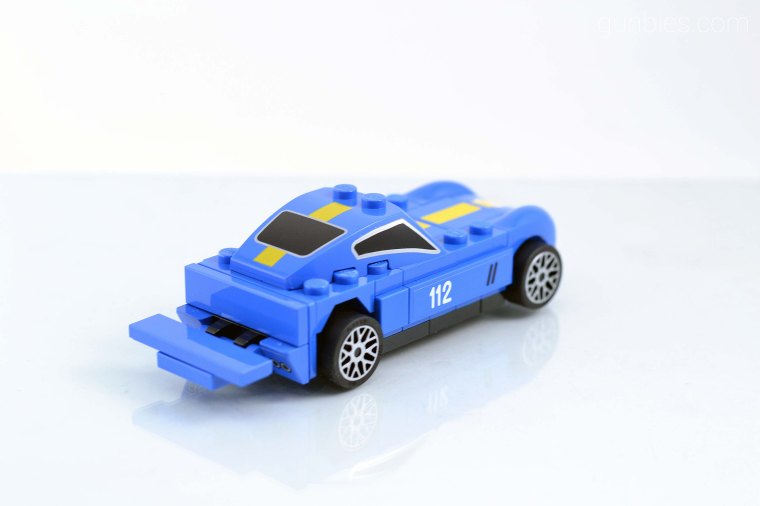
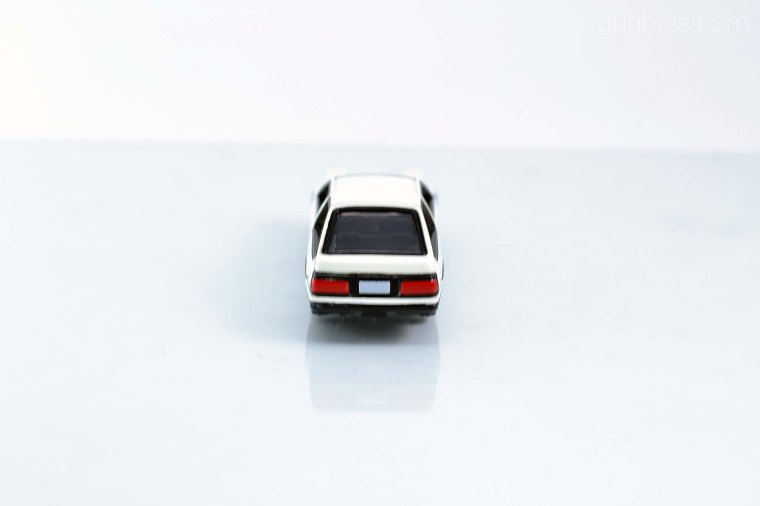
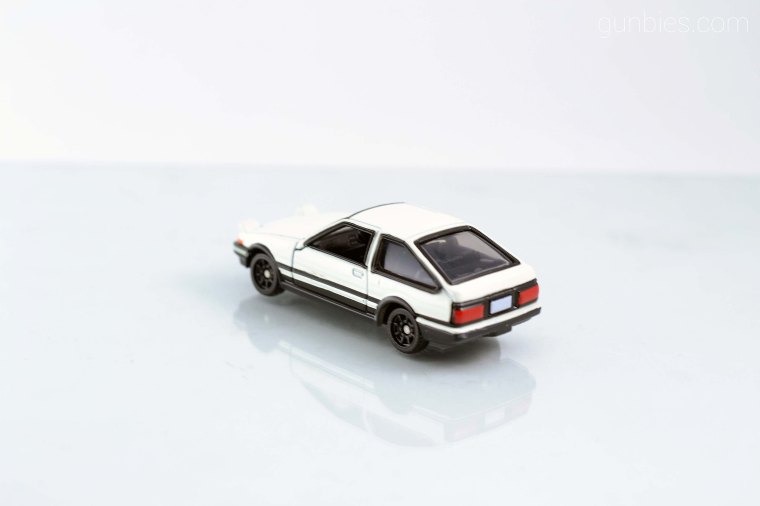
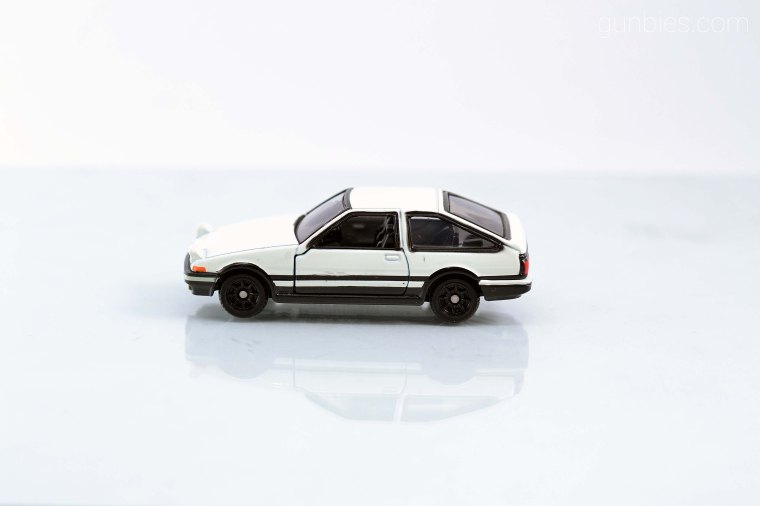
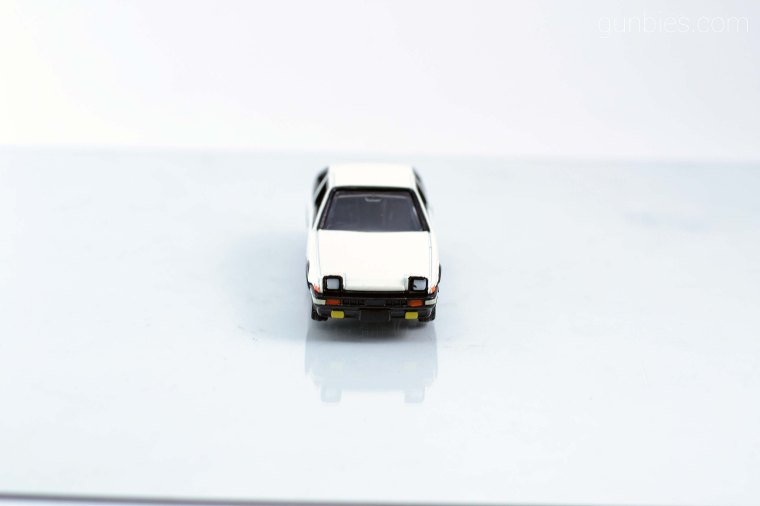
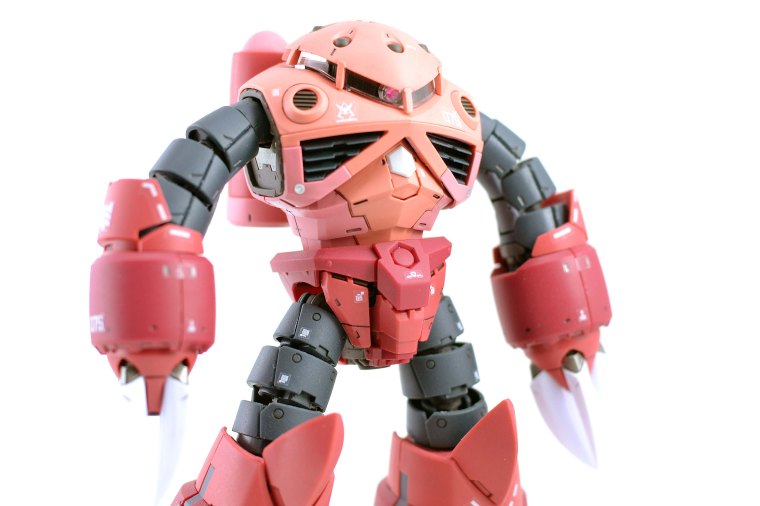
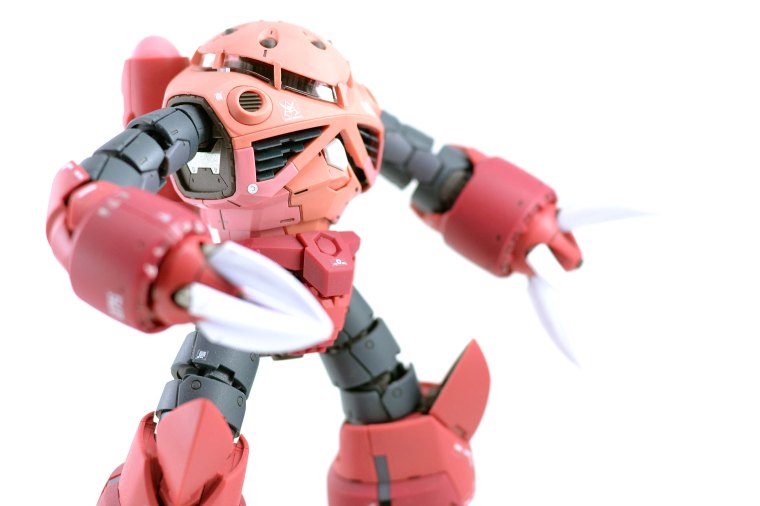
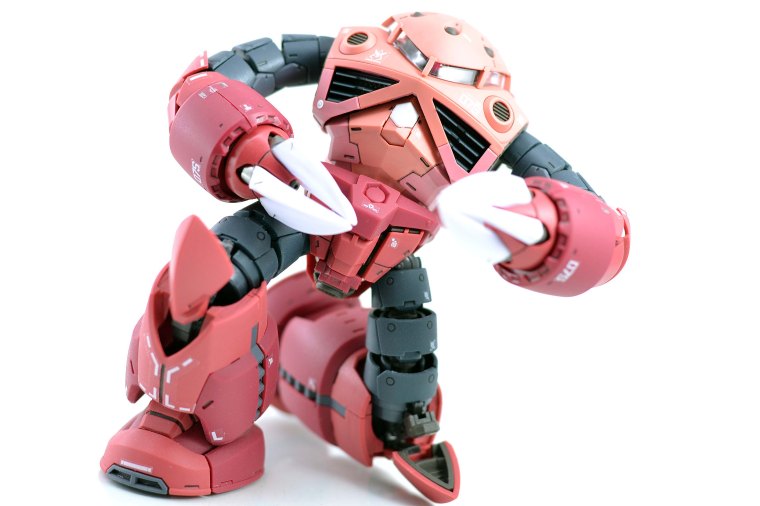
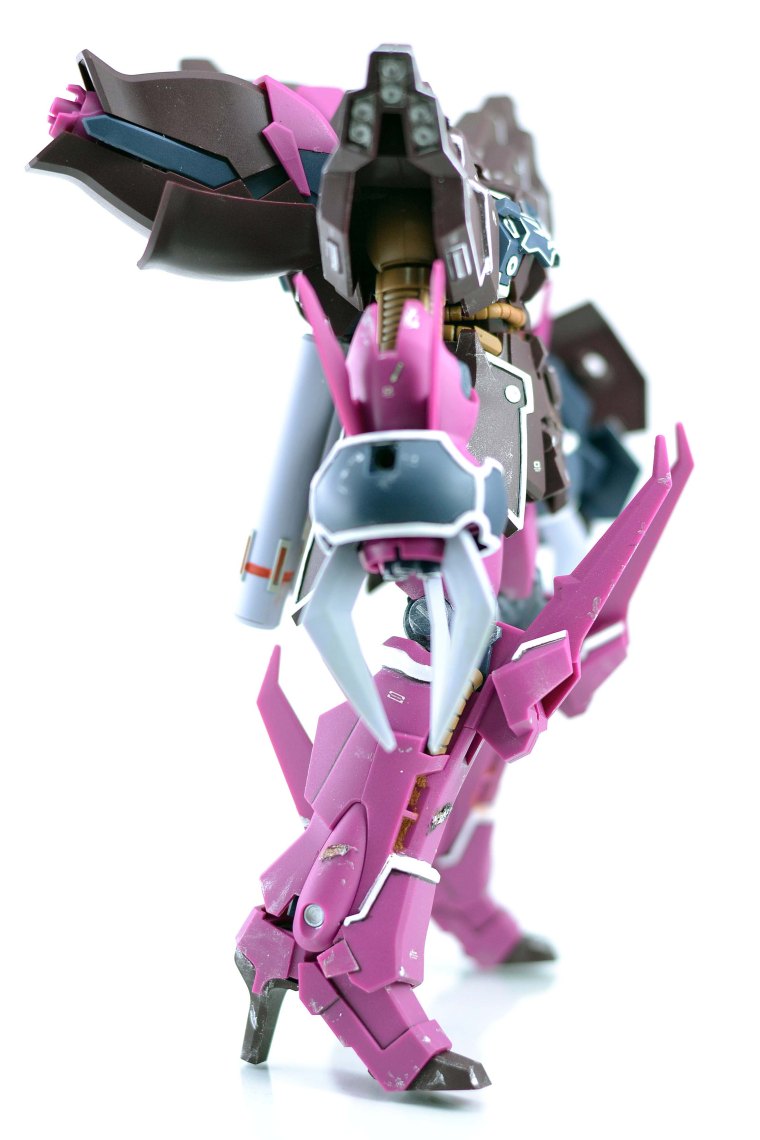
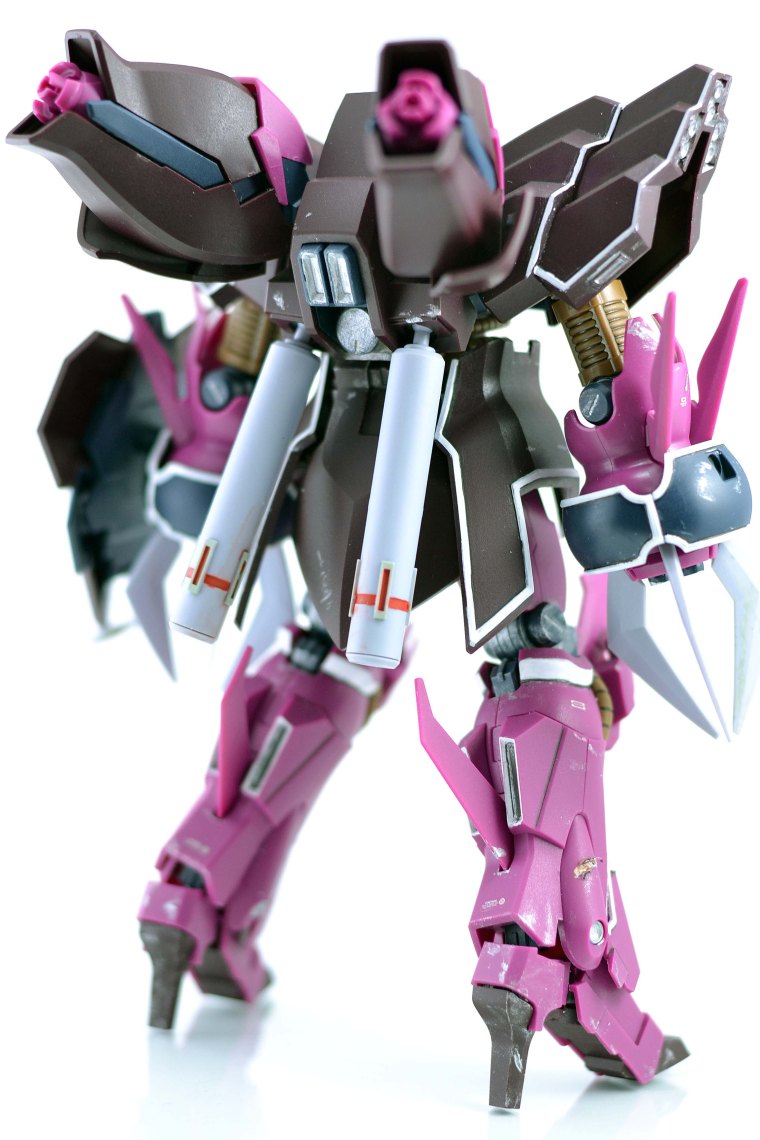
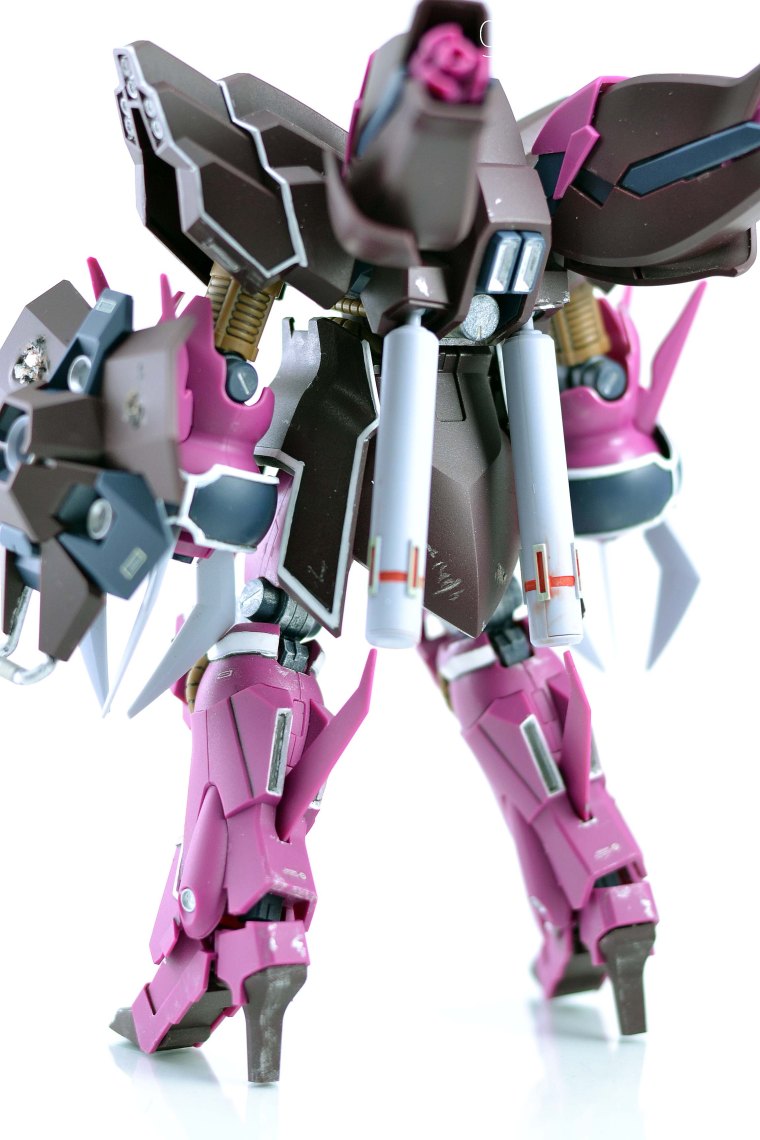
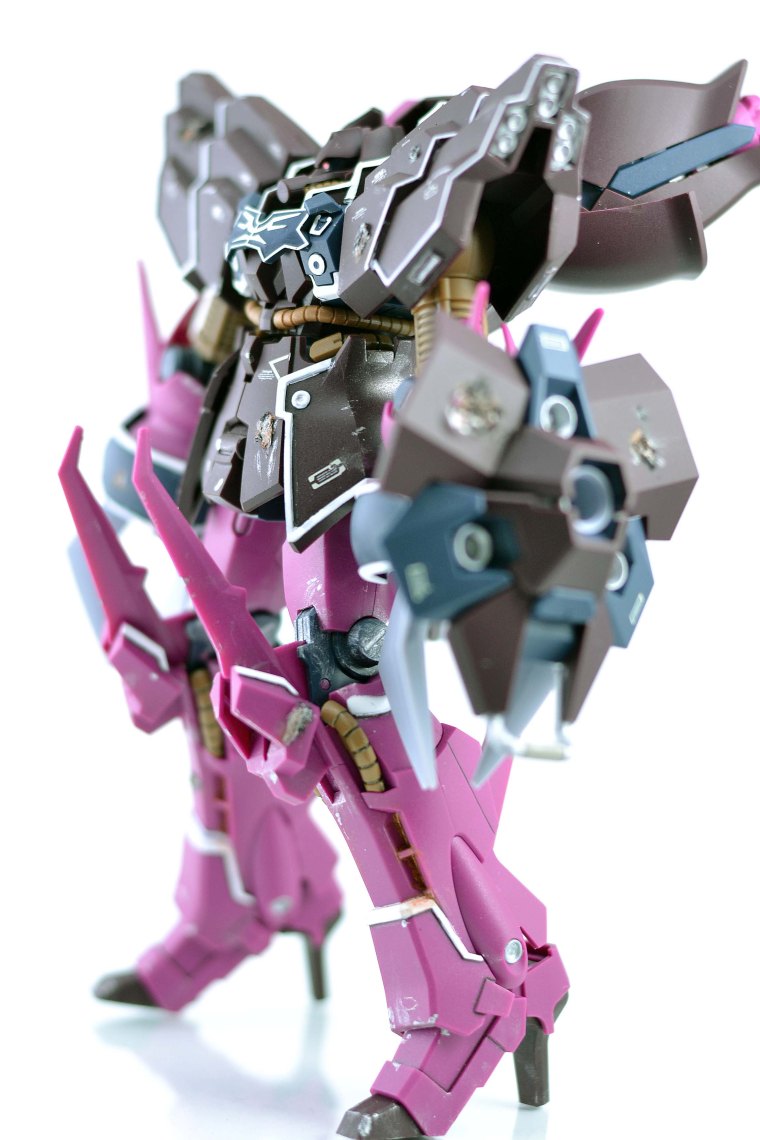
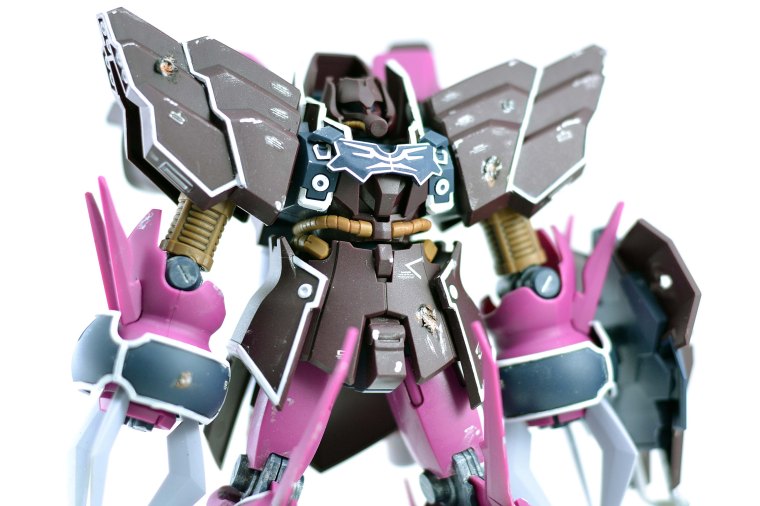
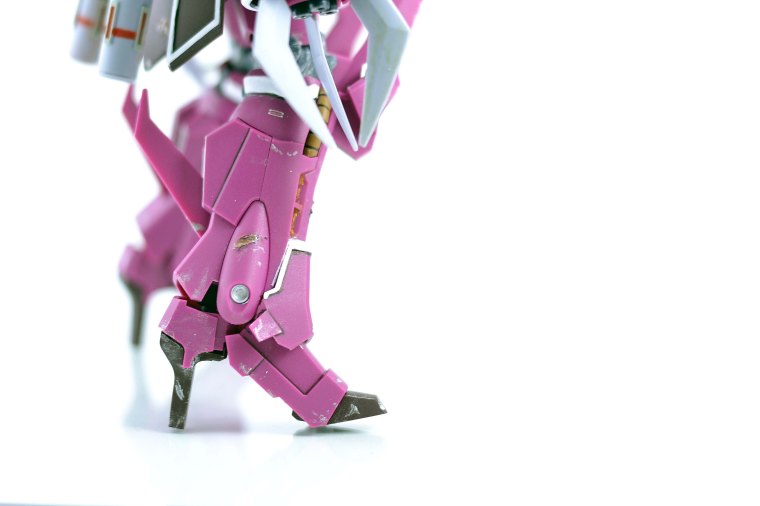
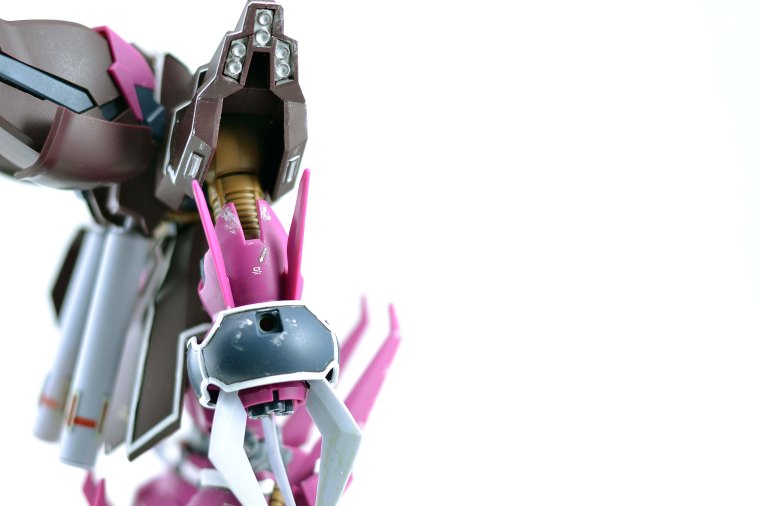
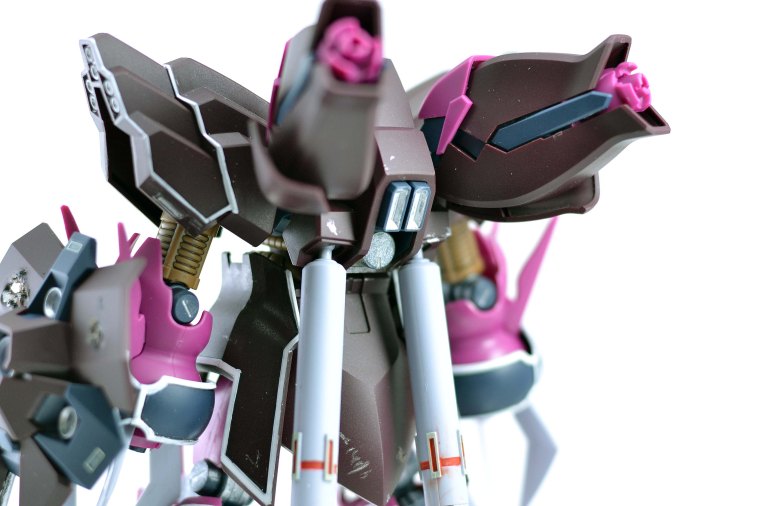
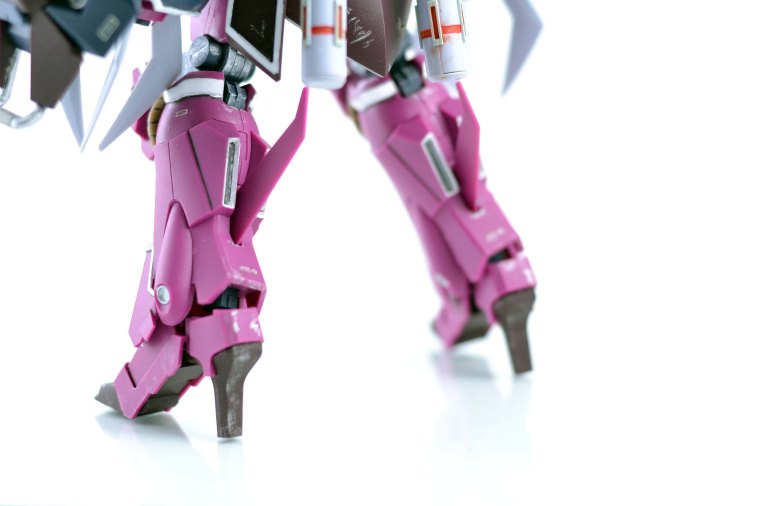
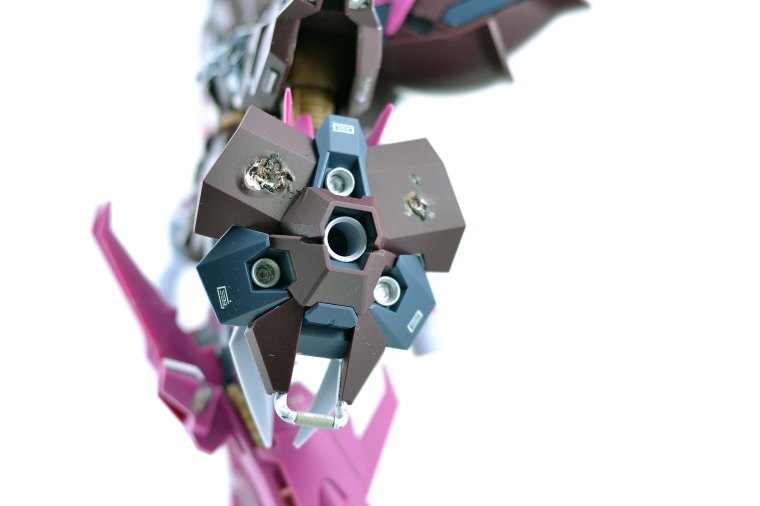
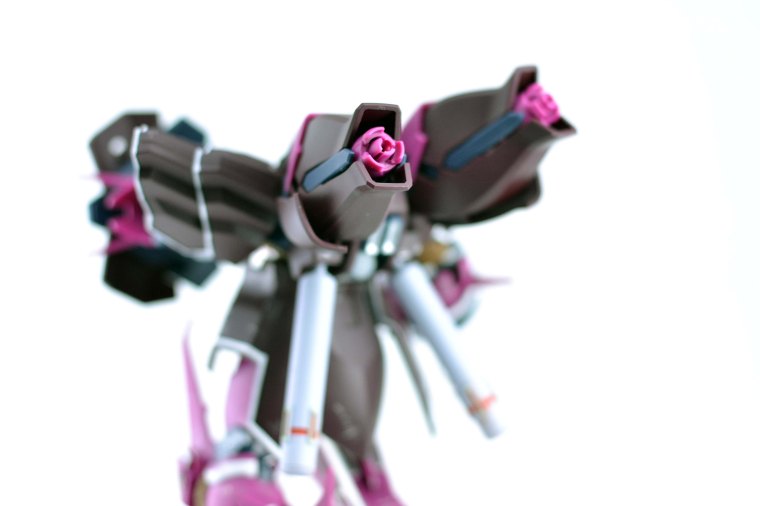
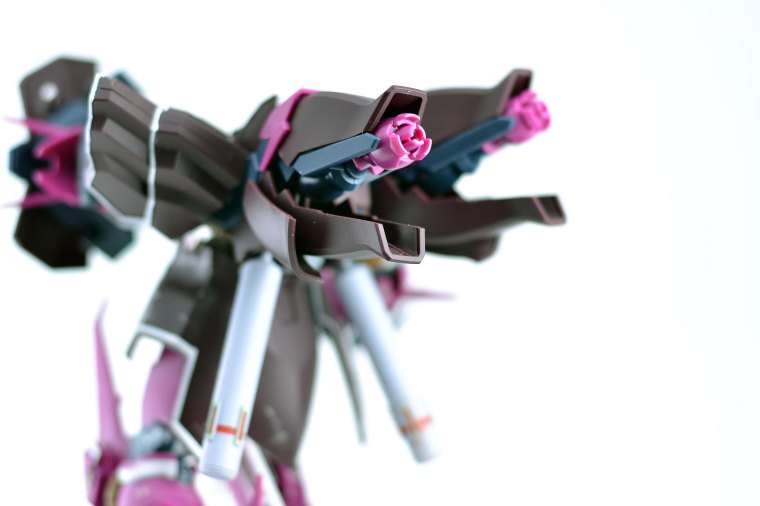
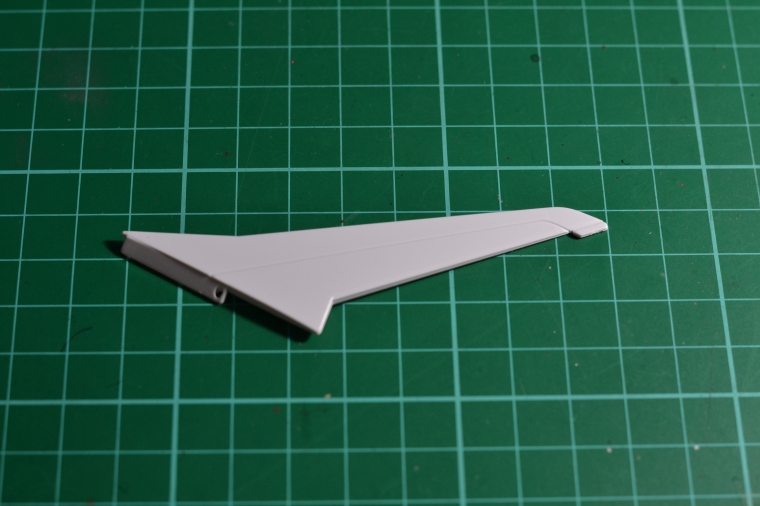
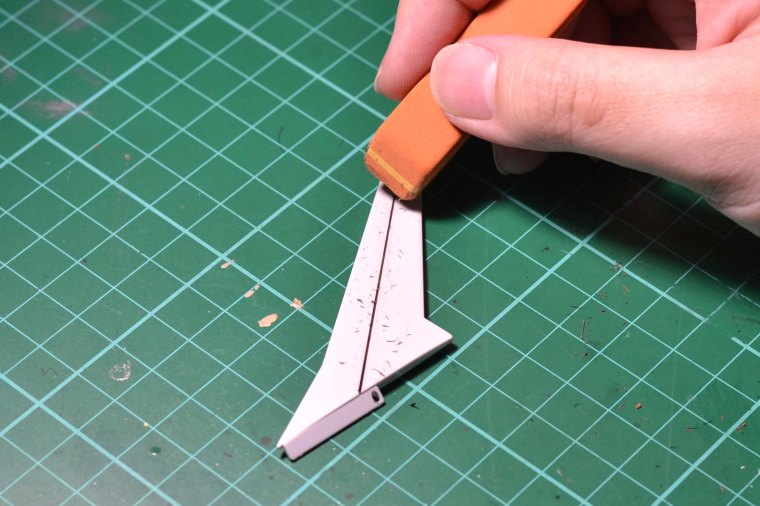
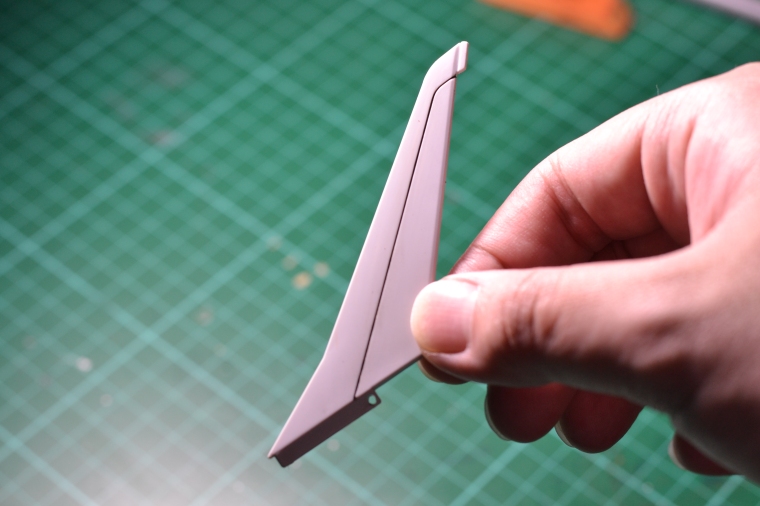
1st thing to do is of-course find a part that we need to panel line:

DSC_4261

Materials that will be used are the marker of your choice and a rubber eraser, my personal favorite is the COPIC Multiliner. For the rubber eraser, I like the red rough ones being sold in National Bookstore.

DSC_4262

This method is pretty easy, just ink on the panel lines like shown in the photos below, don’t worry about excess ink or lines that go out of the panel lines. The rubber eraser will fix that.

DSC_4264

DSC_4265

DSC_4266

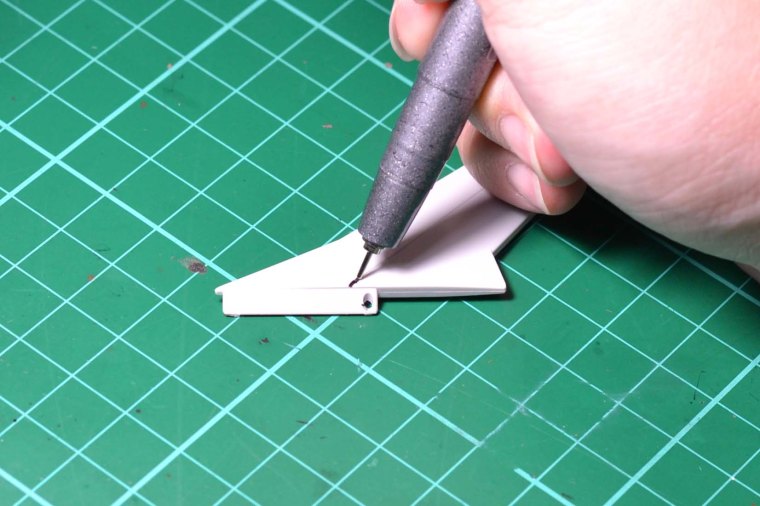
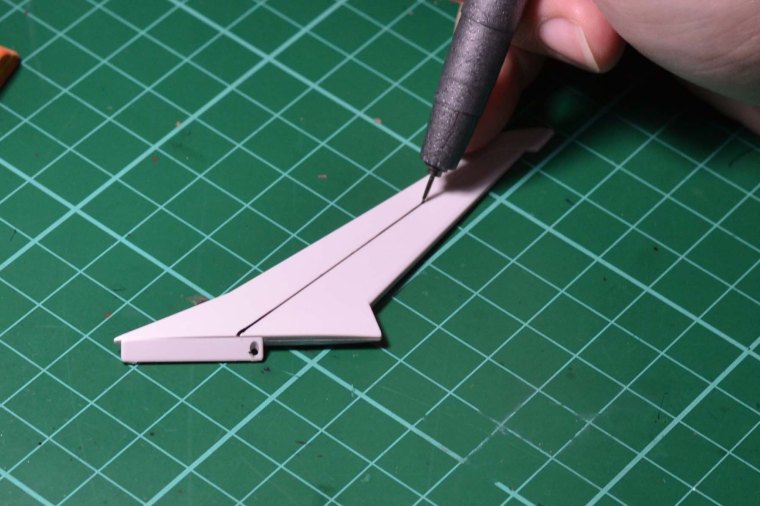
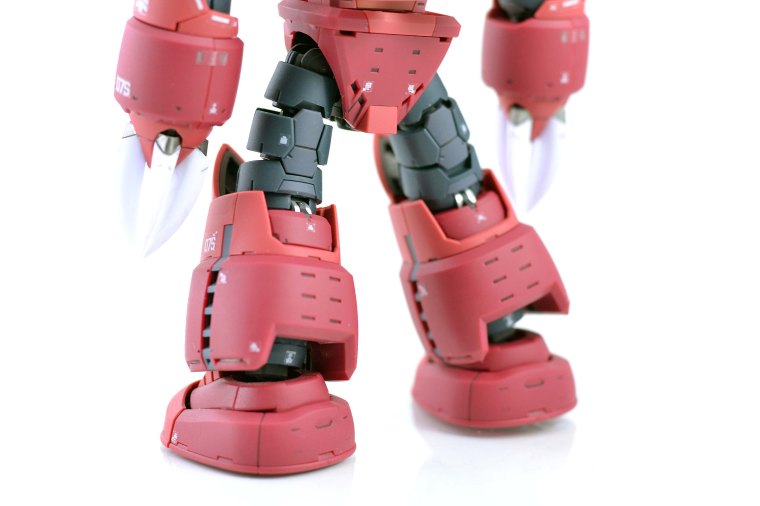
As you can notice, the panel lining is a bit thick and there’s a little smudge at the bottom of this part. Rubbing the lines using the rubber eraser can quickly clean your panel lining neatly.

Extra tip: Rub the panel line using your rubber eraser perpendicular to the line being cleaned. COPIC Multiliners are not quick to dry, so it’s easy to clean mistakes.

DSC_4267

DSC_4268

DSC_4269

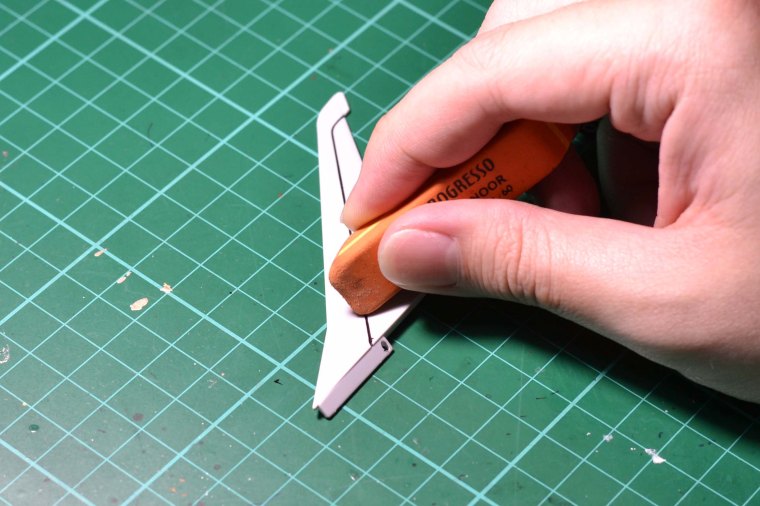
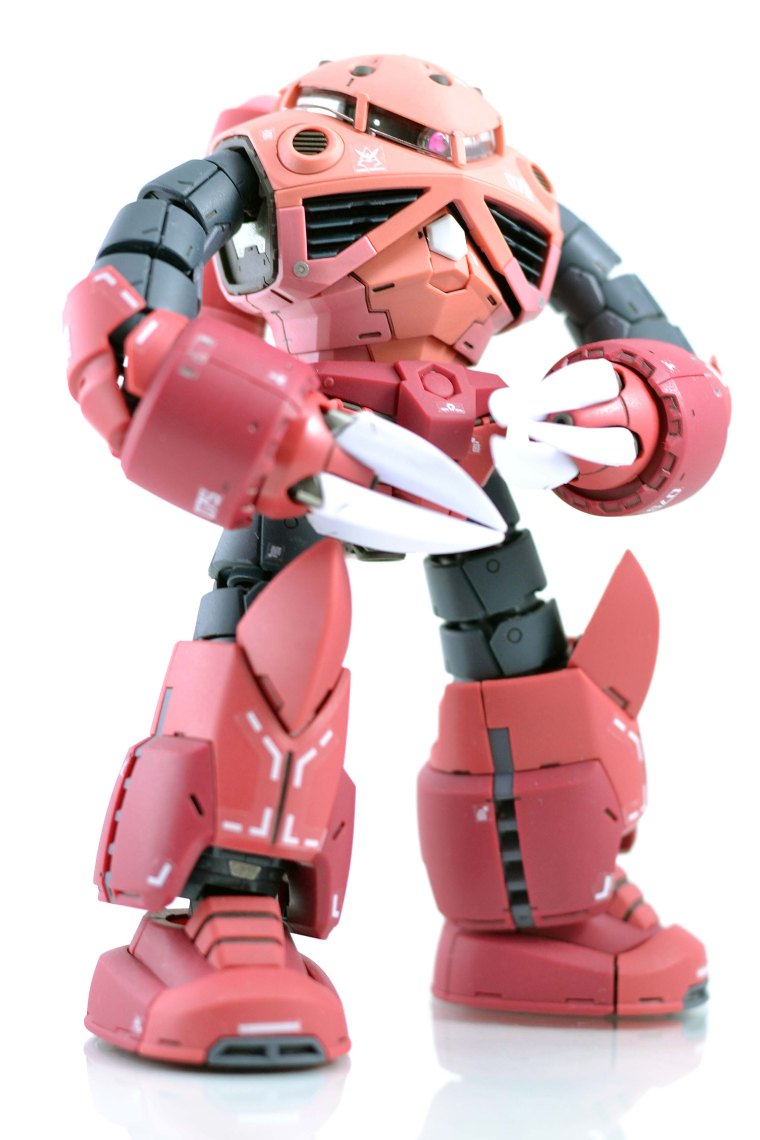
And viola! A nice thin panel line! =3 Easy right?

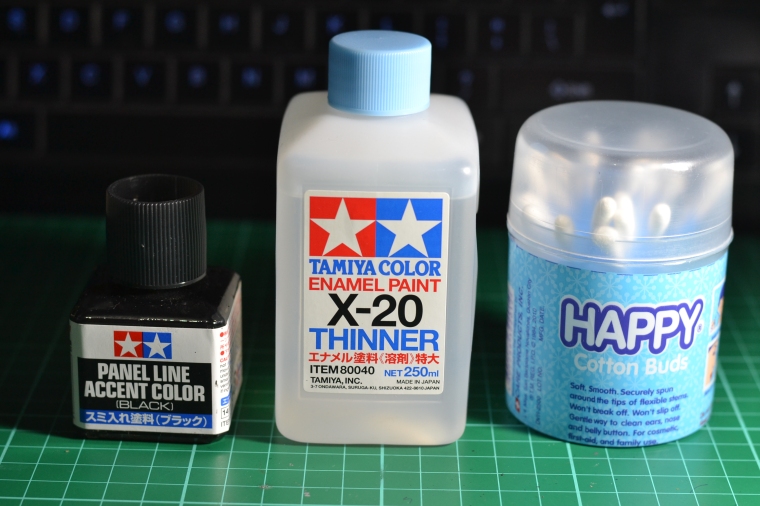
Method 2: Panel Line Accent Color + Enamel Thinner

This method is also known as enamel wash as it involves thinned out enamel paint as the panel lining tool. Before Tamiya produced these Panel Line Accent Color bottles(which are enamel based), hobbyists resort to the original Tamiya enamel paints and thin it with lighter fluid or enamel thinner. Anyway, good thing they made these Panel Line Accent Color so that you don’t need to thin your own enamel paint and these bottles come with a handy applicator.

Materials that will be used are the following: Tamiya Panel Line Accent Color, Tamiya X-20 Enamel Paint Thinner, cotton swabs.

Extra info: Tamiya Panel Line Accent Color comes in different colors like grey and brown. I still like black.

DSC_4283

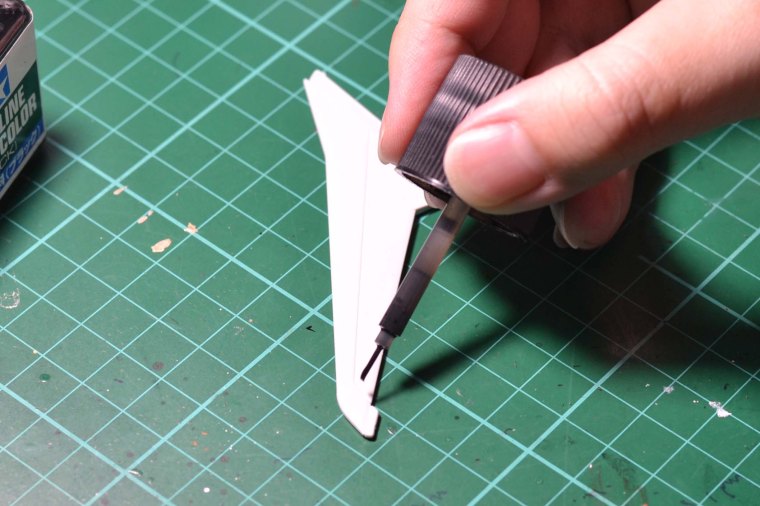
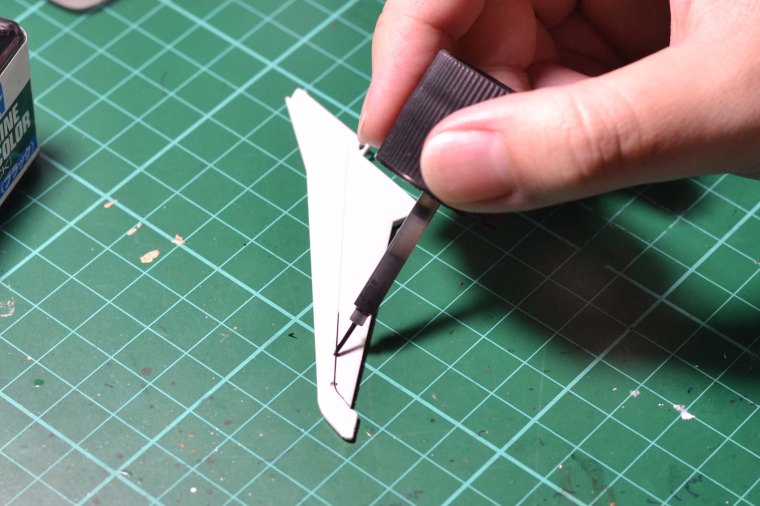
This method is also easy! You just have to use the applicator that is attached to the bottle cap and dab it to the panel lining. The concept is that the enamel paint is thinned enough that it will run itself through the lines, all you have to do is dab a small amount of Panel Line Accent Color on any part of the panel line.

WARNING: Do not overdo and put too much enamel paint on the piece! Before dabbing it on the piece, you can remove excess ink from the applicator by just skidding it by the bottle’s opening. If there’s too much ink on the piece, you can quickly clean it using some swabs, don’t worry about smudges as we can clean it later. The reason behind this is because too much enamel paint on the Gunpla’s plastic material can make it brittle and crack. So be careful okay?

DSC_4270

DSC_4271

DSC_4272

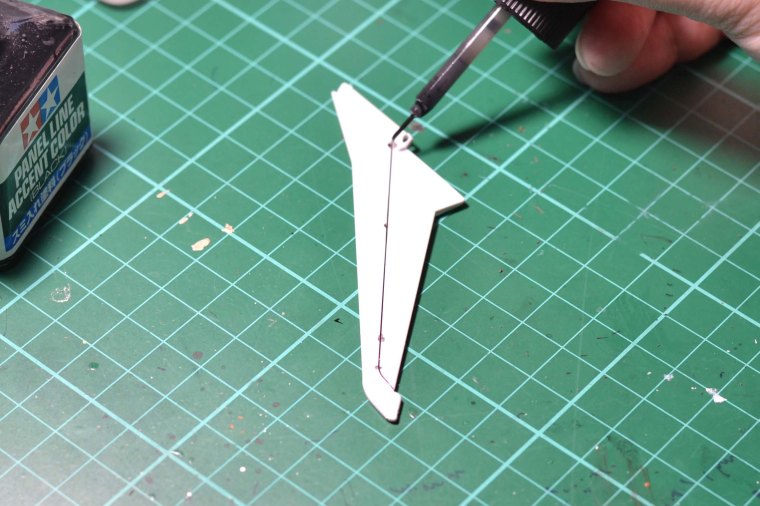
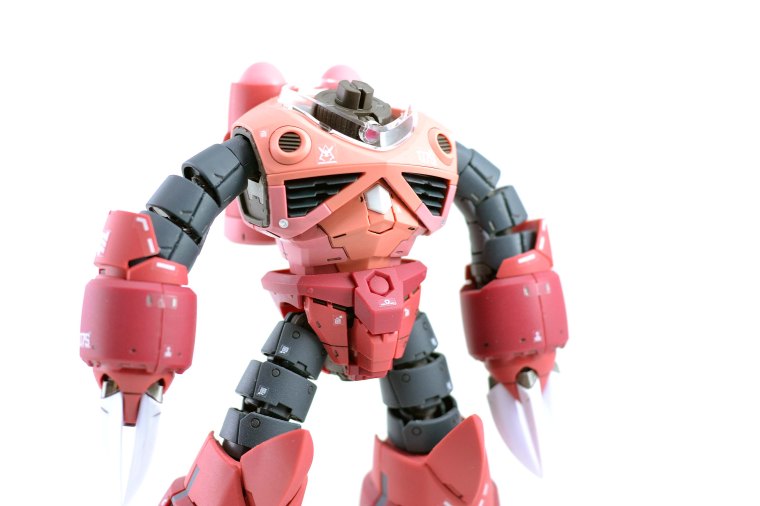
The piece will look something like this after Panel Line Accent Color application:

DSC_4275

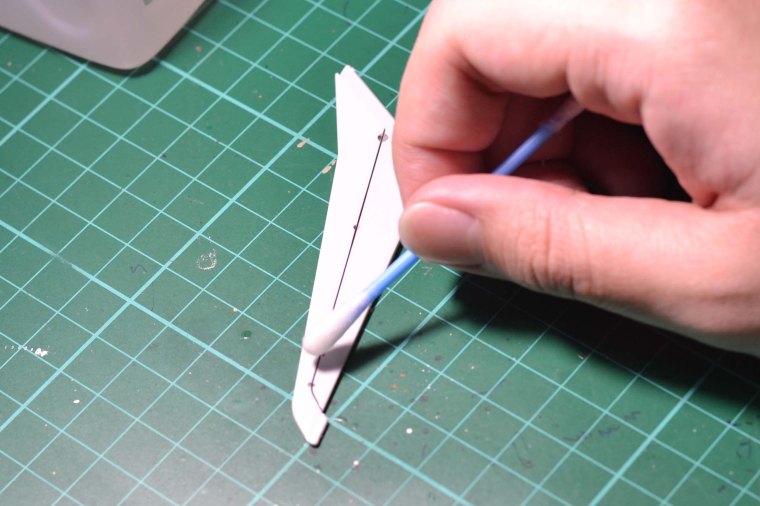
Now we can clean the smudges and ink blots using a small amount of enamel paint thinner on a cotton swab.

DSC_4277

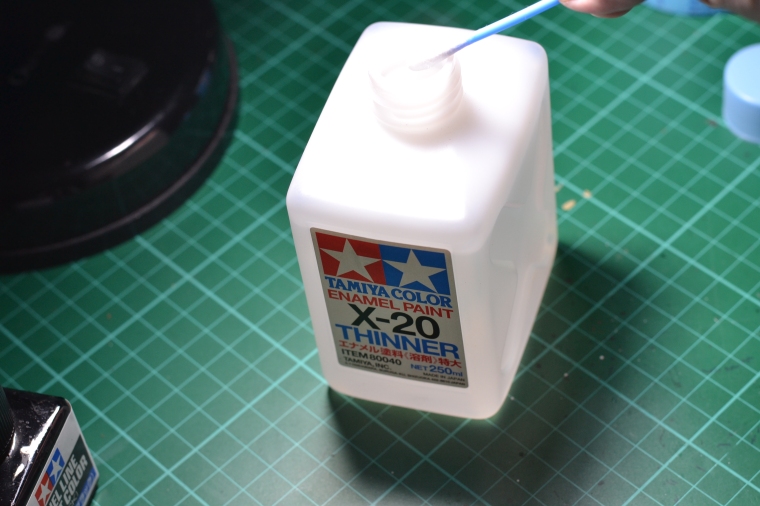
Just dab the cotton swab with the enamel paint thinner lightly on the excess ink, don’t press too hard as you can remove the underlying panel lining.

DSC_4278

DSC_4279

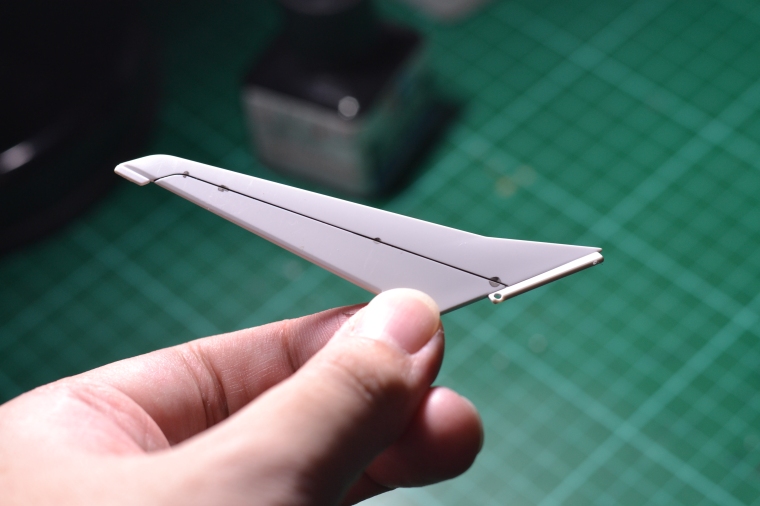
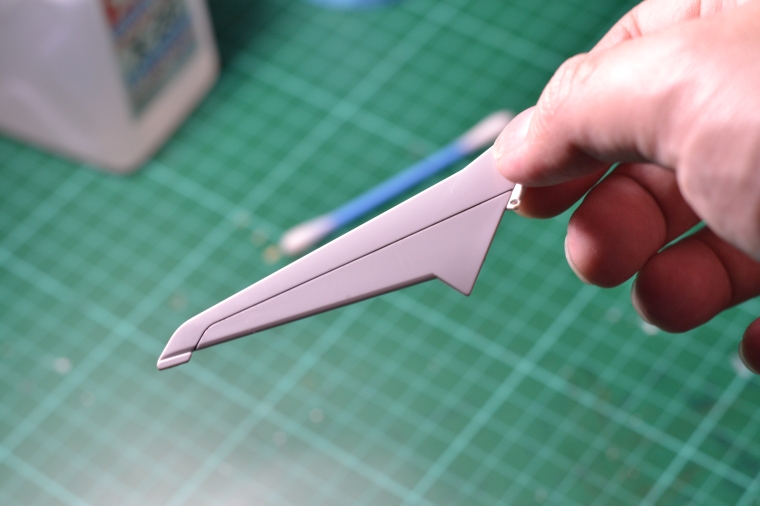
And viola! Beautiful clean panel lining!

DSC_4280

That’s it for this tutorial! I hope fellow hobbyists and Gunpla beginners will find it useful. You can ask questions in the comment section below and I’ll glady answer it. 🙂


RG 1/144 MSM-07S Z’Gok

Hello viewers! I present to you my 3rd Real Grade kit after 3 years! The first two kits that I posted in this blog 3 years ago was RG Aile Strike and RG Zaku II, man that was a long time. I planned to collect all the RG kits years ago, but I haven’t followed through, anyway, RG kits still amaze me, I have to buy more of these kits. I just wish MG kits have this level of detail.

This mobile suit is Char Aznable’s Z’Gok as obviously denoted by the color of the suit; a nice combination of red tones. The MS is pretty simple but looks good on display. Everybody loves a mono-eyed mobile suit right? right?!? XD Okay not everybody, but you have to admit, there is some kind of appeal mono-eyed mobile suits have.

Enjoy the photos!:
DSC_4206

DSC_4207

DSC_4208

DSC_4209

DSC_4211

DSC_4212

DSC_4213

DSC_4215

DSC_4216

DSC_4217

The mono-eye can be moved with 360 degrees of freedom sidewards as well us 90 degrees upward.

DSC_4219

DSC_4220

Front cockpit can be opened:

DSC_4221

DSC_4222

DSC_4223

DSC_4225

DSC_4226

DSC_4229

Z’Gok high kick!

DSC_4231

DSC_4232

Some push-ups to work those crabby muscles:

DSC_4233

DSC_4235

DSC_4238

DSC_4239

DSC_4241

Things I don’t like about this kit:

1. Knee armor is a bit loose, that’s the only minor problem.

Thing I like about this kit:

1. Details are amazing

2. Clear stickers/decals are a lot.

3. Articulation is at its best.

4. The mono-eye can be moved.

5. Realistic propellers are included that is on the bottom of his feet and his backpack though I forgot to take photos of those.

6. Different tones of red for his armor

7. Has an inner frame as all RG does anyway.

That’s it! I definitely recommend this kit to all fellow Gunpla hobbyists! Till next time! 🙂

HG 1/144 YAMS-132 Rozen Zulu

Hello viewers and fellow hobbyists! At last I am done with Rozen Zulu! My first gunpla with heelsHand-painting the white detail lines were hard!

Things I did in this kit:

1. The usual snap-fit build and nib mark cleaning, nib marks were a lot! And were very visible due to the color of the plastic (darker colored plastic shows more plastic stress marks)

2. Hand-painted the white detail lines, I did not do anything fancy like reverse wash. I just searched for the finest brush that I could find and hand-painted the white lines. It’s not perfect but it’s good enough for me, I’ll try a reverse wash next time.

3. Applied water slide decals. I have lots of extra water slide decals lying around, instead of it gathering dust, better to use them right?

4. Applied battle damage through my proprietary “burning a toothpick method”. :p

5. Applied light weathering using dry-brushing. Just some simulated paint scratches using Flat Aluninum.

6. Added some paint details like copper on battle damage areas.

7. Panel lining of course.

8. And lastly, sprayed a top coat using Bosny Clear Dull.

And without further adieu, I present to you HG 1/144 YAMS-132 Rozen Zulu! (Did they really intend the model number to be YAMS? reminds me of a local root crop in my country which is purple yam or locally called ‘Ube’)

You can find more information about the mobile suit here: http://gundam.wikia.com/wiki/YAMS-132_Rozen_Zulu

DSC_4130

DSC_4131

DSC_4132 DSC_4133

DSC_4134

DSC_4136

DSC_4137

DSC_4138

DSC_4140

DSC_4141

DSC_4142

DSC_4143

DSC_4144

DSC_4145

DSC_4147

DSC_4148

DSC_4149

DSC_4150

DSC_4151

DSC_4154

DSC_4155

DSC_4157

DSC_4158

DSC_4159

DSC_4162

DSC_4163

DSC_4164

DSC_4165

DSC_4166

DSC_4167

Final Thoughts:

Things I don’t like about this kit:

1. Most of the parts are in the wrong purple color, it looks brown from afar, but when you look at it closely, it’s actually very very dark purple. But he turned out all right despite the wrong colors.

2. Standing stability is poor due to his small feet and the heels! XD

Things I like about this kit:

1. The whole MS design is cool! Almost all MS from the Unicorn series has superb designs!

2. Interesting color scheme.

3. The kit includes with the complete Psycho Jammer set along with stands for them (the floating flower-like thingies)

4. The kit includes the extending wire guided manipulators/INCOMs. (the claw-like hands)

5. Articulation is actually great despite that he looks a bit bulky.

6. Mono-eyed MS is always a plus for me.

That’s! Till next post! (probably another mono-eyed MS) 😀

DSC_4168

HG 1/144 YAMS-132 Rozen Zulu WIP1

Hi guys! It’s been a while, but here’s my latest WIP, HG 1/144 Rozen Zulu. I had a previous project which was HGBF Bear Guy San, but it was a failure and I have to redo the whole thing and I lost interest on the kit. So I decided to start on a new kit which was this one and get back to Bear Guy III afterwards. This is just the snapfit build, without the backpack yet. I tested out the stickers and it looks okay from afar, but it looks awful up close. It looks like I have to hand paint all the white stripe details on this guy, which will be a pain, but it’ll be worth it if I can pull it off clean.

Here are the photos, I’ll update once I have painted some details and cleaned him up:

Continue reading “HG 1/144 YAMS-132 Rozen Zulu WIP1”

MG 1/100 Gundam 00 Seven Sword/G (Custom Painted Build)

Introduction:

Hello viewers! I present to you MG 1/100 Gundam 00 Seven Sword/G custom painted build.

What I did for this build:

1. Snap fit + nib marks cleanup.

2. Primed every blue part with grey primer.

3. Airbrushed every primed part with Tamiya X-15 Light Green.

Continue reading “MG 1/100 Gundam 00 Seven Sword/G (Custom Painted Build)”