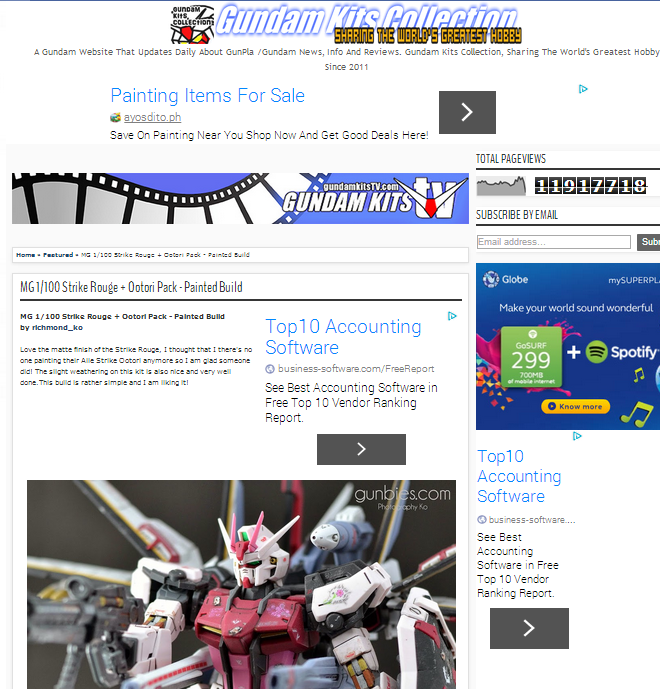
One of my work just got featured at http://www.gundamkitscollection.com!
http://www.gundamkitscollection.com/2014/04/mg-1100-strike-rouge-ootori-pack.html
Posts regarding scale models, gunpla, gunpla painting, gunpla customization and gunpla or modelling tools.
One of my work just got featured at http://www.gundamkitscollection.com!
http://www.gundamkitscollection.com/2014/04/mg-1100-strike-rouge-ootori-pack.html

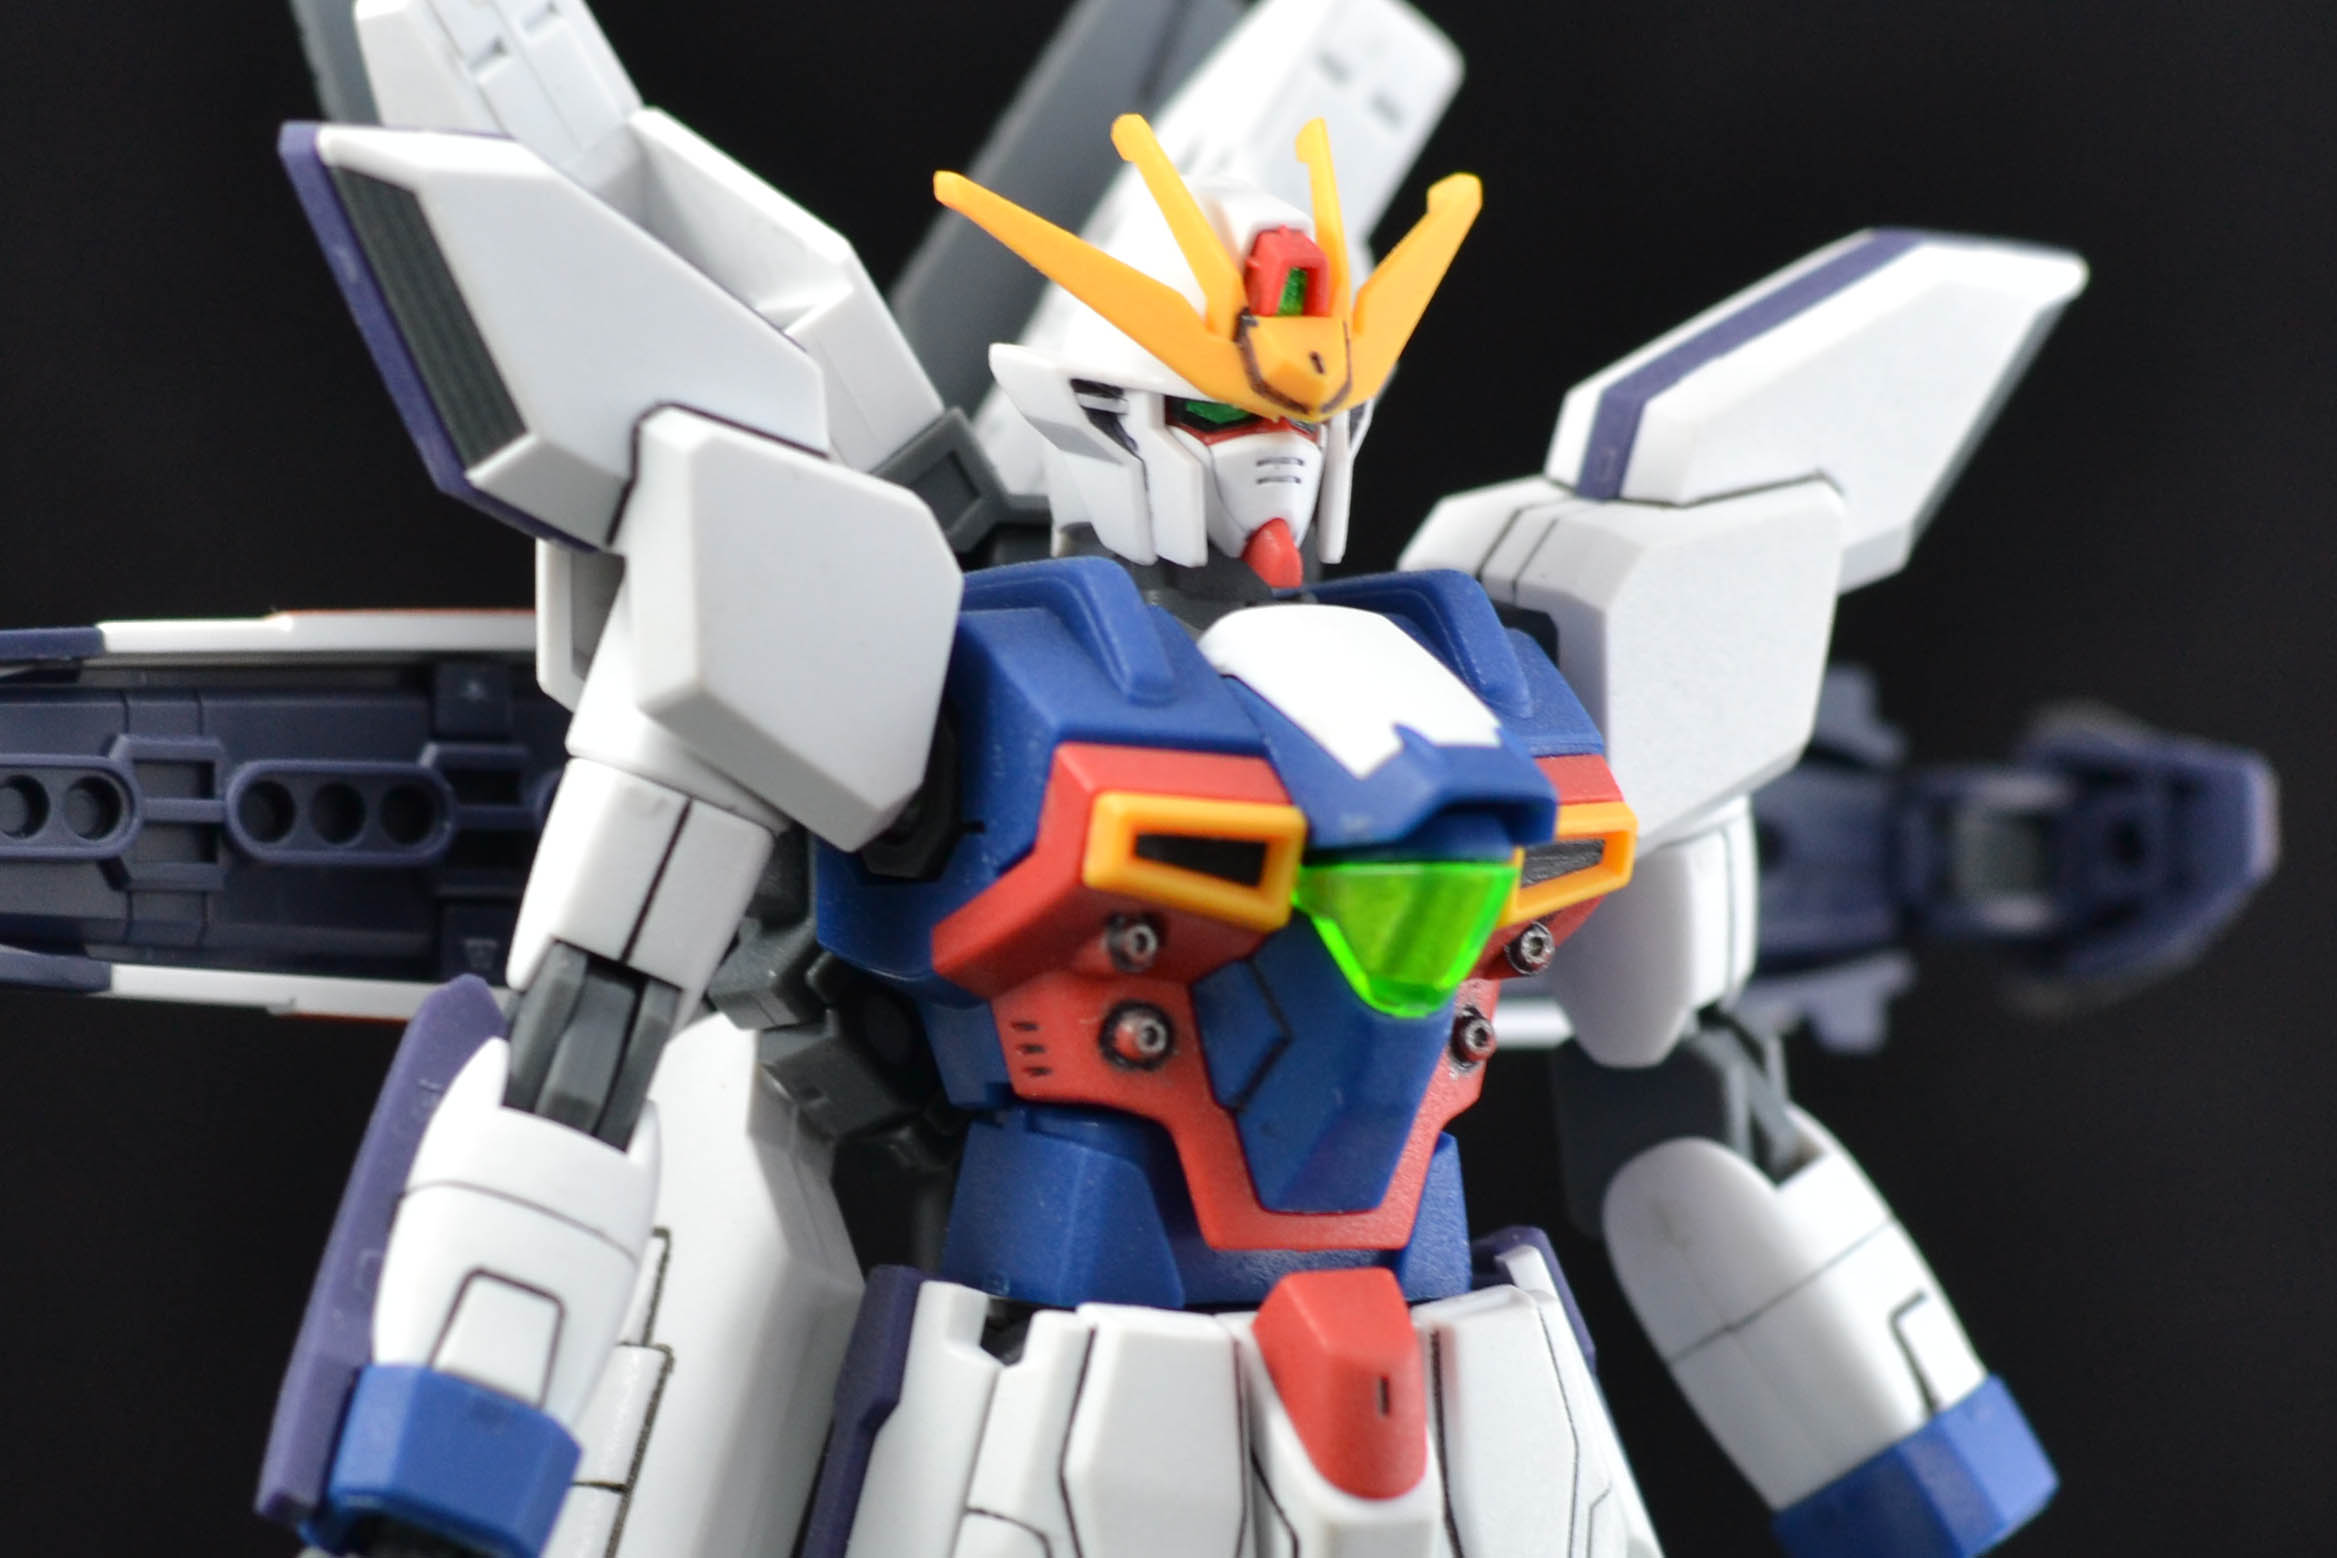
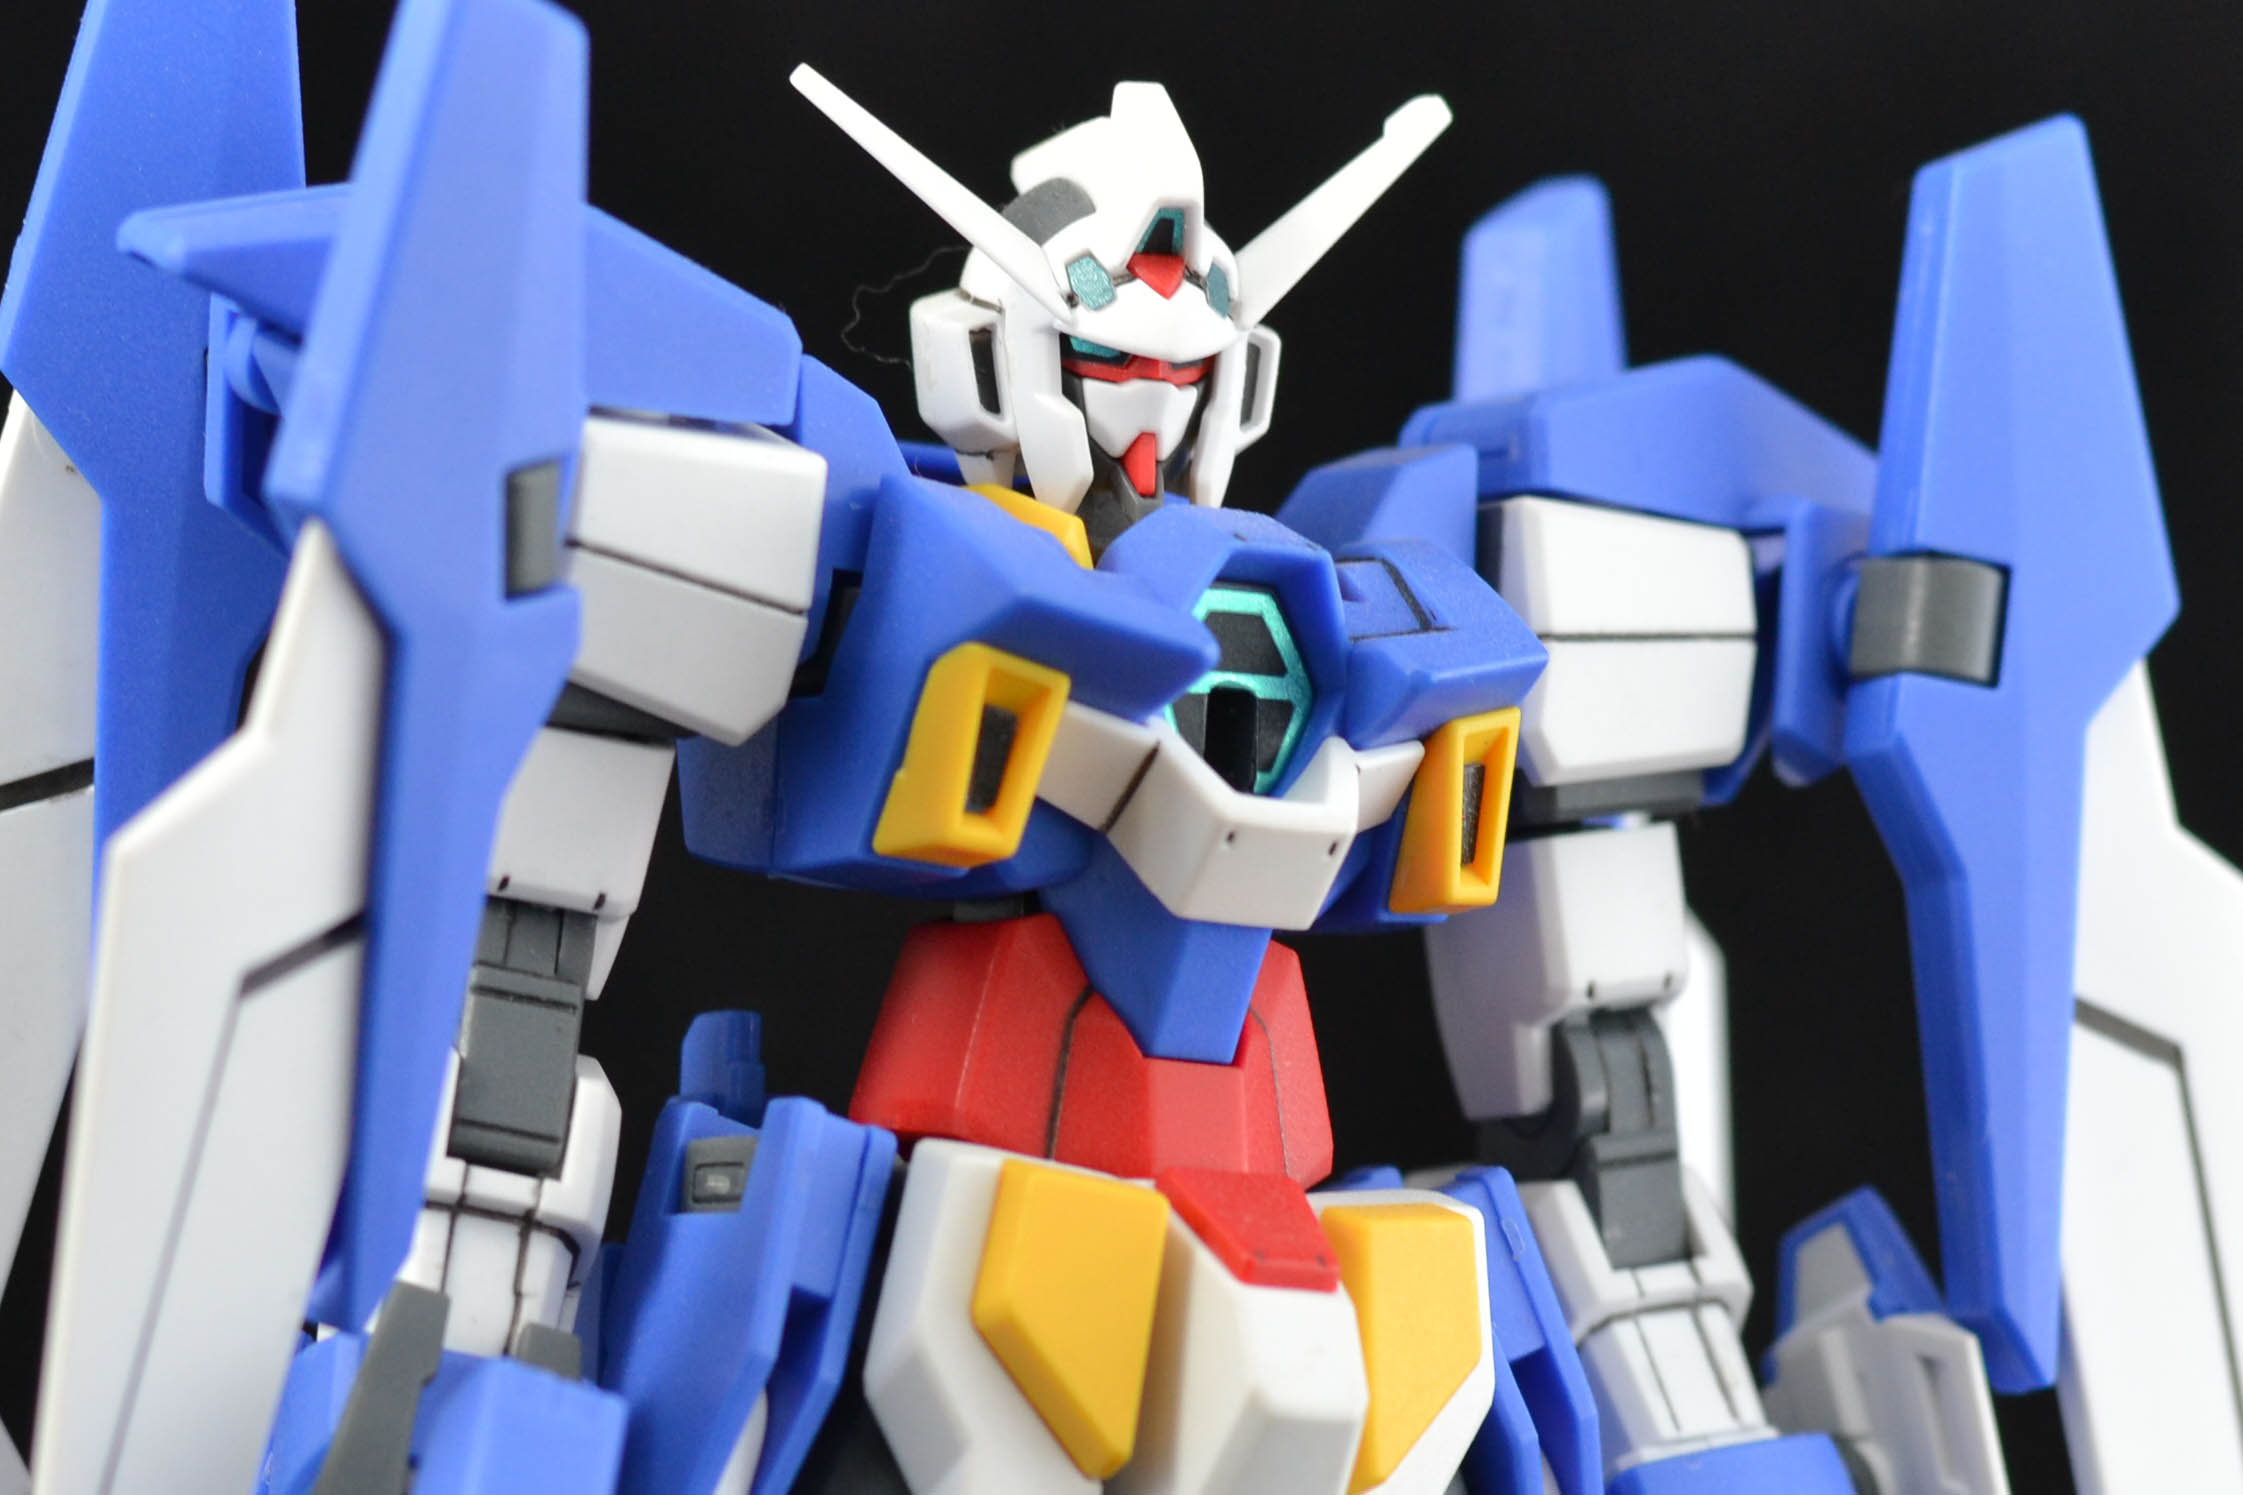
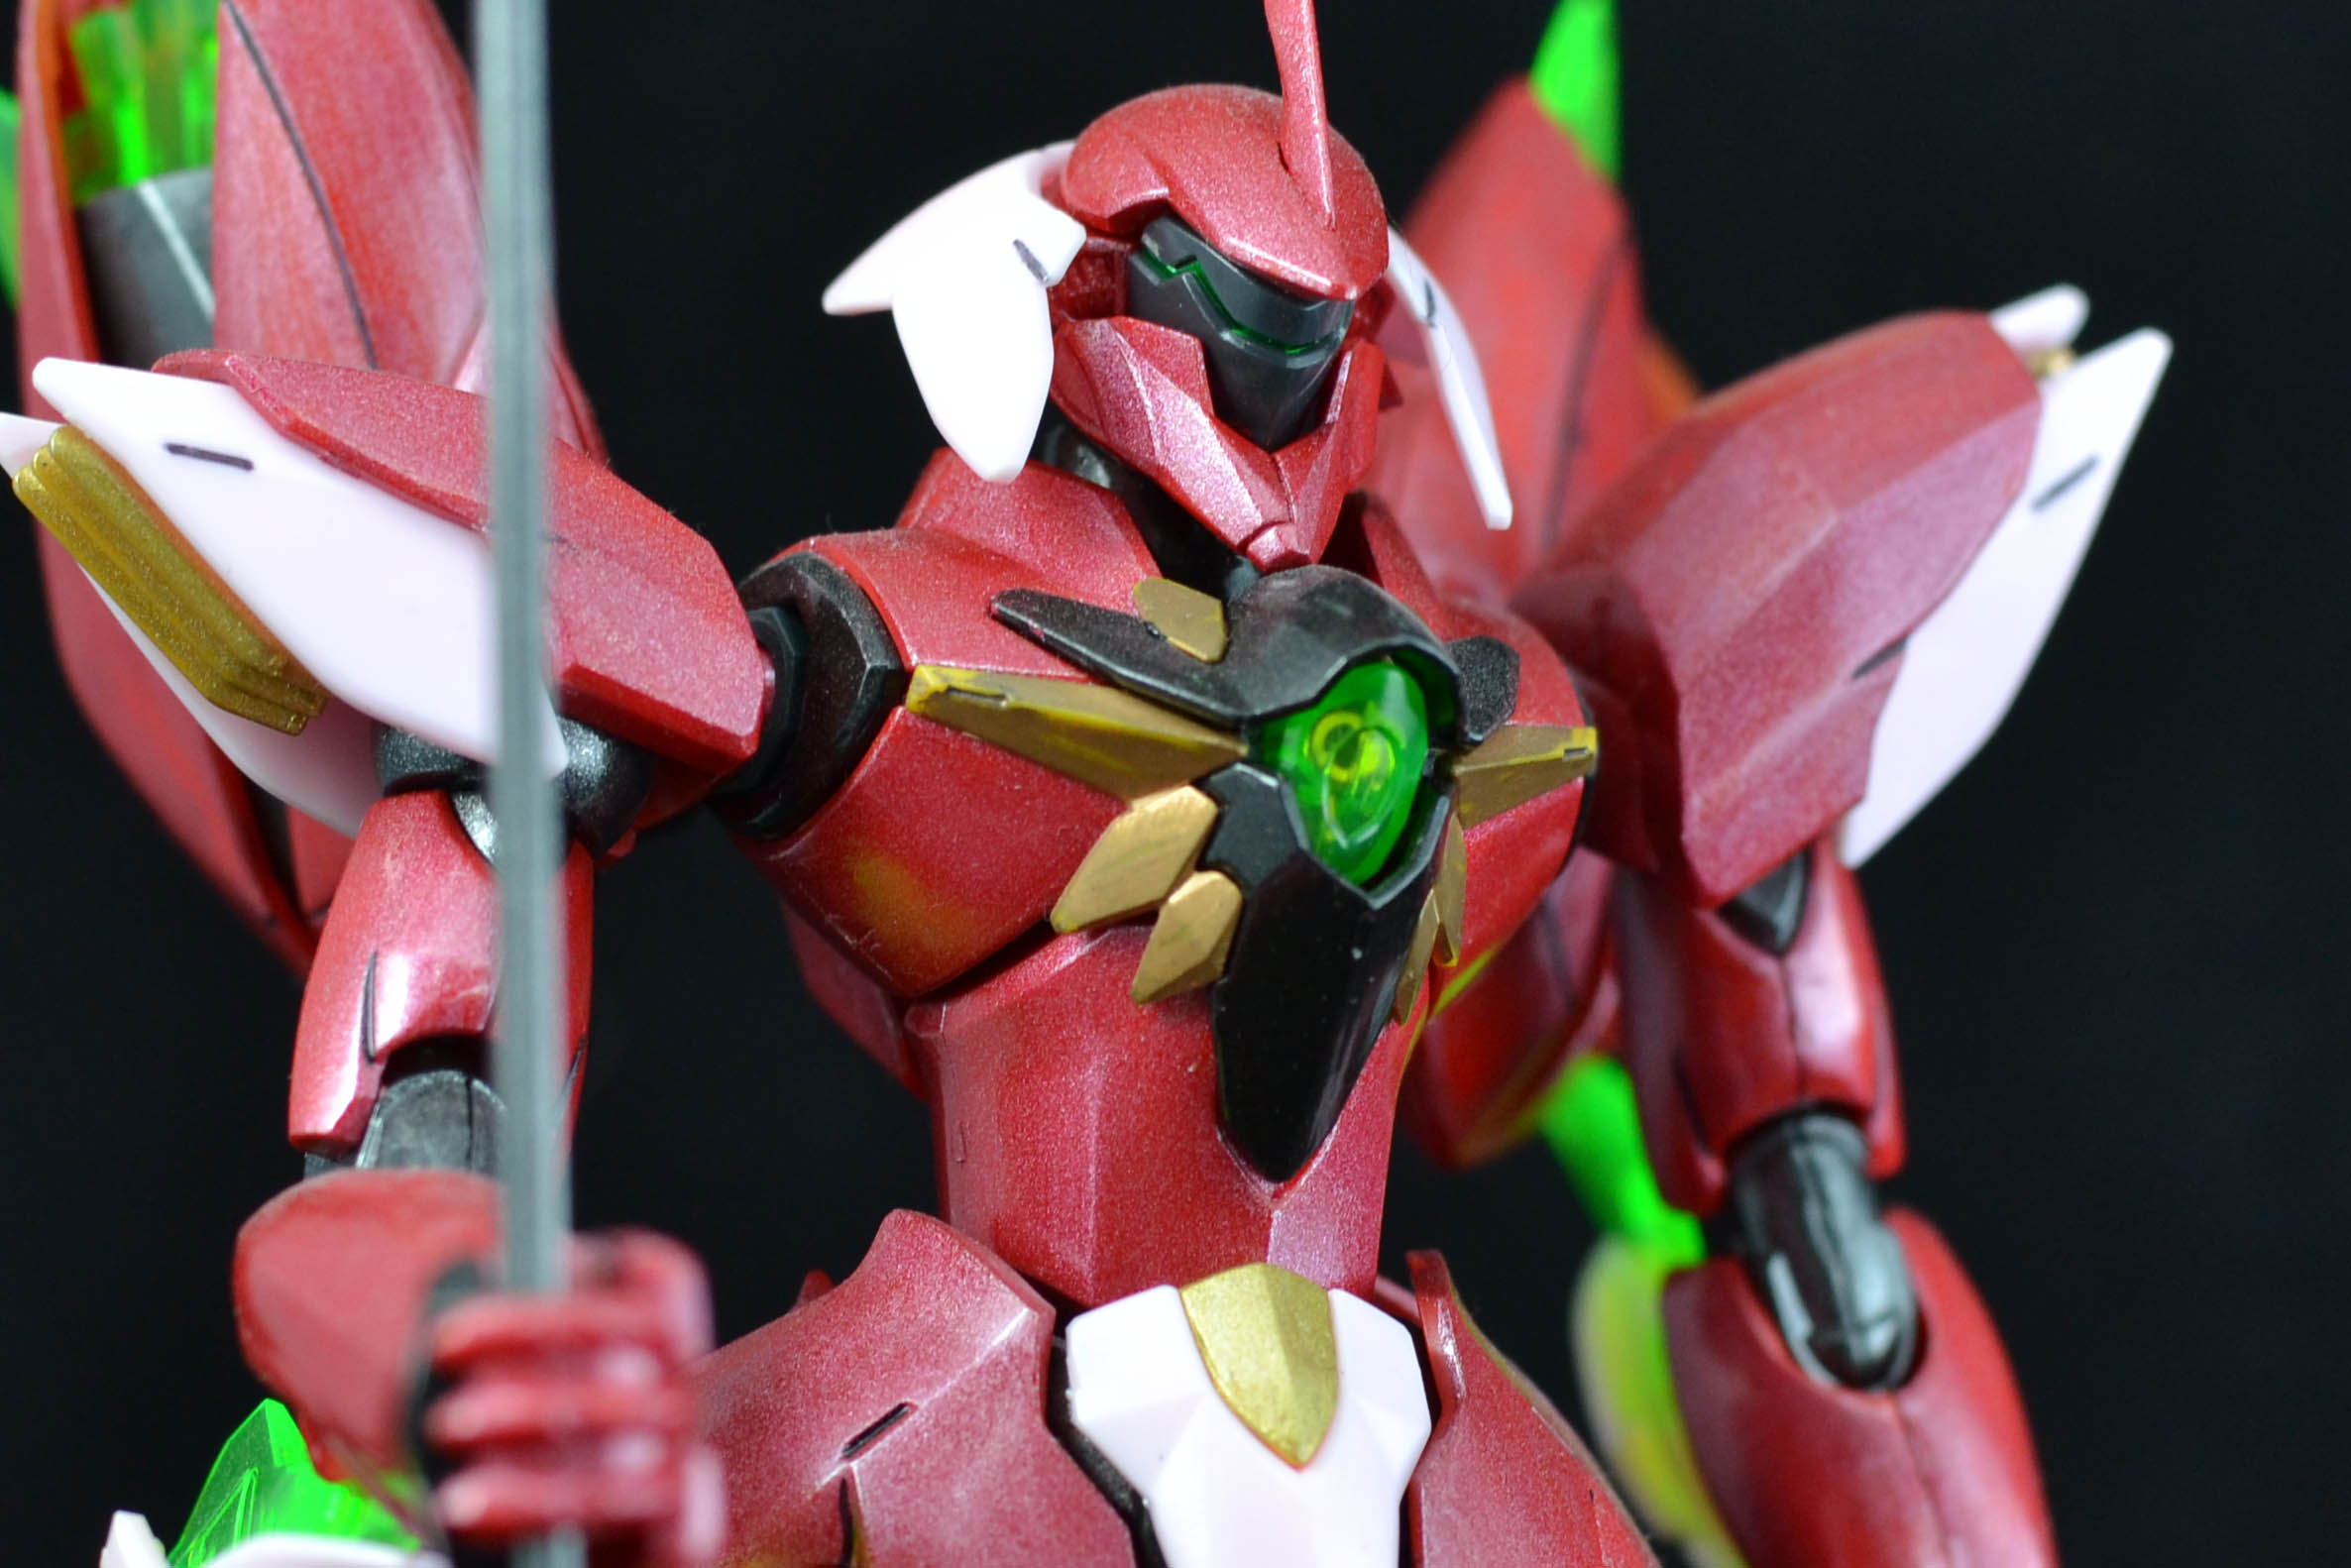
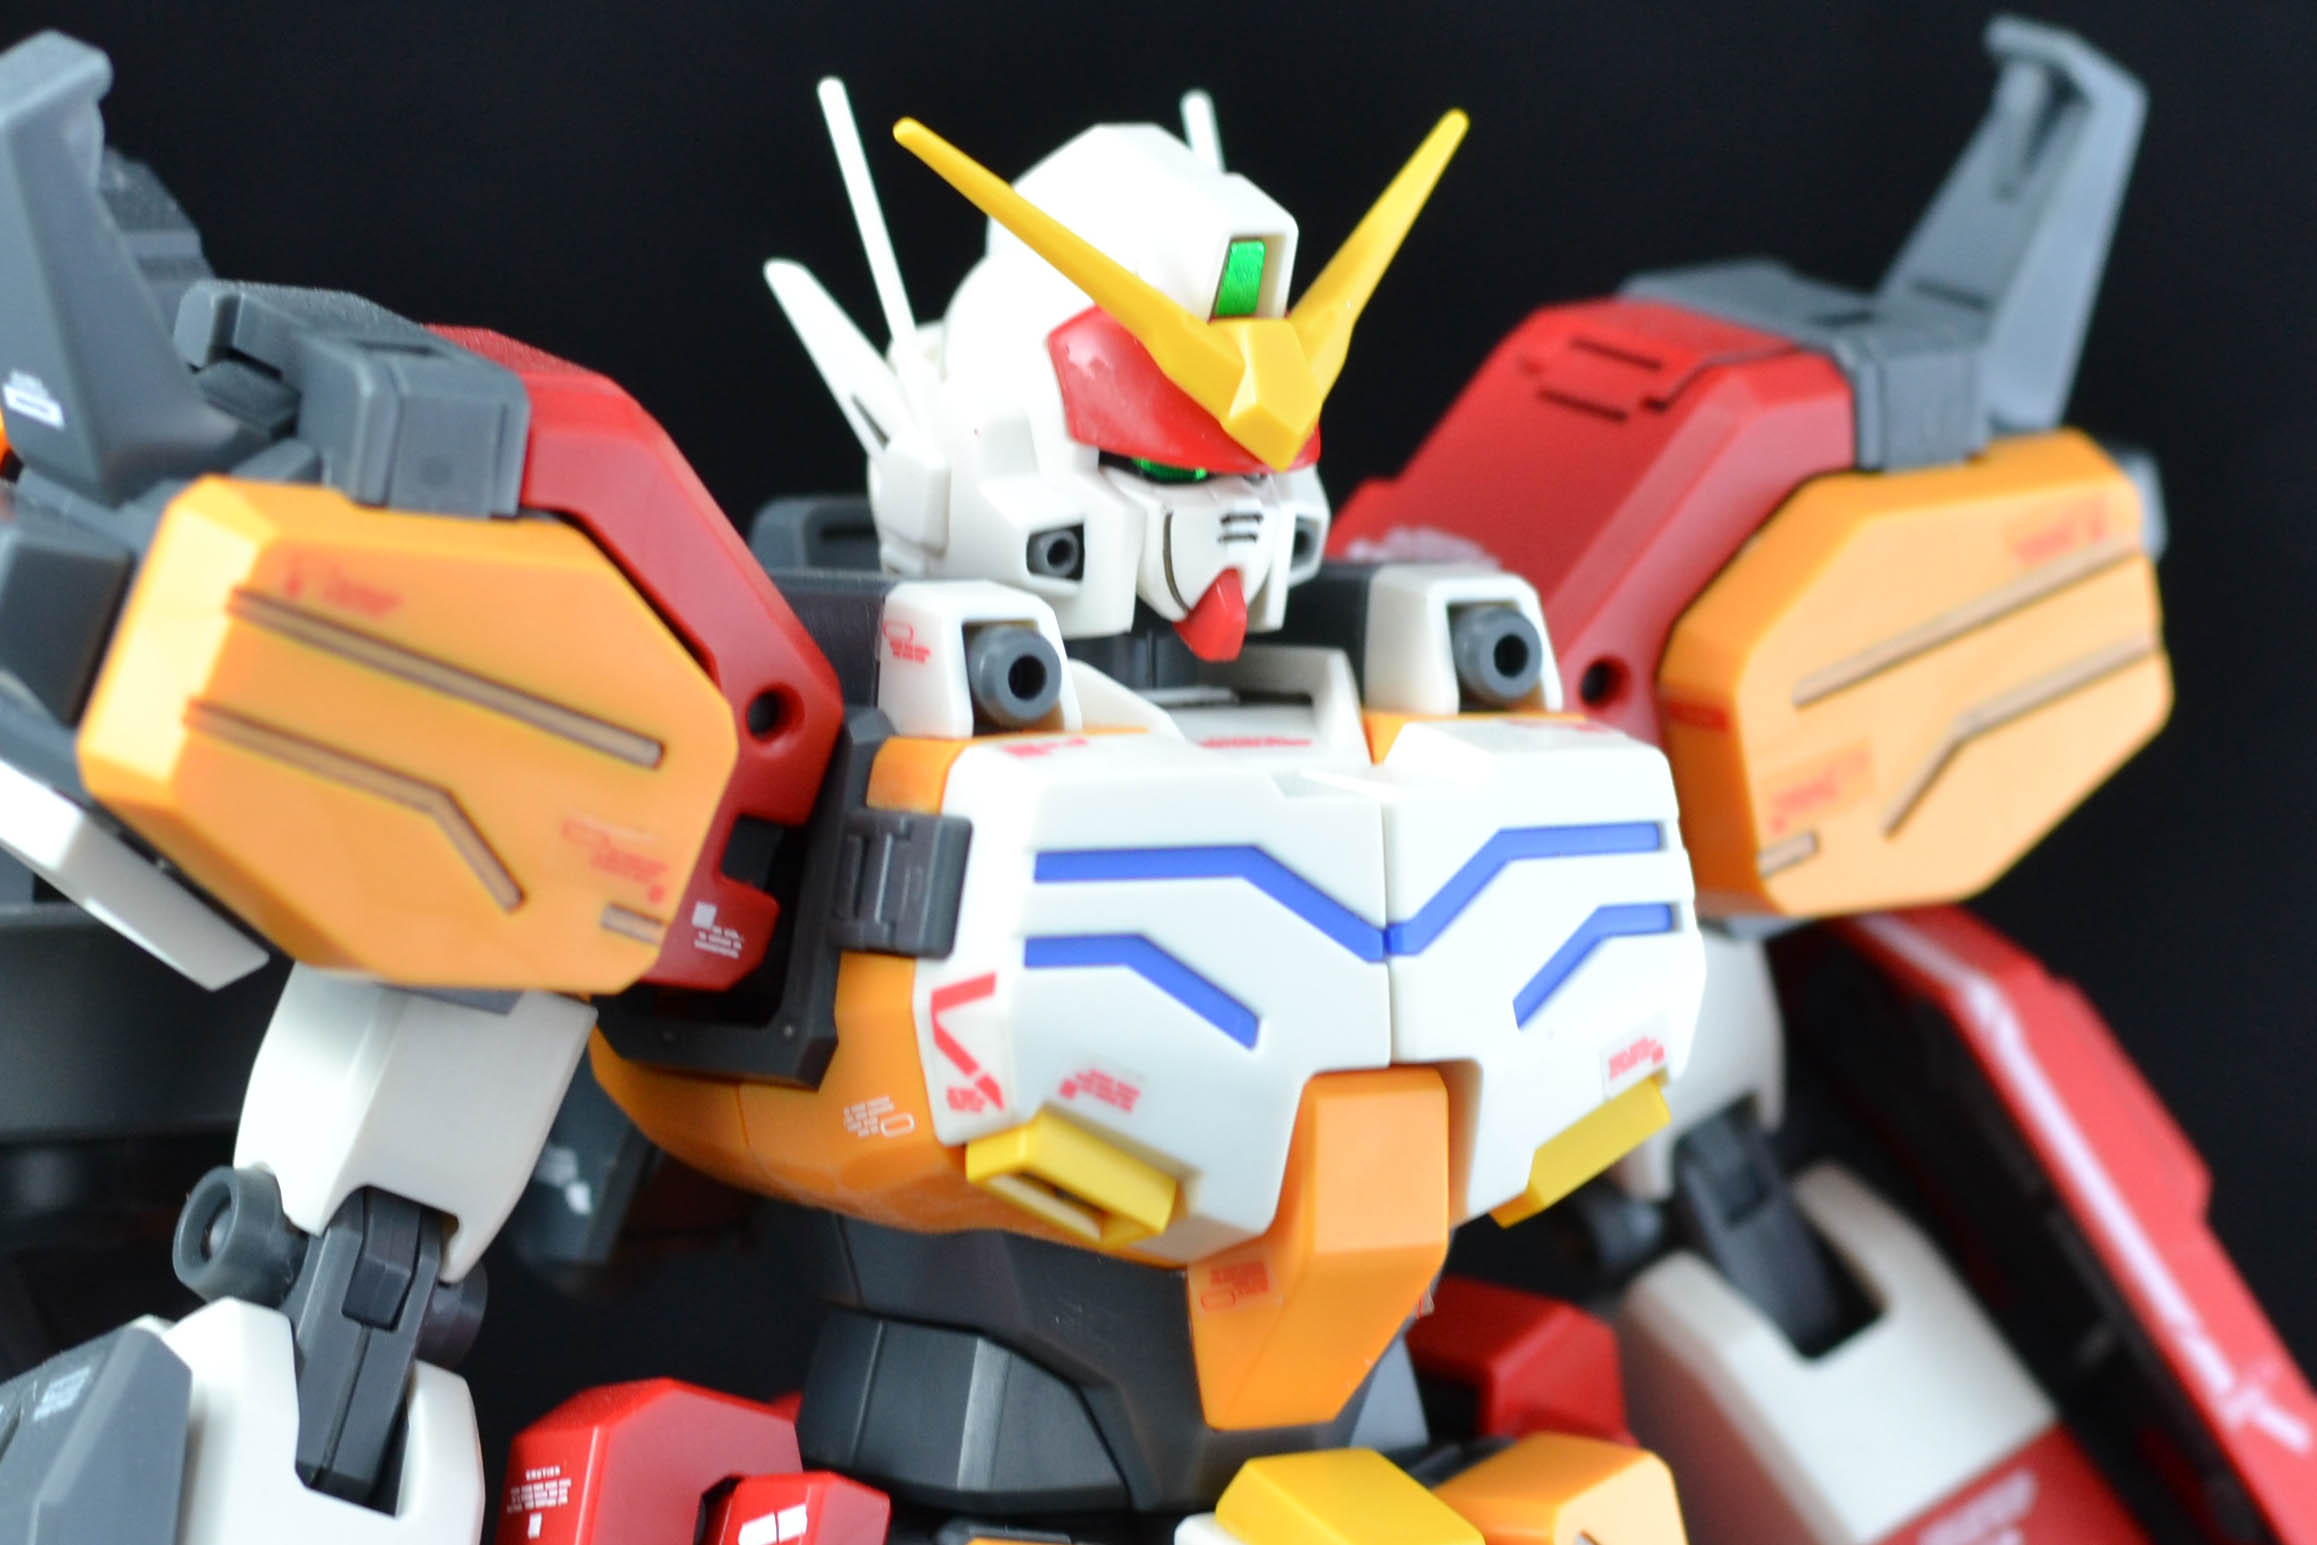
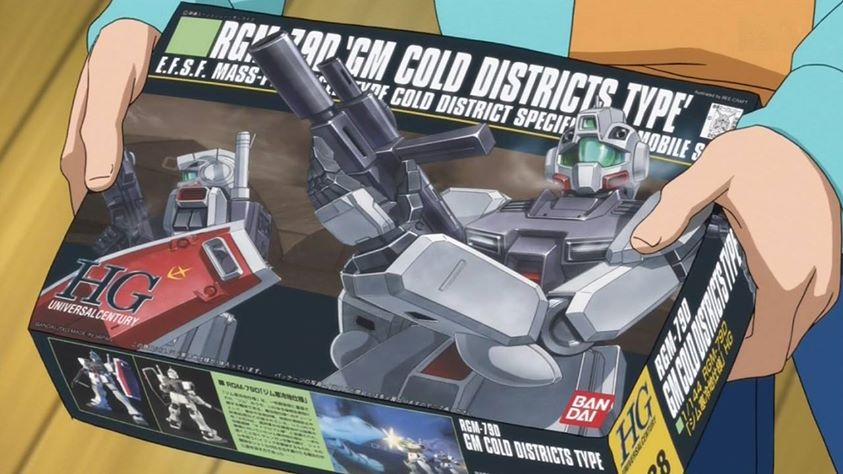
Hi guys! Now here is a kit from the Build Fighters anime series! Upon watching the anime series, I got pumped up and wanted to buy the kits featured in the series. Too bad most of the kits that I want like Kampfer Amazing and Zaku Amazing were not available at my local hobby store, only Wing Fenice was available and he is good enough for me. Though it would have been better if I also got the meteor hopper, but someone else beat me to it.


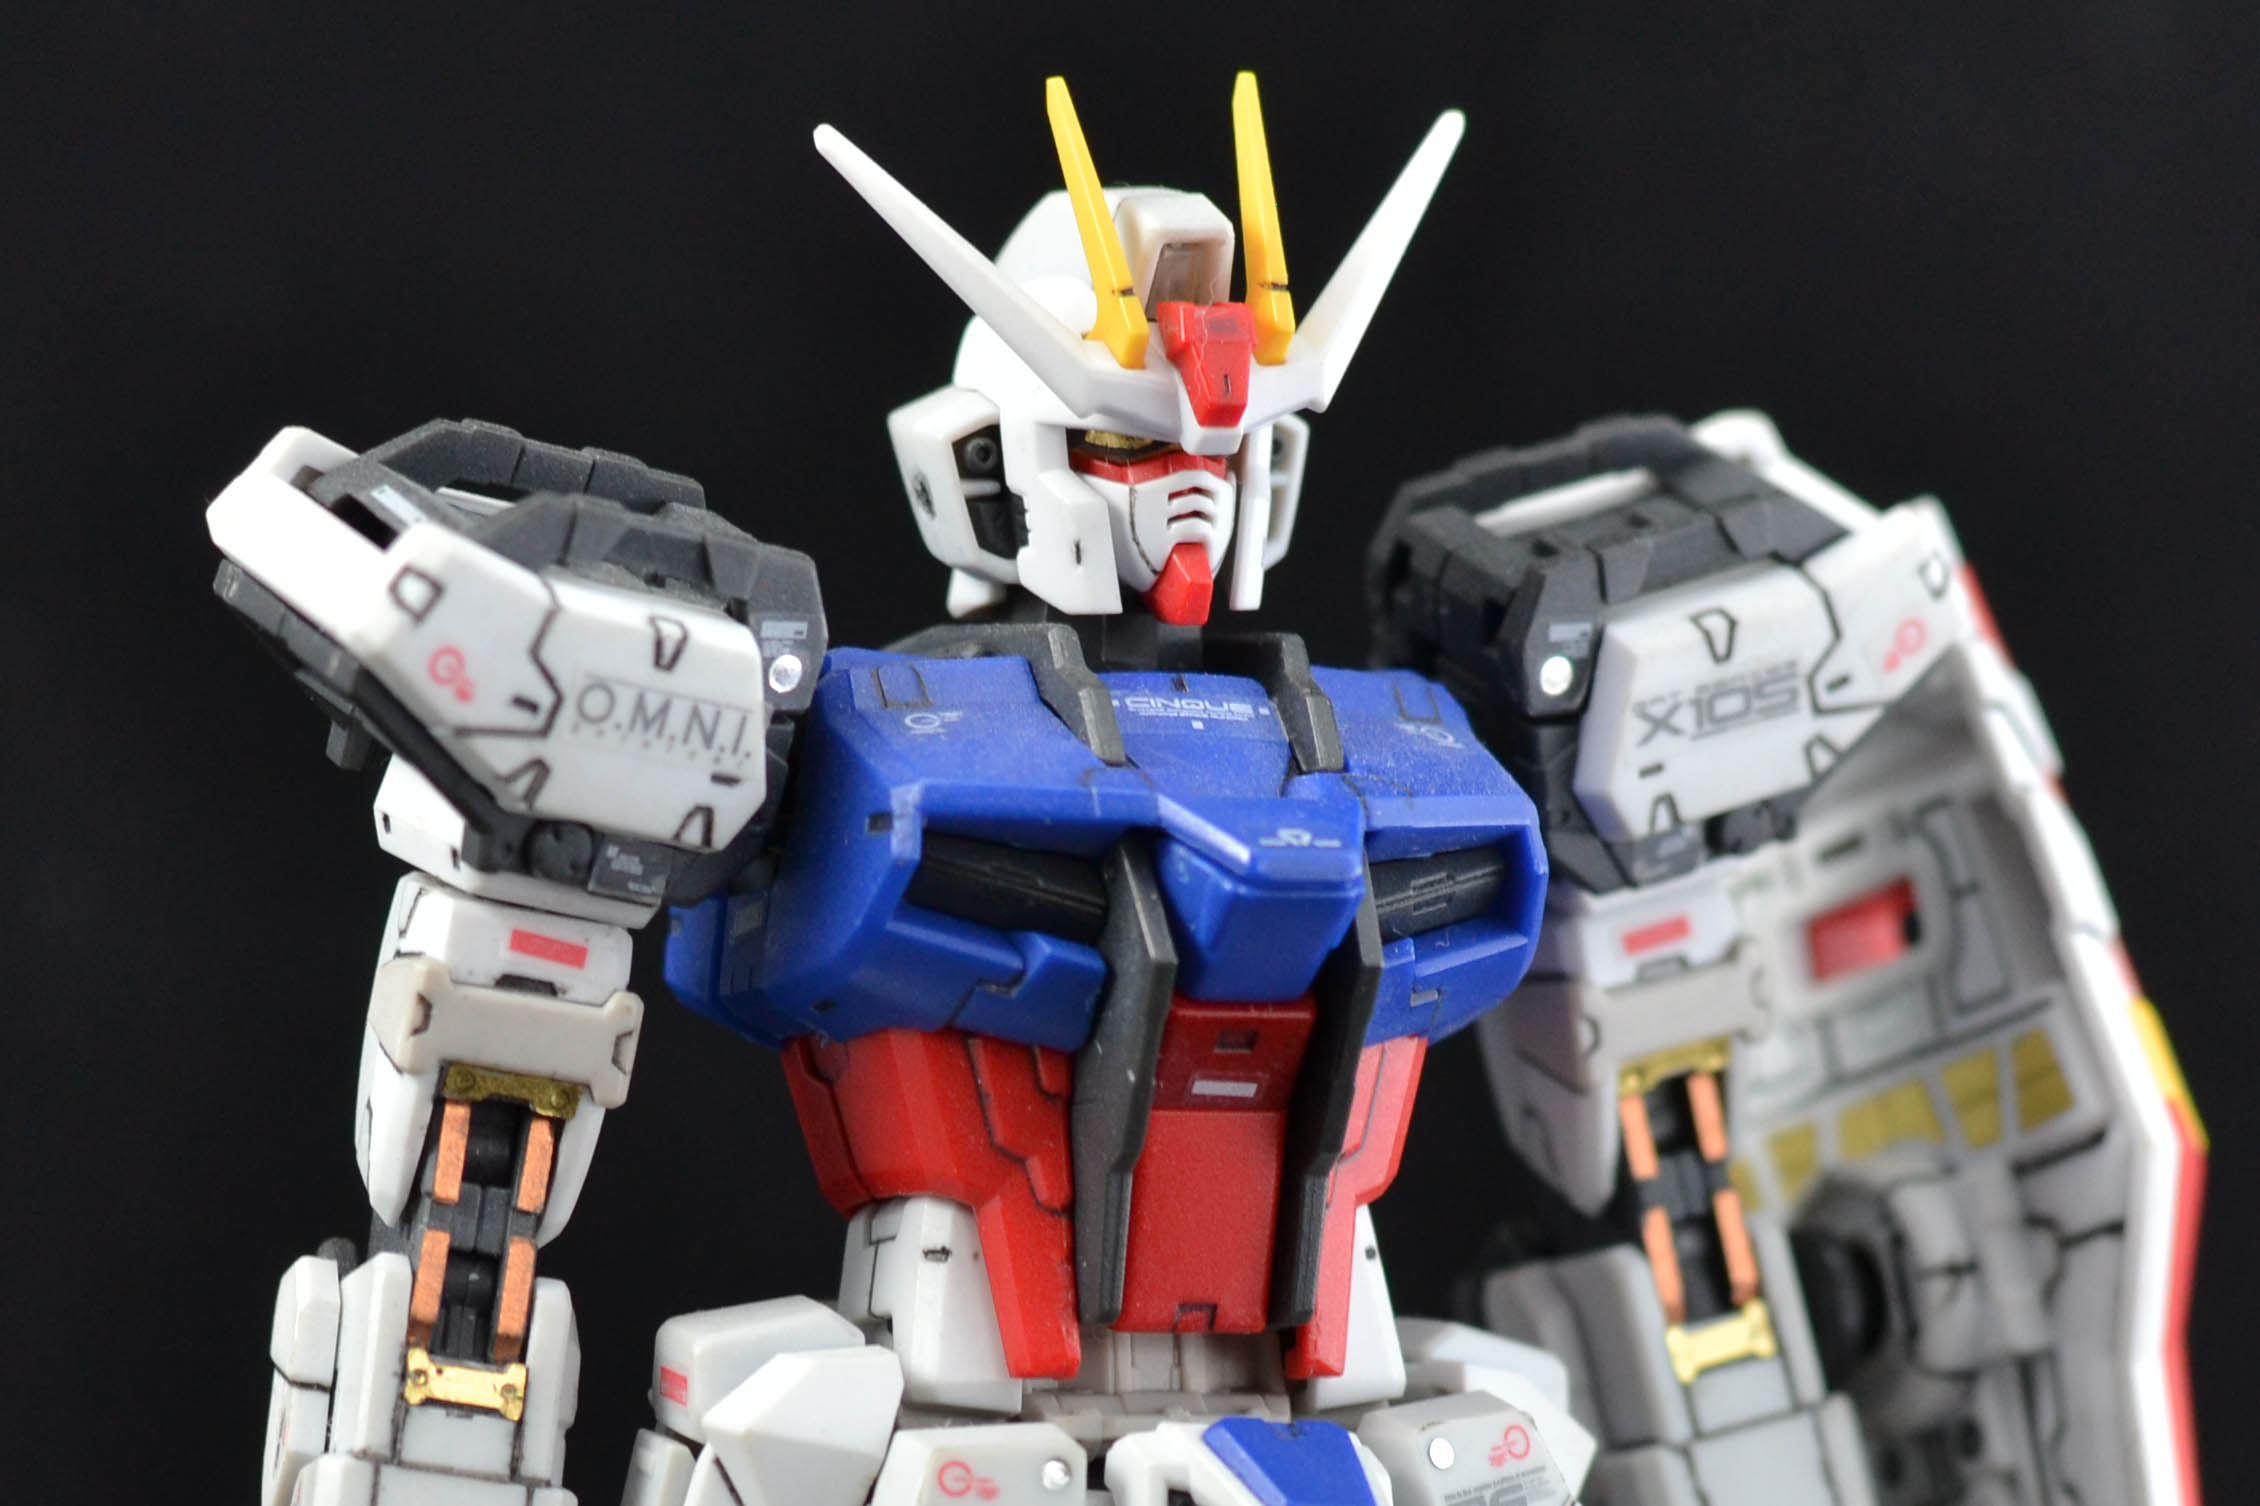
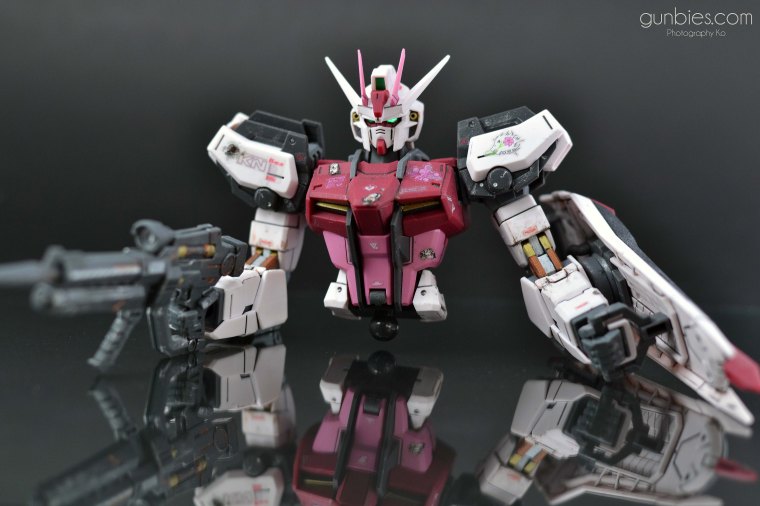
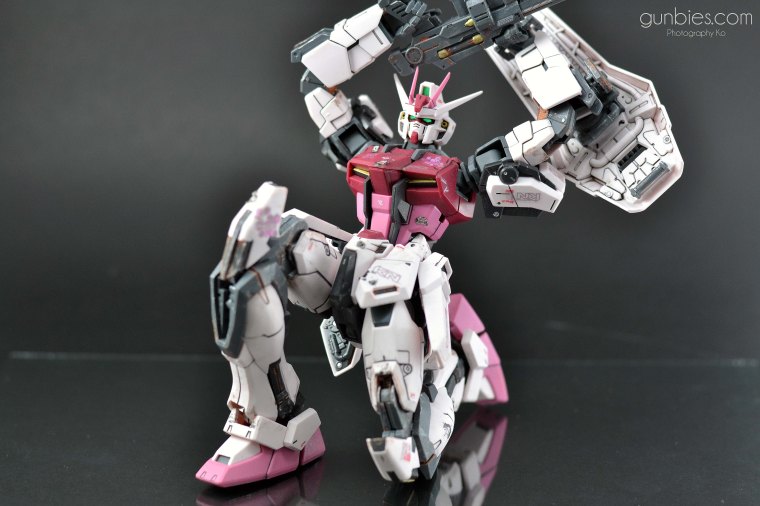
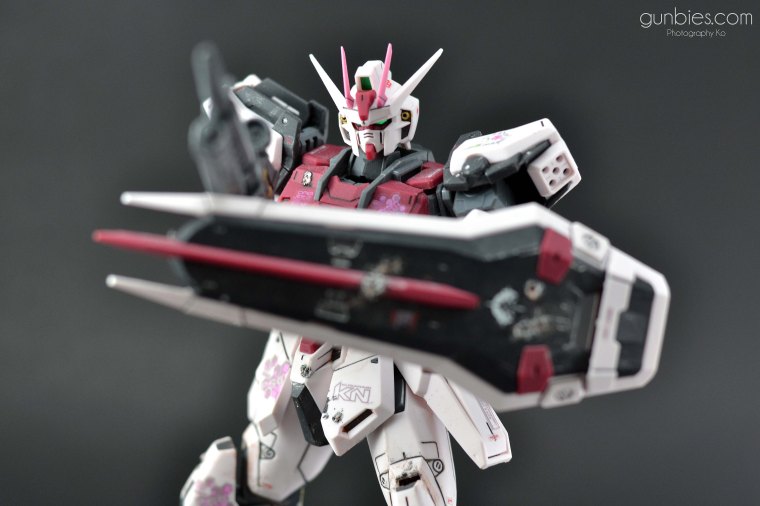
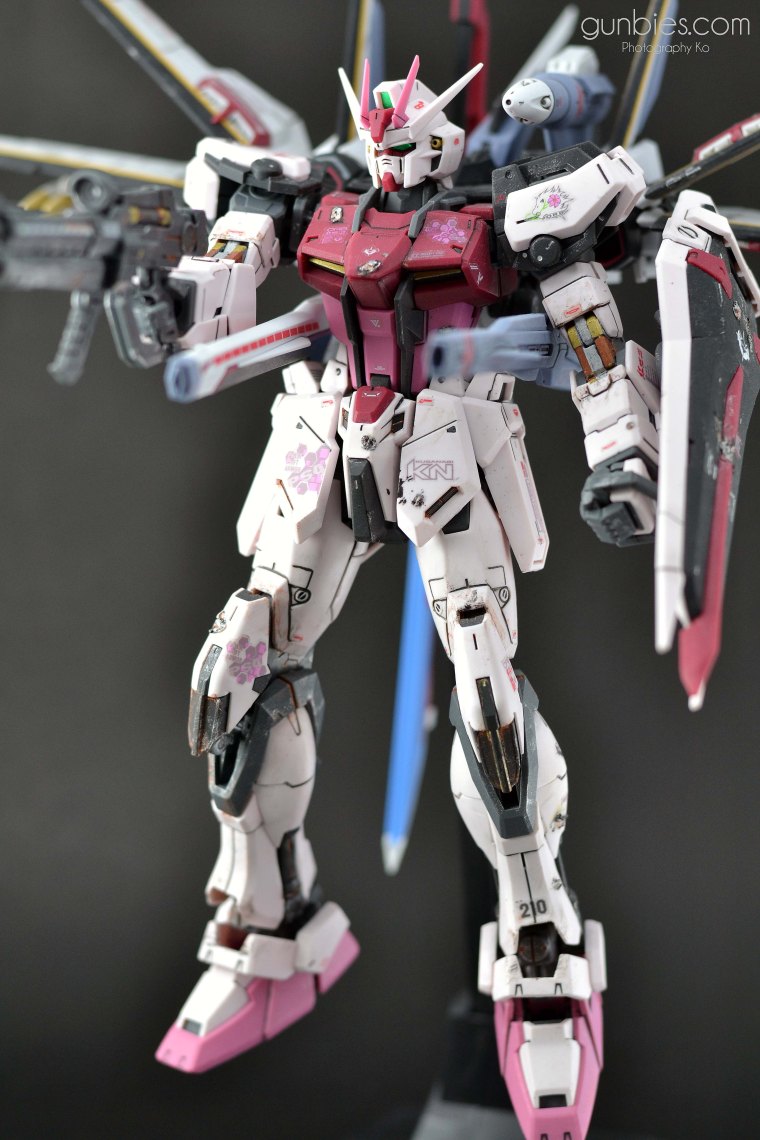
Hi guys! At last I have accomplished my latest project: MG 1/100 Strike Rouge + Ootori, with light weathering, battle damage and hand painted details. This kit was bought last year and he’s one of the newest MGs that Bandai recently released. Obviously the attention catcher is his Ootori and its different color scheme! It’s different from the usual Aile Strike. I personally like the color scheme that is “Rouge”.
I remember wanting to buy the RG kit of Stike Rouge, but since the RG kit was a limited edition, he was more expensive than the usual RG and was priced higher than this MG kit of Strike Rouge. I was glad Bandai made an MG release of the Strike Rouge that is not limited edition.
At first I only planned to straight build this kit and just apply panel lining and the decals, but I wanted my Strike Rouge to look nice so I decided to do a bit of light weathering and battle damage (and not overdo it) and make him look more awesome. I hope I did the trick because It’s been a while since I did battle damage and weathering. All painted details are hand painted using Tamiya brand acrylic paints in bottle.
Summary of what I did:
1. Straight build and cleaning of nib marks using X-Acto hobby knife.
2. Hand painted details using Tamiya acrylic paints.
2. Panel lining using 0.05 Copic Multiliner and Black Enamel paint.
3. Applied decals and clear stickers.
4. Applied battle damage using multiple burnt toothpicks.
5. Applied weathering using Copper, Black, Flat Platinum acrylic paints.
6. Top coated with Bosny Flat/Dull Clear.
The primary pilot of Strike Rouge is the Princess of Orb Cagalli Yula Athha. It was built using spare parts from the original Aile Strike and is also equipped with a Strike Pack (Ootori). She is also equipped with Phase Shift armor that makes its armor look red and pink in its active state. (Gundam Wikia)
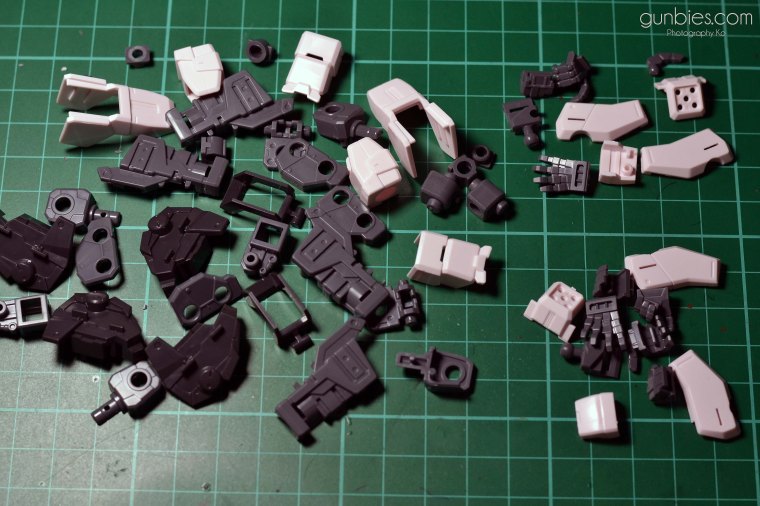
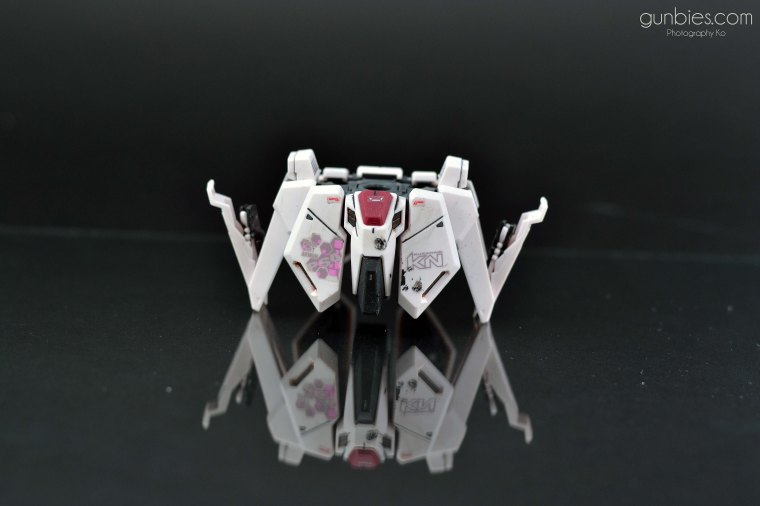
Let us first take a closer look at the individual parts: (Caution! This post is photo heavy! Might take time to load all photos.)

Some pieces were missed out in this photo though.
My advice to those who are going to get this kit is to be careful of the front armor as you can see in the above photo on the lower left corner. That part has a thin connection with the middle portion of the armor such that if you held the piece with enough pressure, you’ll break it, and I almost did. XD
The front part can be opened to reveal the pilot in the cockpit as most MG has this feature. I will show this in the later photos.
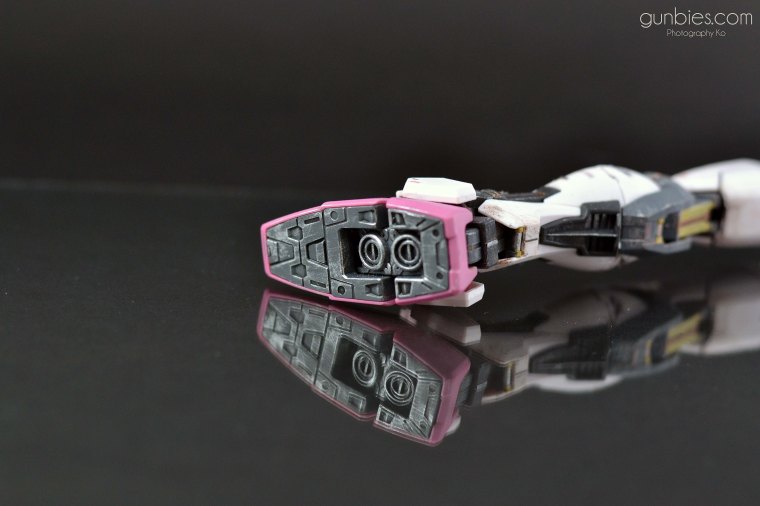
The thrusters on his lower back can be moved a little bit.
Nice simple construction, nothing too fancy for an MG.

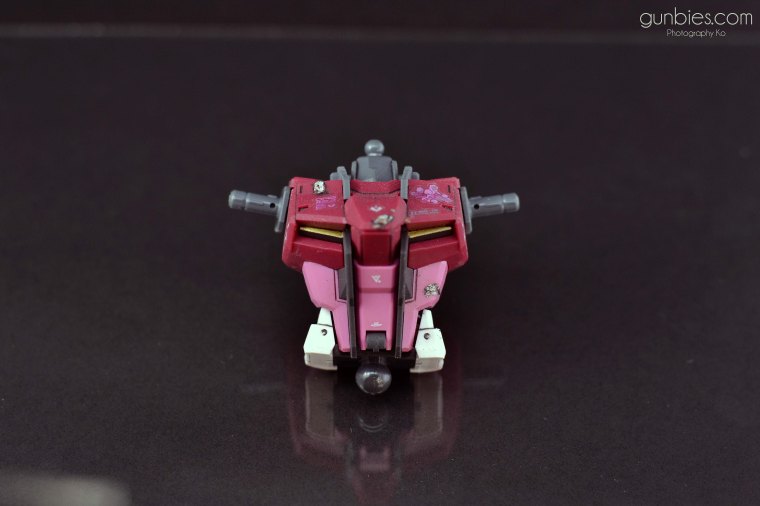
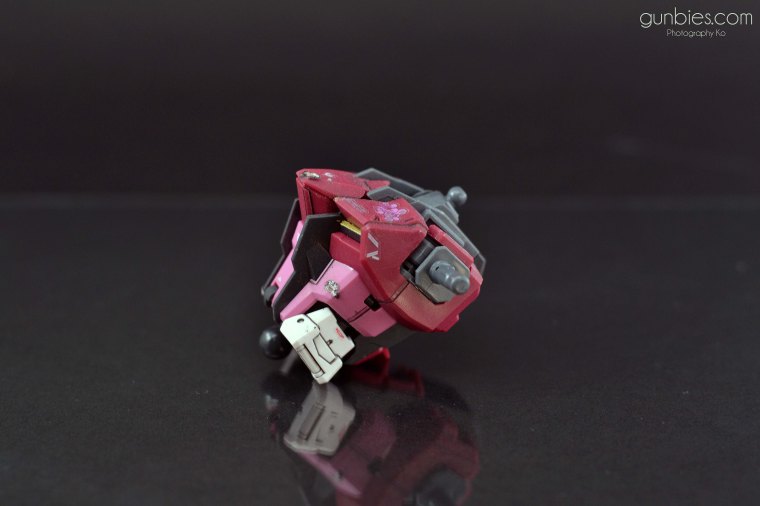
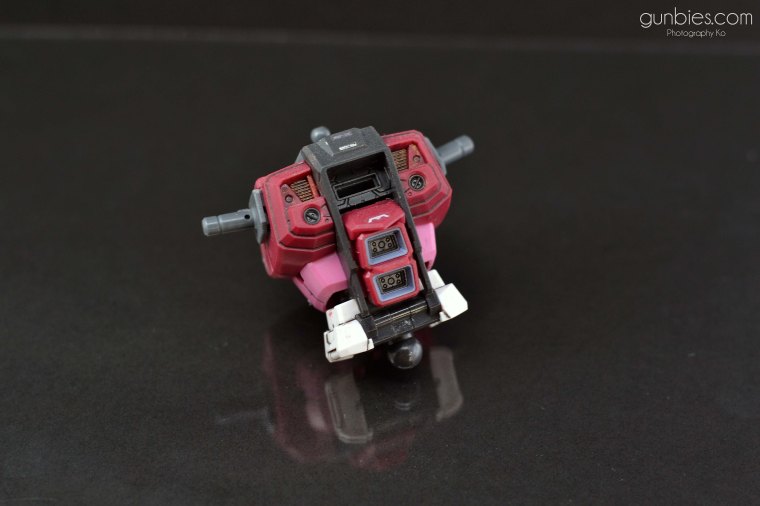
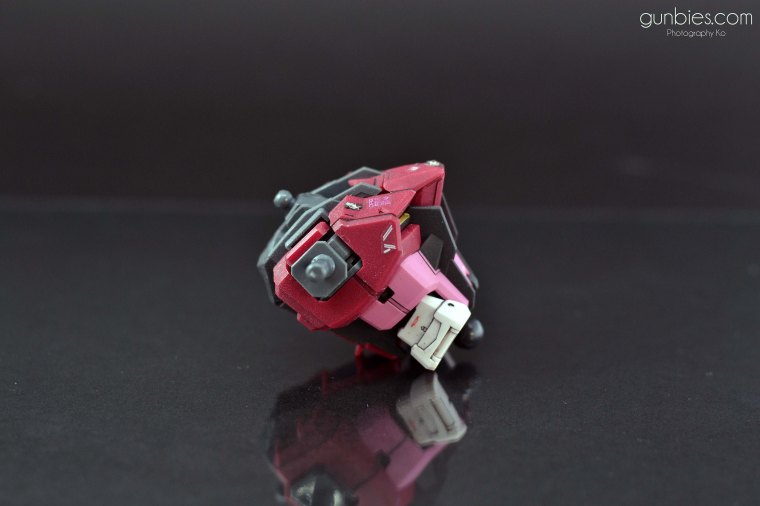
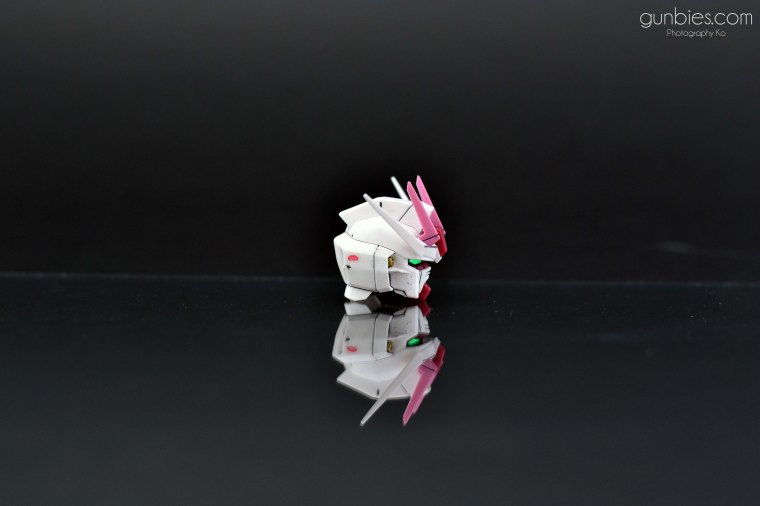
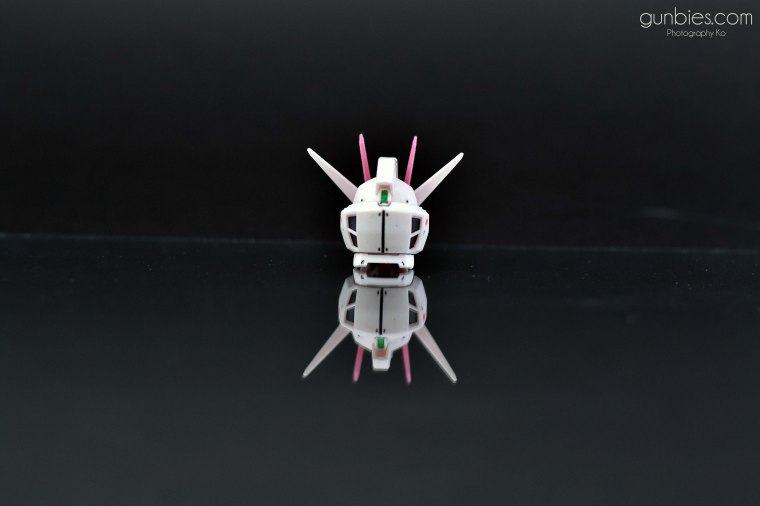
Standard MG Gundam head parts.
I painted the “Igelstellung” 75mm multi-barrel Anti Air CIWS with a bit of Gold Leaf.

I miss the old MG hands with individual fingers parts with a peg on the palm, though weapons are more stable to handle using these new MG hands but sometimes they are a hassle to change since not one hand configuration is compatible with all weapons. If you want his fingers spread out for a certain pose, you need to change the hand part.
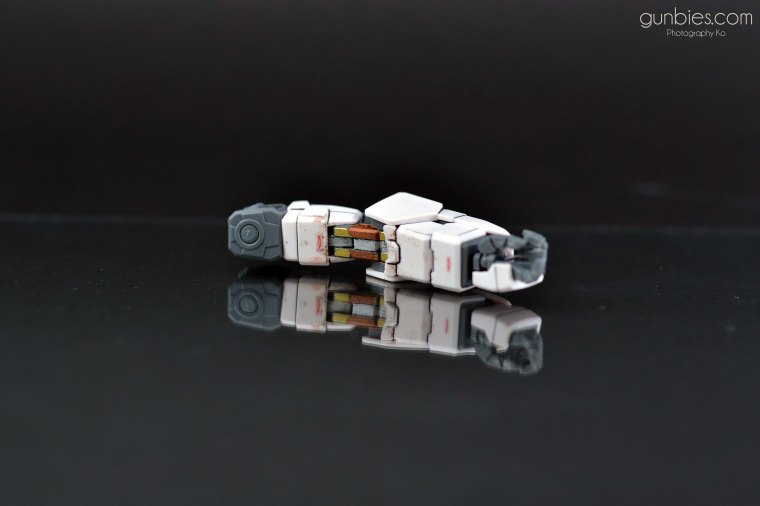
I painted the elbow joint with a bit of Gold Lead, Chrome Silver and Copper.
Some of the details of the shoulders I painted using Flat Platinum.
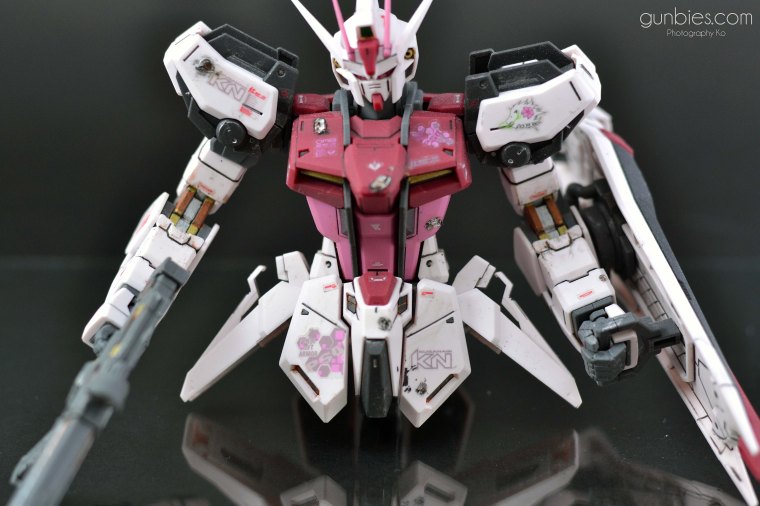
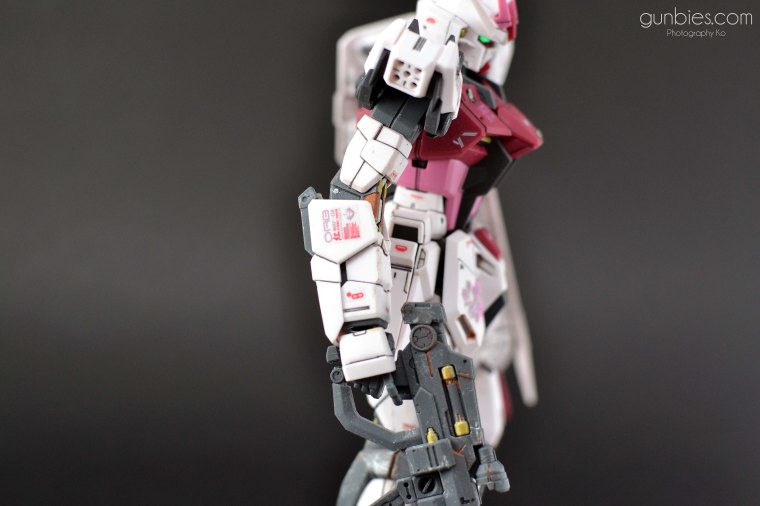
This is the left arm with the shield attached.


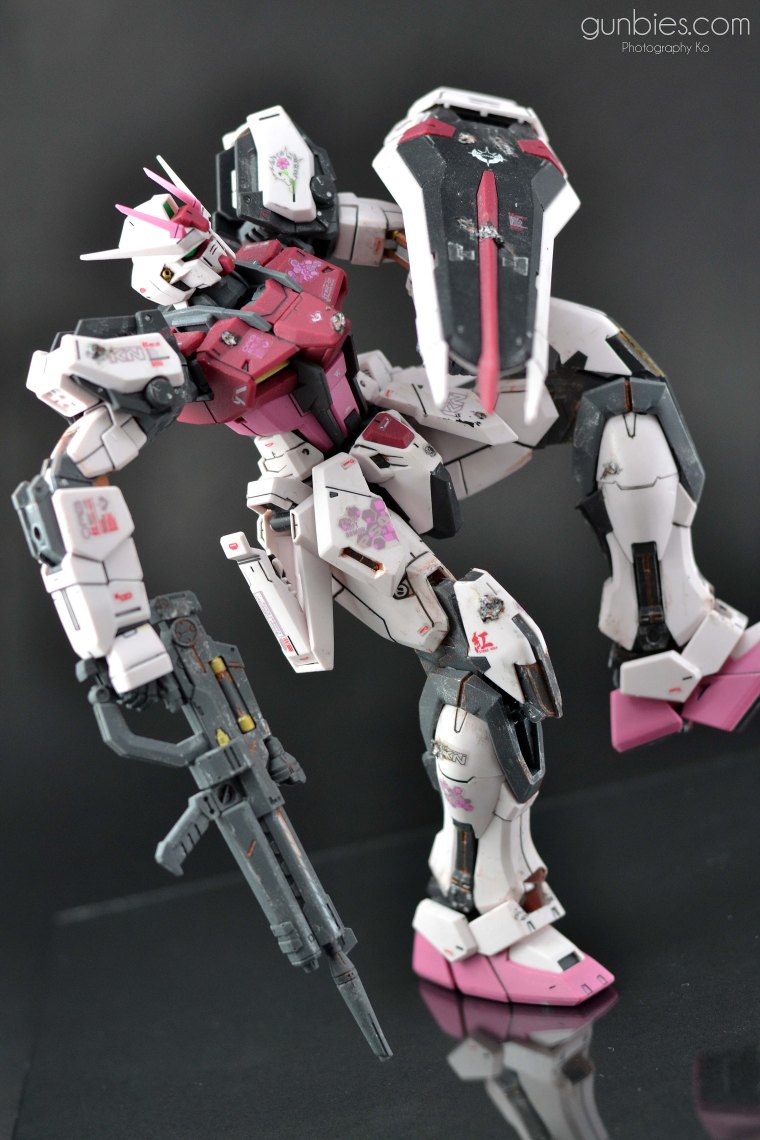
This is the right arm that will be holding the beam rifle.


This beam rifle can easily destroy a Ginn with one shot. (Gundam Wikia)

Painted some of the details with Copper, Gold Leaf and Flat Platinum.
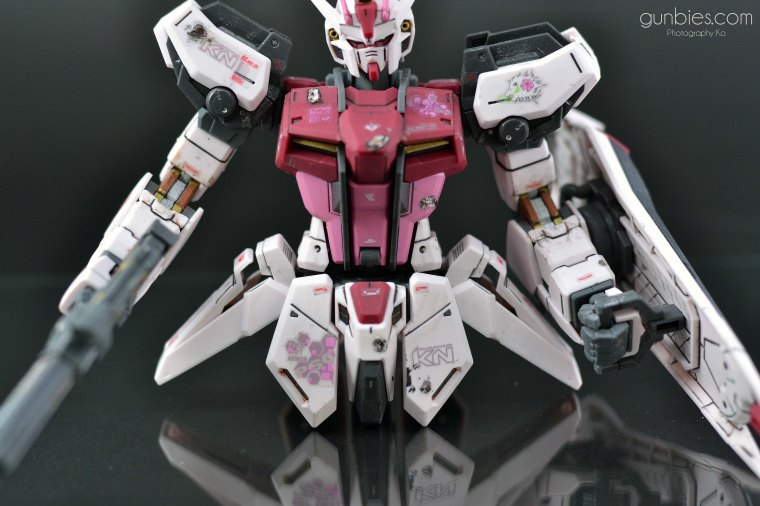
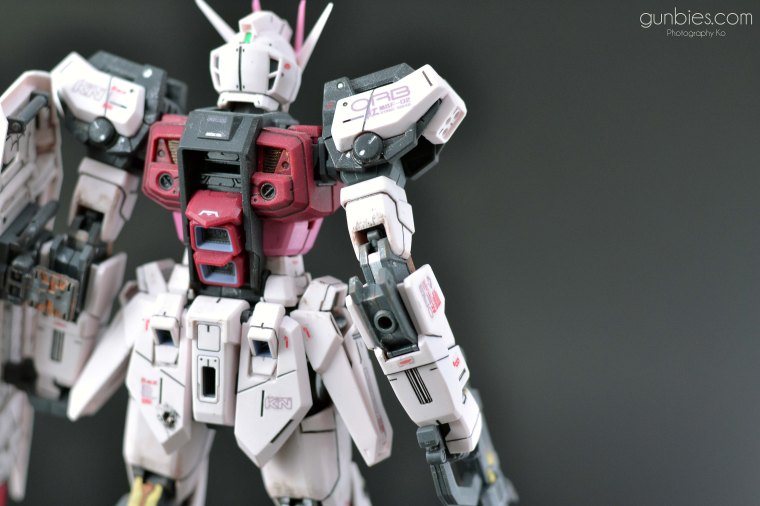
Here’s what she looks like with her cockpit open, the pilot can be seen inside of the cockpit.

Head articulation:


Shoulder and arm articulation:


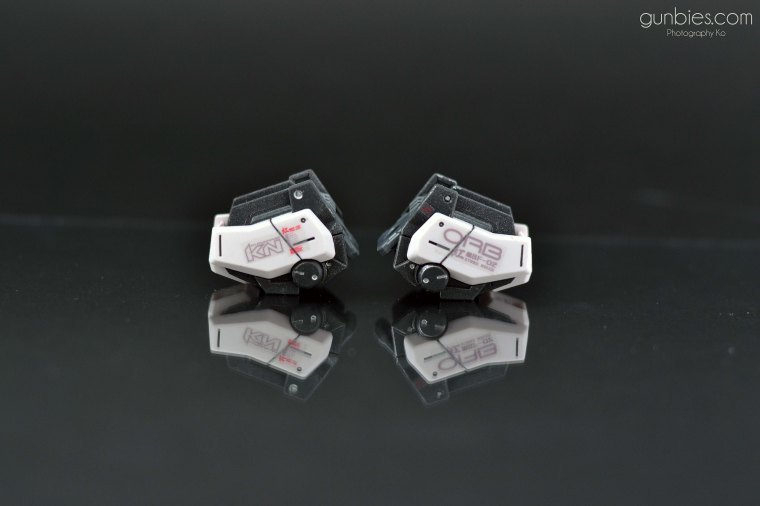
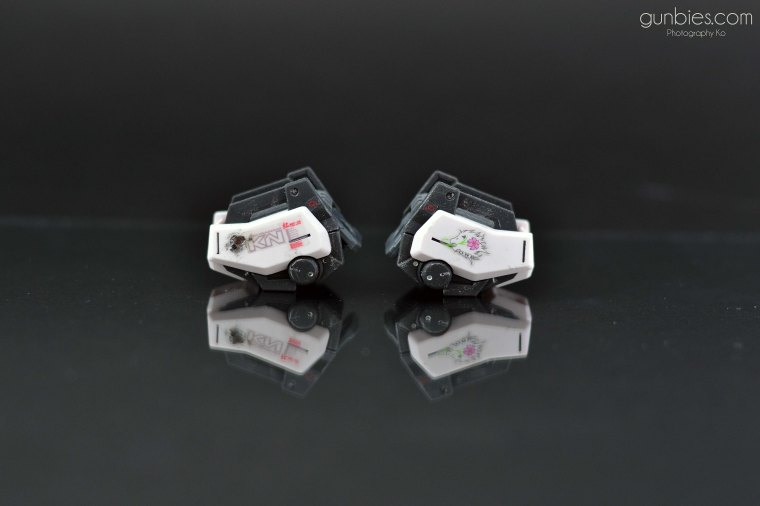
They are housed inside the side skirts.
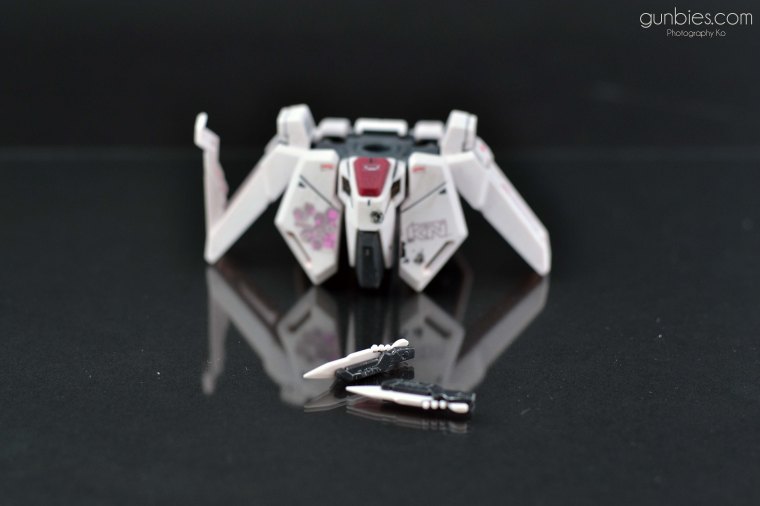
These knives do not need power from the suit, it can be thrown, and their blades vibrate at high speed allowing them to pierce through most armor. (Gundam Wikia)


Waist articulation:


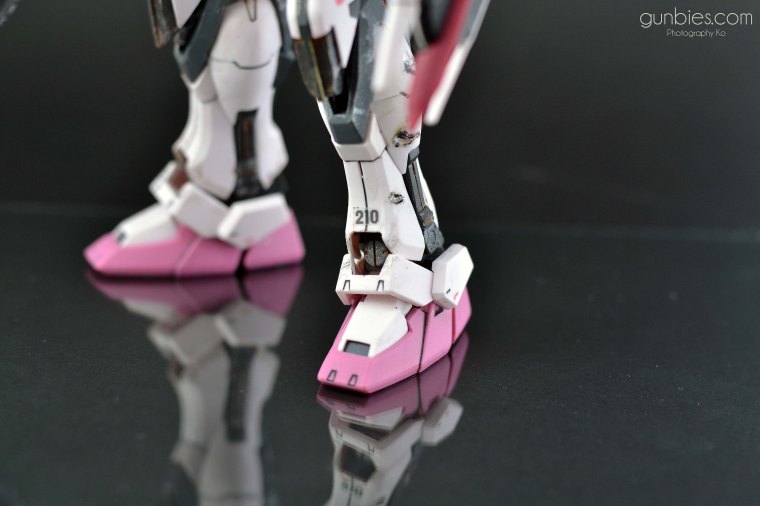
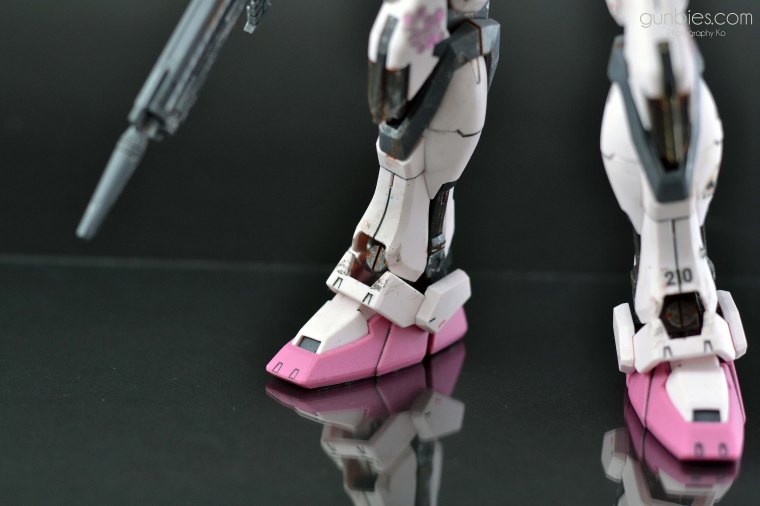
Again, details are all hand painted using Flat aluminum, Copper and Gold Leaf.
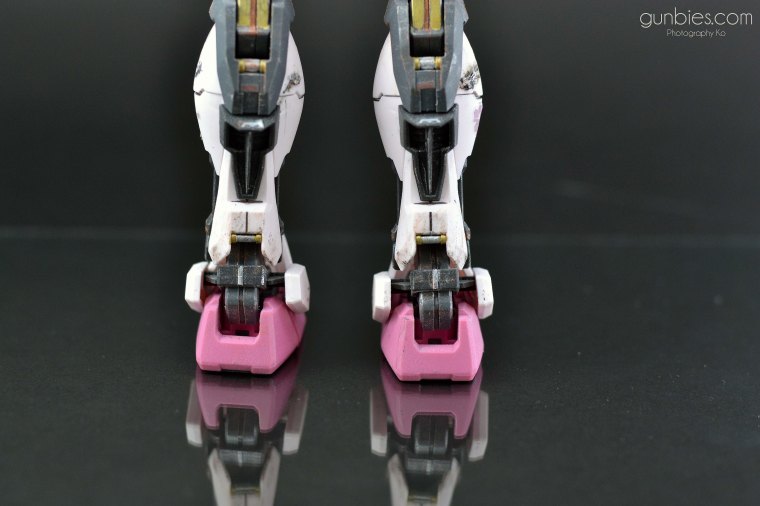
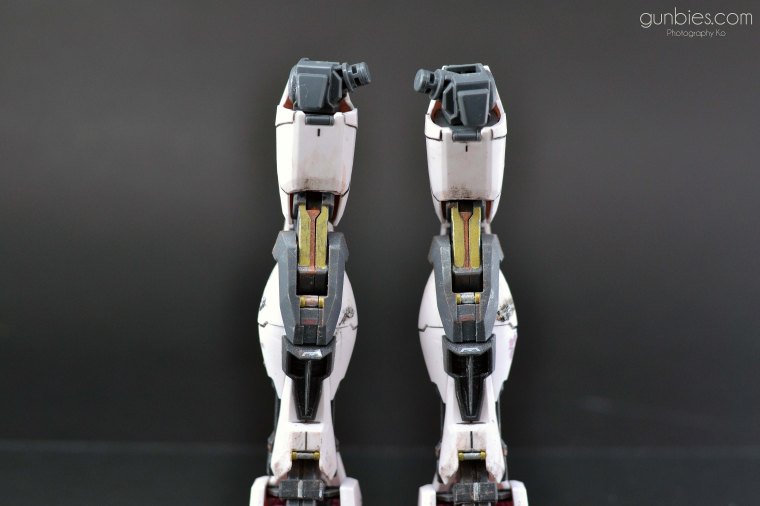
Pretty good leg articulation as expected from an MG kit.


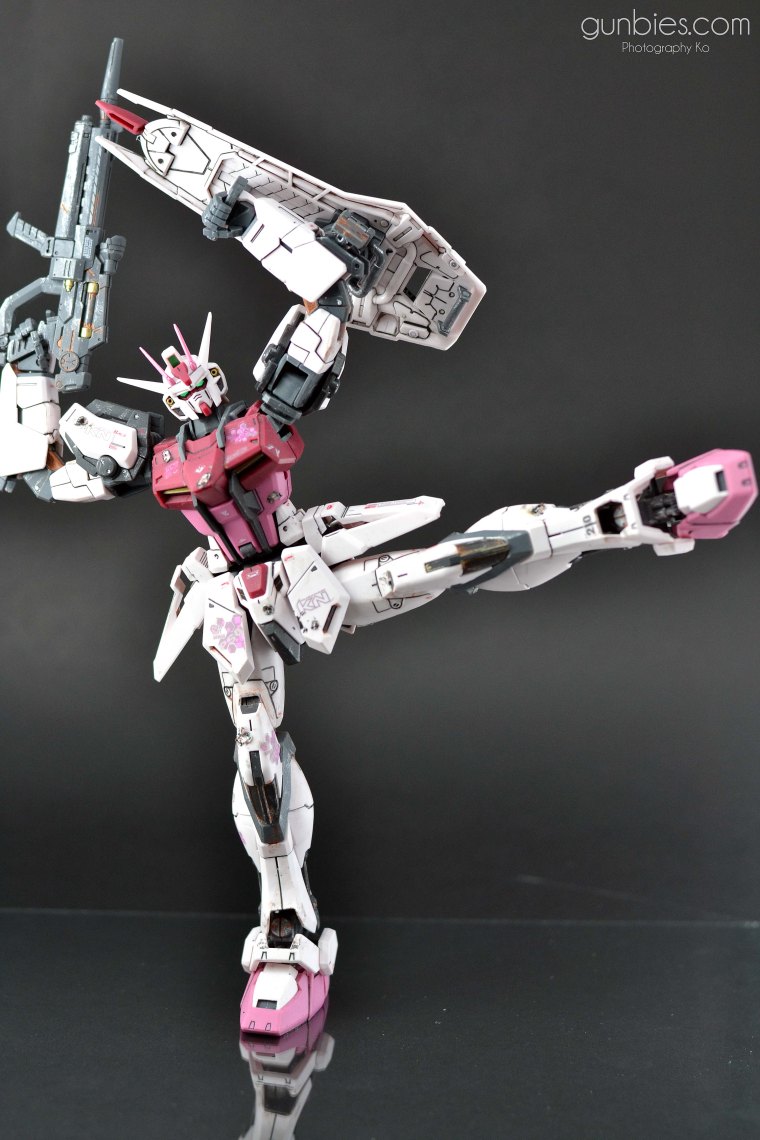
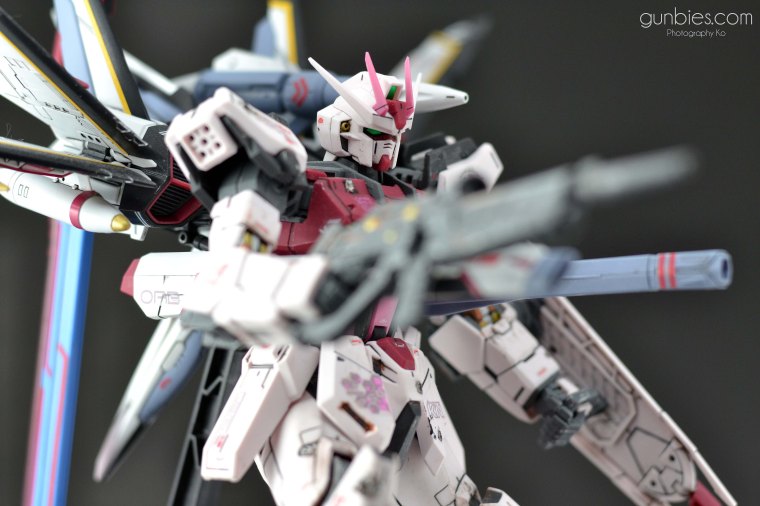
And now let’s have fun with some close-up photos and silly poses:


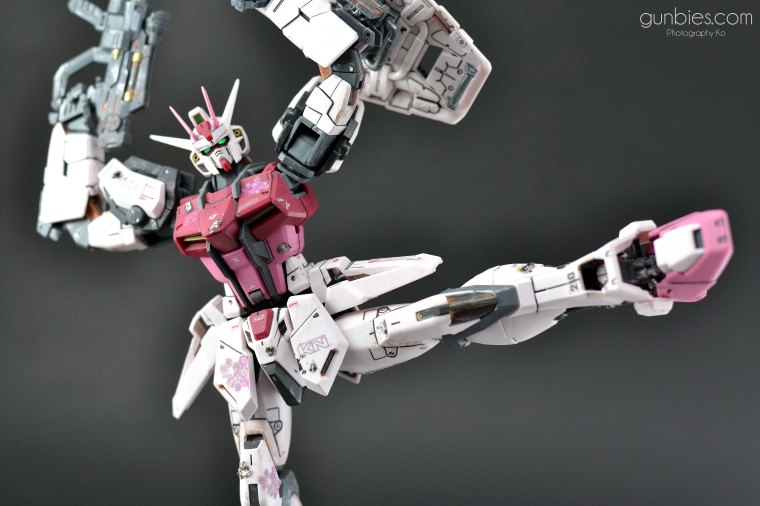
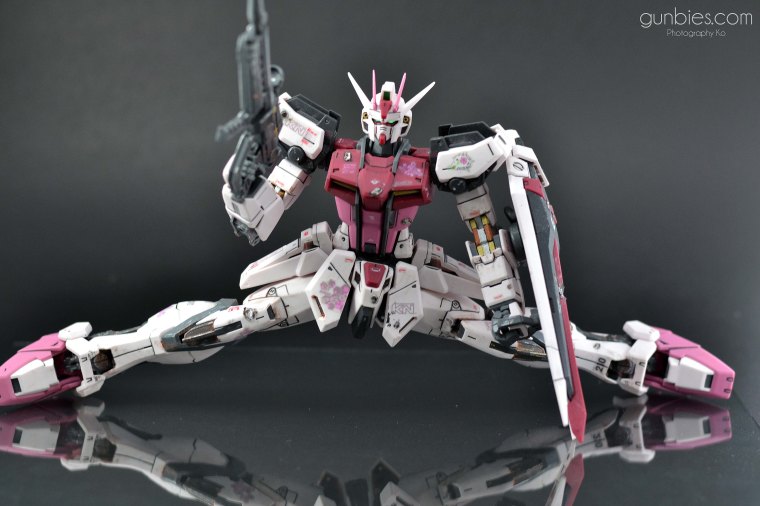
“Everyday I’m shuffling..”
“I wanted to do ballet.. “


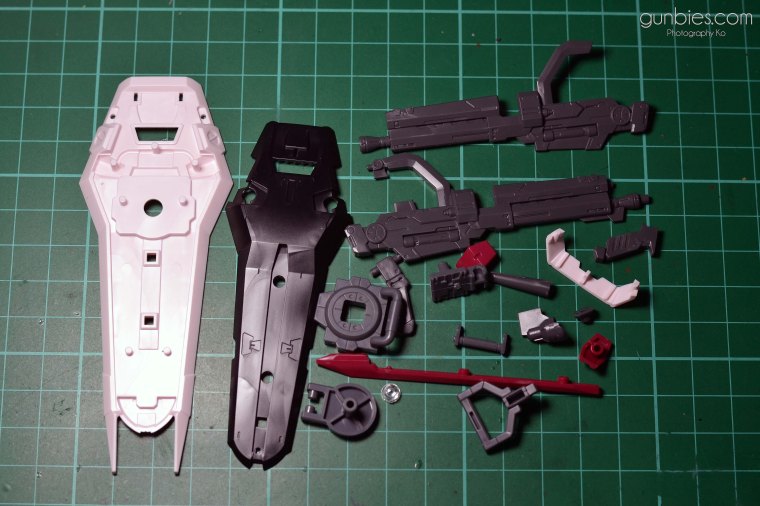
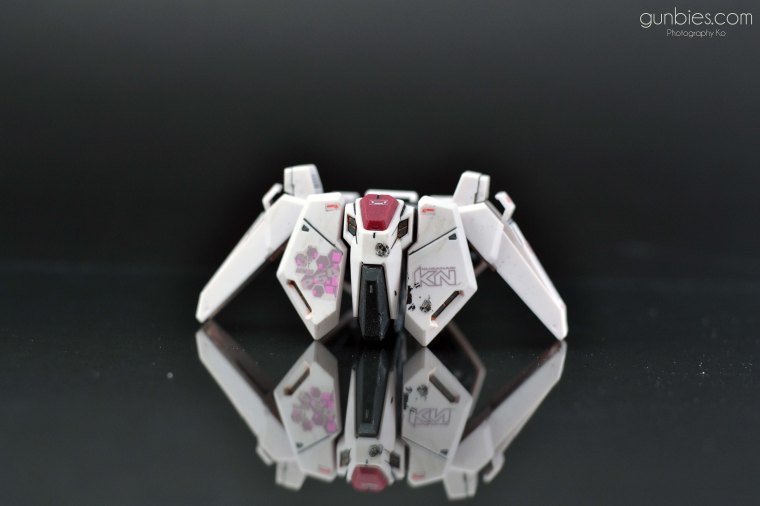
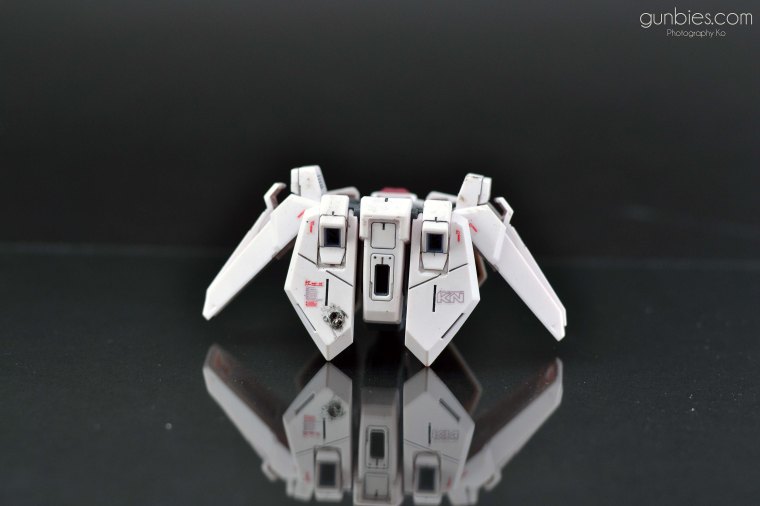
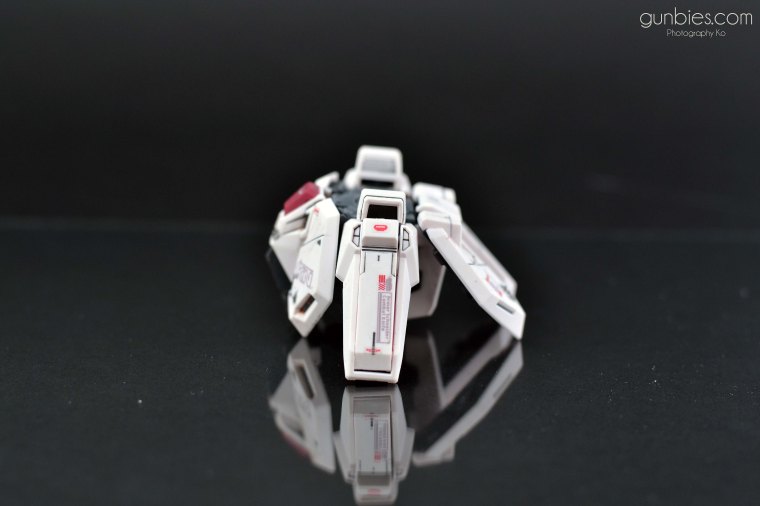
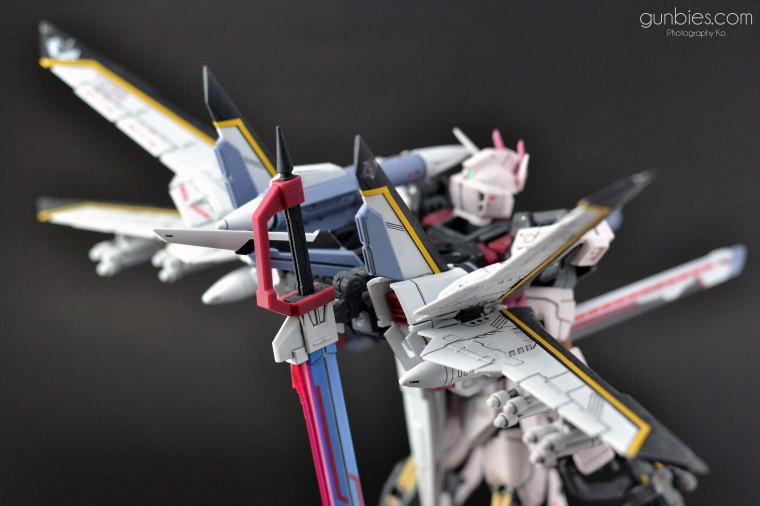
Lots of parts.

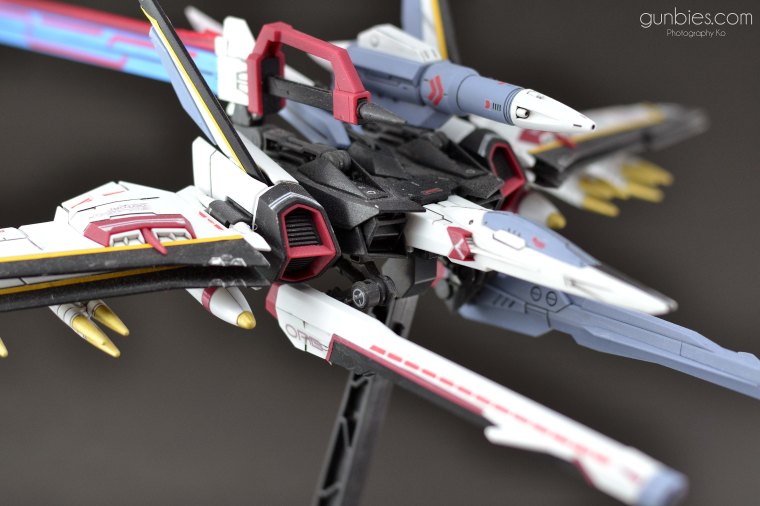
Painted the missile tips with Gold Leaf and highlighted some panel lines with Chrome Silver.
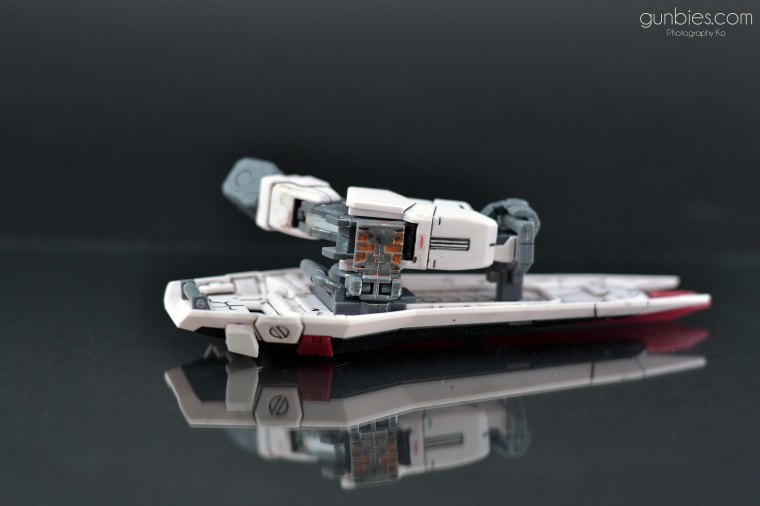
The pack is equipped with a beam launcher, railgun, large anti-ship sword, missile launcher and several missiles that are mounted on the wings. (Gundam Wikia)

The droptanks on the bottom wings contain a stealth support system that utilizes mirage colloid but not much detail is known. In addition, the Ootori Striker can transform into its fighter mode and function as an independent unit when it is separated from the Strike Rouge. (Gundam Wikia)


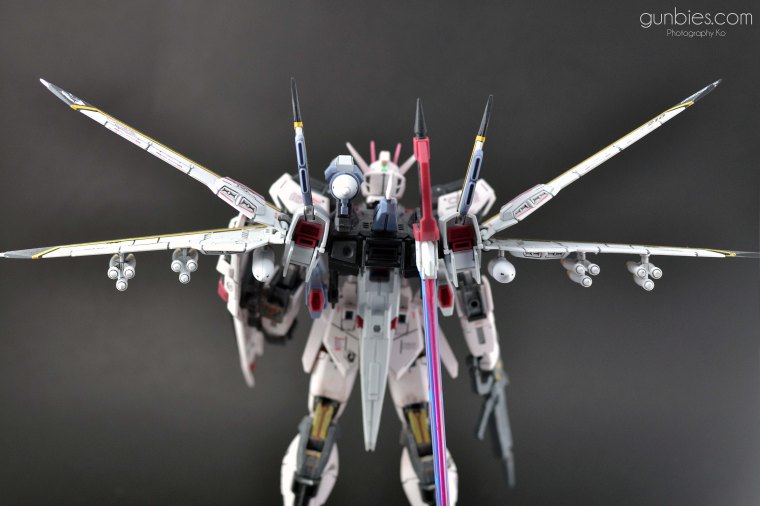
Now she looks more intimidating.

Pure awesomeness.


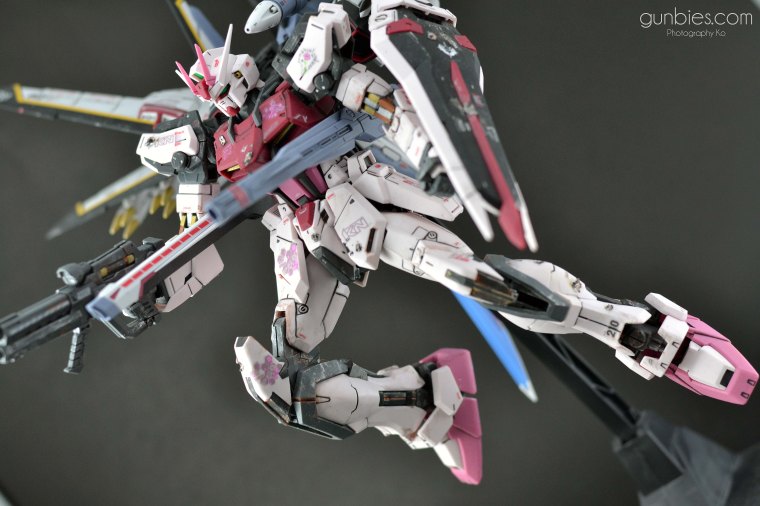


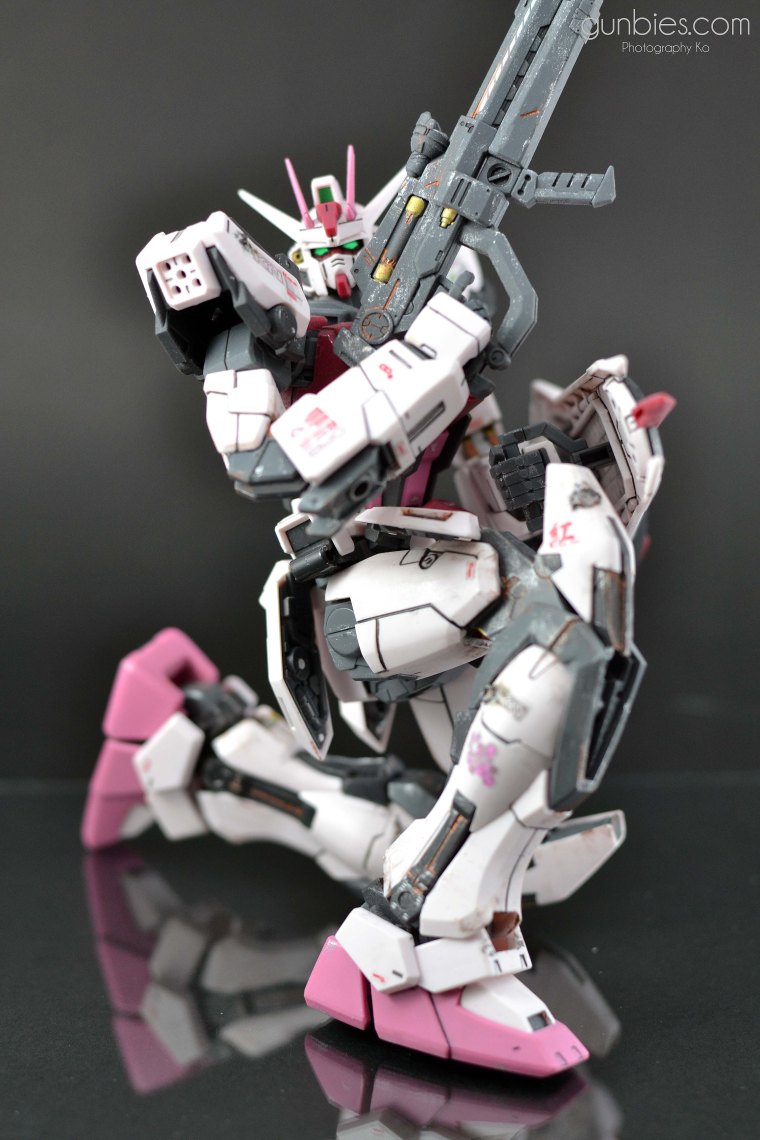
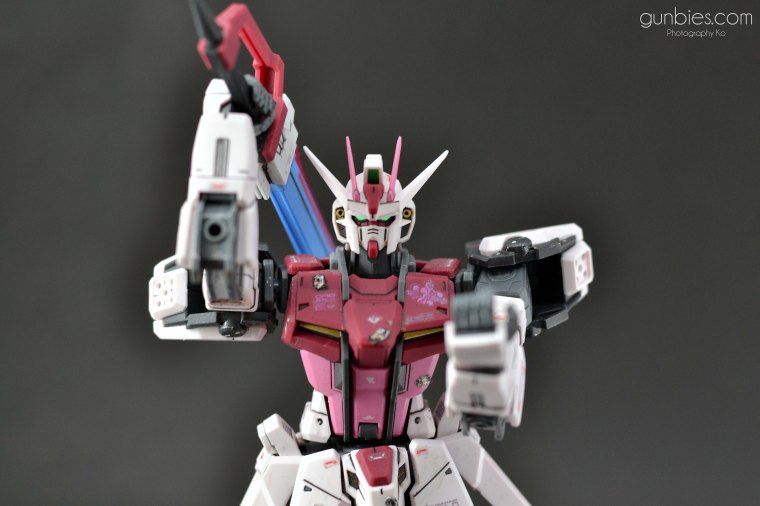
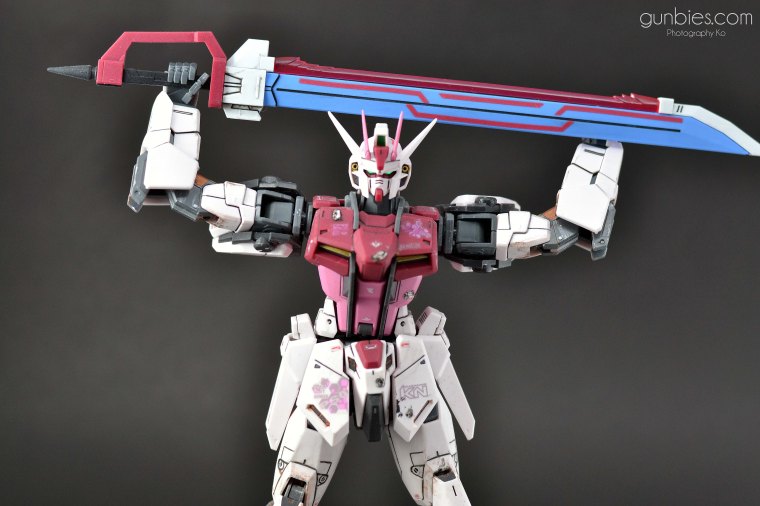
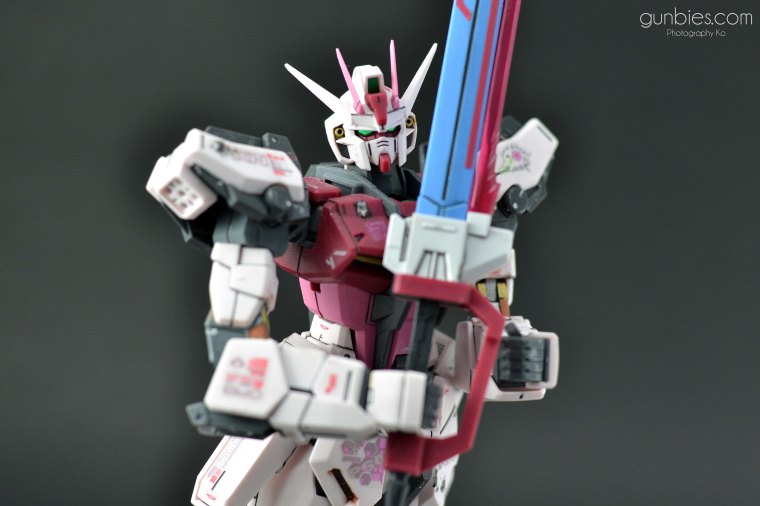
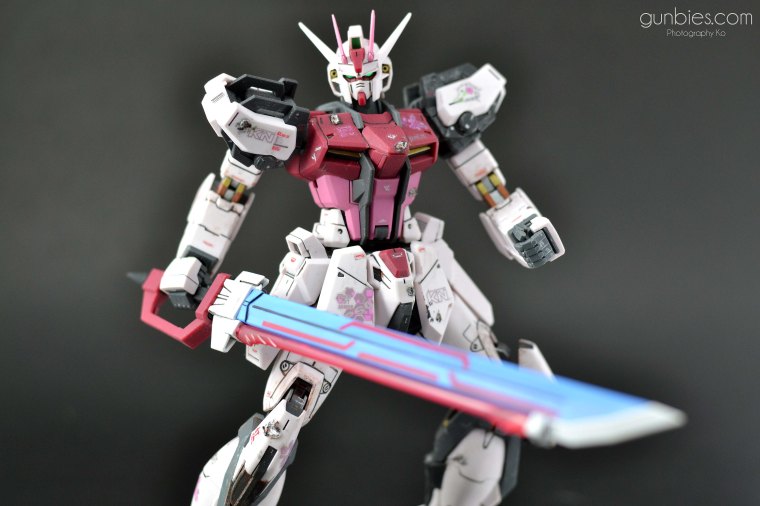
You can never go wrong with a big ass sword:

The Strike Rouge Ootori is equipped with a large anti-ship sword as its primary close combat weapon. It is a large physical sword that has a laser blade along the cutting edge. (Gundam Wikia)


Man, It’s pretty obvious I had fun with this kit. This is one of the most enjoyed kits that I built!
To sum up as I always do,
1. Color scheme. Love the feminine touch since the pilot is a female anyway. Yay to flower power!
2. Articulation is satisfying, waist unit does not hinder so much the leg articulation.
3. The Ootori Striker. Its awesome and has a lot of added armaments.
4. The kit contains a stand for the Ootori and the Strike Rouge.
5. Default panel lines are satisfying.
6. Decal count were more than what I expected since this is not a ver. Ka kit. And the decal designs are nice, lots of extra clear stickers too!
7. Not back heavy despite the Ootori’s size, he can stand and pose pretty stable even with its Ootori Striker installed. No problems in balancing.
1. Hmm.. Just the damn new MG hands I guess, I find it a hassle to change the hand parts every now and then just to be able to handle a different weapon or a different pose. But I guess the new MG hands makes weapons handling more stable than the old MG hands. Maybe if they could combine the old and the new MG hands, then I would be happier. 🙂
Thanks for reading! Till next post! 🙂
Photo Gallery (Click on a photo to show a larger one):


Hi guys! Just finished a snap-fit build of my latest project. Its an MG 1/100 Strike Rouge + Ootori.
I still have lots of things to do with this kit; finish the panel lining, decals and some detailing.
I love its color scheme and Ootori design, he is pretty stable even with a large backpack and is able to stand perfectly straight with the Ootori installed.
Here are just some photos of the snap-fit build:


I will post again after I have finished this project! Till next post! 🙂

This is my dream: to establish a non-profit (or proceeds will go to chosen charity) club named Gunpla Builders Philippines (of-course we will have to ask Bandai for the proper rights on the word Gunpla Builders) .
Below are my ideas to start-off with:
1. It will have a concrete location (I will have to find a suitable establishment for this) where club members can go to.
2. It will have gunpla building stations where members can build their gunpla and use multiple sets of tools for free.
3. It will have airbrush stations where members can paint their gunpla and use the paints there for free.
4. It will have a Gundam Cafe where members can have a snack and be amazed by the different Gundam character-shaped food items.

5. It will have multiple display cabinets and halls to showcase the work of the members or whoever wants to showcase their work.
6. It is a family where everyone can share their Gunpla ideas and tips.

7. It will have a gunpla kits shop where members can buy their gunpla at the cheapest price or profits will go to a chosen charity.
8. It will hold gunpla building competitions!

9. It will travel around the world and establish branches in different countries to promote the fun of building gunpla.

This idea was born out of the question: “If you had all the money in the world, If money was not a problem, what would you do today?”, and this idea was already on the back of my mind for quite a long time.
Then came the new anime Gunpla Build Fighters(screenshots I used above are from that actual anime series). As I watched this anime, it made me more inspired to pursue this dream. I just wish things from the anime were actually real, where you can build a gunpla, make it your own, and have it fight battles with you as the pilot.

In reality, I don’t have all the money in the world, but this question can help any individual who wants to discover what they seriously want to do in life. This dream of mine seems pretty big and at first glance it seems implausible. But with proper planning(especially financial planning), I believe I can realize this in the future.
For the past 2 years, I have been accumulating my knowledge in financial literacy and investing. I am now on my continuous journey to financial freedom while developing my money making machine to help me achieve my dream. What is a money making machine you ask? Refer to the image below:

In simplest of words, its making more, spending less and investing the rest. As your assets grow, so as your income, then you buy more assets with your increased income and so on. Its a simple idea and I won’t go over the details because a lot can be discussed with regards to financial literacy, and it should be covered on a different type of blog. The point is, I will be using this money making machine to achieve my dream of Gunpla Builders Philippines.

This is my end game. My passion is gunpla ever since I was a child. A more detailed post about my history in gunpla can be read here. My ideal output of this blog was 1 post of a gunpla build every week. But I couldn’t achieve this because most of the time, I don’t have the energy left to do gunpla after work or if I forced myself, I believe that I would not be making a quality build like in some of my previous posts as an example. Anyway, once I have my money making machine and a stable business, I would not need to work standard hours so that I have ample time to do my gunpla.

How about you? What is your dream? What is your end game?
“If you had all the money in the world, If money was not a problem, what would you do today?”
Till next post! Thanks for reading! 🙂
Credits to the original anime series Gunpla Build Fighters for the screenshots and http://www.doughroller.net for the future dough roller image. 🙂


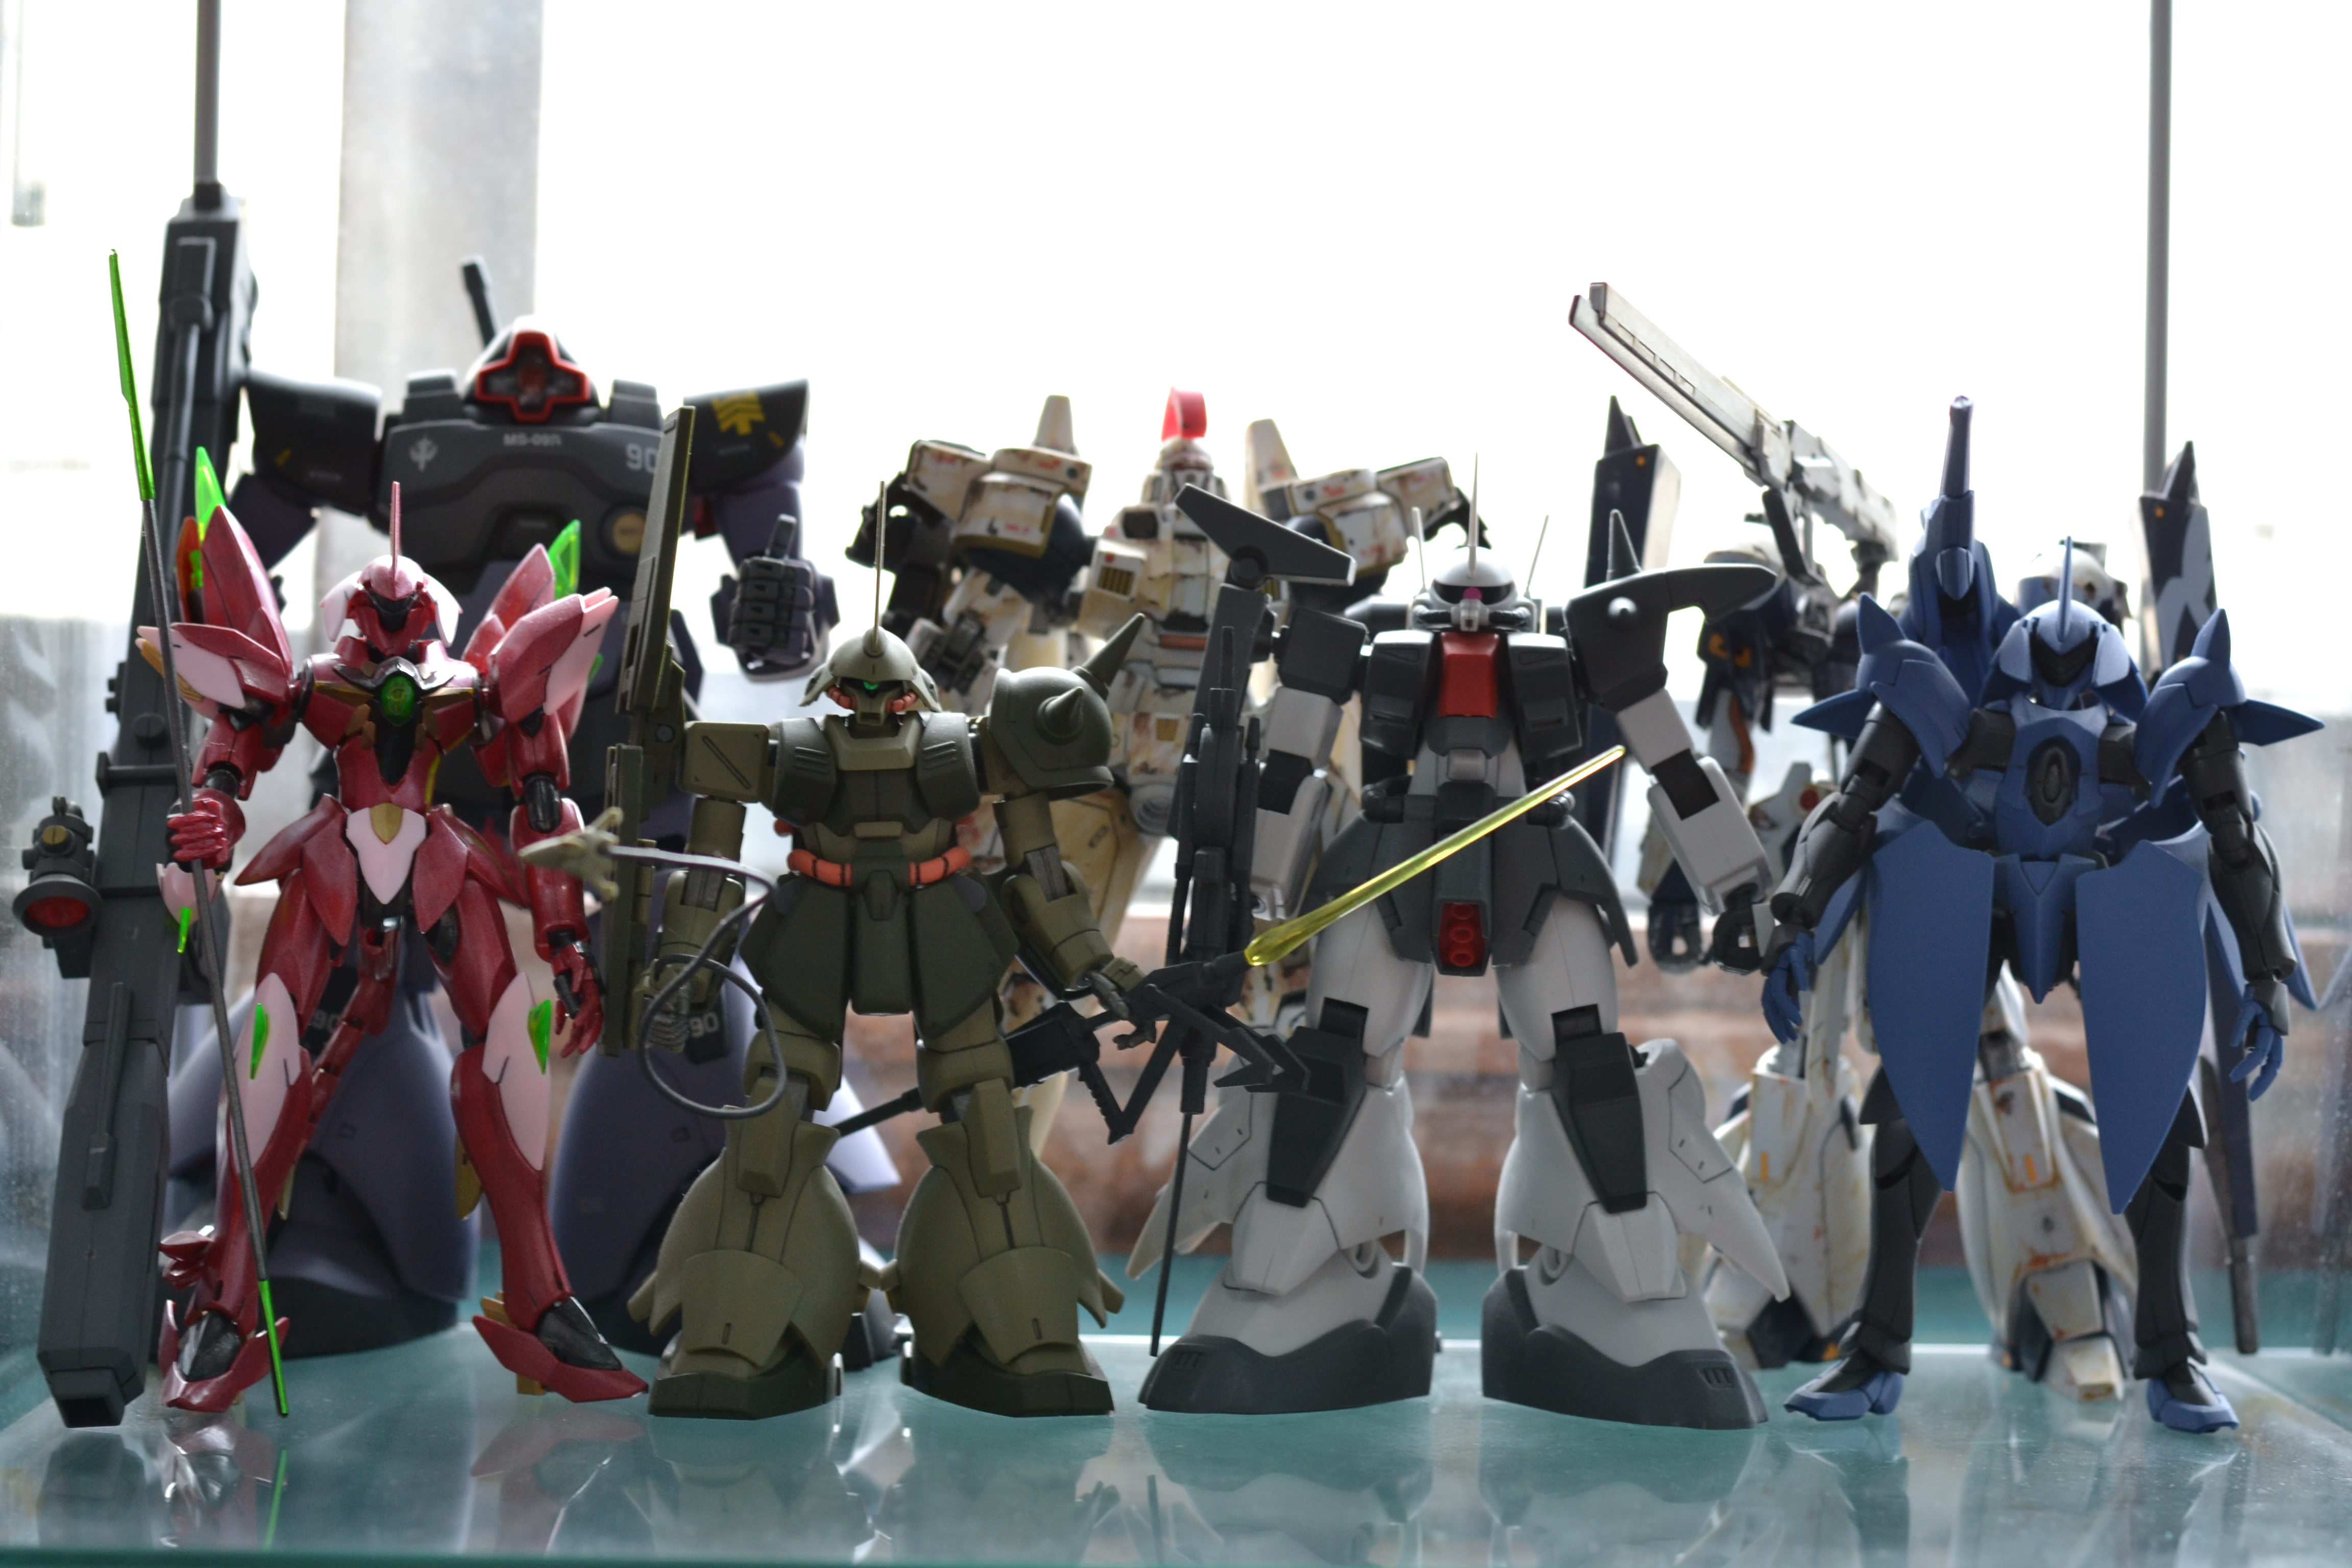
Hi! I just wanted to show you guys my current gunpla collection, and along with that I took new profile photographs of each of my gunplas to update my collection page.
Progress in collecting gunplas has slowed down due to daily life events. I hope I can collect and review more gunpla kits and take quality photographs like when this blog was just starting. I had much passion years back when I started collecting gunpla, I hope to rekindle it and not let my airbrush kit go to waste haha! 🙂
Here is my current gunpla collection and corresponding links to posts:
Here’s how they look in my display cabinet, time to clean!


 Till next post! 🙂


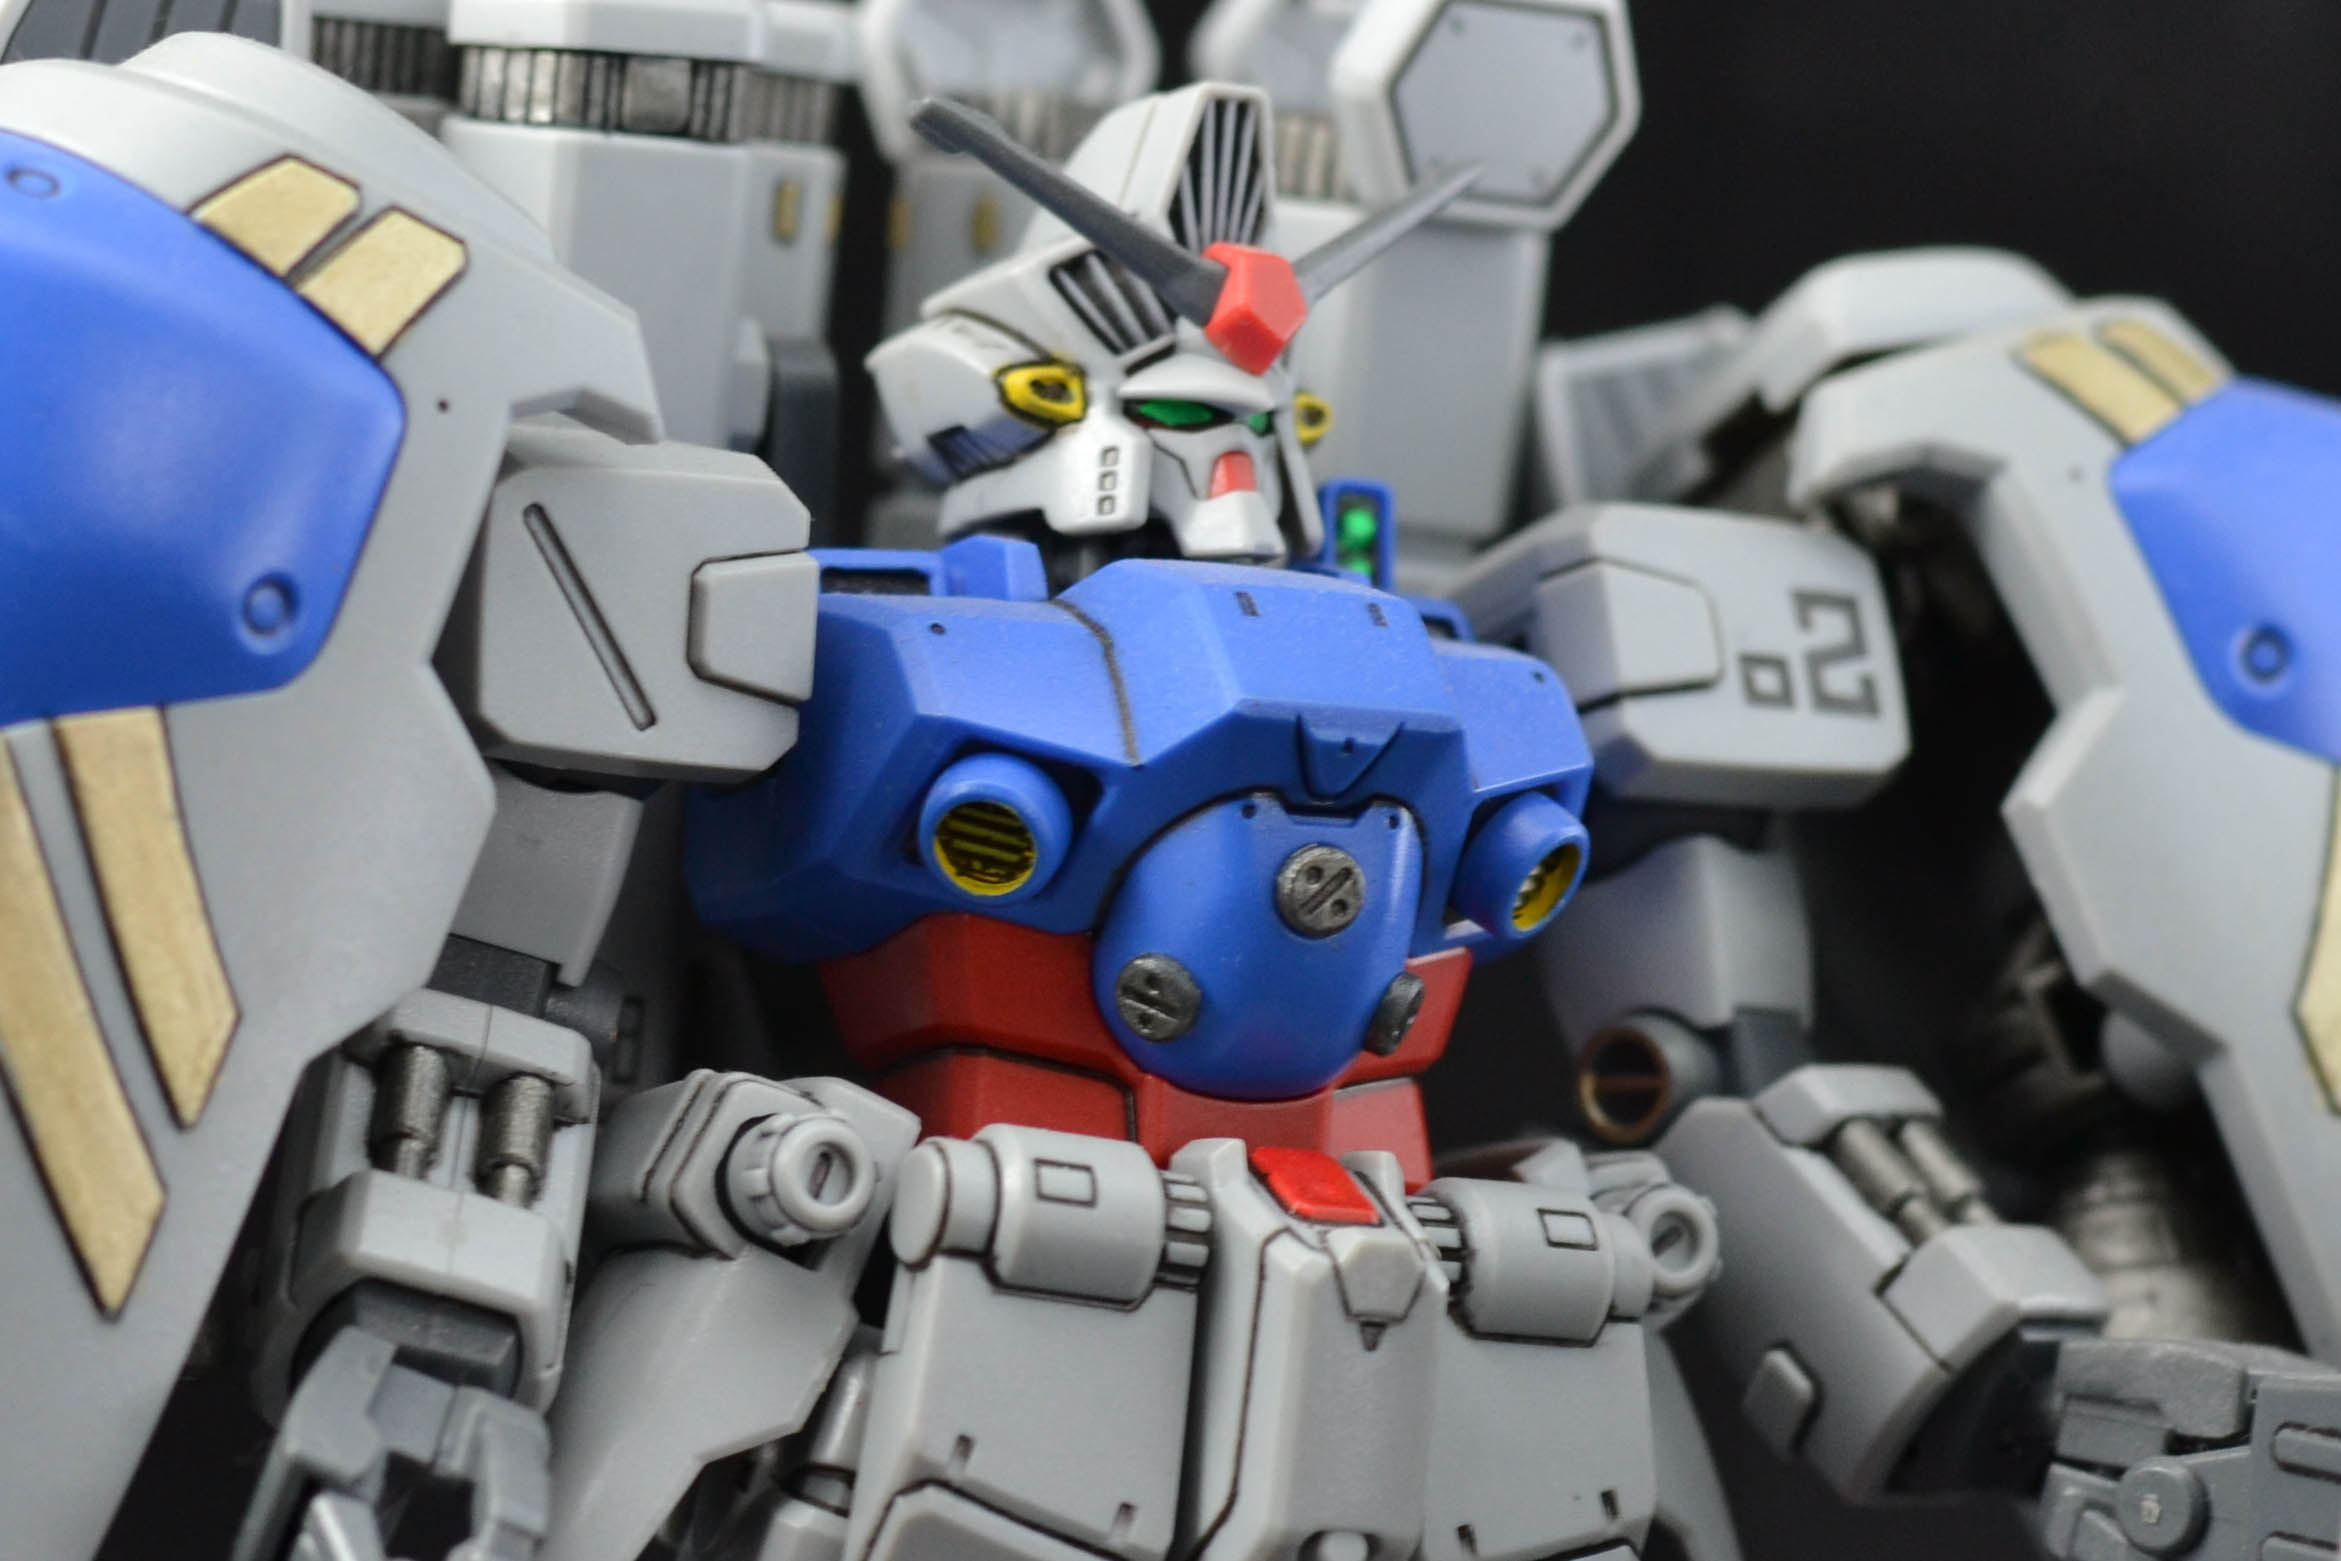
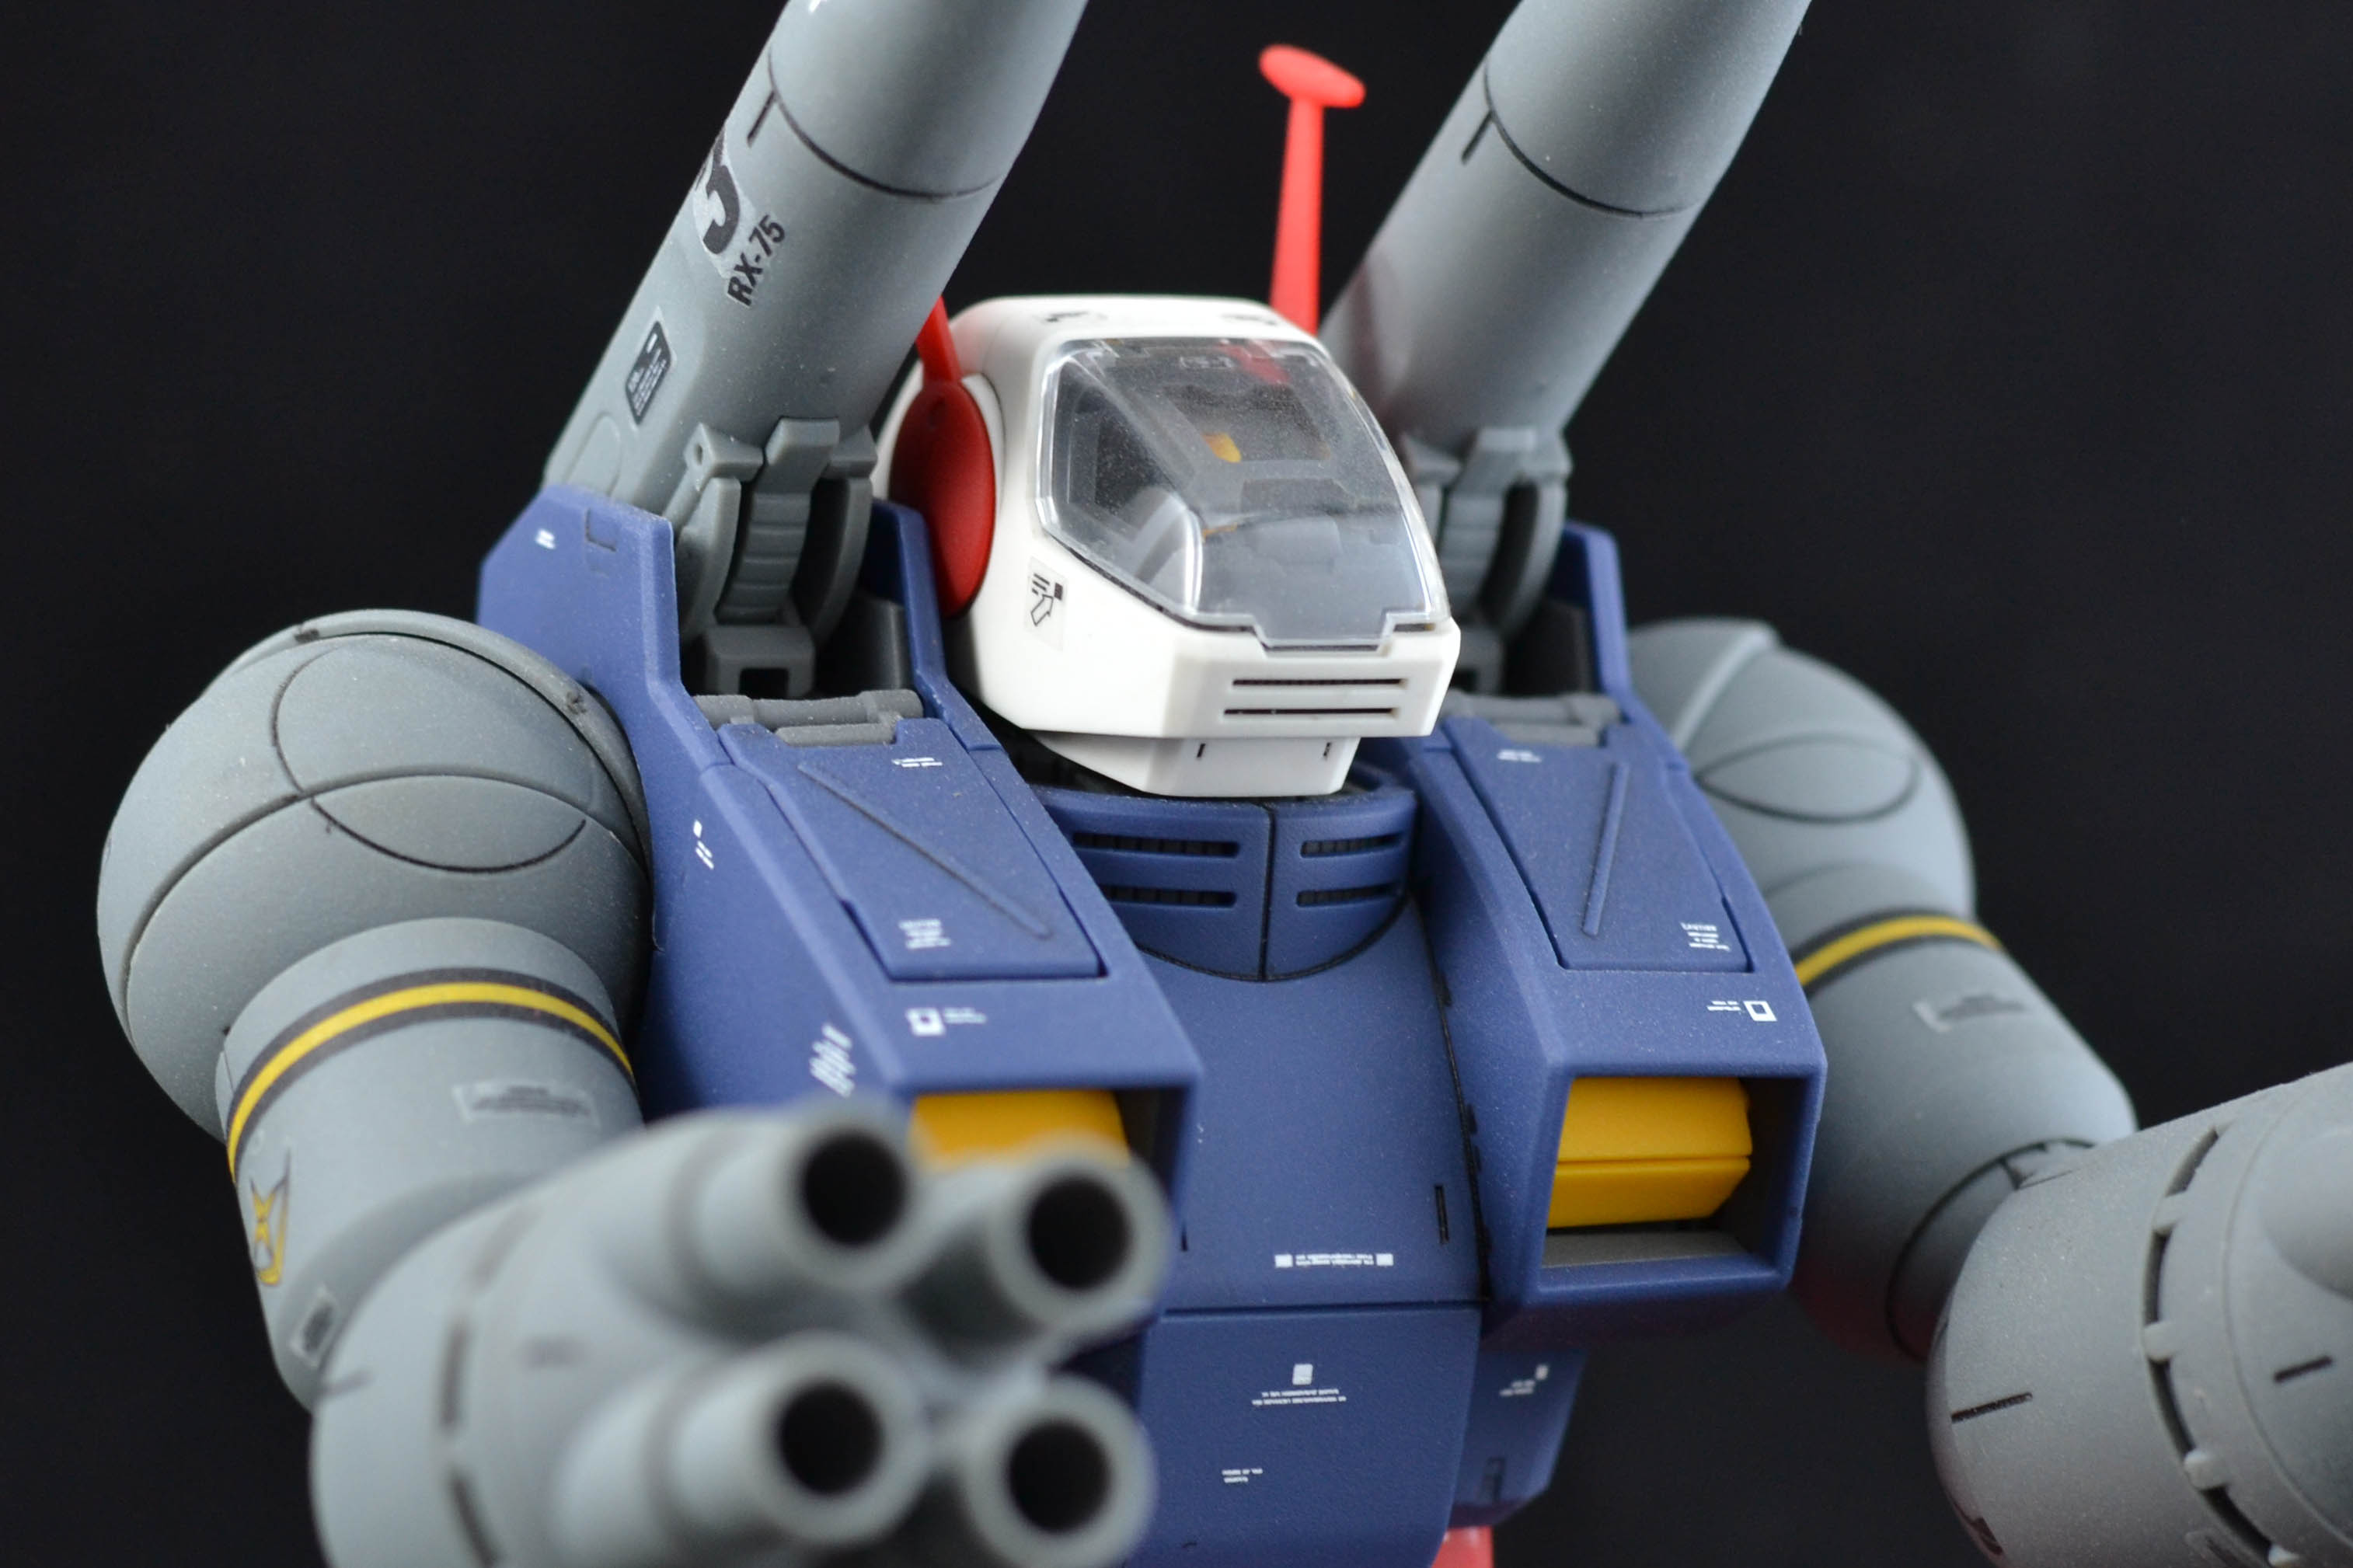
Hi guys! I present to you HG 1/144 RX-93-V2 Hi-V Gundam! This was in my backlog for ages! Glad I have accomplished him.
Things I did in this kit:
1. In this kit, I have not done any sanding and just relied on my X-Acto hobby knife to clean out the nib-marks. I decided to do this method to see the difference between a sanded kit versus an un-sanded (just using the hobby knife to clean nib-marks) kit. Sanding parts require a lot of time and effort whilst just using the hobby knife consumes less time and also less effort. The results are acceptable if you want to clean nib-marks faster, but if you want a more flawless work, it’s got to be sanding.
2. I hated the default blue color of the plastic material so I airbrushed the blue parts using Tamiya Sky Blue. Ofcourse I primed the blue parts first using a light grey primer.
3. Basic panel lining and matte coat.
And that’s it! Enjoy the photos! Oh! And I included a gift from my best friend: Mini Danbo (that included a feature where his eyes light up!) in some the photos, Just click one of the images below to open the gallery:


Things I like about this kit:
1. Lots of lines to mark for an HG kit.
2. Articulation is good for an HG kit.
3. The funnels on his back.
4. Shield design.
Things I don’t like about this kit:
1. The default blue color of the blue parts.
2. Weapons are kind of meh.
3. Back heavy, hard to pose.
4. Clear stickers.. we all know why.. But I still put them on the kit anyway.
Till next post! Thanks!